

Effective communication is key to modern development and operations teams. Integrating your tools (like Jenkins) with Slack allows your team to stay informed about build statuses, errors, and other CI/CD events. Before setting up Jenkins notifications in Slack, you need a Slack account and a dedicated channel. This detailed guide will walk you through creating a Slack account and setting up a channel to receive notifications from Jenkins.
1. What Is Slack and Why Use It for Notifications?
Slack is a team collaboration tool that centralizes communication, file sharing, and integrations with various tools like Jenkins. By setting up Slack notifications for Jenkins, your team can receive instant updates on build statuses directly in a designated Slack channel, ensuring timely responses to CI/CD events.
{monica image}
2. Creating a Slack Account
2.1 Visiting the Slack Website
Click on the "Get Started" or "Try for Free" button.
2.2 Signing Up for an Account
- Fill in your profile details:
- Full Name: Enter your name.
- Display Name: Choose a nickname for Slack.
- Password: Create a strong password.
Click "Create Account" to proceed.
Or you can create a new account with your Google Email by pressing "Continue with Google" button:
Check your email inbox for a verification code from Slack. Enter the code on the Slack signup page and click "Next".
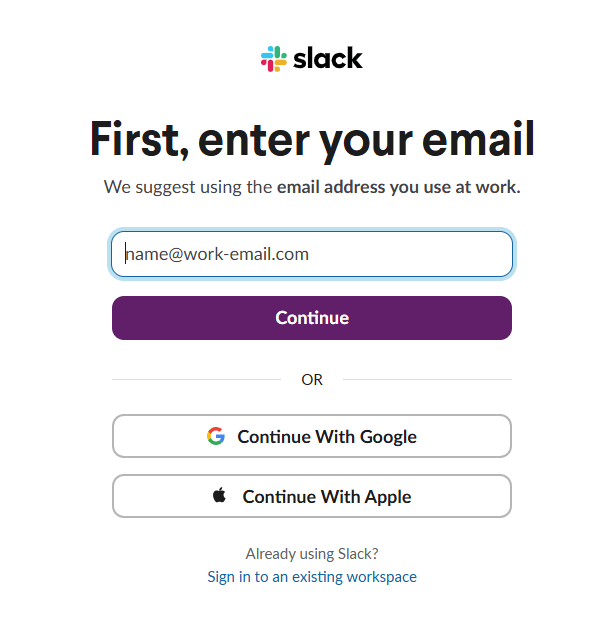
Enter your email address on the signup page and click "Continue".
2.3 Setting Up a Workspace
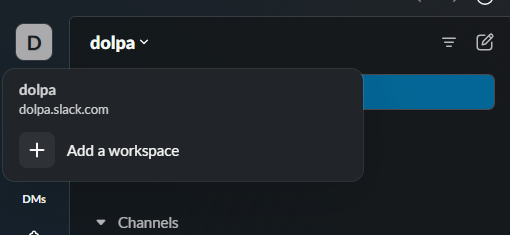
- After creating your account, Slack will prompt you to create a workspace. This is where your team will collaborate. I already have one, so I need to use the menu to create a new Workspace:
- Provide a name for your workspace, such as "DevOps Team" or "CI/CD Notifications".
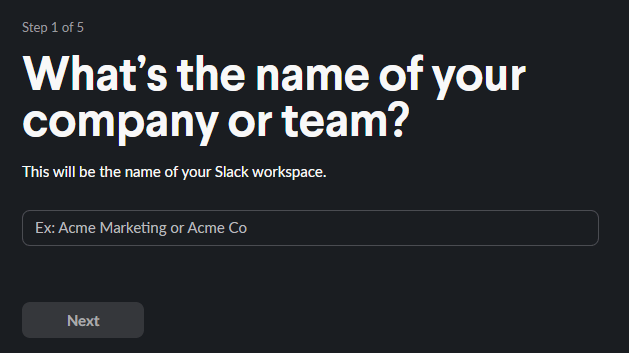
Click "Next" to continue.
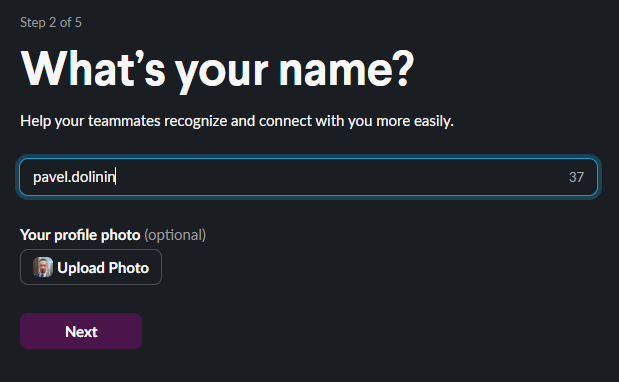
- Your name and your photo for this specific Workspace:
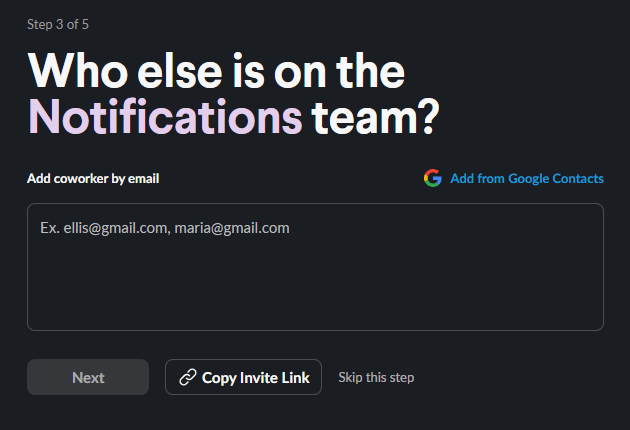
- Invite your Team to this Workspace:
- The final step in new Workspace creation Wizard is the current status or a description:
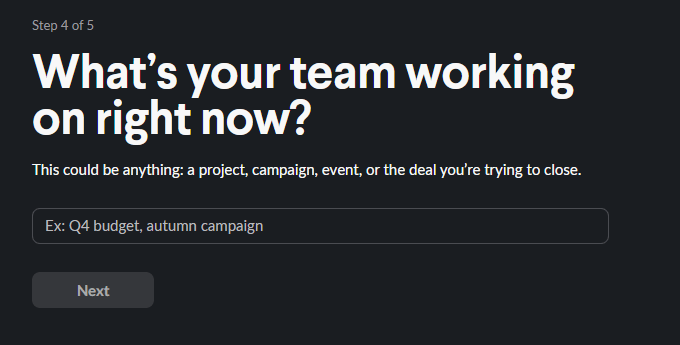
This "working right now" will be used as the channel name in your new workspace.
3. Creating a Slack Channel for Jenkins Notifications
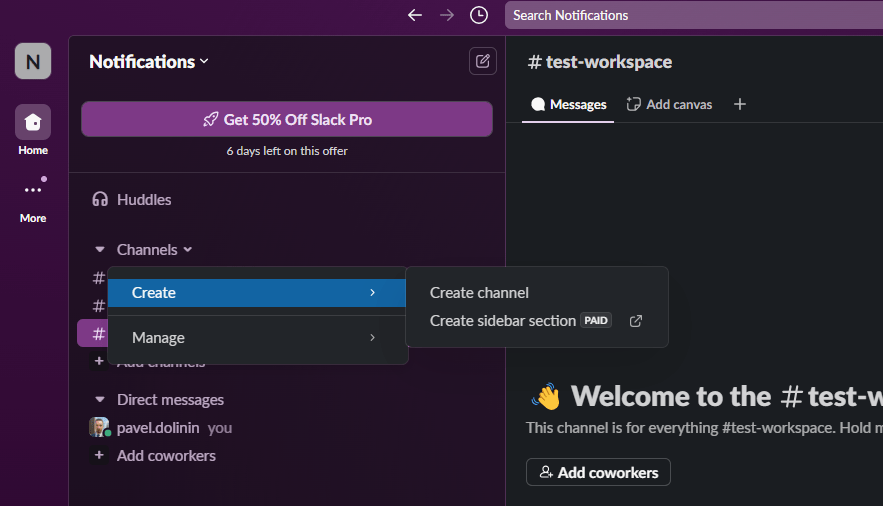
3.1 Navigating to Channel Creation
Select "Create a channel" from the dropdown menu. Go to channels and in the drop-down menu click on Create and there on Create channel:
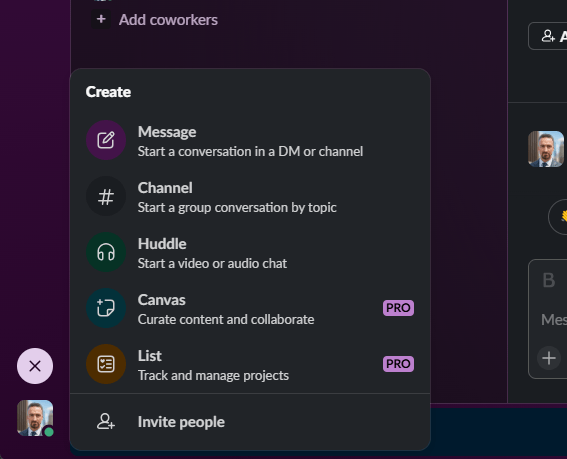
Or, inside your Slack workspace, click the "+" icon next to the Channels section on the left sidebar.
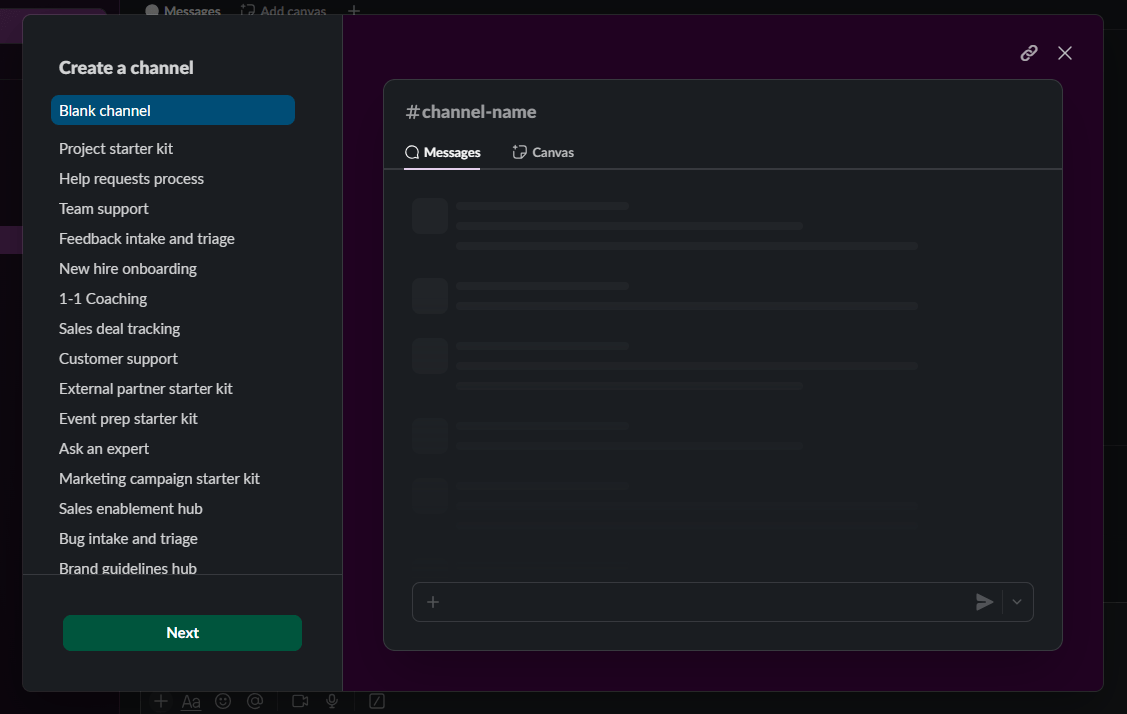
You can choose from template or create a Blank Channel:
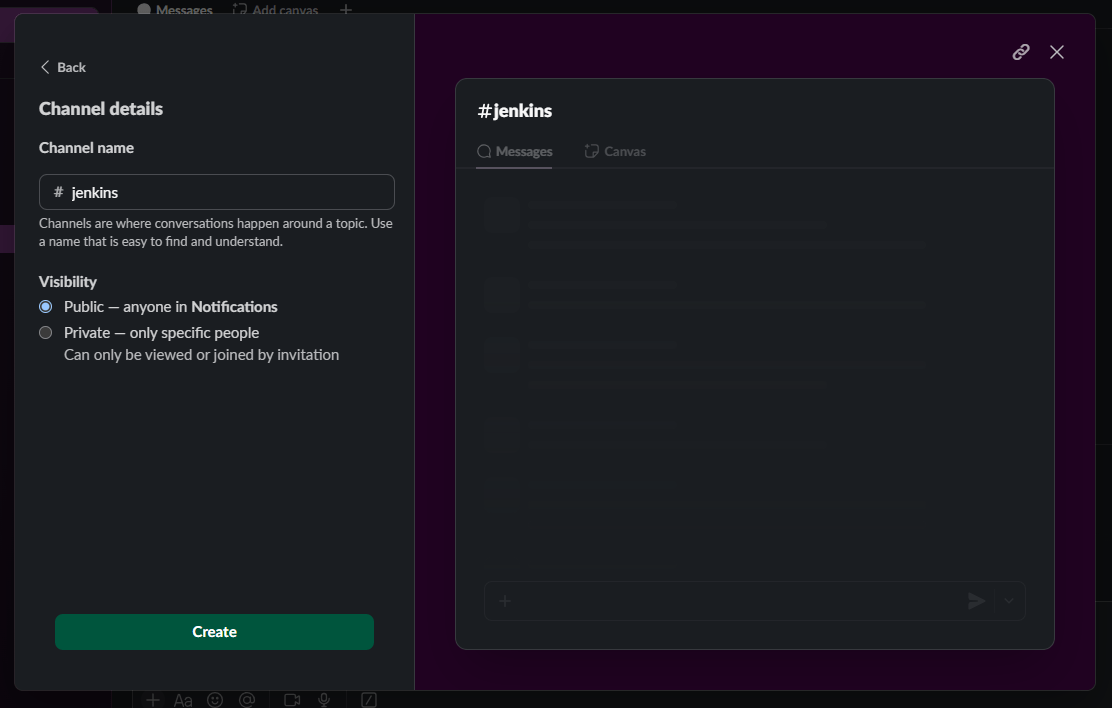
3.2 Configuring Channel Settings
- Name Your Channel: Choose a descriptive name, such as
jenkins. - Privacy Settings:
- Choose Public to allow all workspace members to view and join the channel.
- Choose Private to restrict access to specific members.
Click "Create" to finalize the channel setup.
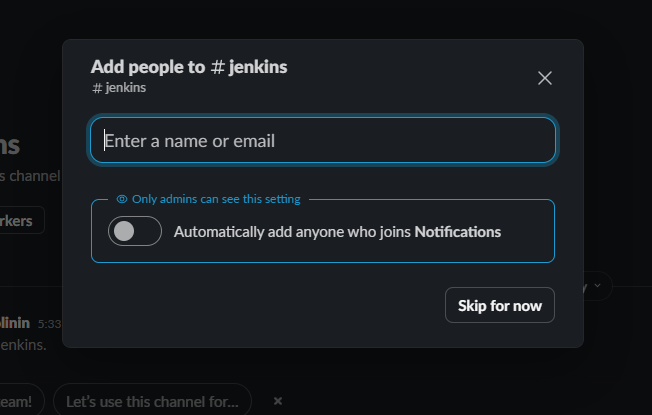
3.3 Inviting Members to the Channel
- After creating the channel, Slack will prompt you to invite members.
- Add team members by typing their names or email addresses.
Click "Done" to finish.
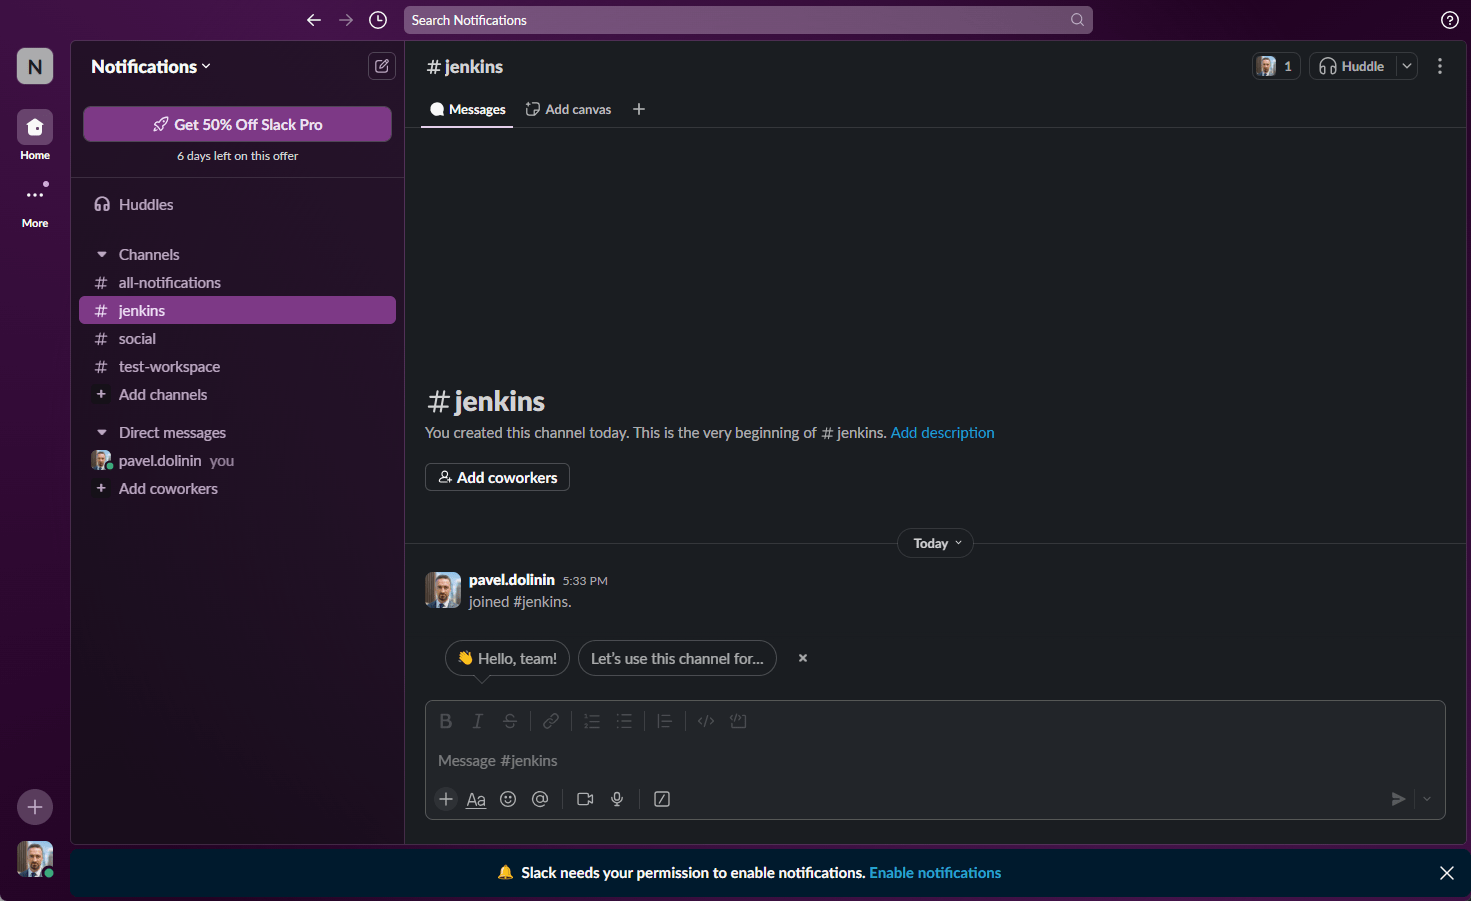
4. Setting Up Slack for Jenkins Notifications
Once your channel is created, configure Slack to receive notifications from Jenkins.
4.1 Make the Channel private
- Right Click on the channel and click on "View Channel Details" and in the opened view go to "Settings":
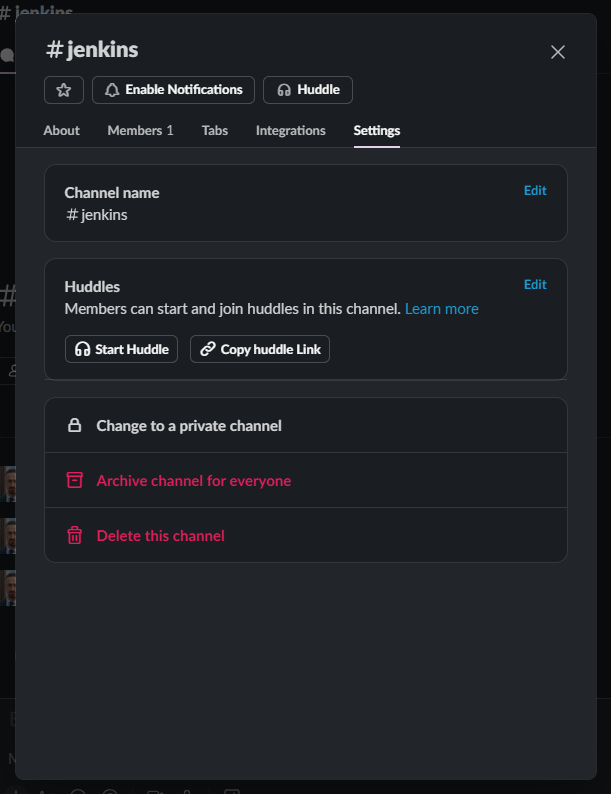
- And just click on "Change to a private channel". This will prevent from strangers to connect to this channel.
4.2 Enabling Incoming Webhooks in Slack
- Go to your Slack Channel View Detailes again and click on the "Integrations" this time.
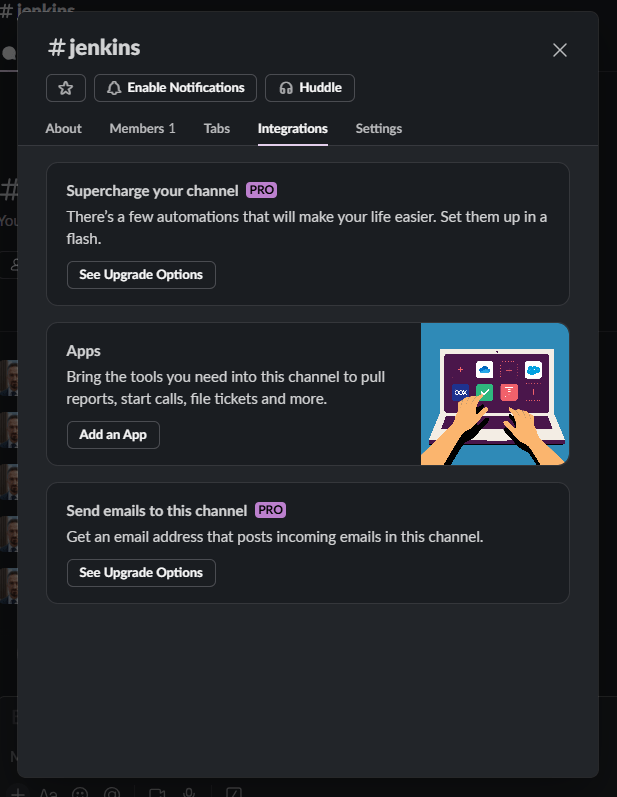
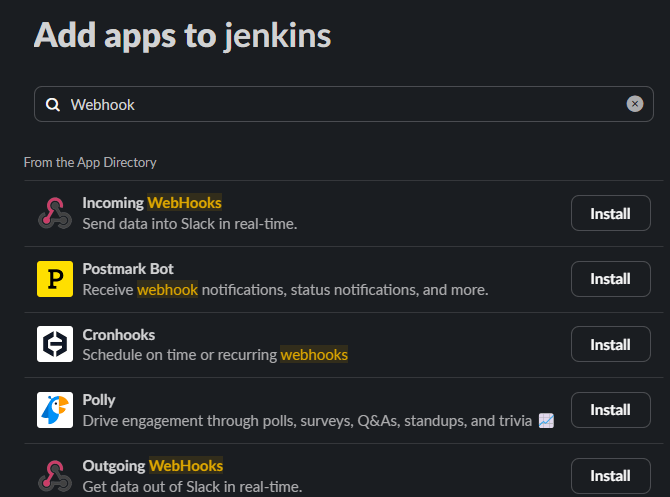
- Go to "Apps", and in the list search for Incoming WebHooks in the apps directory:
- Click "Add to Slack" and follow the prompts to enable the integration.
4.2 Generating a Webhook URL
- Choose the channel you created earlier (
#jenkins) for the webhook.
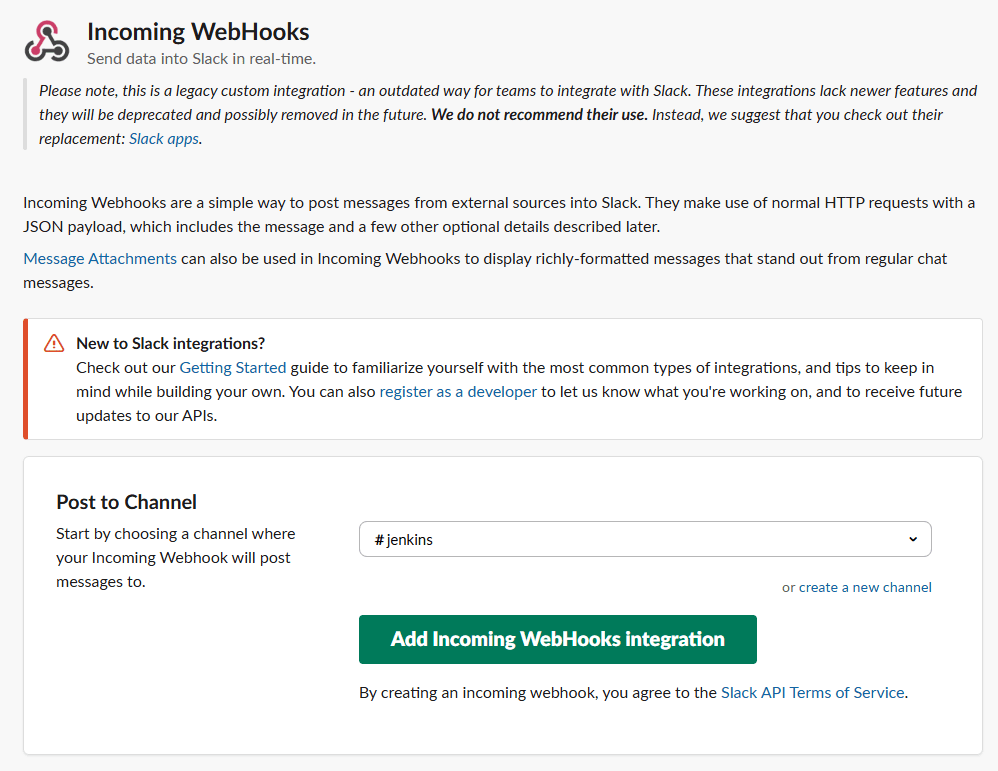
- Click "Add Incoming WebHooks Integration".
- On the next page you will have fully detailed explanation about how to use it.
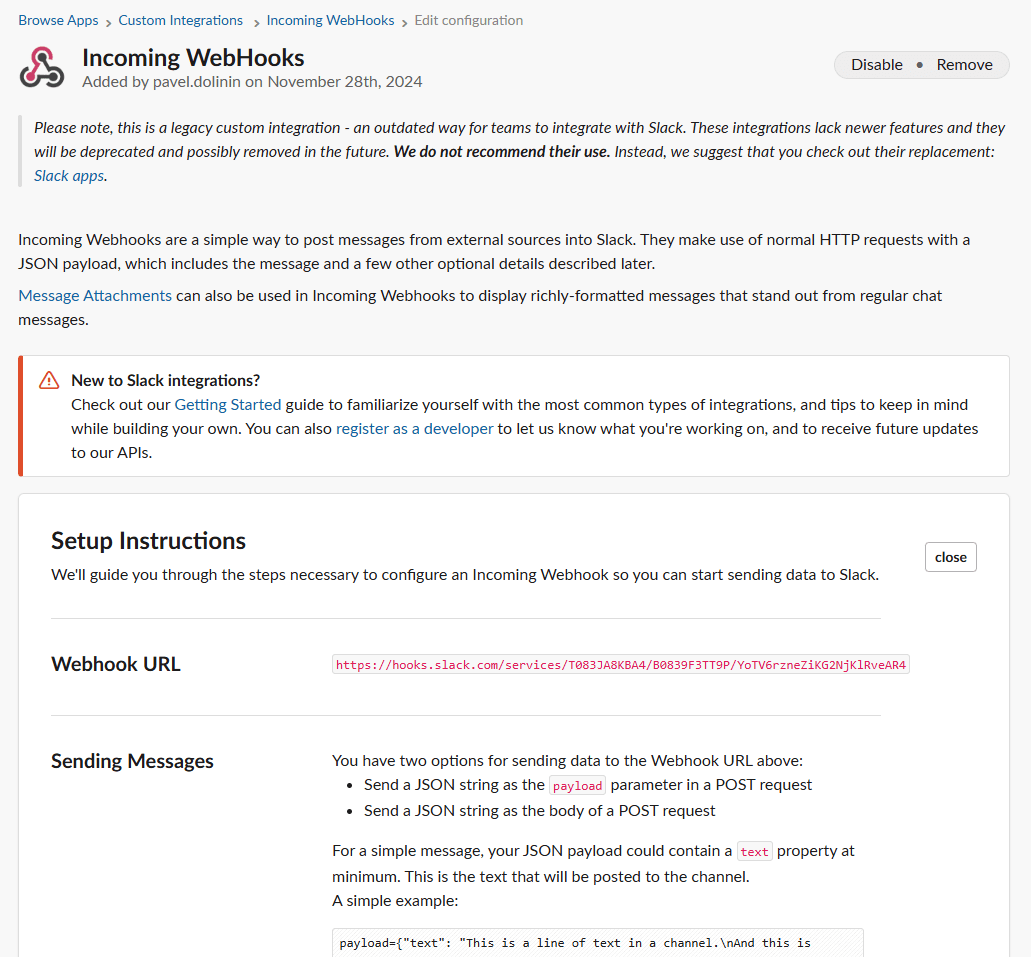
- Copy the Webhook URL provided by Slack. This URL will be used in Jenkins to send notifications.
5. Testing Slack Channel Functionality
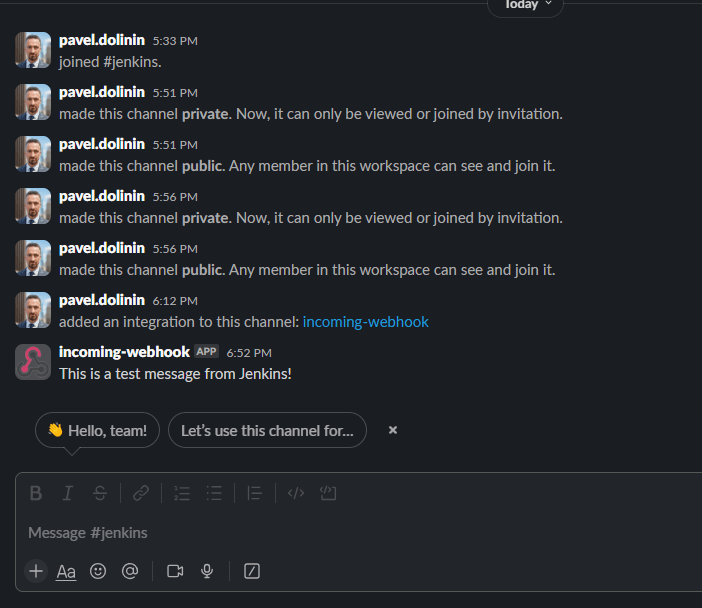
- Send a test message to the channel by pasting the webhook URL into a terminal or testing tool with the following command:
curl -X POST -H 'Content-type: application/json' \
--data '{"text":"This is a test message from Jenkins!"}' \
<your_webhook_url>
Check the channel for the test message.
6. Next Steps
With your Slack channel and webhook set up, you’re ready to integrate Jenkins notifications. In our next guide, we’ll configure Jenkins to send notifications to your new Slack channel, ensuring seamless communication and monitoring of your CI/CD pipelines.
Conclusion
Setting up a Slack account and creating a dedicated channel for Jenkins notifications is a straightforward process that enhances team collaboration and awareness. By integrating Slack with Jenkins, your team will receive real-time updates, reducing downtime and improving efficiency.
Stay tuned for more tutorials to optimize your CI/CD workflows!