

Jenkins is a cornerstone of continuous integration and continuous delivery (CI/CD) pipelines, widely used for automation in development workflows. One of Jenkins’ key strengths lies in its web interface, which offers a user-friendly way to manage jobs, view build statuses, configure settings, and monitor your pipeline. This guide will walk you through the Jenkins web interface and cover all the essentials to help you master Jenkins from the ground up.
Introduction to Jenkins Web Interface
The Jenkins web interface is the primary dashboard where you interact with your Jenkins server. It provides a graphical view of your pipeline activities, jobs, builds, configurations, plugins, and more. Understanding how to navigate and use this interface is crucial for optimizing your CI/CD workflows.
1. Getting Started: Accessing Jenkins
Upon successful installation and setup, you can access the Jenkins web interface via the IP address or domain name where Jenkins is hosted, followed by the configured port (default is 8080). For example:
http://<your-server-IP>:8080
After logging in with your credentials, you’re directed to the main Jenkins Dashboard.
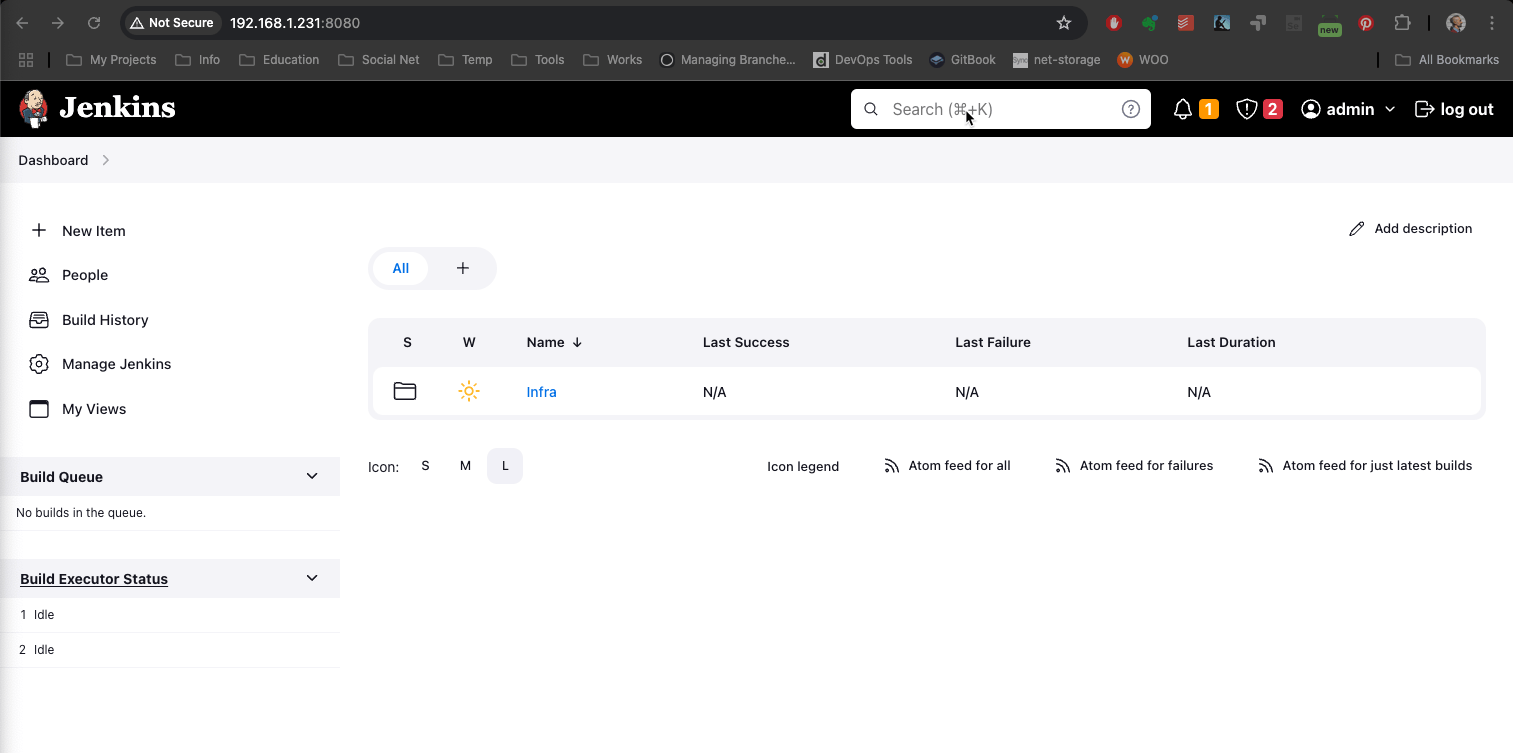
2. The Jenkins Dashboard
The Dashboard is the heart of Jenkins, displaying an overview of all jobs, build status, and system messages. Here’s a breakdown of the dashboard’s main components:
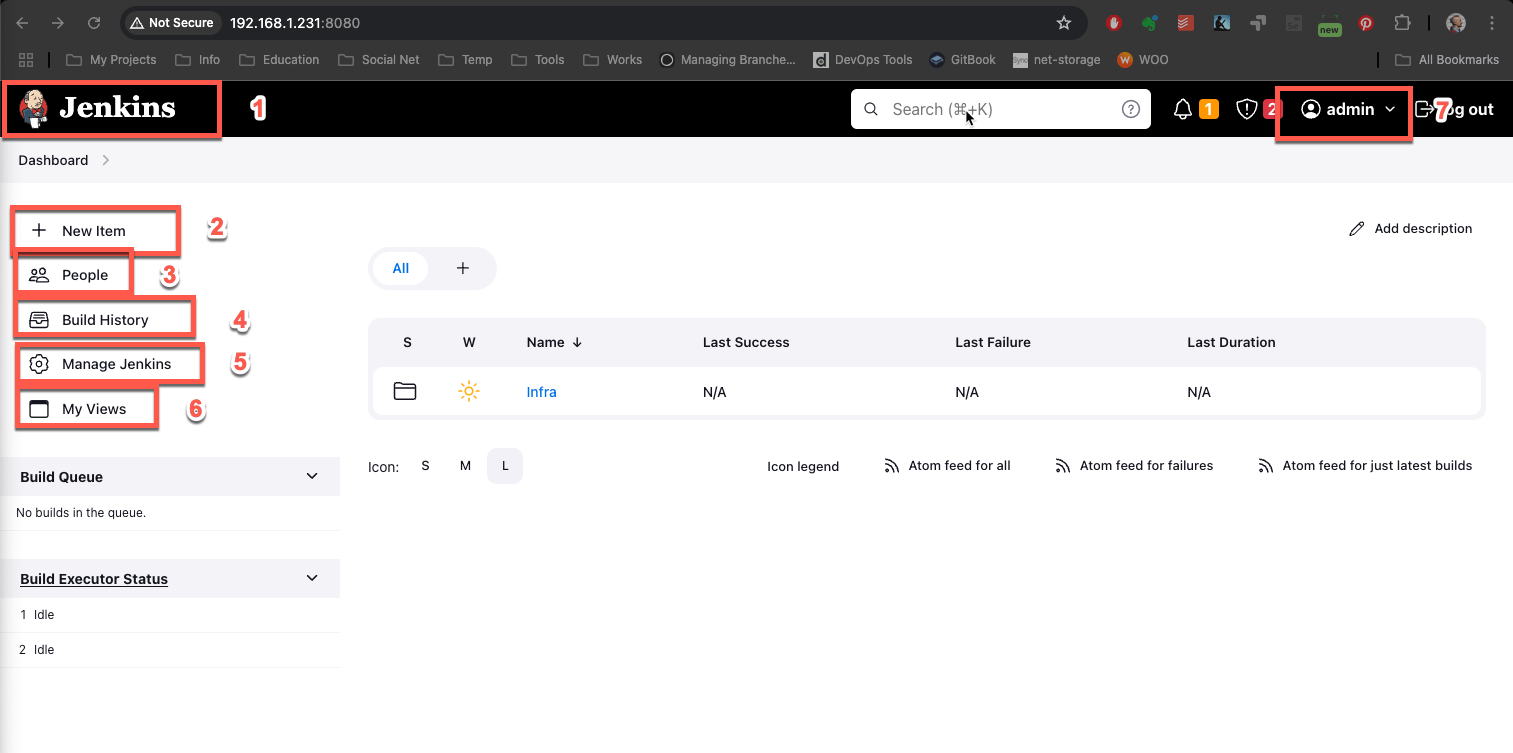
2.1 Top Navigation Bar
- Dashboard Link: Returns to the main dashboard from any page.
- New Item: Quickly create a new job or pipeline.
- People: View logged-in users and their activities.
- Build History: Lists recent builds across all jobs.
- Manage Jenkins: Access the administrative settings for Jenkins.
- My Views: Customize views based on projects or teams.
- User Icon: Access user settings, profile, and logout.
2.2 Main Dashboard Content
- Job List: Shows all jobs with columns for name, status, last successful build, and last failure.
- System Messages: Important notifications like server updates or plugin issues.
- New Job Button: An easy-access button to create a new job.
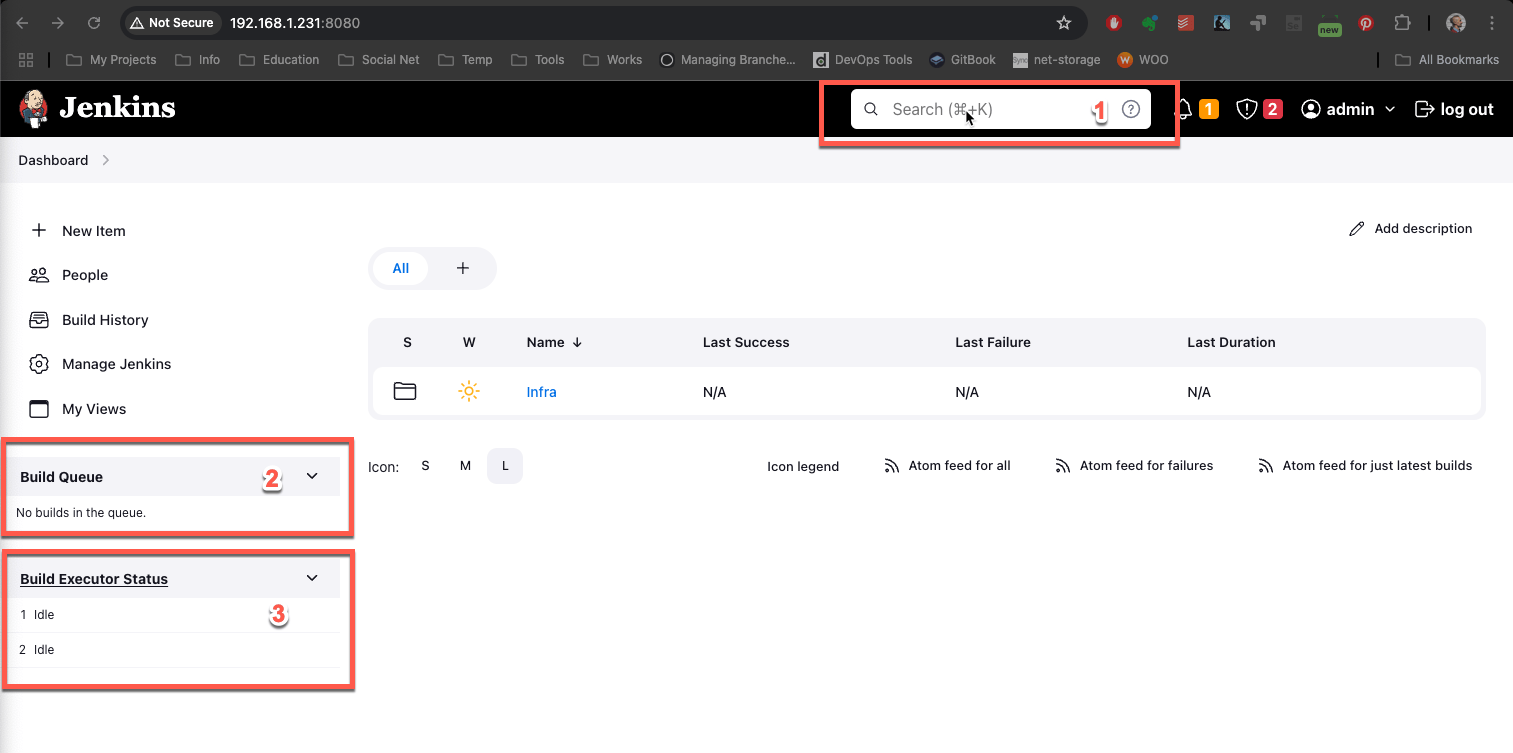
2.3 Sidebar
- Search Bar: Quickly find jobs, builds, and settings by typing keywords.
- Build Queue: Displays jobs waiting for execution.
- Executor Status: Shows active executors running builds on Jenkins agents.
3. Creating and Managing Jobs
The core of Jenkins revolves around "jobs." A job is a specific task or process that Jenkins executes, like building software or deploying to a server.
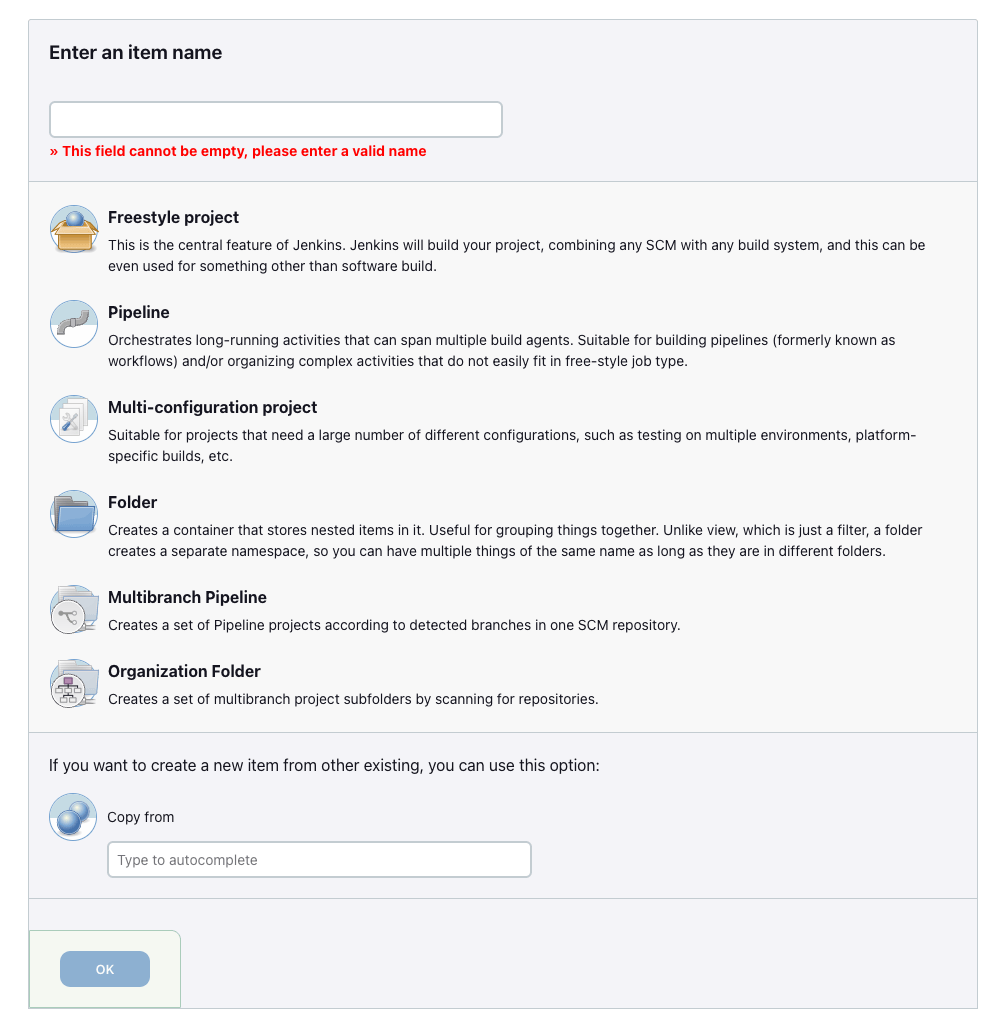
3.1 Creating a New Job
- Click New Item from the top navigation bar.
- Name the job, select the job type (e.g., Freestyle Project, Pipeline), and click OK.
- Configure the job by adding parameters, triggers, and build steps.
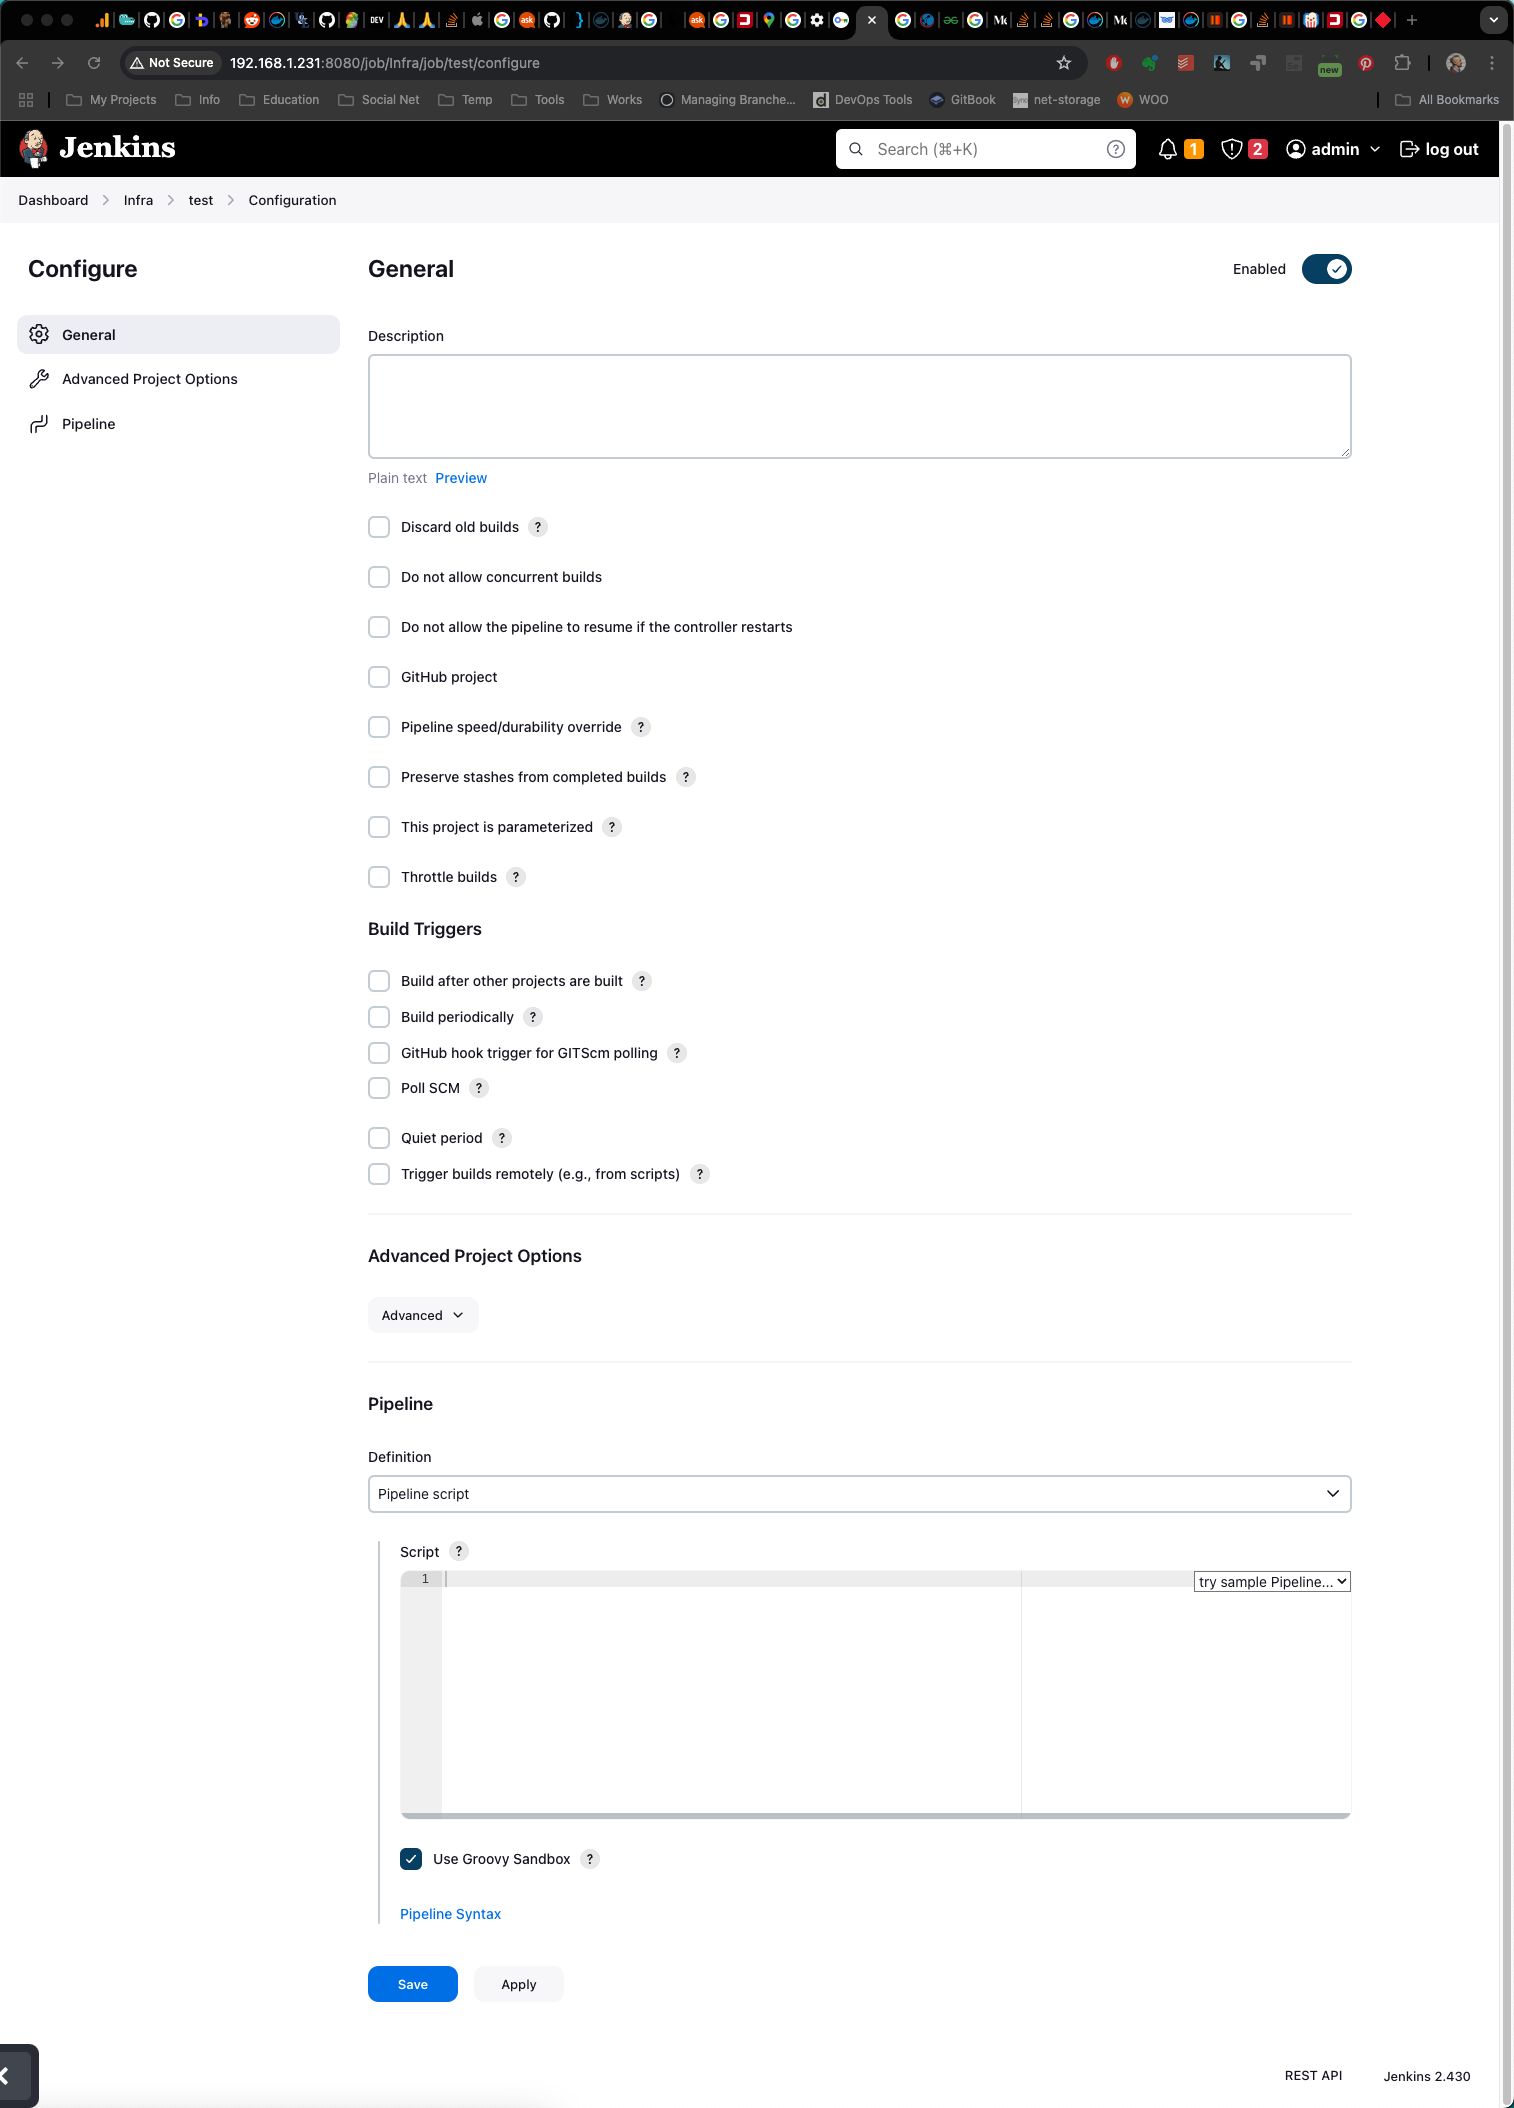
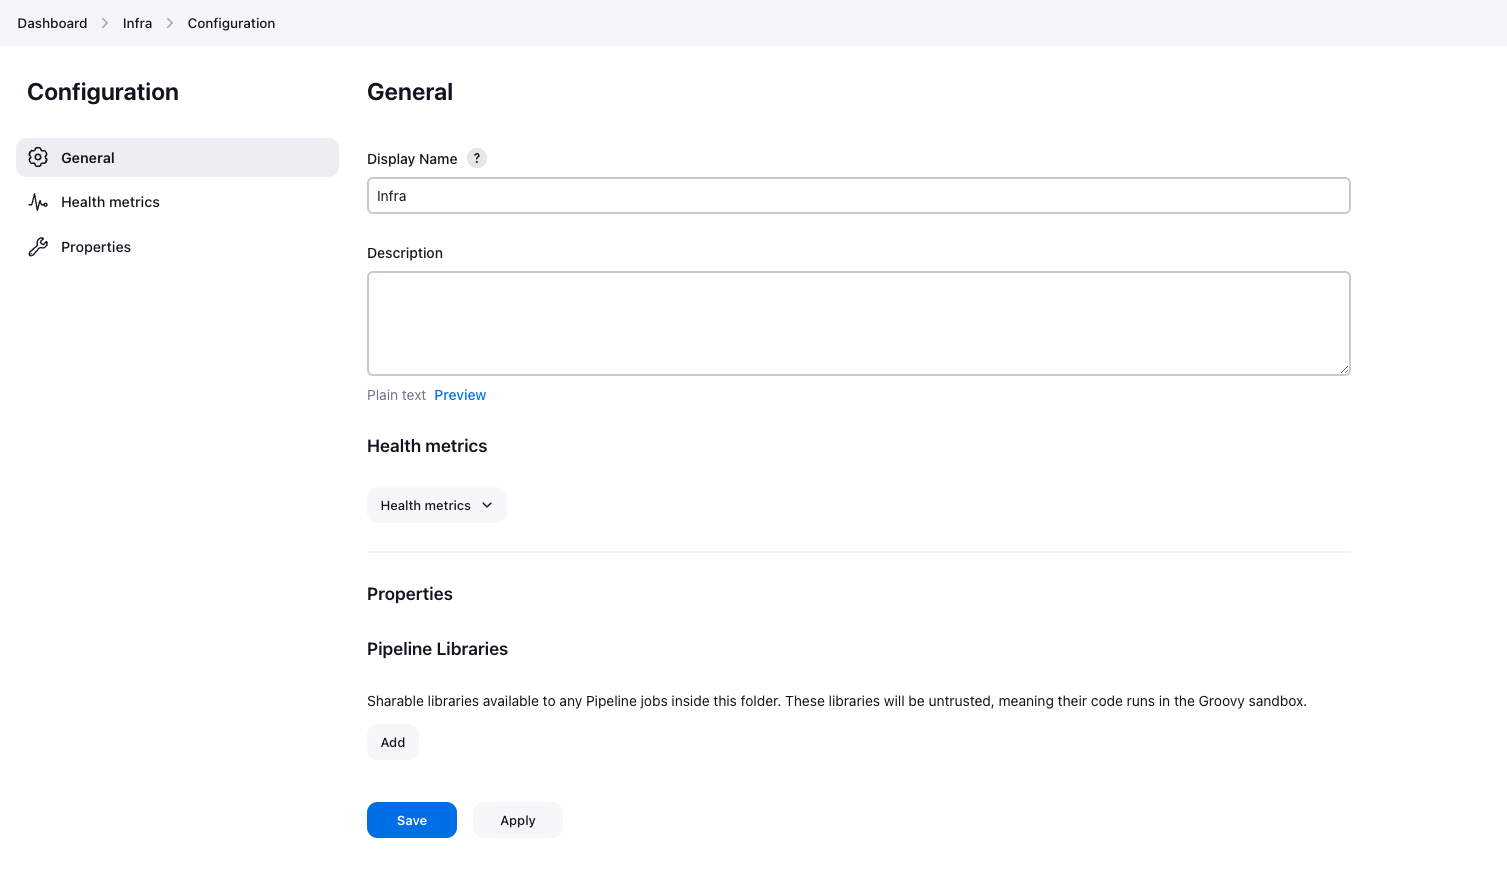
3.2 Configuring Job Settings
Each job comes with customizable options to define what actions Jenkins should perform:
- General: Define basic job settings, descriptions, and discarding old builds.
- Source Code Management (SCM): Integrate with Git, SVN, or other SCMs.
- Build Triggers: Define triggers like schedule, webhook, or after other builds.
- Build Environment: Configure the environment (e.g., inject variables, clean workspace).
- Build Steps: Define tasks Jenkins should perform (e.g., run scripts, build with Maven).
- Post-Build Actions: Actions after build completion, such as publishing reports or triggering other jobs.
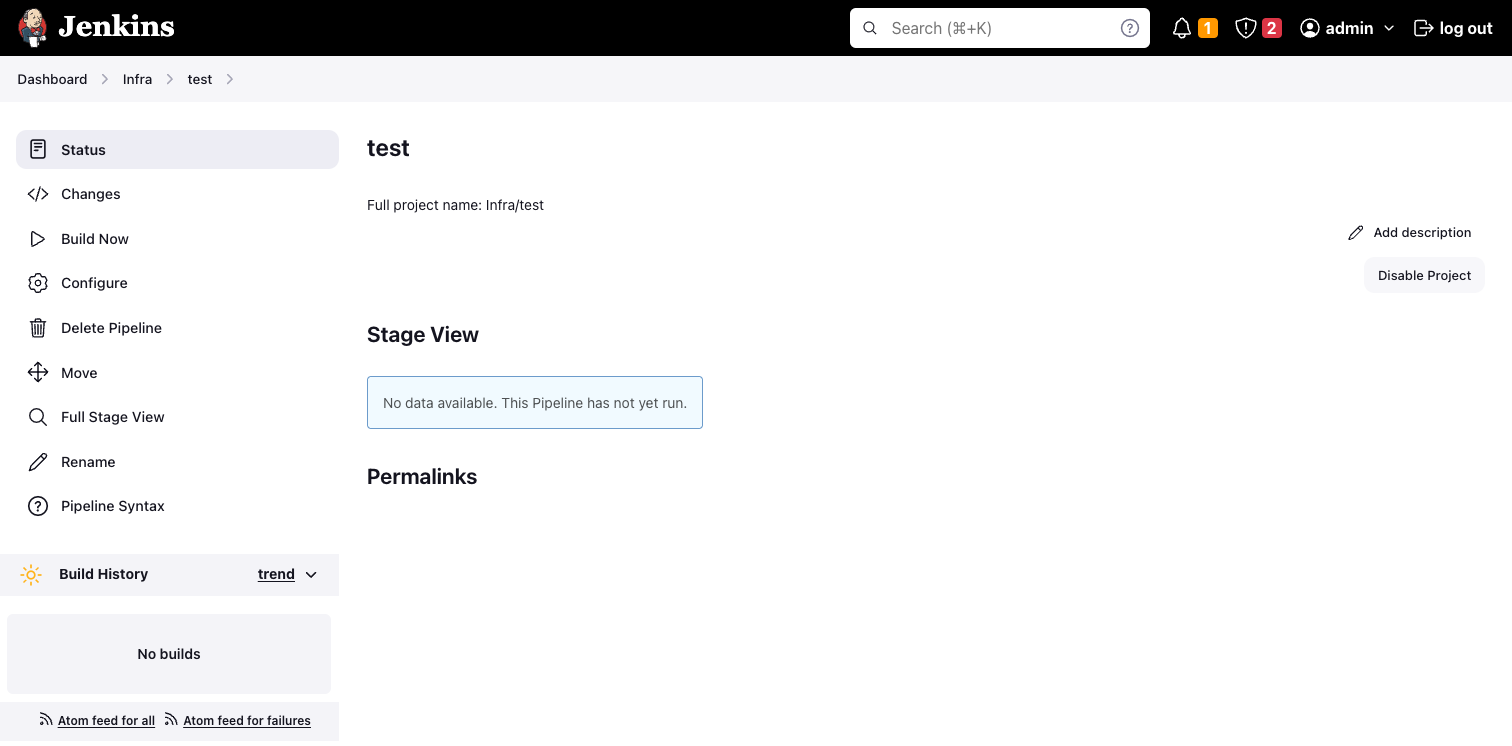
3.3 Managing Jobs
After creating jobs, you can manage them directly from the Dashboard:
- Build Now: Triggers the job manually.
- View Console Output: Displays logs and output from the build.
- Disable/Enable: Temporarily disable a job without deleting it.
- Delete: Removes the job permanently from Jenkins.
4. Monitoring Builds and Pipelines
Keeping track of builds is essential for maintaining CI/CD processes. Jenkins provides multiple ways to monitor builds in real time.
4.1 Build History
The Build History section, located on both the Dashboard and individual job pages, shows a chronological list of recent builds. Each build item includes the following:
- Build Number: A unique identifier for each build.
- Build Status Icon: Indicates success, failure, or ongoing build.
- Timestamp: Shows when the build was triggered.
- Duration: Indicates how long the build took to complete.
4.2 Console Output
Access the Console Output from any completed build. This output is essential for troubleshooting issues, as it shows step-by-step logs of the build process.
4.3 Blue Ocean
Blue Ocean is a modern, more visual plugin for Jenkins pipelines. It shows your pipeline in a graphical format, making it easier to see the stages, logs, and statuses of each stage within a build.
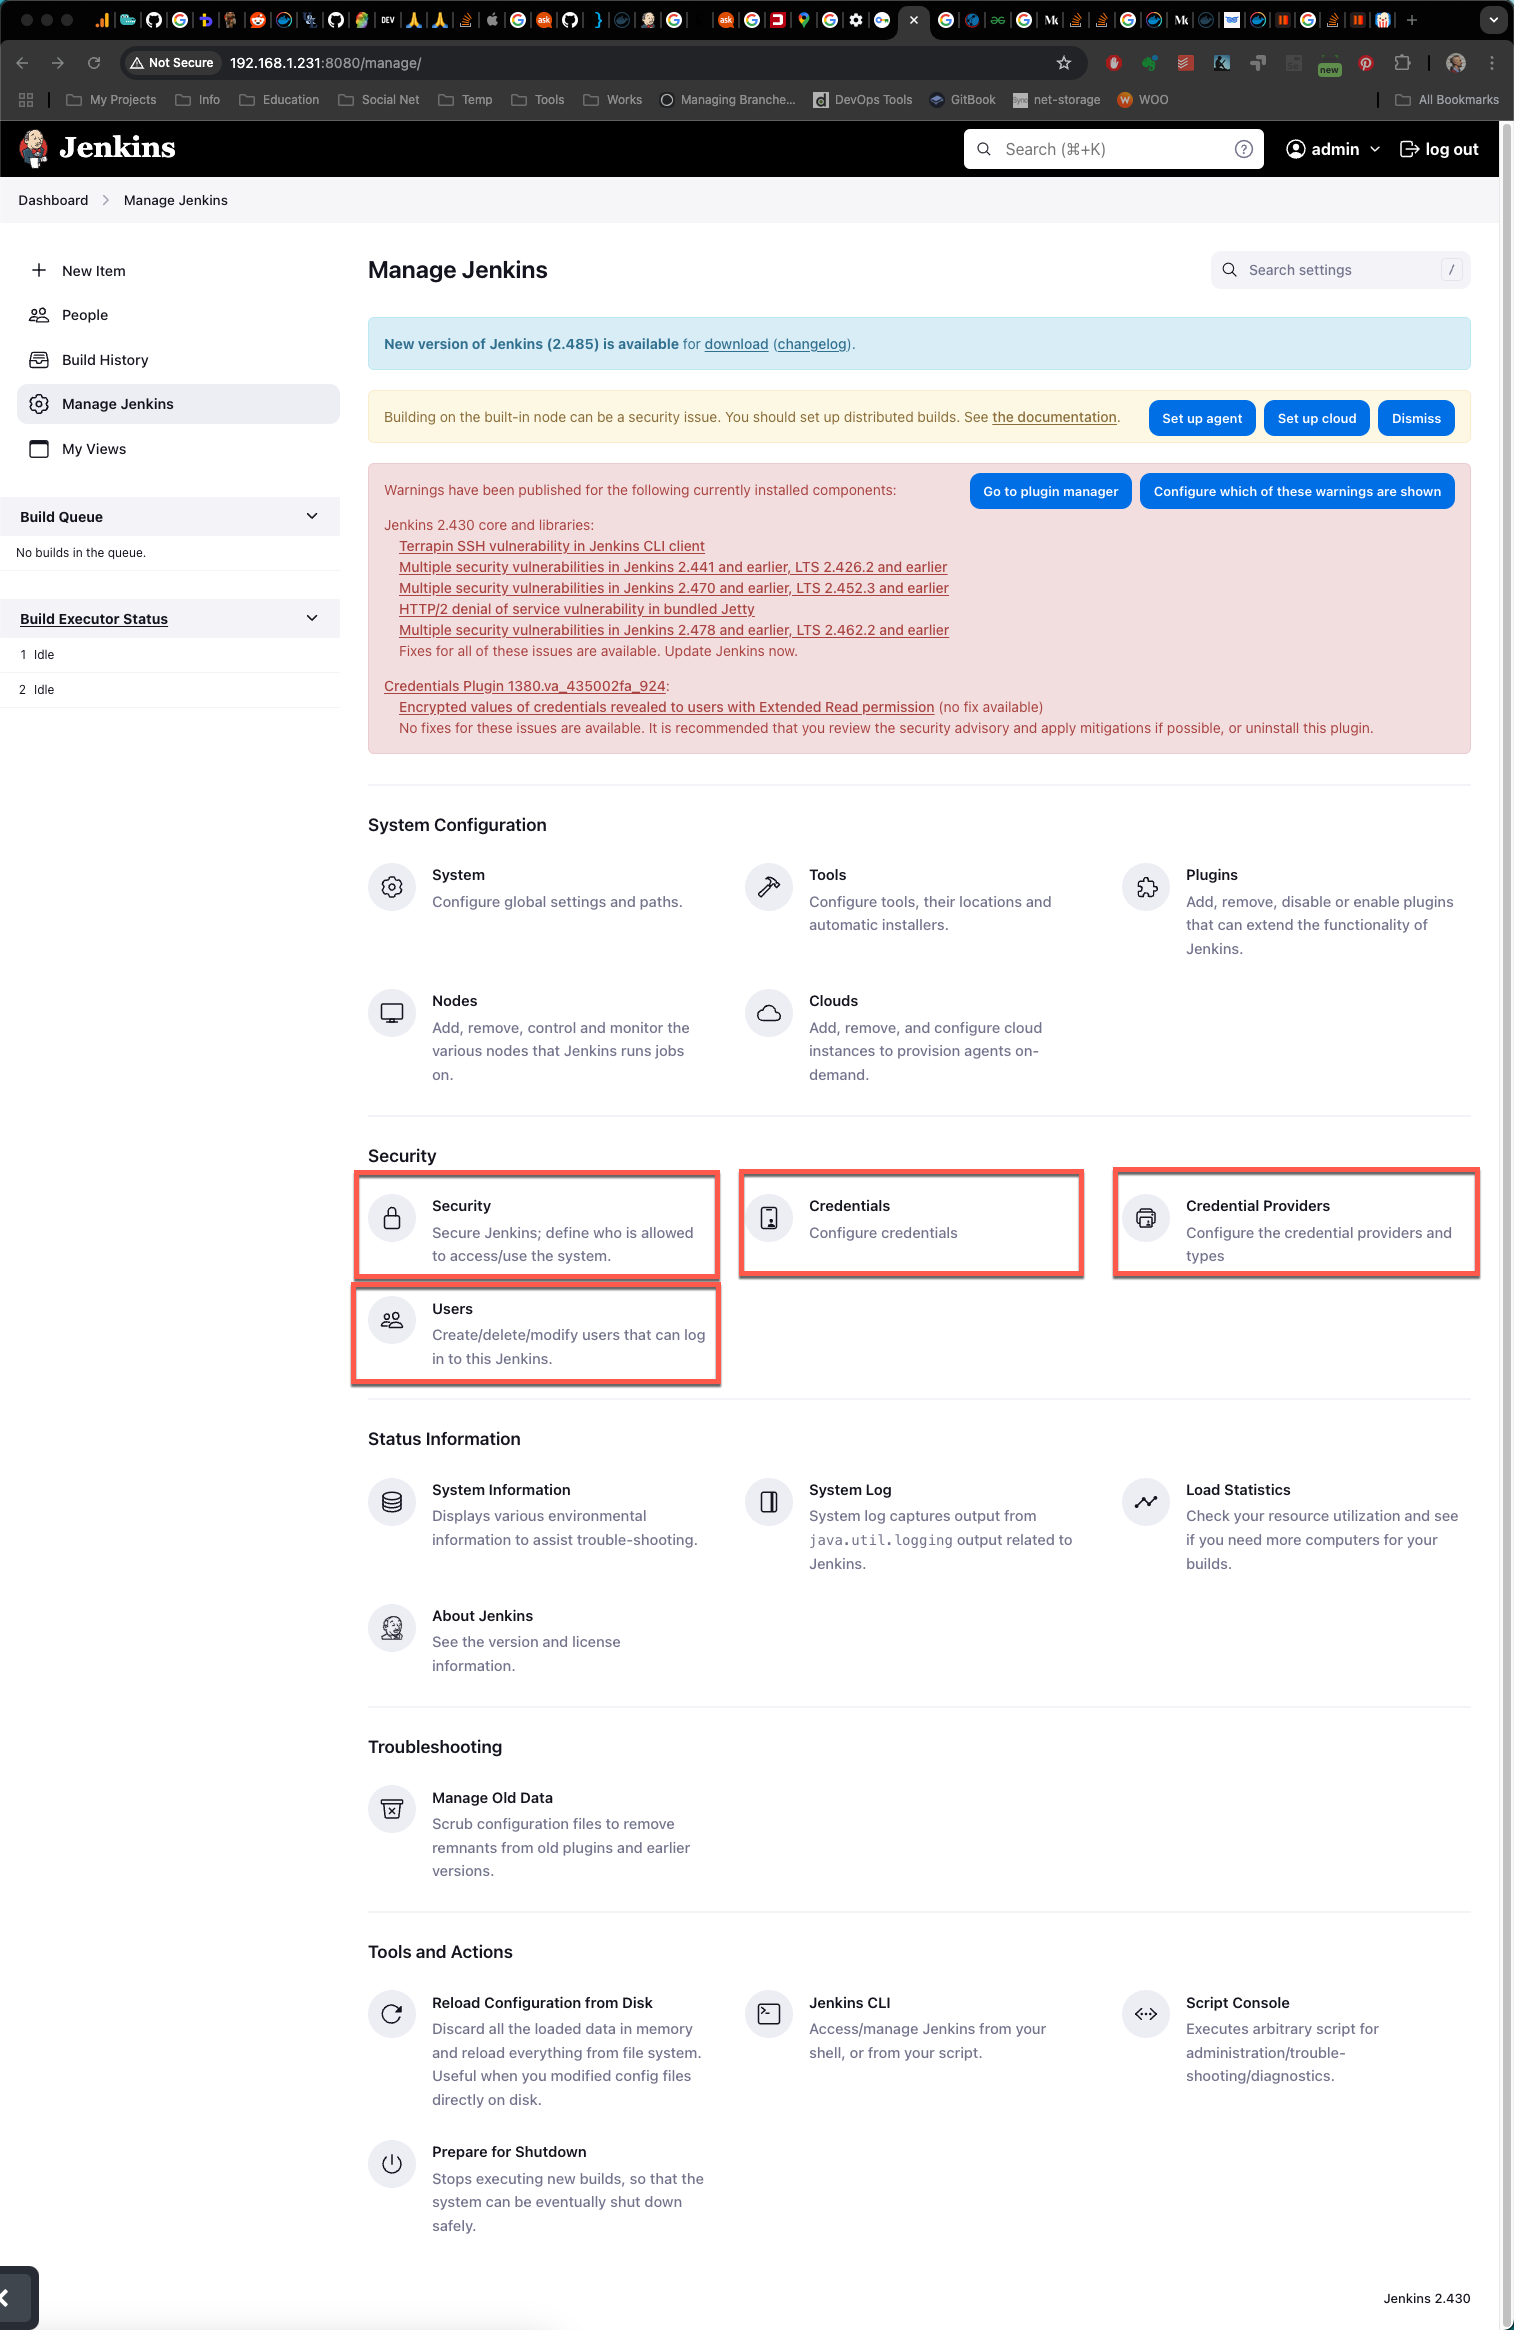
5. Configuring Jenkins: Manage Jenkins Section
The Manage Jenkins page is the administrative control center for Jenkins. Here you configure core settings, manage plugins, and secure your Jenkins server.
5.1 System Configuration
- Configure System: Set global configurations like environment variables, paths, and mail server settings.
- Global Tool Configuration: Manage tools used in builds, such as JDK, Maven, or Git.
- Manage Plugins: Install, update, or remove plugins to add functionality.
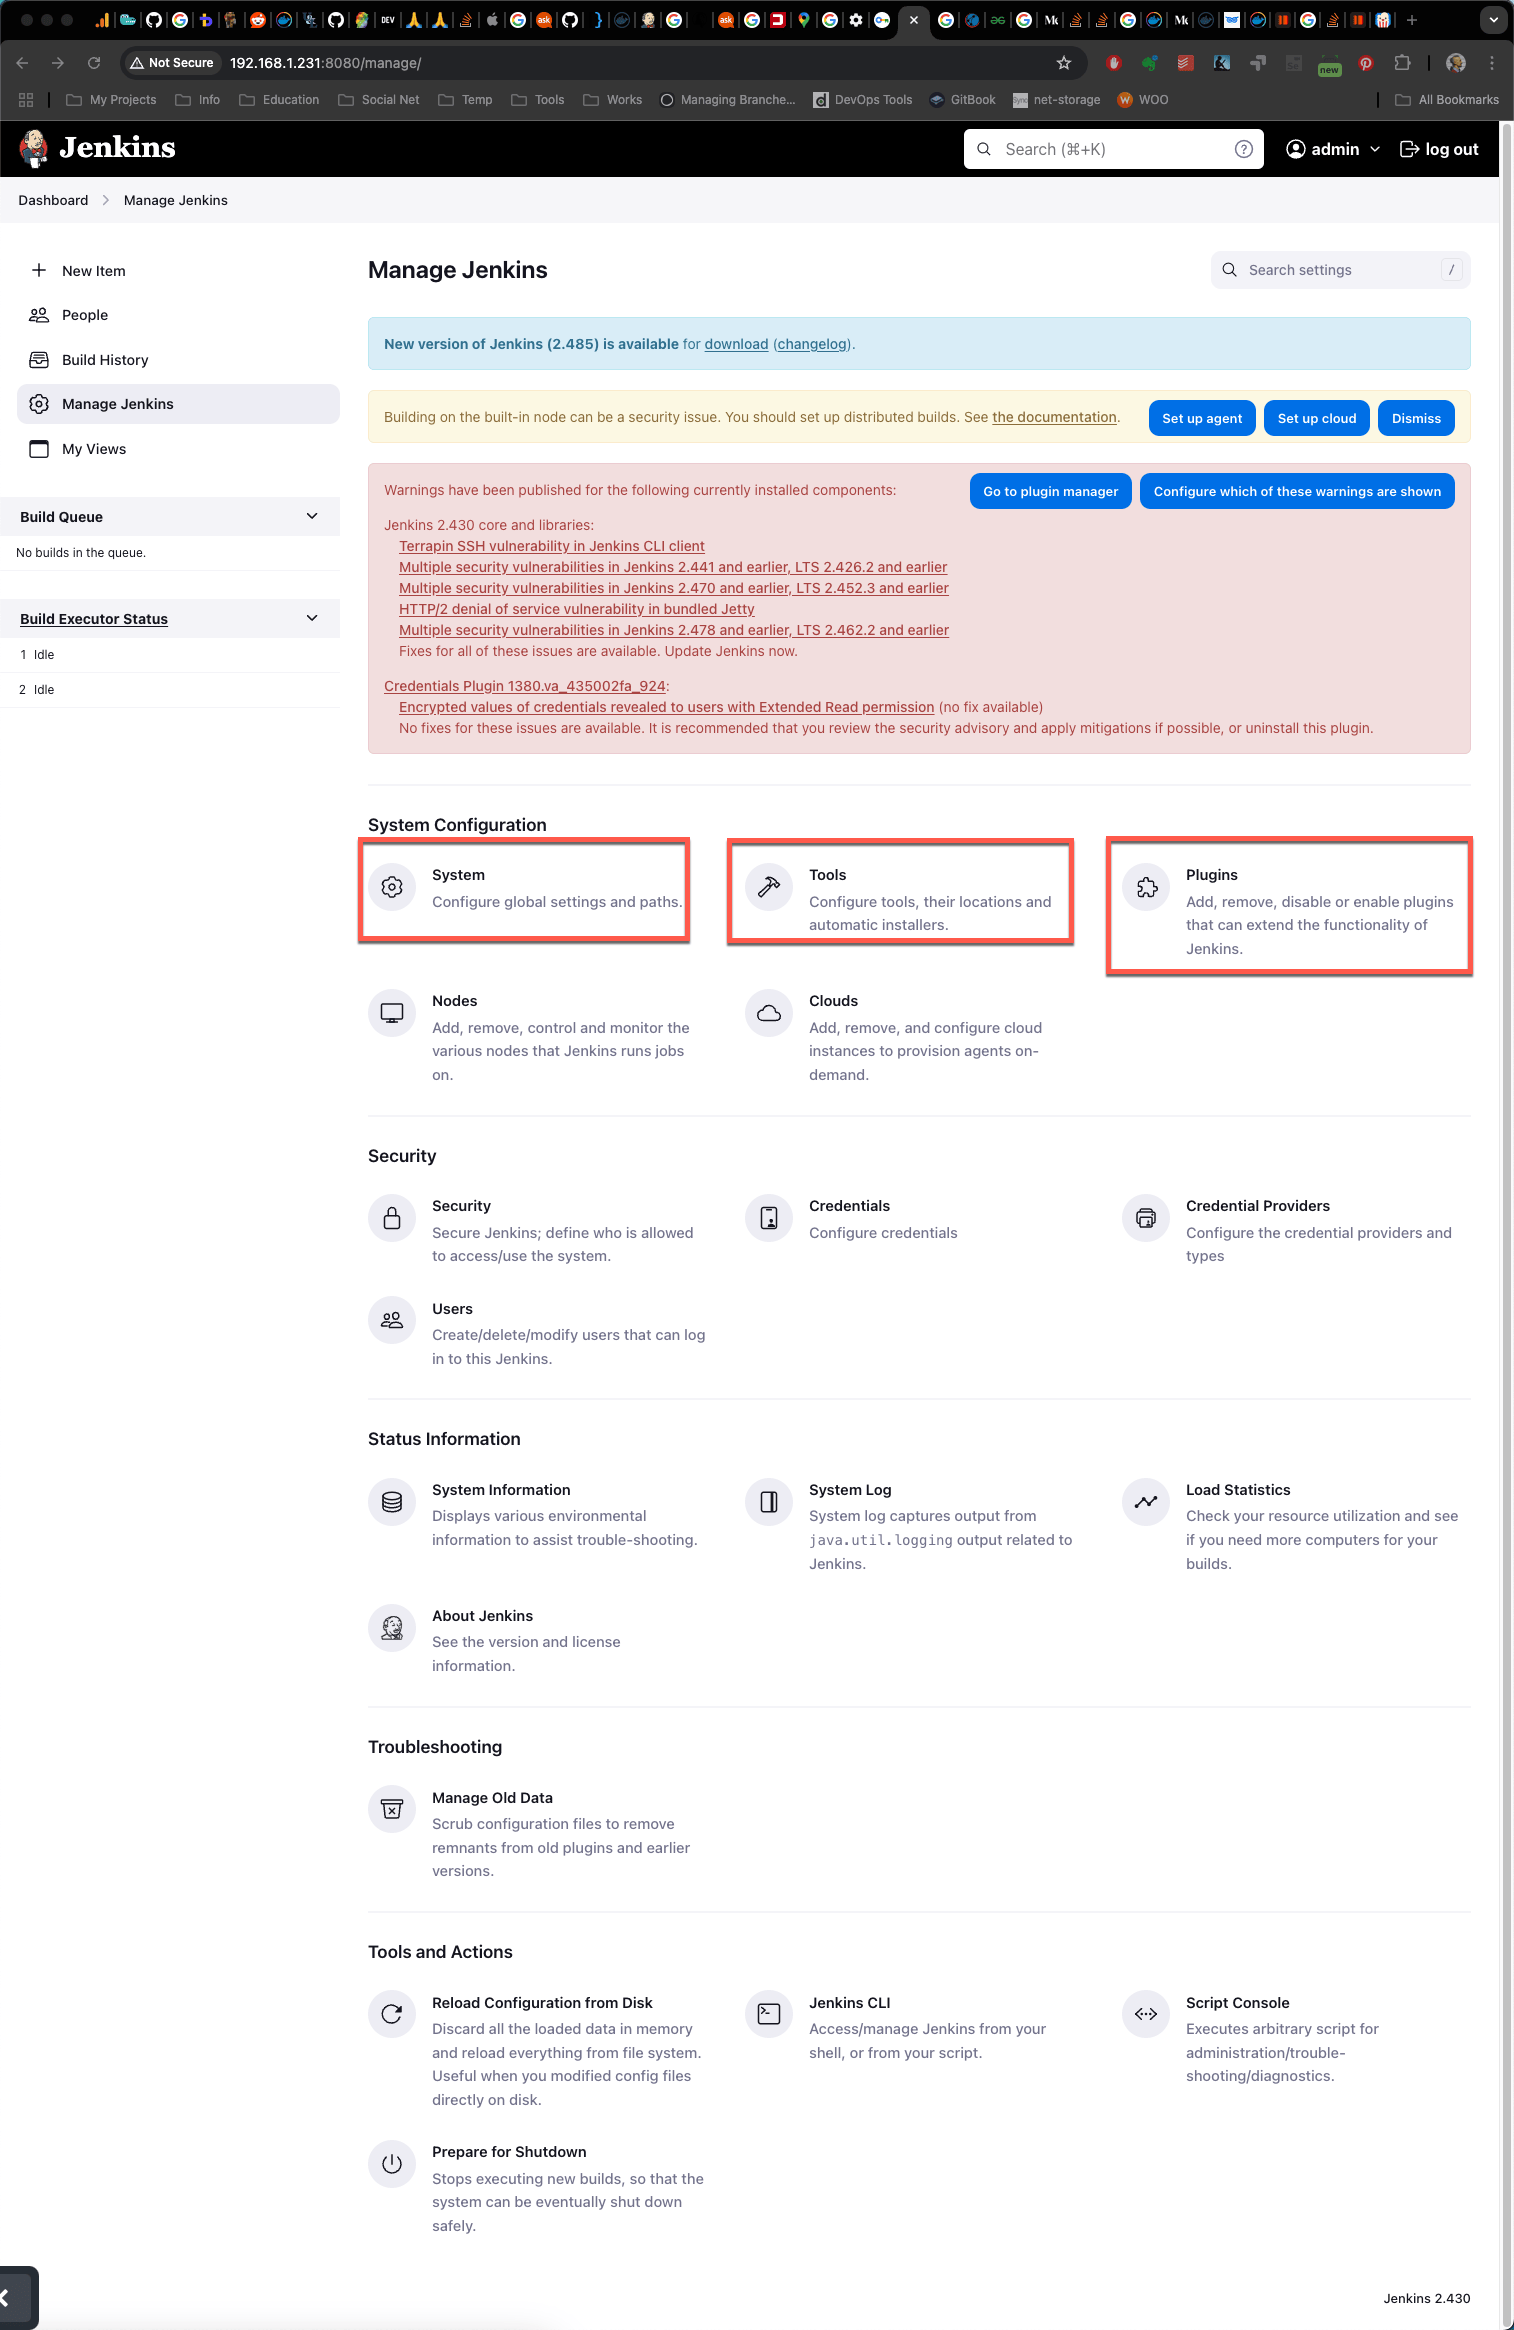
5.2 Security Management
- Configure Global Security: Set up authentication and authorization. Jenkins supports various methods like LDAP, SSO, and custom plugins.
- Credentials Management: Securely store and manage credentials for your jobs and integrations.
- User Management: Add or remove users, and assign them roles and permissions.
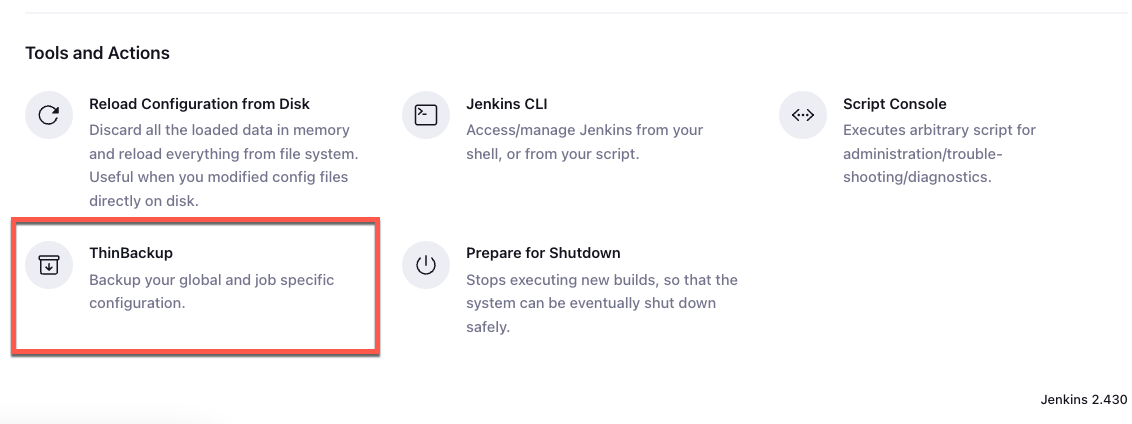
5.3 Backup and Restore
Regularly backing up your Jenkins configurations and job data is crucial. Plugins like ThinBackup can automate backups, allowing you to easily restore Jenkins if needed.
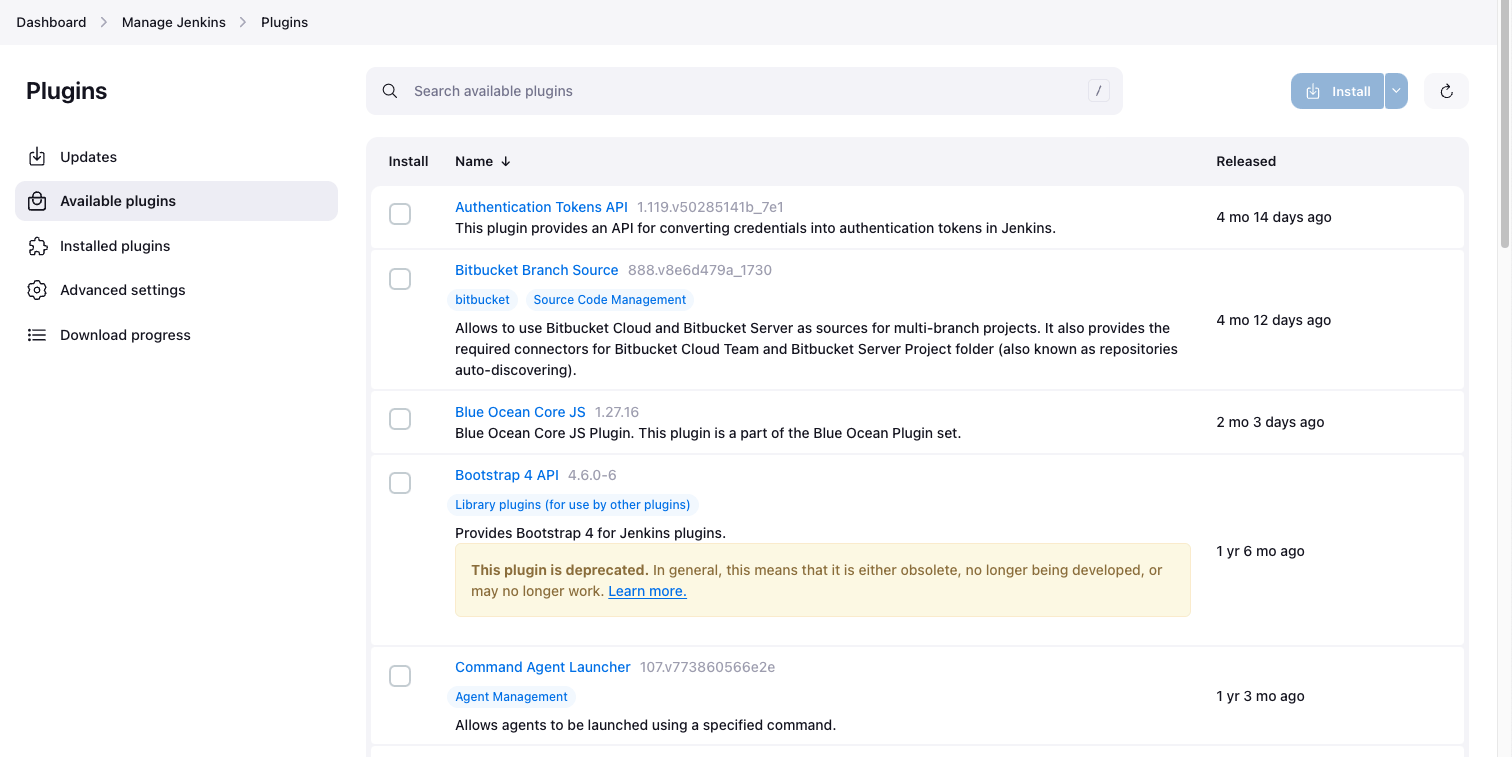
6. Plugins: Extending Jenkins Functionality
Jenkins plugins are vital to its versatility, enabling integration with countless tools and services. The Manage Plugins section lets you browse and install plugins.
Recommended Plugins for Beginners
- Pipeline: For defining and managing pipelines as code.
- Git: Integrates Git SCM into Jenkins.
- Slack: Allows Jenkins to send build notifications to Slack channels.
- Blue Ocean: Provides a modern UI for pipelines.
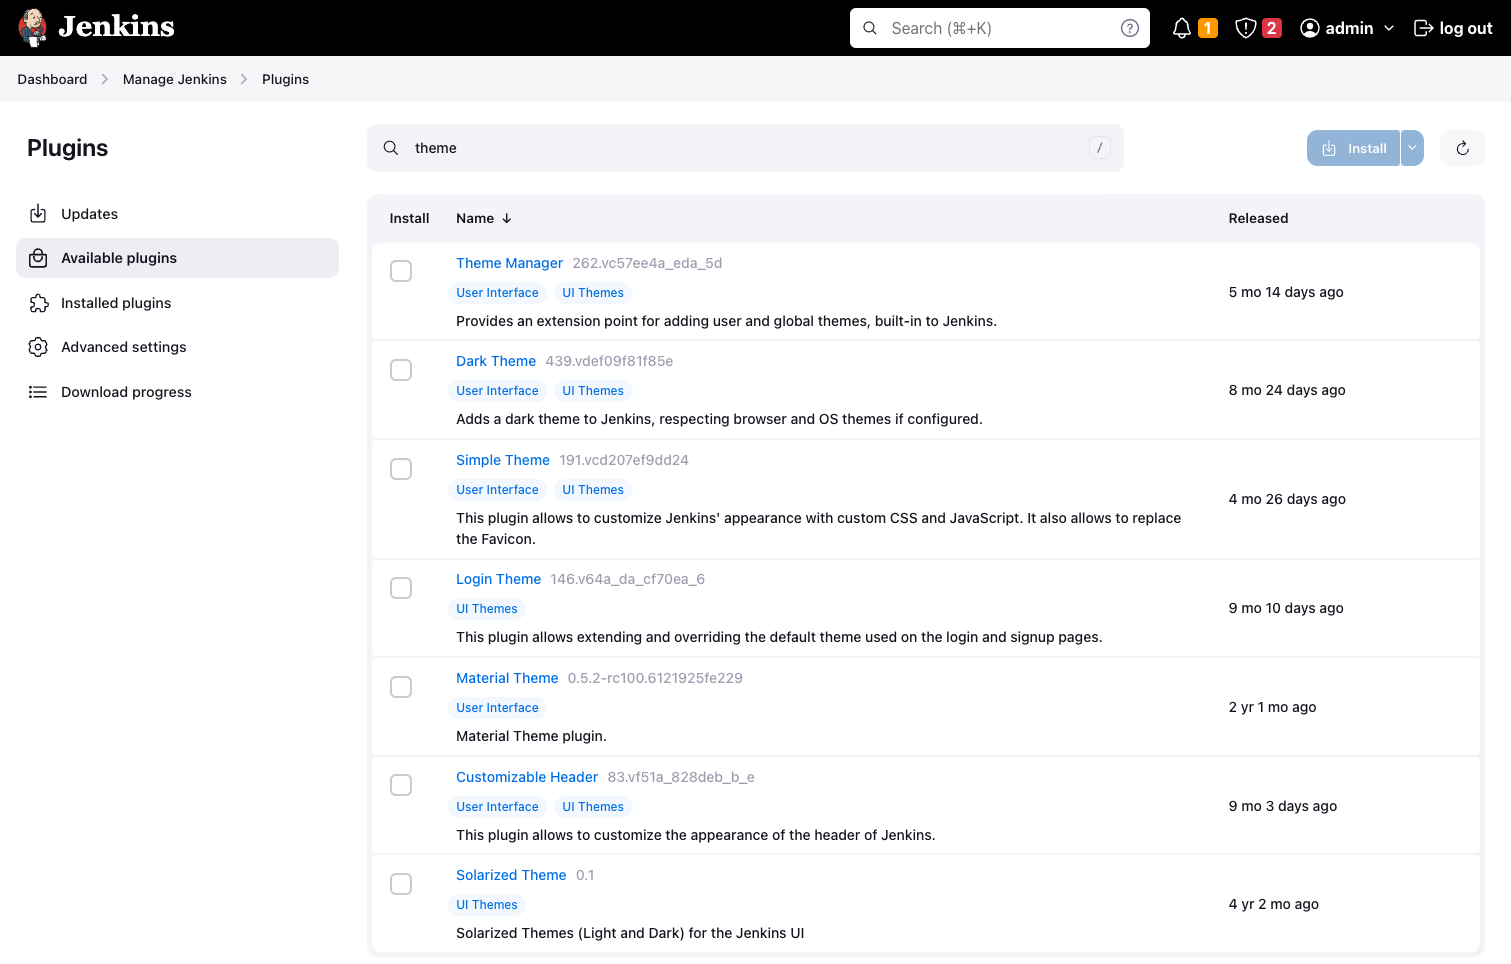
To install plugins:
- Go to Manage Jenkins > Manage Plugins.
- Under Available Plugins, search for the plugin name.
- Select the plugin and click Install.
7. Customizing Jenkins
Jenkins can be customized in various ways to suit your specific CI/CD needs. You can change themes, adjust layout, and even use plugins to change the appearance and workflow of the Jenkins interface.
7.1 Views
Create custom views to organize jobs by team, type, or project phase. Views improve the interface by filtering and grouping jobs.
7.2 Themes and UI Plugins
While Jenkins’ default interface is functional, plugins like Simple Theme Plugin can apply custom CSS or themes to change its look and feel.
Conclusion
Mastering the Jenkins web interface is a valuable step toward optimizing your automation pipelines. The intuitive layout, extensive customization options, and vast plugin support make Jenkins a powerful tool for any CI/CD environment. Familiarity with these features enables you to build, monitor, and manage jobs efficiently, helping you streamline your software development process.