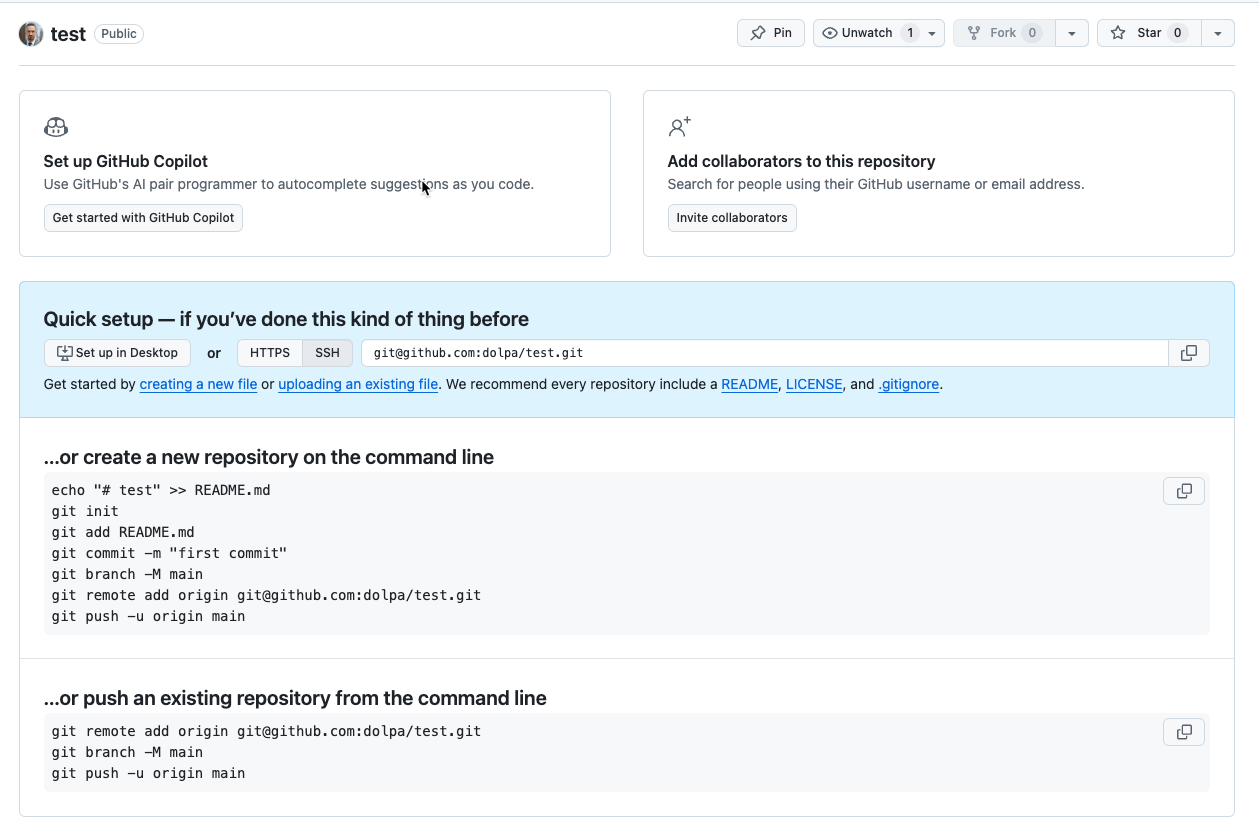
In this guide, we’ll walk through creating that all-important first commit for a new GitHub repository, ensuring the project is set up properly. Previously, we created a new GitHub repository and cloned it to our local machine. The GitHub page for this project is still empty:

When visiting the project page, GitHub shows a few options like cloning, pushing an existing repository, or importing code from another project. But our goal today is simple: we’re going to add our first file - a README.md, and commit it as the initial change.
1. Setting Up the README.md File
A README file is often the first thing people see when they visit your GitHub repository. GitHub automatically looks for README files (e.g., README.md) in the project’s root directory and displays it as the project’s home page. This file can contain project documentation, installation instructions, or any information you’d like visitors to see. Let’s create it with some introductory content.
Create the README.md: Use a text editor to create the README.md file in the root of the repository. Here’s a basic template to get started:
# Project Name
Welcome to my project! This README will evolve as we continue to build.
Save this file in the repository folder.
Navigate to Your Repository Directory: Open the cloned repository’s directory. You can use a terminal, file explorer, or your favorite code editor like Visual Studio Code.
cd path/to/your-cloned-repo
2. Checking Repository Status
With your README.md file saved, it’s time to see what Git recognizes as new or changed in our project.
Run git status: This command shows the state of files in your repository, specifically any untracked files (files Git isn’t yet tracking).
git status
Output:
On branch main

Untracked files:
  (use "git add <file>..." to include in what will be committed)
      README.md
Git tells us it’s aware of our new README.md file but isn’t yet tracking it.
3. Staging Files with git add
To include our new README.md file in the commit, we need to stage it using the git add command.
Verify with git status: Confirm that our file is now staged and ready for the initial commit.
git status
Output:
Changes to be committed:
  (use "git reset HEAD <file>..." to unstage)
      new file:   README.md
Add README.md to Staging Area:
git add README.md
Now README.md is ready to be committed.
4. Making the Initial Commit
Once our file is staged, we can proceed with creating the commit.
View the Commit Log: You can check the commit history with the git log command.
git log --oneline
Output:
e56fa3b (HEAD -> main) Add initial README.md
Commit with a Message: Every commit needs a message describing the change. This initial commit is usually a brief summary of the setup.
git commit -m "Add initial README.md"
Why a Good Commit Message Matters: A clear, relevant commit message is essential. It provides context, helping you or collaborators understand the purpose of each change when reviewing the history.
5. Pushing the Commit to GitHub
Right now, our changes are only saved locally. To make them visible on GitHub, we need to push our commits to the remote repository.
Push Changes: Use git push to send our changes to GitHub.
git push origin main
This command connects to the remote repository, authenticates, and uploads your local commits. If you haven’t configured credentials or SSH keys, Git may prompt you for authentication.
6. Confirming the Initial Commit on GitHub
After pushing, navigate back to your GitHub repository’s page and refresh it. You should now see the README.md file content displayed as the project’s main page.
Conclusion
Creating the initial commit might seem straightforward, but it lays the foundation for organized, trackable work. It’s a quick and essential step to establish your repository and prepare it for future contributions. With the README.md in place, your GitHub page now has a welcoming front for anyone visiting the project.
Happy coding, and remember: every project starts with that first git commit!

