

Jenkins is a powerful automation server that streamlines building, deploying, and automating software development processes. Running Jenkins within Docker allows for an isolated, easily manageable environment. This detailed guide will walk you through setting up Jenkins in Docker step-by-step, including troubleshooting, using Docker Compose, and more.
In our previous posts, we explored the Jenkins installation process in detail and gained a solid understanding of Docker's capabilities. Now, it’s time to bring that knowledge together and set up a Jenkins server running inside a Docker container. This hands-on guide will help you create a robust Jenkins environment for experiments, testing, and learning purposes.
1. Setting Up the Project Directory
To begin, create a dedicated directory for Jenkins on your server. This directory will store configuration files, plugins, and data.
mkdir -p /DATA/Projects/jenkins_master
cd /DATA/Projects/jenkins_master
You can choose any directory you prefer, but it's crucial to keep your projects organized and separated to prevent mixing up configurations or data between different setups.
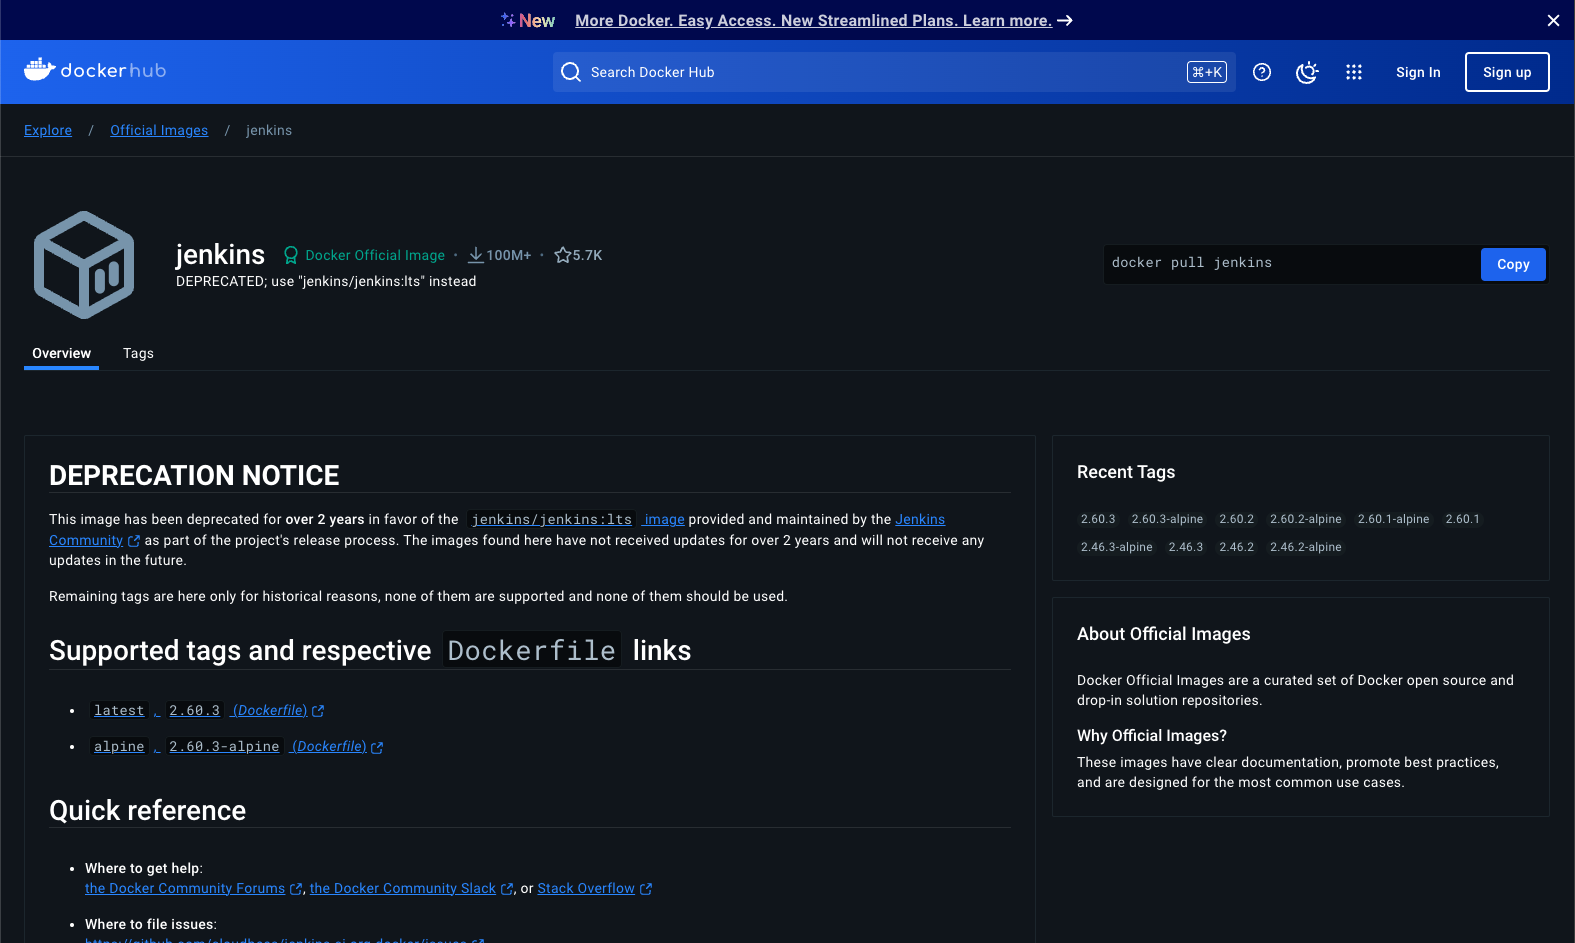
2. Locating the Jenkins Docker Image
The official Jenkins Docker image is available on Docker Hub. Navigate to Jenkins Docker Hub to review available tags and documentation.
3. Logging into Docker Hub
Log in to Docker Hub to pull the required images.
docker login -u dolpa
Password: ********
Logging in to Docker Hub is not necessary unless you are pulling private images or have rate-limiting issues with anonymous pulls.
4. Pulling the Jenkins Docker Image
For this guide, we use jenkins:2.60.3-alpine as our initial image. Pull the image using the following command:
docker pull jenkins:2.60.3-alpine
Verify that the image is downloaded:
docker images
5. Running Jenkins
To demonstrate how to run any container, just try running the Jenkins container:
docker run jenkins:2.60.3-alpine
Once the container starts, it will display logs in the terminal, showing that Jenkins is running inside the container. However, because no ports have been exposed, the Jenkins web interface will not be accessible from your host machine.
To verify that the server is running, observe the container logs or check its status:
docker ps -a
While Jenkins is active inside the container, it remains isolated, highlighting the importance of explicitly mapping ports to make services available externally.
6. Running the Jenkins Container With Exposing Ports
Start the container and bind the necessary ports:
docker run -p 8080:8080 -p 50000:50000 jenkins:2.60.3-alpine
This exposes:
- Port
8080for the Jenkins web interface. - Port
50000for the Jenkins agent.
Verify running services:
sudo netstat -tupln
Troubleshooting: If no process is listening on port 8080, ensure the container is running and ports are exposed correctly.
7. Handling Plugin Installation Errors
While setting up Jenkins, you may encounter plugin-related errors like signature verification failures:
SEVERE: ERROR: Signature verification failed in update site 'default'...
java.security.cert.CertPathValidatorException: Path does not chain with any of the trust anchors...
This issue is caused by outdated certificates in the image. To resolve it:
- Use the newer Jenkins image:
jenkins/jenkins.
Update your Docker command:
docker pull jenkins/jenkins:2.430-jdk21
docker run -p 8080:8080 -p 50000:50000 jenkins/jenkins:2.430-jdk21
When you run the Jenkins container directly from the command line, like this, all data—including configurations, jobs, and plugins—is stored inside the container's filesystem. This means that if the container is stopped or removed, all the data will be lost as well. To prevent this and ensure data persistence, it’s essential to use a volume. A volume maps a directory on your host machine to the container, allowing data to remain intact even if the container is deleted or recreated.
7. Running Jenkins with a Persistent Volume
To ensure that Jenkins data is not lost when the container is stopped or removed, we can map a directory from the host system as a volume. This directory will store Jenkins configurations, jobs, and other data persistently.
Run the Jenkins container with a volume mapped to the host system:
docker run -p 8080:8080 -p 50000:50000 \
  -v /DATA/Projects/jenkins_master/jenkins_data/:/var/jenkins_home \
  jenkins:2.60.3-alpine
Here’s what the command does:
-v /DATA/Projects/jenkins_master/jankins_data:/var/jenkins_home: Maps the directory/DATA/Projects/jenkins_master/jankins_dataon your host machine to the/var/jenkins_homedirectory inside the container./var/jenkins_homeis where Jenkins stores its data by default.
Now, all Jenkins data will be stored on the host machine under /DATA/Projects/jenkins_master/jankins_data. This ensures that your data remains intact even if the container is removed or replaced. You can back up or access the data directly from this directory.
8. Managing Jenkins with Docker Compose
To simplify management, we will use Docker Compose. Create a docker-compose.yml file in /DATA/Projects/jenkins_master:
version: '3.8'

services:
  jenkins:
    image: jenkins/jenkins:lts
    container_name: jenkins_master
    ports:
      - "8080:8080"
      - "50000:50000"
    volumes:
      - jenkins_home:/var/jenkins_home
    environment:
      JAVA_OPTS: "-Djenkins.install.runSetupWizard=false"

volumes:
  jenkins_home:
Run Jenkins with Docker Compose:
docker-compose up -d
This command starts Jenkins as a service, detached from the terminal.
Screenshot Placeholder
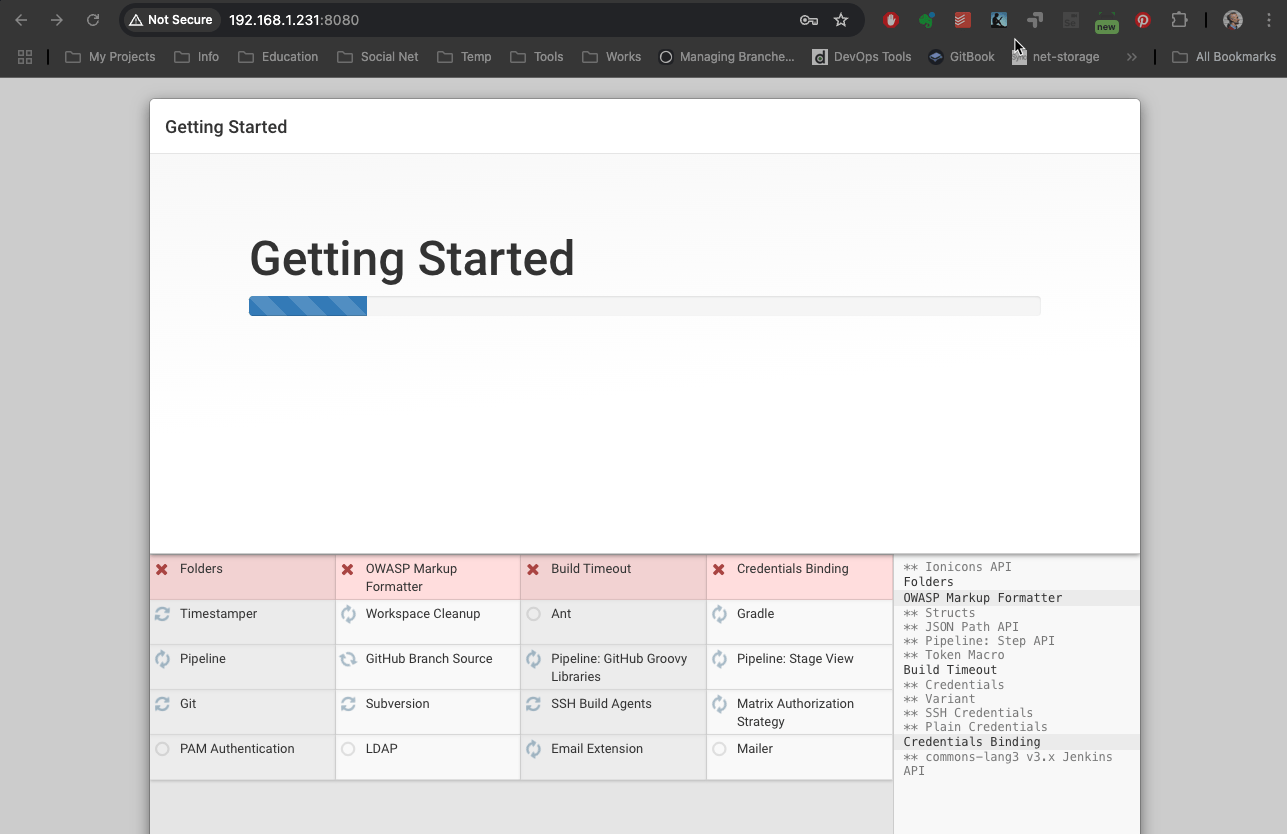
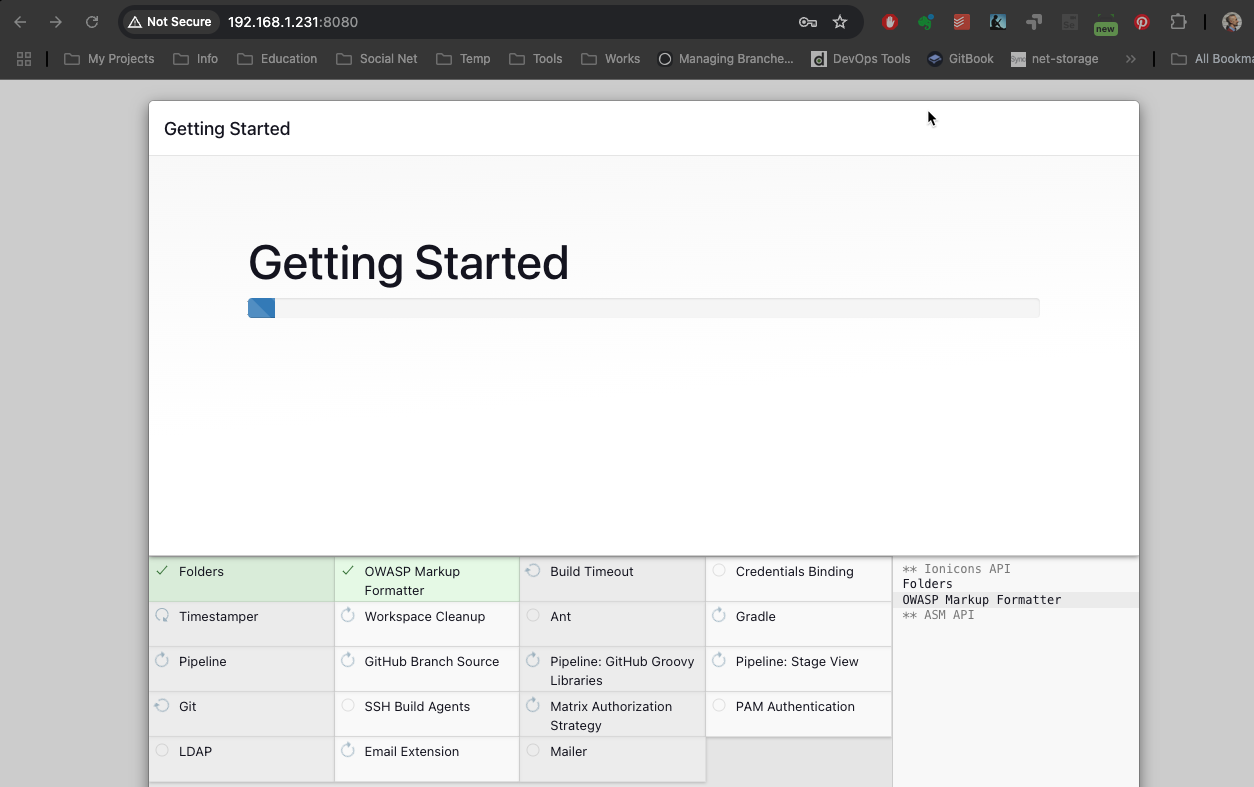
9. Accessing Jenkins
- Open your web browser and navigate to
http://<server-ip>:8080.
Jenkins will prompt you for an initial admin password, which can be retrieved from the container:
docker exec -it jenkins_master cat /var/jenkins_home/secrets/initialAdminPassword
jenkins-server_1  | *************************************************************
jenkins-server_1  | *************************************************************
jenkins-server_1  | *************************************************************
jenkins-server_1  |
jenkins-server_1  | Jenkins initial setup is required. An admin user has been created and a password generated.
jenkins-server_1  | Please use the following password to proceed to installation:
jenkins-server_1  |
jenkins-server_1  | 091c82bea43849159e85f4c97d2391d6
jenkins-server_1  |
jenkins-server_1  | This may also be found at: /var/jenkins_home/secrets/initialAdminPassword
jenkins-server_1  |
jenkins-server_1  | *************************************************************
jenkins-server_1  | *************************************************************
jenkins-server_1  | *************************************************************
10. Persisting Data and Configuration
The jenkins_home volume in docker-compose.yml ensures all Jenkins configurations, jobs, and plugins are retained across container restarts. Verify volume persistence:
docker volume ls
11. Advanced Configurations
Customizing the Jenkins Image
You can build a custom Jenkins image with pre-installed plugins. Create a Dockerfile:
FROM jenkins/jenkins:lts
USER root
RUN apt-get update && apt-get install -y git
USER jenkins
Build and use the image:
docker build -t custom_jenkins .
docker run -p 8080:8080 custom_jenkins
12. Troubleshooting Common Issues
- Outdated Plugins: Update plugins via the Jenkins UI or CLI.
Port Conflicts: Ensure no other services are running on ports 8080 and 50000:
sudo netstat -tupln
Container Fails to Start: Check logs for errors:
docker logs <container_id>
Conclusion
By following this guide, you have successfully set up Jenkins in Docker, addressed common issues, and leveraged Docker Compose for efficient management. This setup can now serve as the foundation for your CI/CD pipeline, making your development workflow seamless and scalable.
Happy automating!