Introduction
As you embark on your journey of mastering Git, you’ll soon realize the importance of using remote repositories. A remote repository not only serves as a backup for your work but also enables collaboration with others, making it a crucial part of your workflow.
Among the many Git hosting services, GitHub stands out as the most popular, providing powerful tools for developers and teams to manage their projects. In this guide, we’ll walk through the steps of registering for a GitHub account and creating your very first repository. This repository will serve as your playground for future exercises, where you’ll learn to commit changes and push them to a remote location.
Step-by-Step Guide to Registering and Creating a Repository
1. Registering on GitHub
To begin, navigate to GitHub's homepage. In the top-right corner of the page, you’ll notice a Sign up button. Follow these steps to register:
- Click the Sign-up Button: This button is located in the top-right corner of the page.

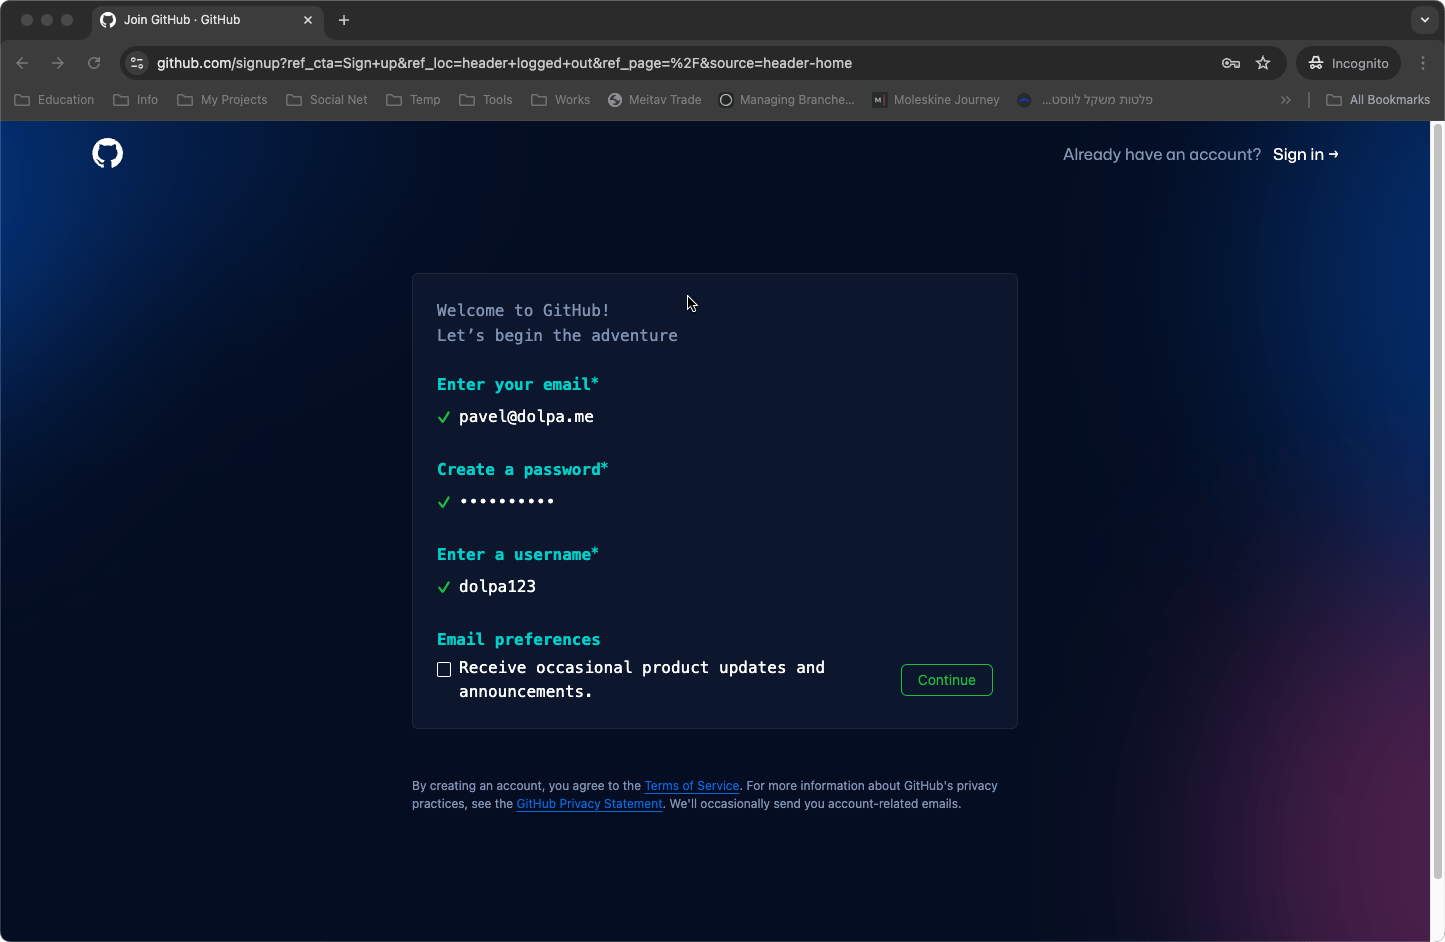
- Start the Registration Process: GitHub will now present you with a chat-like registration form. Unlike the old days of simple forms, you’ll be guided through the process in a conversational manner by an automated bot.
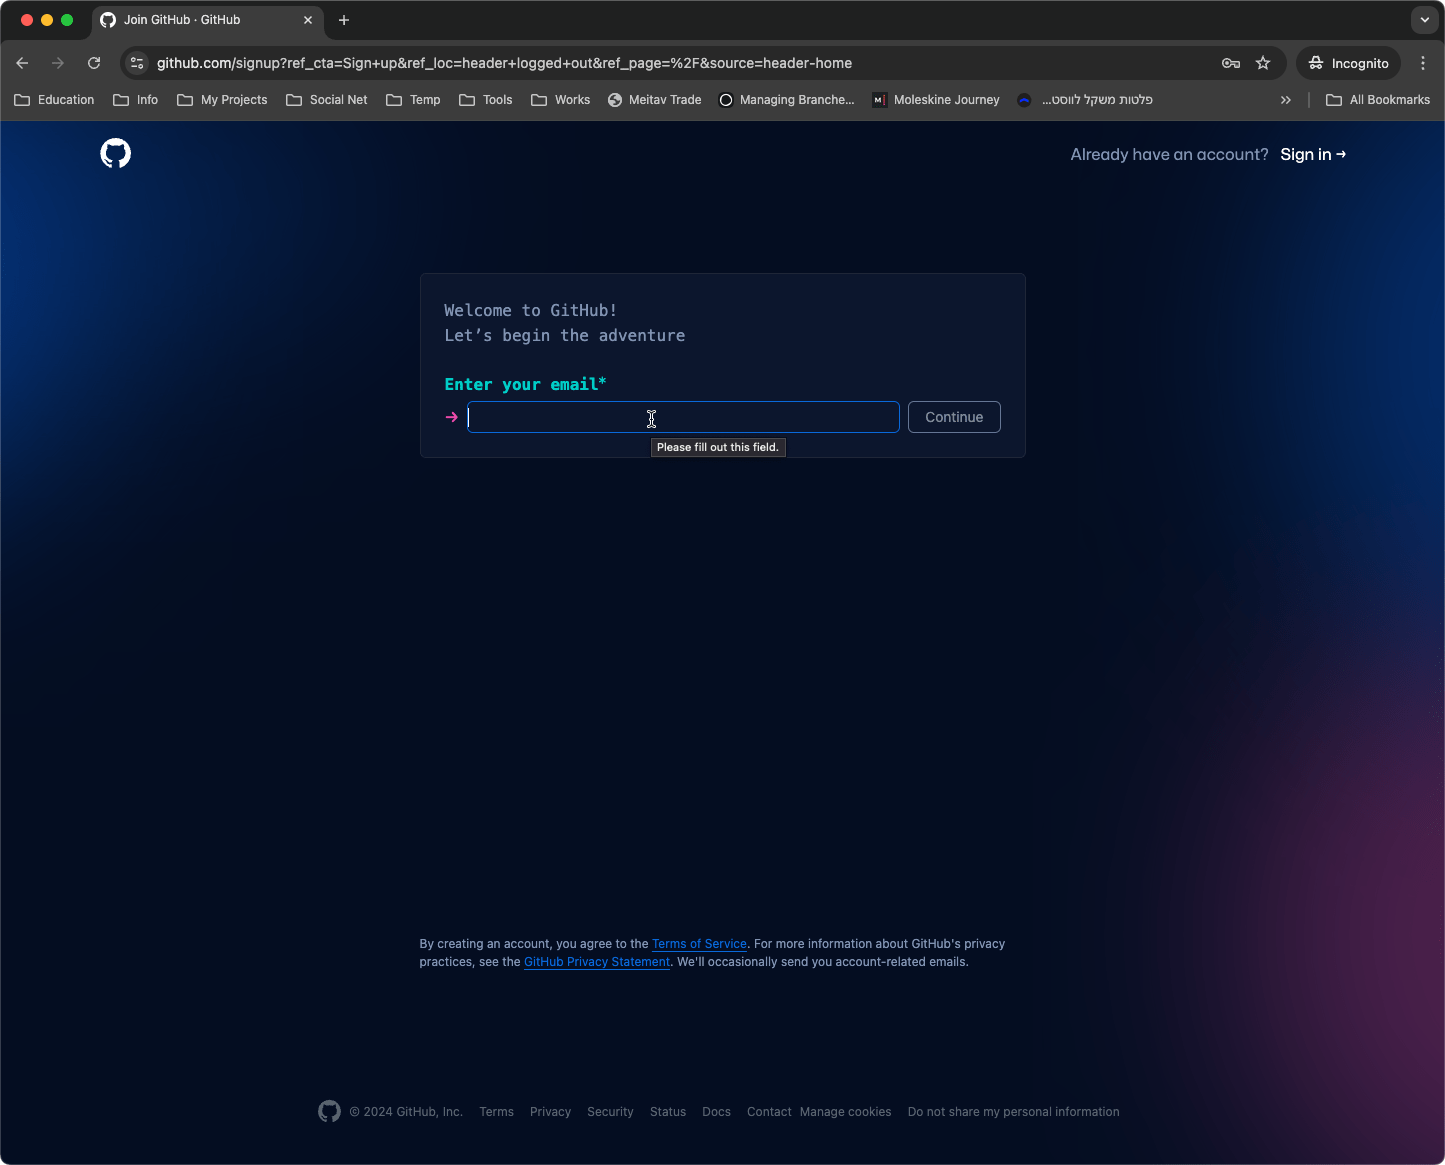
- Provide Your Email Address: The bot will first ask for your email address. Make sure to enter a valid email, as this is where GitHub will send your account activation details.
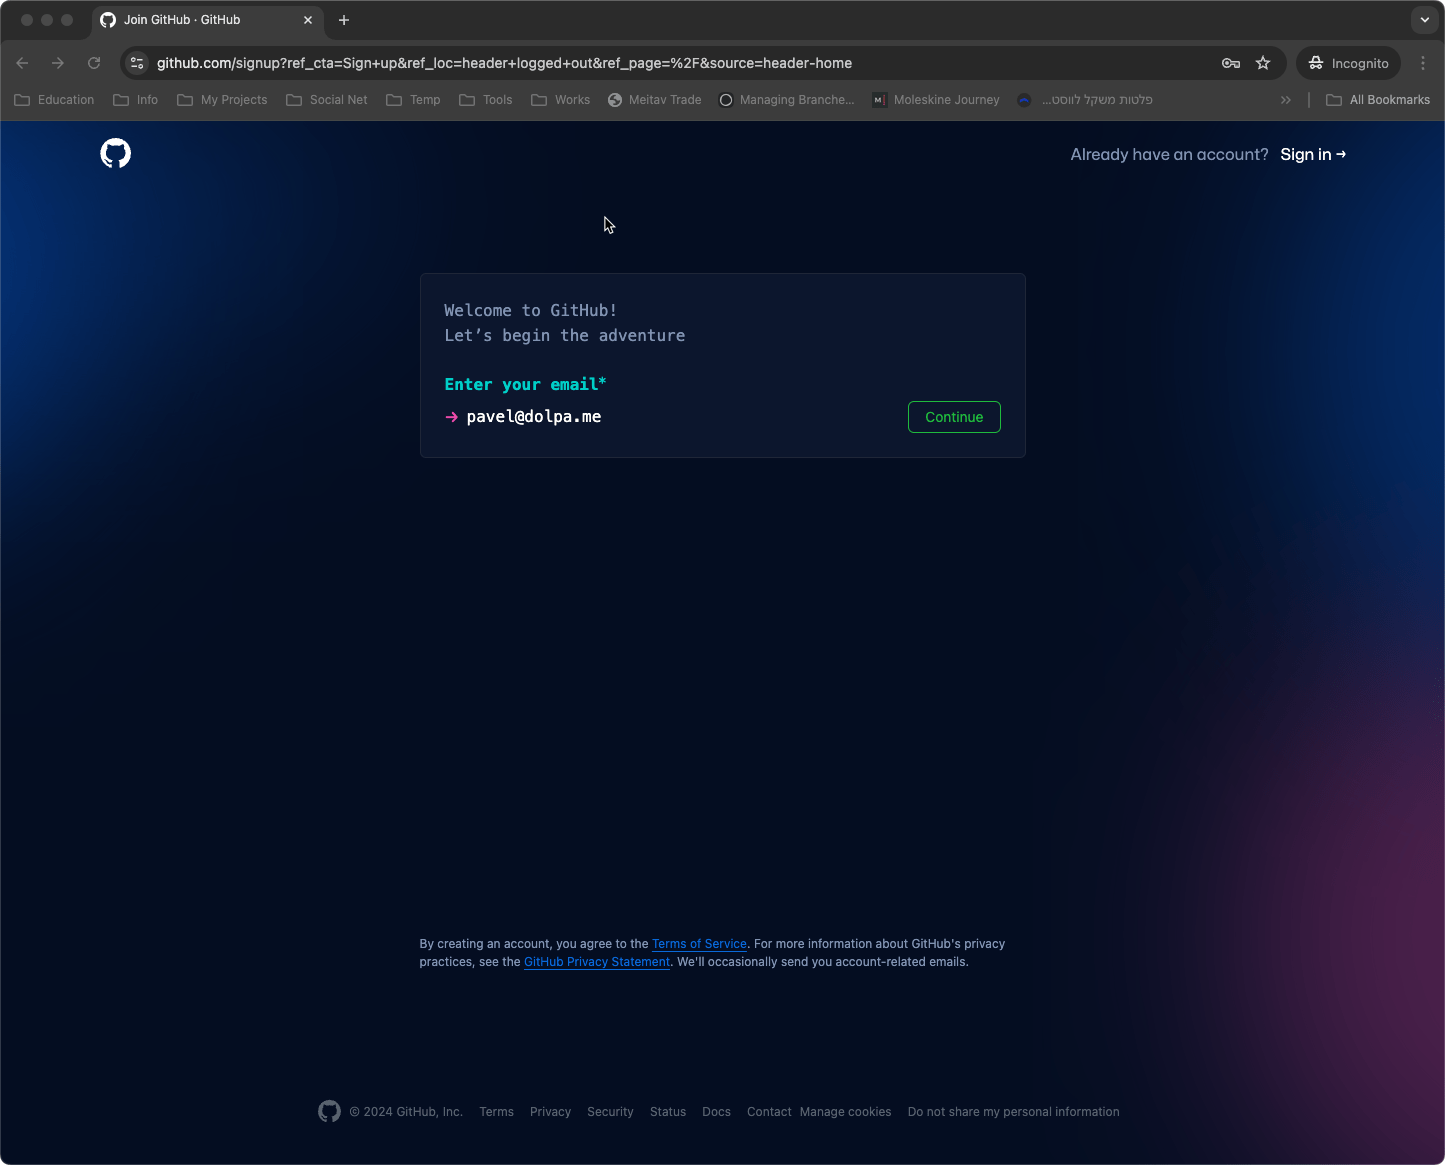
- Create a Password: Choose a strong password for your account. GitHub has specific guidelines for password strength to ensure your account remains secure.
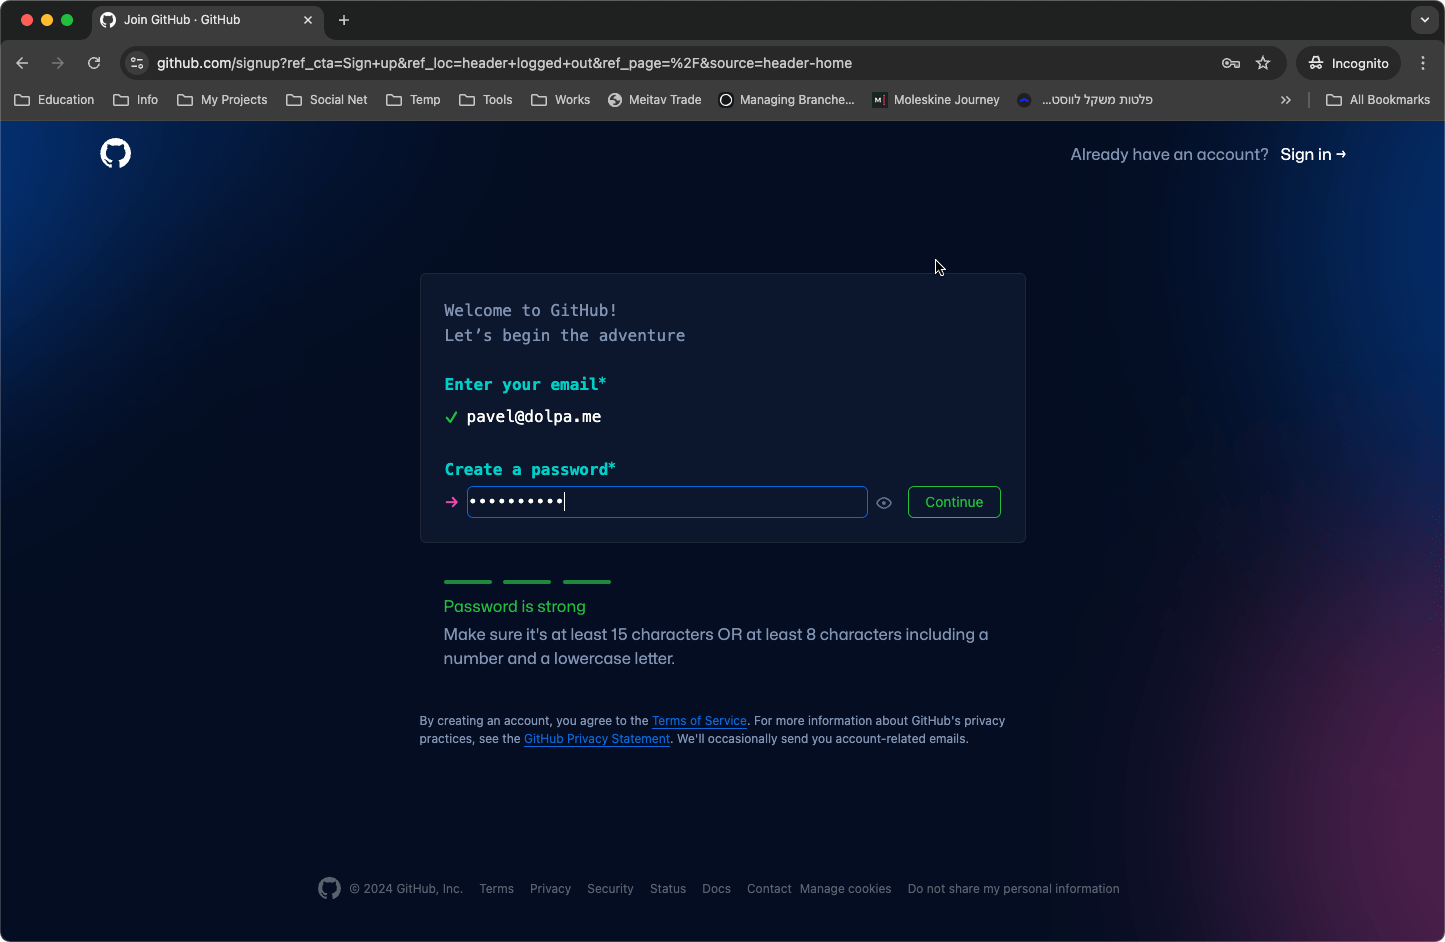
- Choose a Username: Select a unique username. This will be your identity on GitHub and will appear in your profile URL (e.g.,
https://github.com/yourusername).
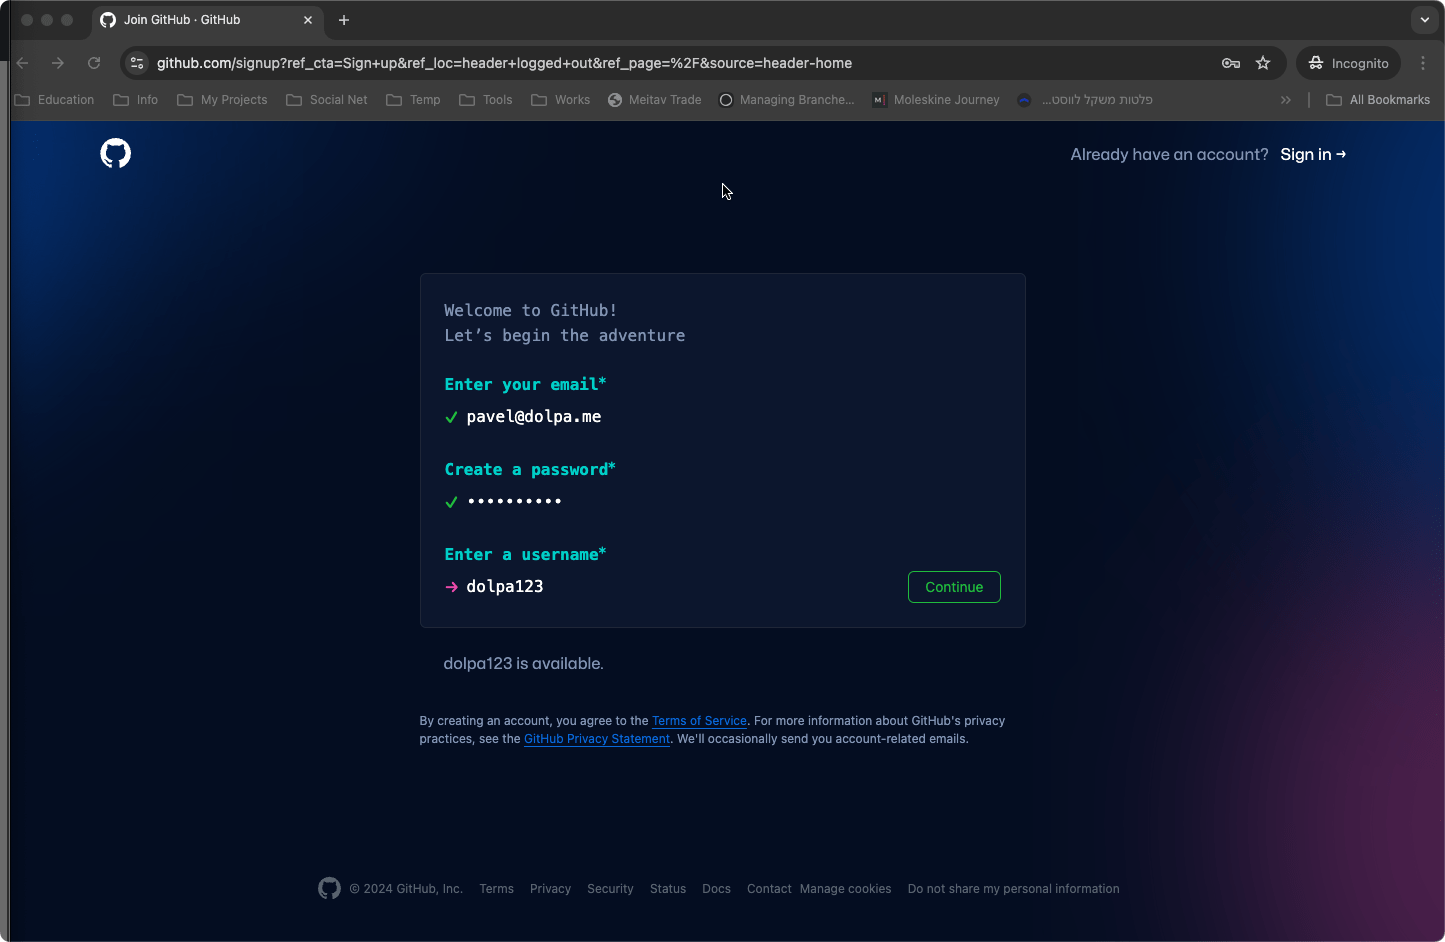
- Email Preferences: GitHub will ask if you want to receive product updates and announcements via email. This is optional, but they might send promotional content if you opt-in.
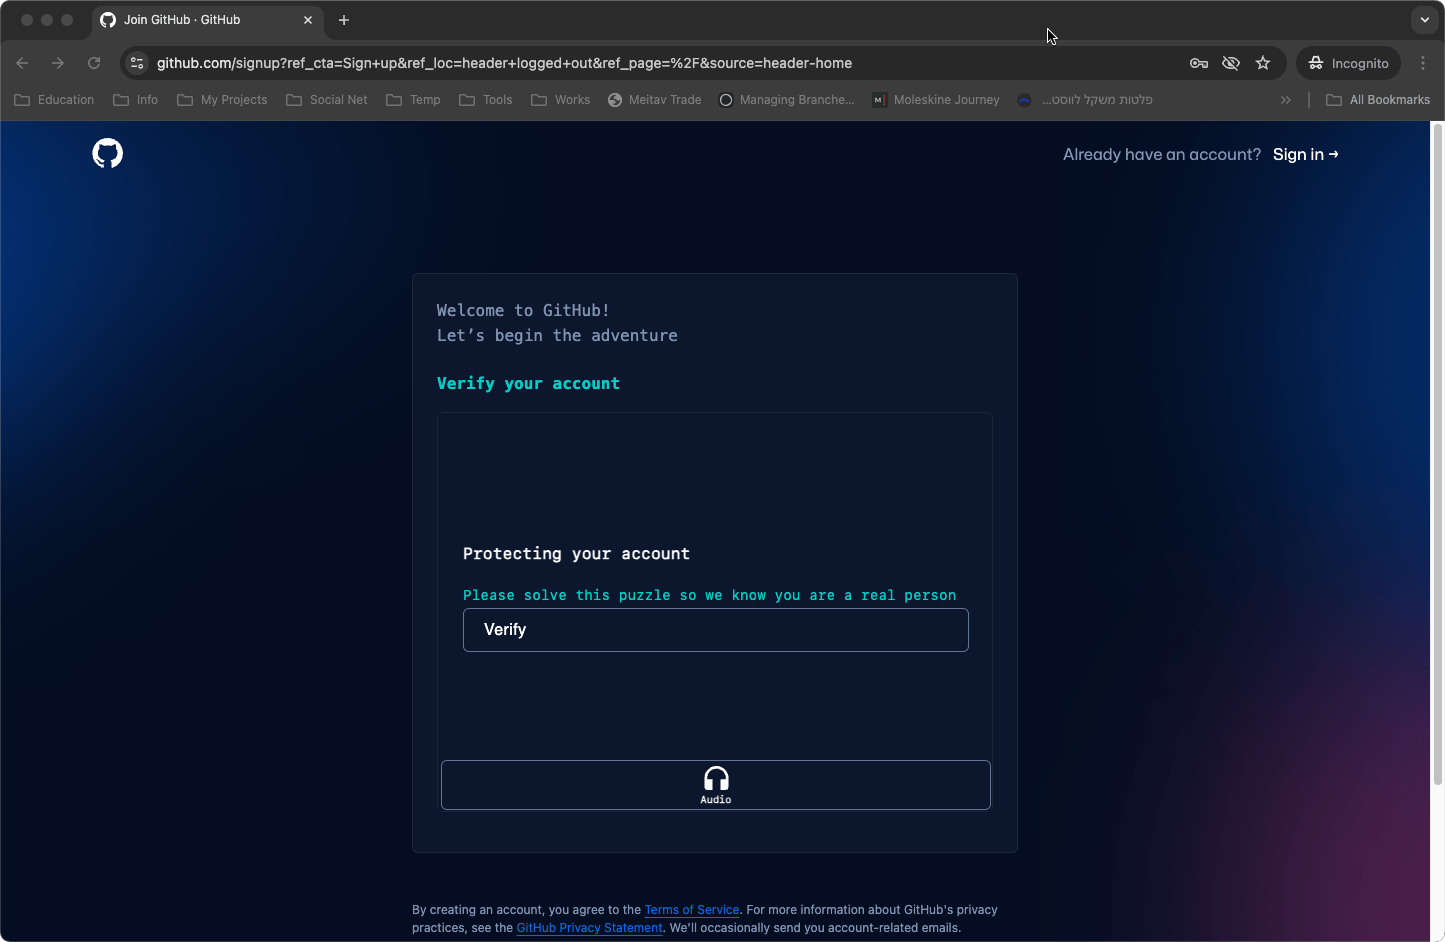
- Solve a CAPTCHA: Before completing the process, GitHub will ask you to solve a logic problem to prove you’re not a robot. This may include identifying objects in pictures or solving a simple puzzle.
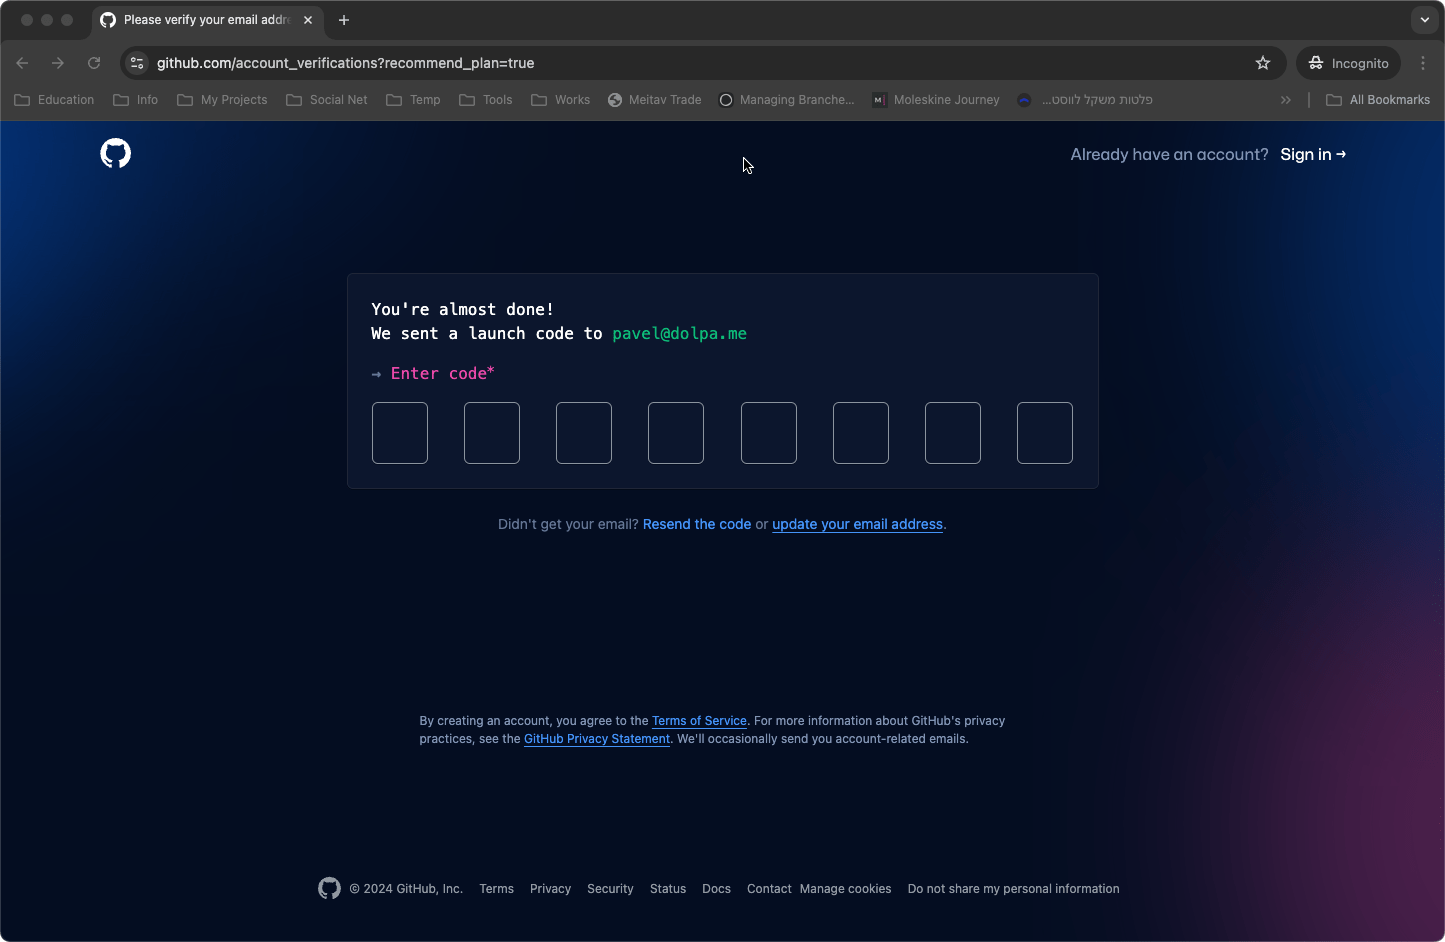
- Activate Your Account: Once you’ve completed the registration process, GitHub will send an email to the address you provided. Follow the instructions in the email to activate your account.
2. Logging into Your GitHub Account
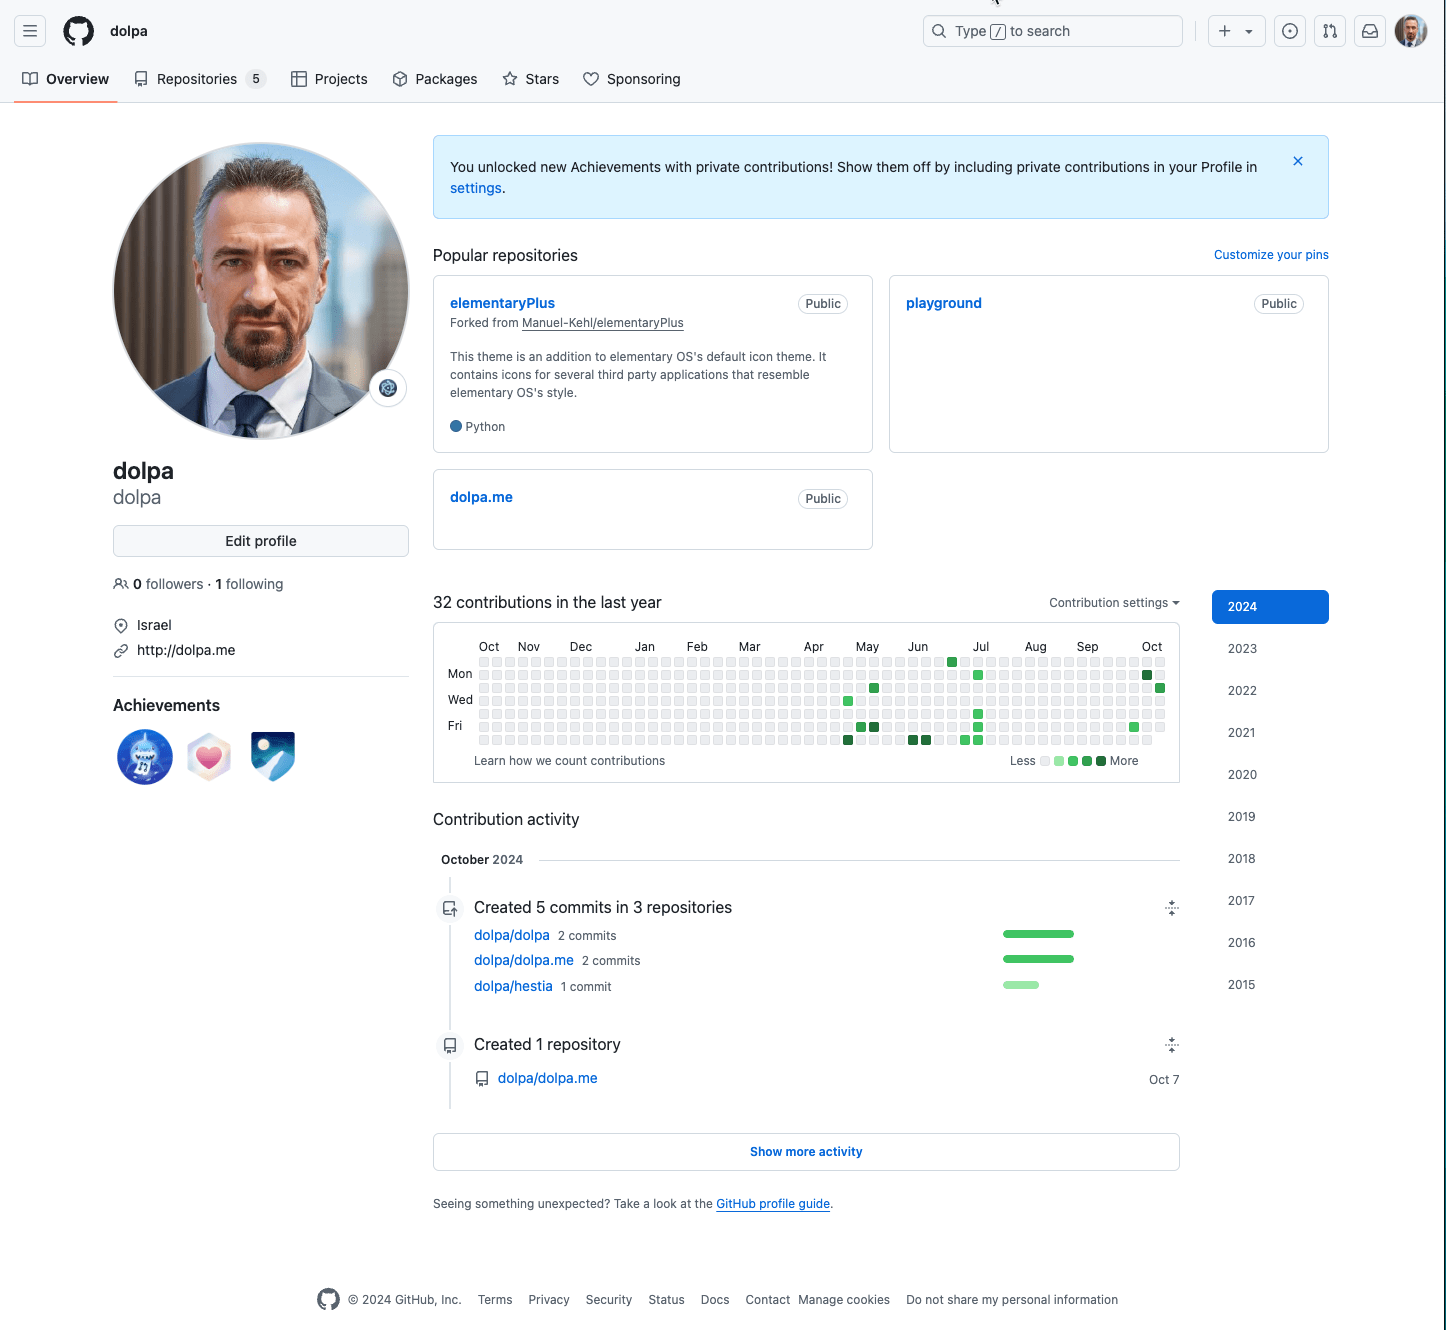
Once your account is activated, head back to GitHub and log in using your new credentials. You’ll be taken to your account home page. Depending on whether you’ve followed any developers or starred any projects, this page might look different, but the general layout remains the same for all users.
At the top of the page, you’ll notice the GitHub top navigation bar, which provides quick access to key features such as creating repositories, viewing pull requests, and more.
3. Creating a New Repository
Repositories are the core of any project on GitHub. Let’s go ahead and create a new one for testing purposes:
- Click the "+" Button: In the top-right corner of the page, you’ll see a “+” button with a dropdown arrow. Click it and select New repository from the dropdown.

- Fill Out the Repository Form: You’ll be taken to a page that allows you to create a new repository. Fill out the fields as follows:
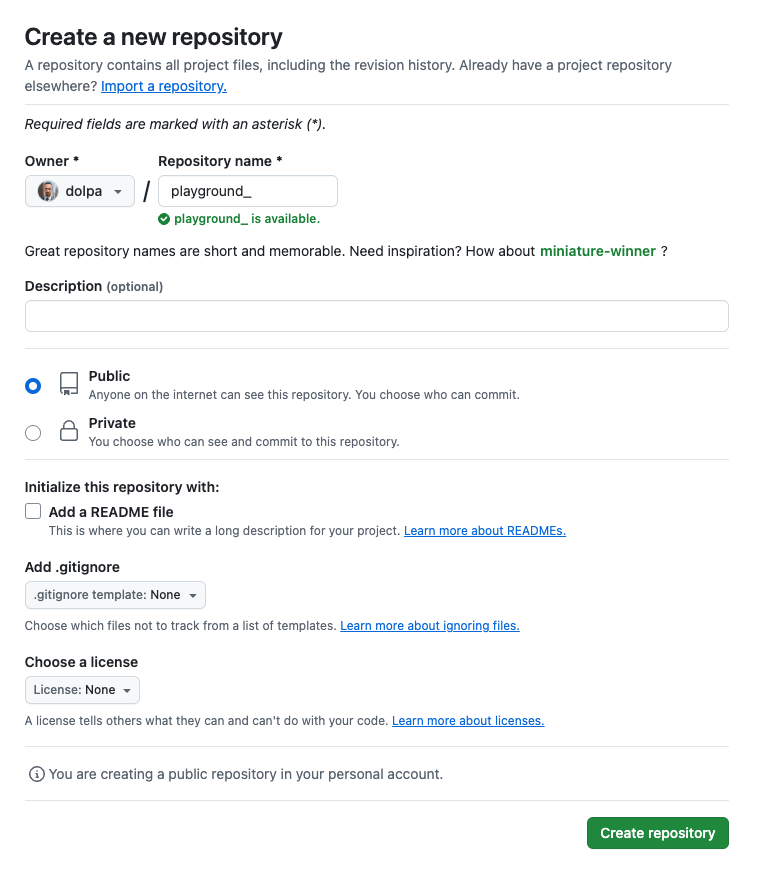
- Repository Name: Choose a meaningful name for your repository. For this example, we’ll name it
playground. - Description (Optional): You can add a short description to let others know what your repository is about. This is optional.
- Visibility: Select whether your repository will be Public (anyone can view it) or Private (only you and invited collaborators can see it). For now, choose Public.
- Initialize with a README: You can choose to initialize your repository with a README file. This file typically contains information about your project. We’ll skip this for now to keep things simple.
- Create the Repository: Once you’ve filled out the form, click the Create repository button. You’ll be redirected to the main page of your new repository.
4. Cloning Your Repository Locally
Now that your repository is created, let’s clone it to your local machine so you can start working with it.
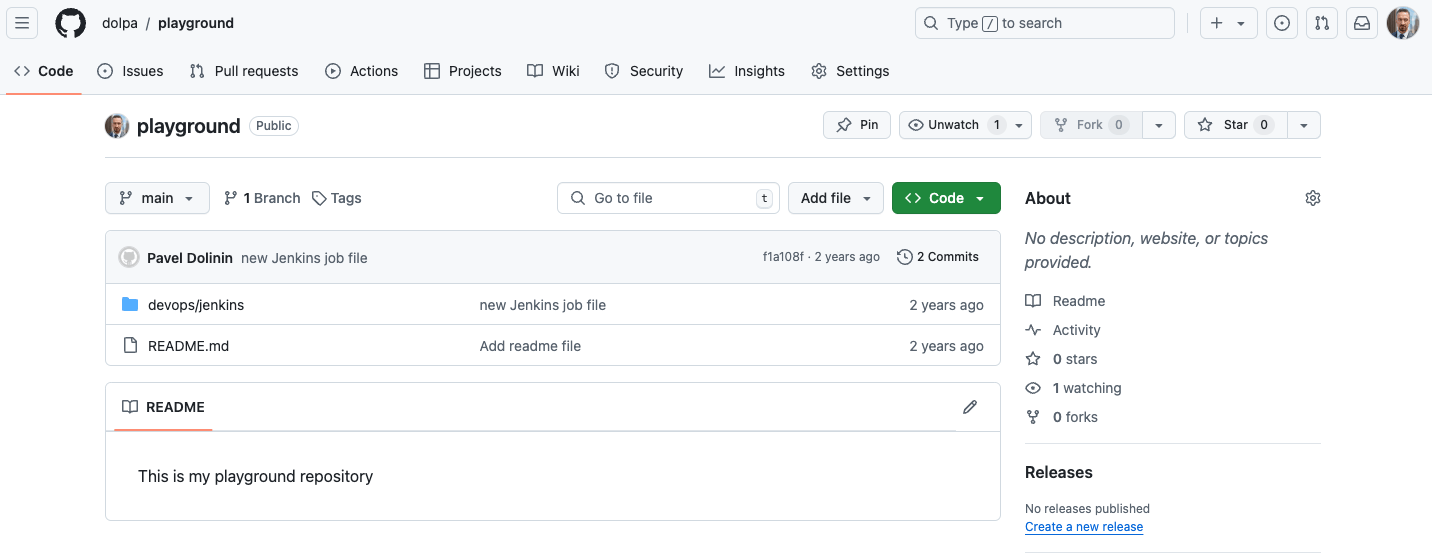
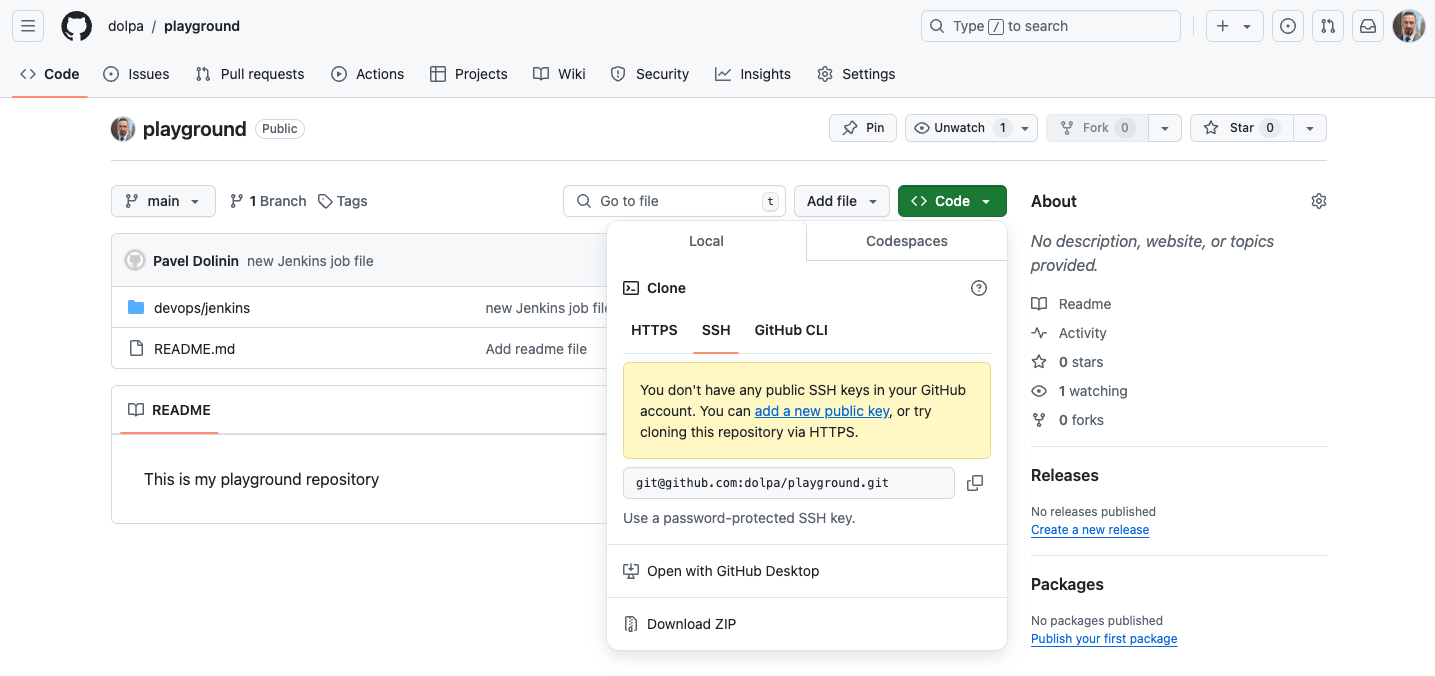
- Click the Code Button: On the repository’s home page, you’ll see a green Code button. Clicking this will reveal the repository’s URL, which you’ll use to clone it.
- Choose a Protocol: GitHub allows you to clone repositories using either HTTPS or SSH. If you don’t have SSH keys set up, use the HTTPS option, which is simpler
Verify the Clone: After the cloning process is complete, you’ll see a new folder named playground (or whatever you named your repository). Navigate into this folder using the command line and list its contents:
$ cd playground
$ ls -la
Since your repository is empty, you’ll only see a .git folder, which contains all the Git-related metadata for your project.
Clone the Repository: Open your terminal or command prompt, and run the following command (replace yourusername with your actual GitHub username):
git clone https://github.com/yourusername/playground.git
This command will create a local copy of your repository on your machine.
Conclusion
Congratulations! You’ve successfully registered for a GitHub account, created a new repository, and cloned it to your local machine. This repository will be your playground for testing and practicing your Git skills. As you progress, you'll learn how to add files, commit changes, and push your work to this remote repository.
In future posts, we’ll dive deeper into Git commands like commit, push, and pull, so you can start building and managing your projects more efficiently. Stay tuned!

