

Git is one of the most popular and widely used version control systems today. Whether you’re a developer or DevOps engineer, Git is an essential tool for managing code, collaboration, and automation workflows. This guide will walk you through the process of installing Git on different operating systems: Windows, macOS, and Linux.
1. What is Git?
Git is a distributed version control system that helps teams collaborate on projects. It tracks changes in code and enables multiple developers to work on the same project simultaneously. Git is a critical component in modern development workflows, from contributing to open-source projects to managing code deployments in DevOps pipelines.
2. Installing Git on Windows
Method 1: Git for Windows
The most common way to install Git on Windows is by using Git for Windows, a standalone installer that provides both Git and a BASH emulation environment called Git Bash.
Steps to Install Git for Windows:
- Download the Git for Windows Installer:
- Visit the official Git for Windows page and download the latest installer (an
.exefile).
- Run the Installer:
- Locate the downloaded
.exefile and double-click to launch the installer. - Follow the installation prompts. You’ll see several options along the way.
- Installation Options:
- Select Components: The installer will ask which components to install. The defaults should be fine, but you can optionally choose to install icons on the desktop and associate
.gitconfigfiles with your default editor. - Choosing the Default Editor: Git uses a text editor to handle commits. The default is Vim, but you can select another text editor (e.g., Visual Studio Code, Notepad++).
- Adjusting Your Path Environment: You'll have three options here:
- Use Git Bash only.
- Use Git from the command prompt (recommended).
- Use Git and Unix tools from the command prompt (can interfere with other tools).
- Choosing HTTPS Transport Backend: It’s recommended to use the OpenSSL library.
- Finish the Installation:
- After you’ve reviewed the settings, click "Install." Git will now be installed on your Windows machine.
- Launch Git Bash:
- Once the installation completes, open Git Bash from the Start Menu or by right-clicking on your desktop or in a folder and selecting "Git Bash Here."
Method 2: Using Windows Subsystem for Linux (WSL)
If you want to work in a more Linux-like environment, you can install Git on WSL (Windows Subsystem for Linux). WSL allows you to run a Linux distribution on your Windows machine and gives you access to Linux tools.
Steps to Install Git on WSL:
- Enable WSL:
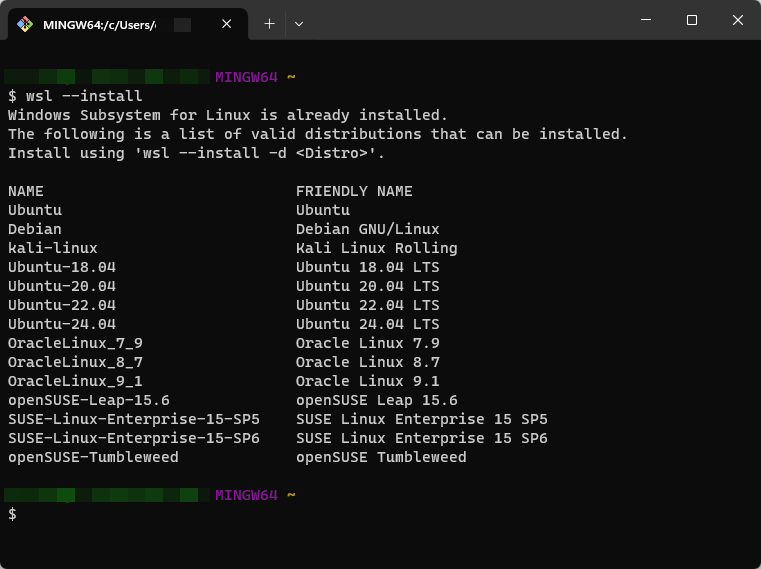
- Open PowerShell as an Administrator and run the following command to enable WSL:
wsl --install- You will be prompted to restart your machine. After restarting, WSL will be enabled.
- Install a Linux Distribution:
- After rebooting, go to the Microsoft Store and install your preferred Linux distribution (e.g., Ubuntu).
- Install Git:
- Open the WSL terminal and run the following command to install Git
sudo apt update
sudo apt install git- Verify Git Installation:
- Once installed, verify the Git version with:
git --version
3. Installing Git on macOS
There are two primary ways to install Git on macOS: using Homebrew or by installing the Xcode Command Line Tools.
Method 1: Homebrew
Homebrew is a package manager for macOS that simplifies installing software.
Steps to Install Git Using Homebrew:
- Install Homebrew:
- If you don’t already have Homebrew installed, open the Terminal and run the following command:
/bin/bash -c "$(curl -fsSL https://raw.githubusercontent.com/Homebrew/install/HEAD/install.sh)"
- Install Git:
- After Homebrew is installed, run the following command to install
brew install git- Verify Installation:
- Once installed, check the Git version:
git --versionMethod 2: Xcode Command Line Tools
macOS also provides Git through the Xcode Command Line Tools, which is a lighter option if you don't want to install the full Xcode app.
Steps to Install Git with Xcode Command Line Tools:
- Install Command Line Tools:
- Open the Terminal and run:
xcode-select --install- Follow the Prompts:
- A dialog box will appear asking if you want to install the command line tools. Click "Install" and follow the instructions.
- Verify Installation:
- After installation, verify the Git version:bashCopy code
git --version
4. Installing Git on Linux
Git is widely supported on Linux, and the process varies slightly depending on your distribution.
Method 1: Debian-based Distributions (Ubuntu, etc.)
Steps to Install Git on Ubuntu/Debian:
- Update the Package List:
- Open a terminal and run:
sudo apt update- Install Git:
- Run the following command to install Git:
sudo apt install git- Verify Installation:
- Once installed, verify the version:
git --versionMethod 2: Red Hat-based Distributions (CentOS, Fedora, etc.)
Steps to Install Git on CentOS/Fedora:
- Update the Package Manager:
- Open a terminal and run:
sudo dnf update- Install Git:
- Use
dnfto install Git:
sudo dnf install git- Verify Installation:
- After installation, check the version:bashCopy code
git --version
5. Post-Installation Configuration
Once Git is installed, there are a few essential configuration steps you should perform.
Setting Up Your Name and Email:
Git uses your name and email to associate commits with you.
git config --global user.name "Your Name"
git config --global user.email "youremail@example.com"
Setting Up Your Default Editor:
If you prefer to use a specific text editor (e.g., VS Code, Vim, or Nano) for writing commit messages, you can set it up as follows:
git config --global core.editor "code --wait"Checking the Configuration:
To see your Git configuration, run:
git config --list6. Verifying Your Git Installation
Once installed, verify the installation by checking the Git version. In your terminal or command prompt, run:
git --versionThis should return the version of Git you’ve installed, confirming that the installation was successful.
7. Troubleshooting Common Issues
Here are some common installation issues and how to resolve them:
- Windows: Git Bash not launching: Ensure that you’ve correctly installed Git Bash and selected the appropriate PATH options during installation. Try reinstalling if needed.
- macOS: Git command not found: This may occur if Xcode Command Line Tools or Homebrew isn't installed correctly. Try reinstalling the tool or setting the path manually in your terminal.
- Linux: Package not found: Ensure your package manager’s repositories are up-to-date. If Git isn’t found in the default repositories, consider adding an external repository or installing from the source.
Conclusion
Installing Git on different operating systems is a straightforward process, and it can be done using a variety of methods. Whether you're working in Windows, macOS, or Linux, Git is a vital tool for version control and collaborative development. With Git now installed, you're ready to start managing your projects more efficiently.