

Introduction
So, how did I find myself installing Windows 11 on my Mac mini, you ask? Well, it all started when I decided I wanted to test out the Git installation process on Windows, which I previously covered in this post. As someone who spends most of their time in the Linux and DevOps world, I figured it would be a quick experiment. Little did I know, what I thought would be a simple Git install turned into a full-blown Windows installation saga. Ah, the things we do for the love of testing, right? Of course, I could have just used WSL, but where’s the fun in that?
Installing Windows 11 on a VMware virtual machine on your Mac mini with an Intel processor may sound straightforward, but this guide will walk you through every step. Compared to earlier versions, the Windows 11 installation process can feel like you're navigating a maze...but fear not! You might hit a few snags, but we’ll get through it with some patience—and maybe a few jokes.
1. What You’ll Need
Before starting the installation, let’s make sure you have everything prepared:
- VMware Fusion: Download the latest version from the official VMware website. This guide may help.
- Windows 11 ISO: Grab the ISO file from Microsoft’s Windows 11 Download page.
- Your Mac mini (Intel processor): Although this could technically be done on an ARM Mac, your Intel processor will make this a little less confusing.
- Patience: Trust me, we’ll need some for when things freeze (more on that later).
2. Creating a New Virtual Machine in VMware Fusion
Step 1: Launch VMware Fusion
- After installing VMware Fusion, open it from your Applications folder.
- Click Create a New Virtual Machine. At this point, you might wonder if it could possibly be easier than installing Windows on a PC. Spoiler: it’s not, but it’s a close call.
For comprehensive guidance on downloading Fusion or any other VMware software, kindly refer to this post.
Step 2: Select the Windows 11 ISO
- Click Install from disc or image.
- Locate and select the Windows 11 ISO file you downloaded earlier.It’s around this time you may start reminiscing about Windows XP or even 7, when things felt simpler. Let’s not dwell on that nostalgia, though—Windows 11 is a whole new world!
3. Starting the Windows 11 Installation
Here comes the fun part—the installation itself. Cross your fingers that everything runs smoothly (and if it doesn't, we’ll just blame the software gods).
Step 1: Boot the VM
Start the virtual machine, and VMware Fusion will boot from the Windows 11 ISO. You’ll be greeted by the familiar Windows setup screen. At this point, you might wonder why Microsoft couldn’t just let us install this as easily as before. m. Fun fact: It’s possible for the setup to stall here. If it does, just restart and try again. Maybe Windows is just shy?
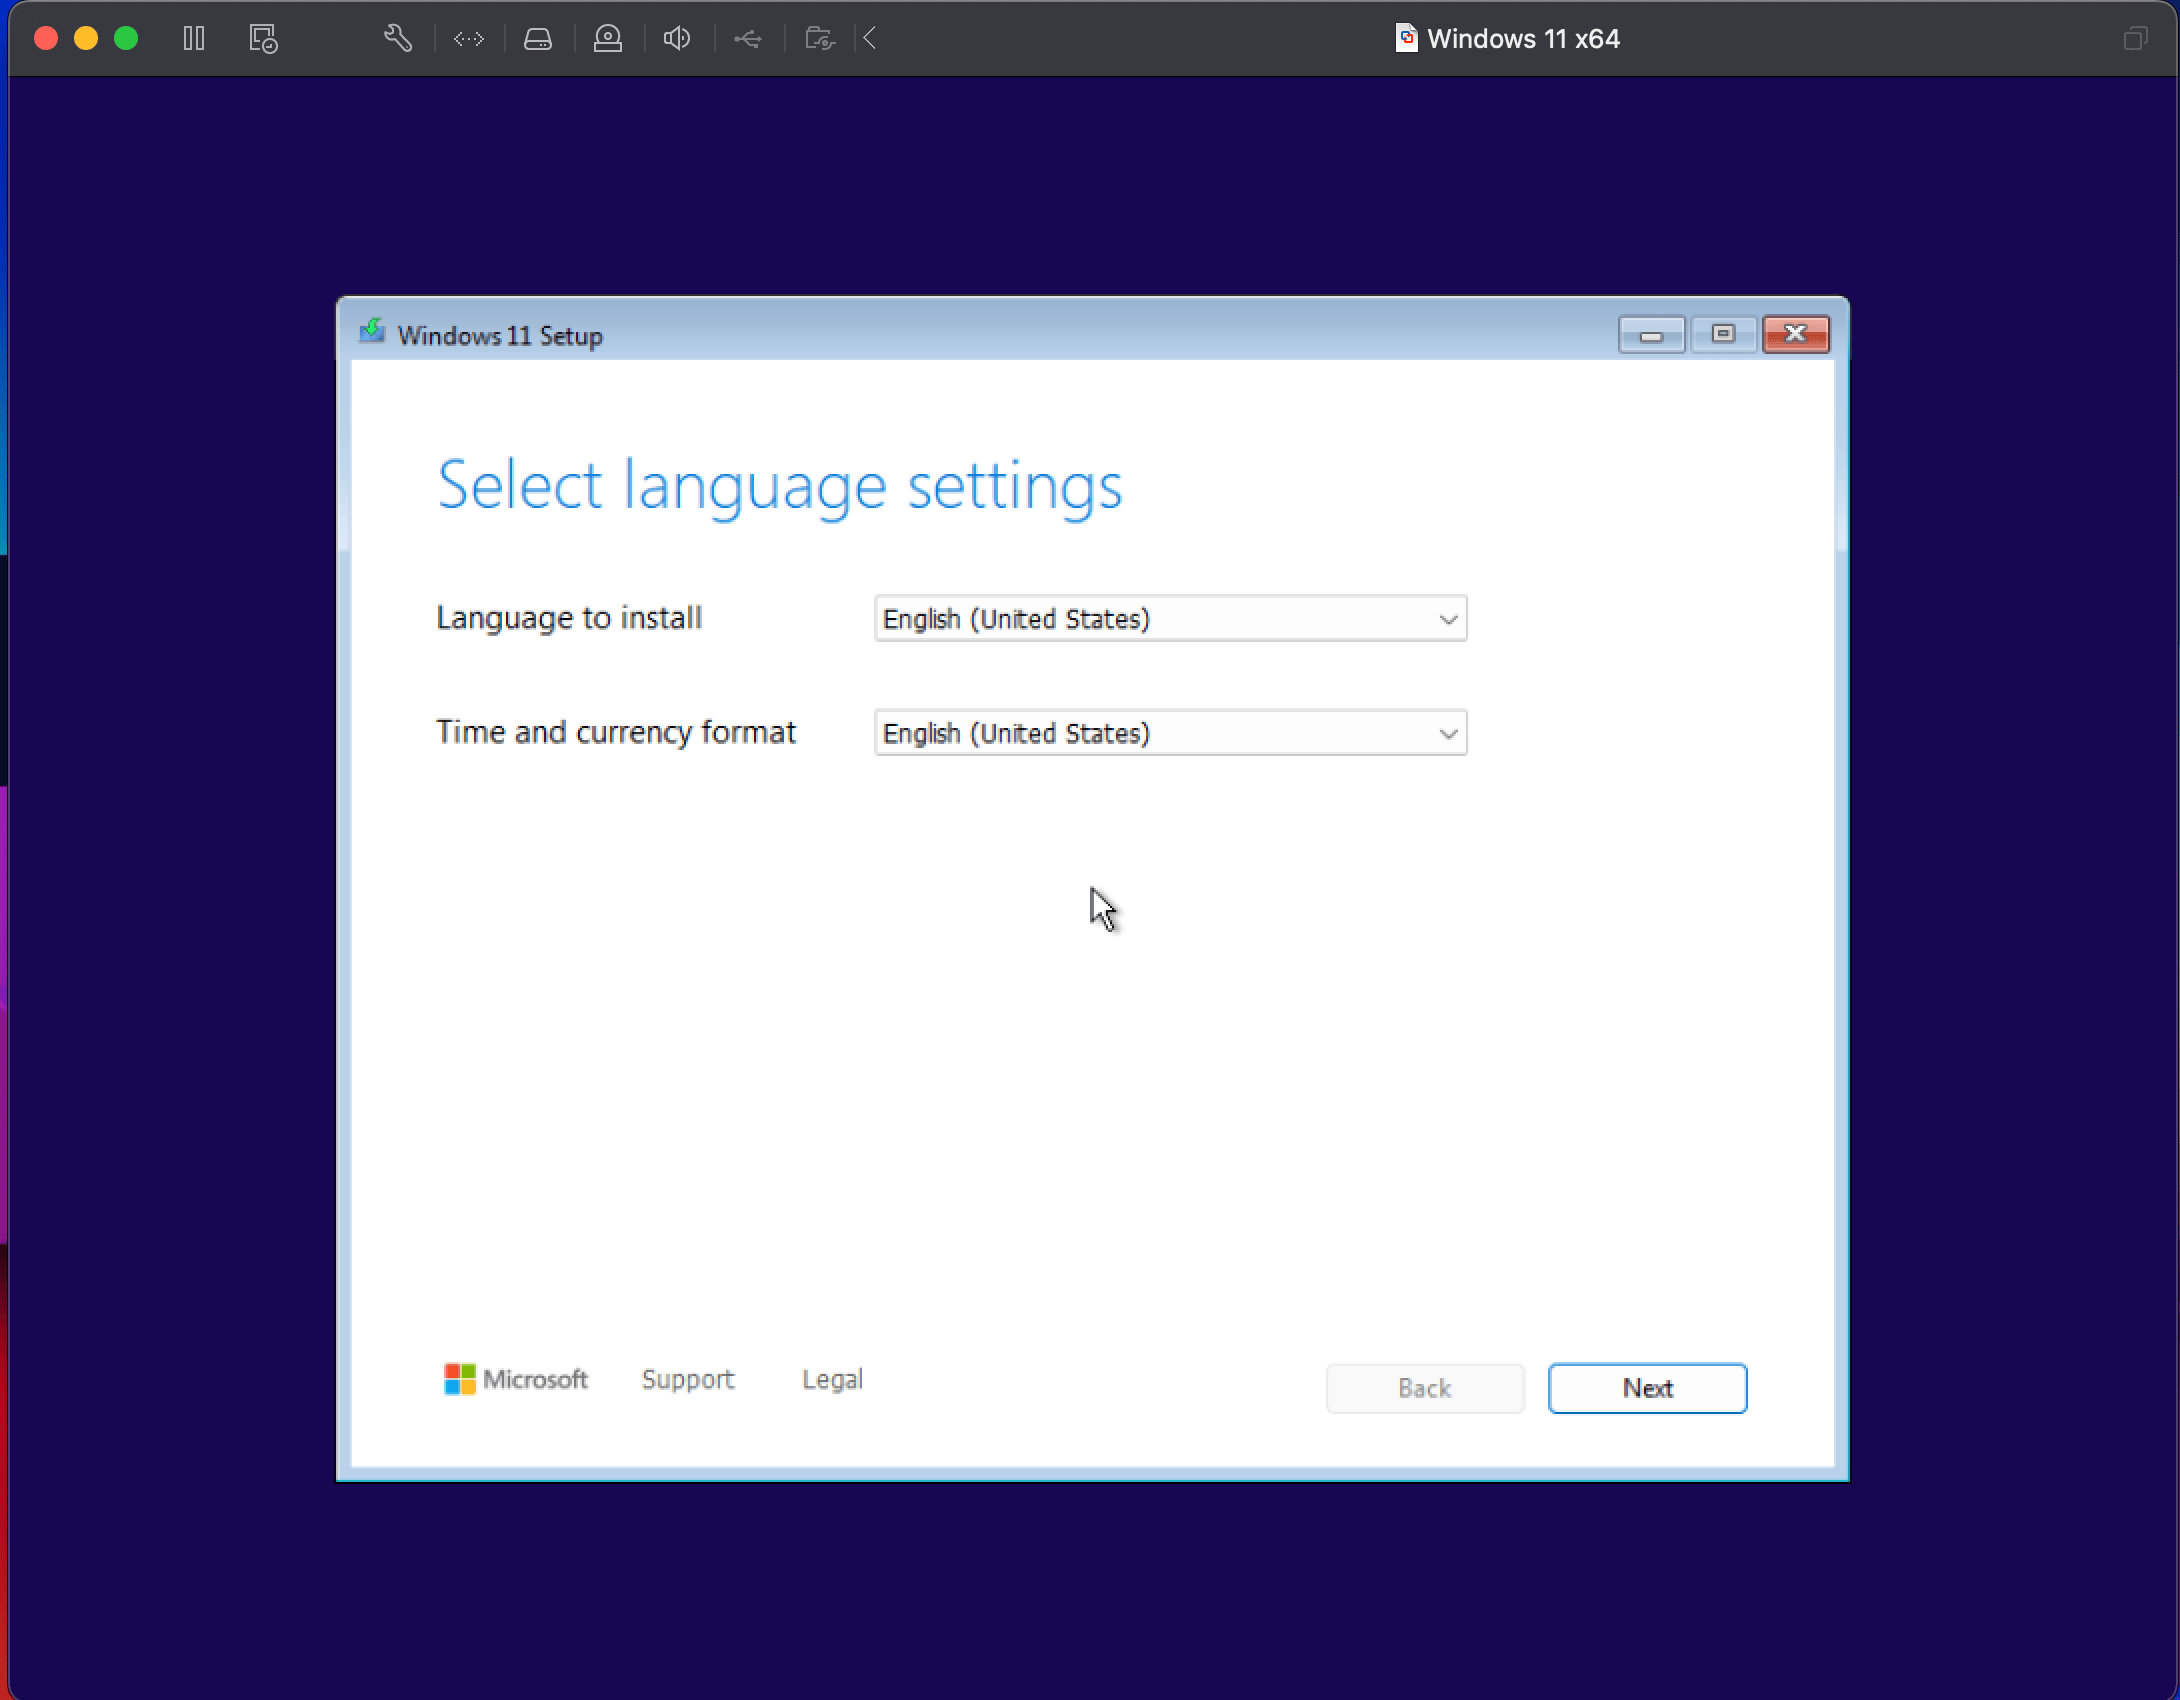
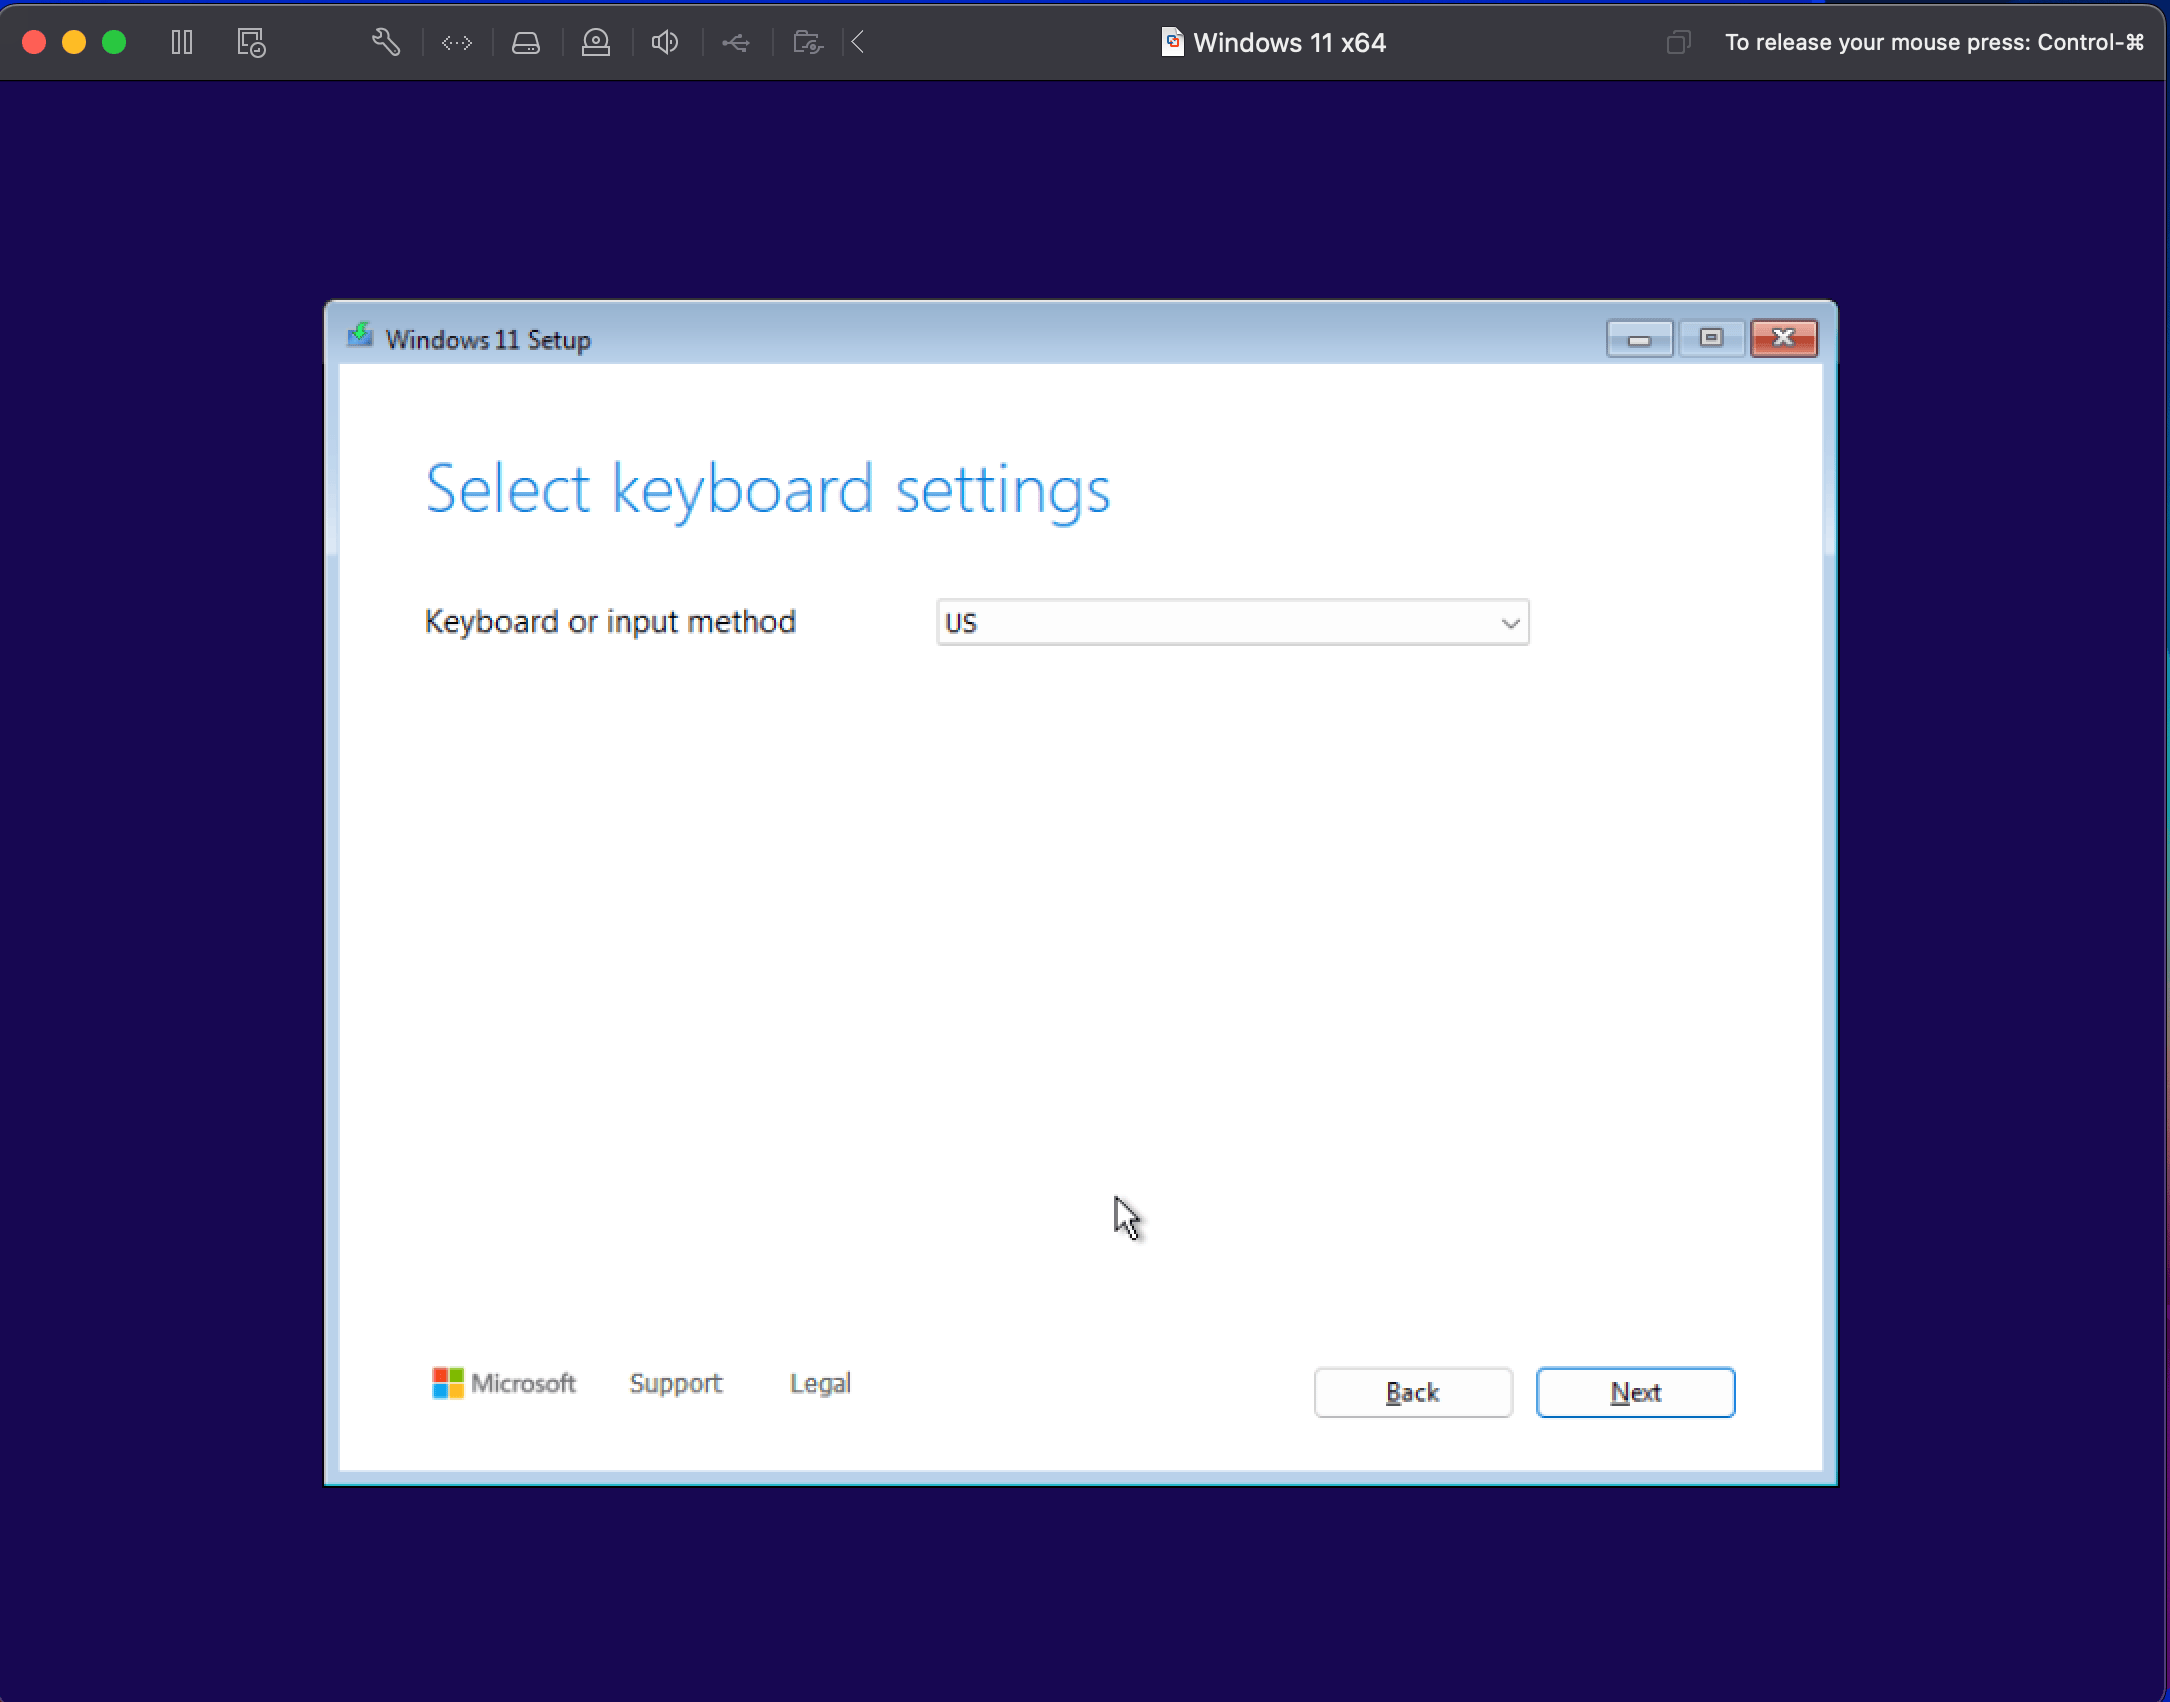
Step 2: Select Language, Time, and Keyboard Input
- Choose your language, time, and keyboard preferences, then click Next.
- Select Keyboard Layout, then click Next.
- Select Install Windows 11 or Repair, then click Next.
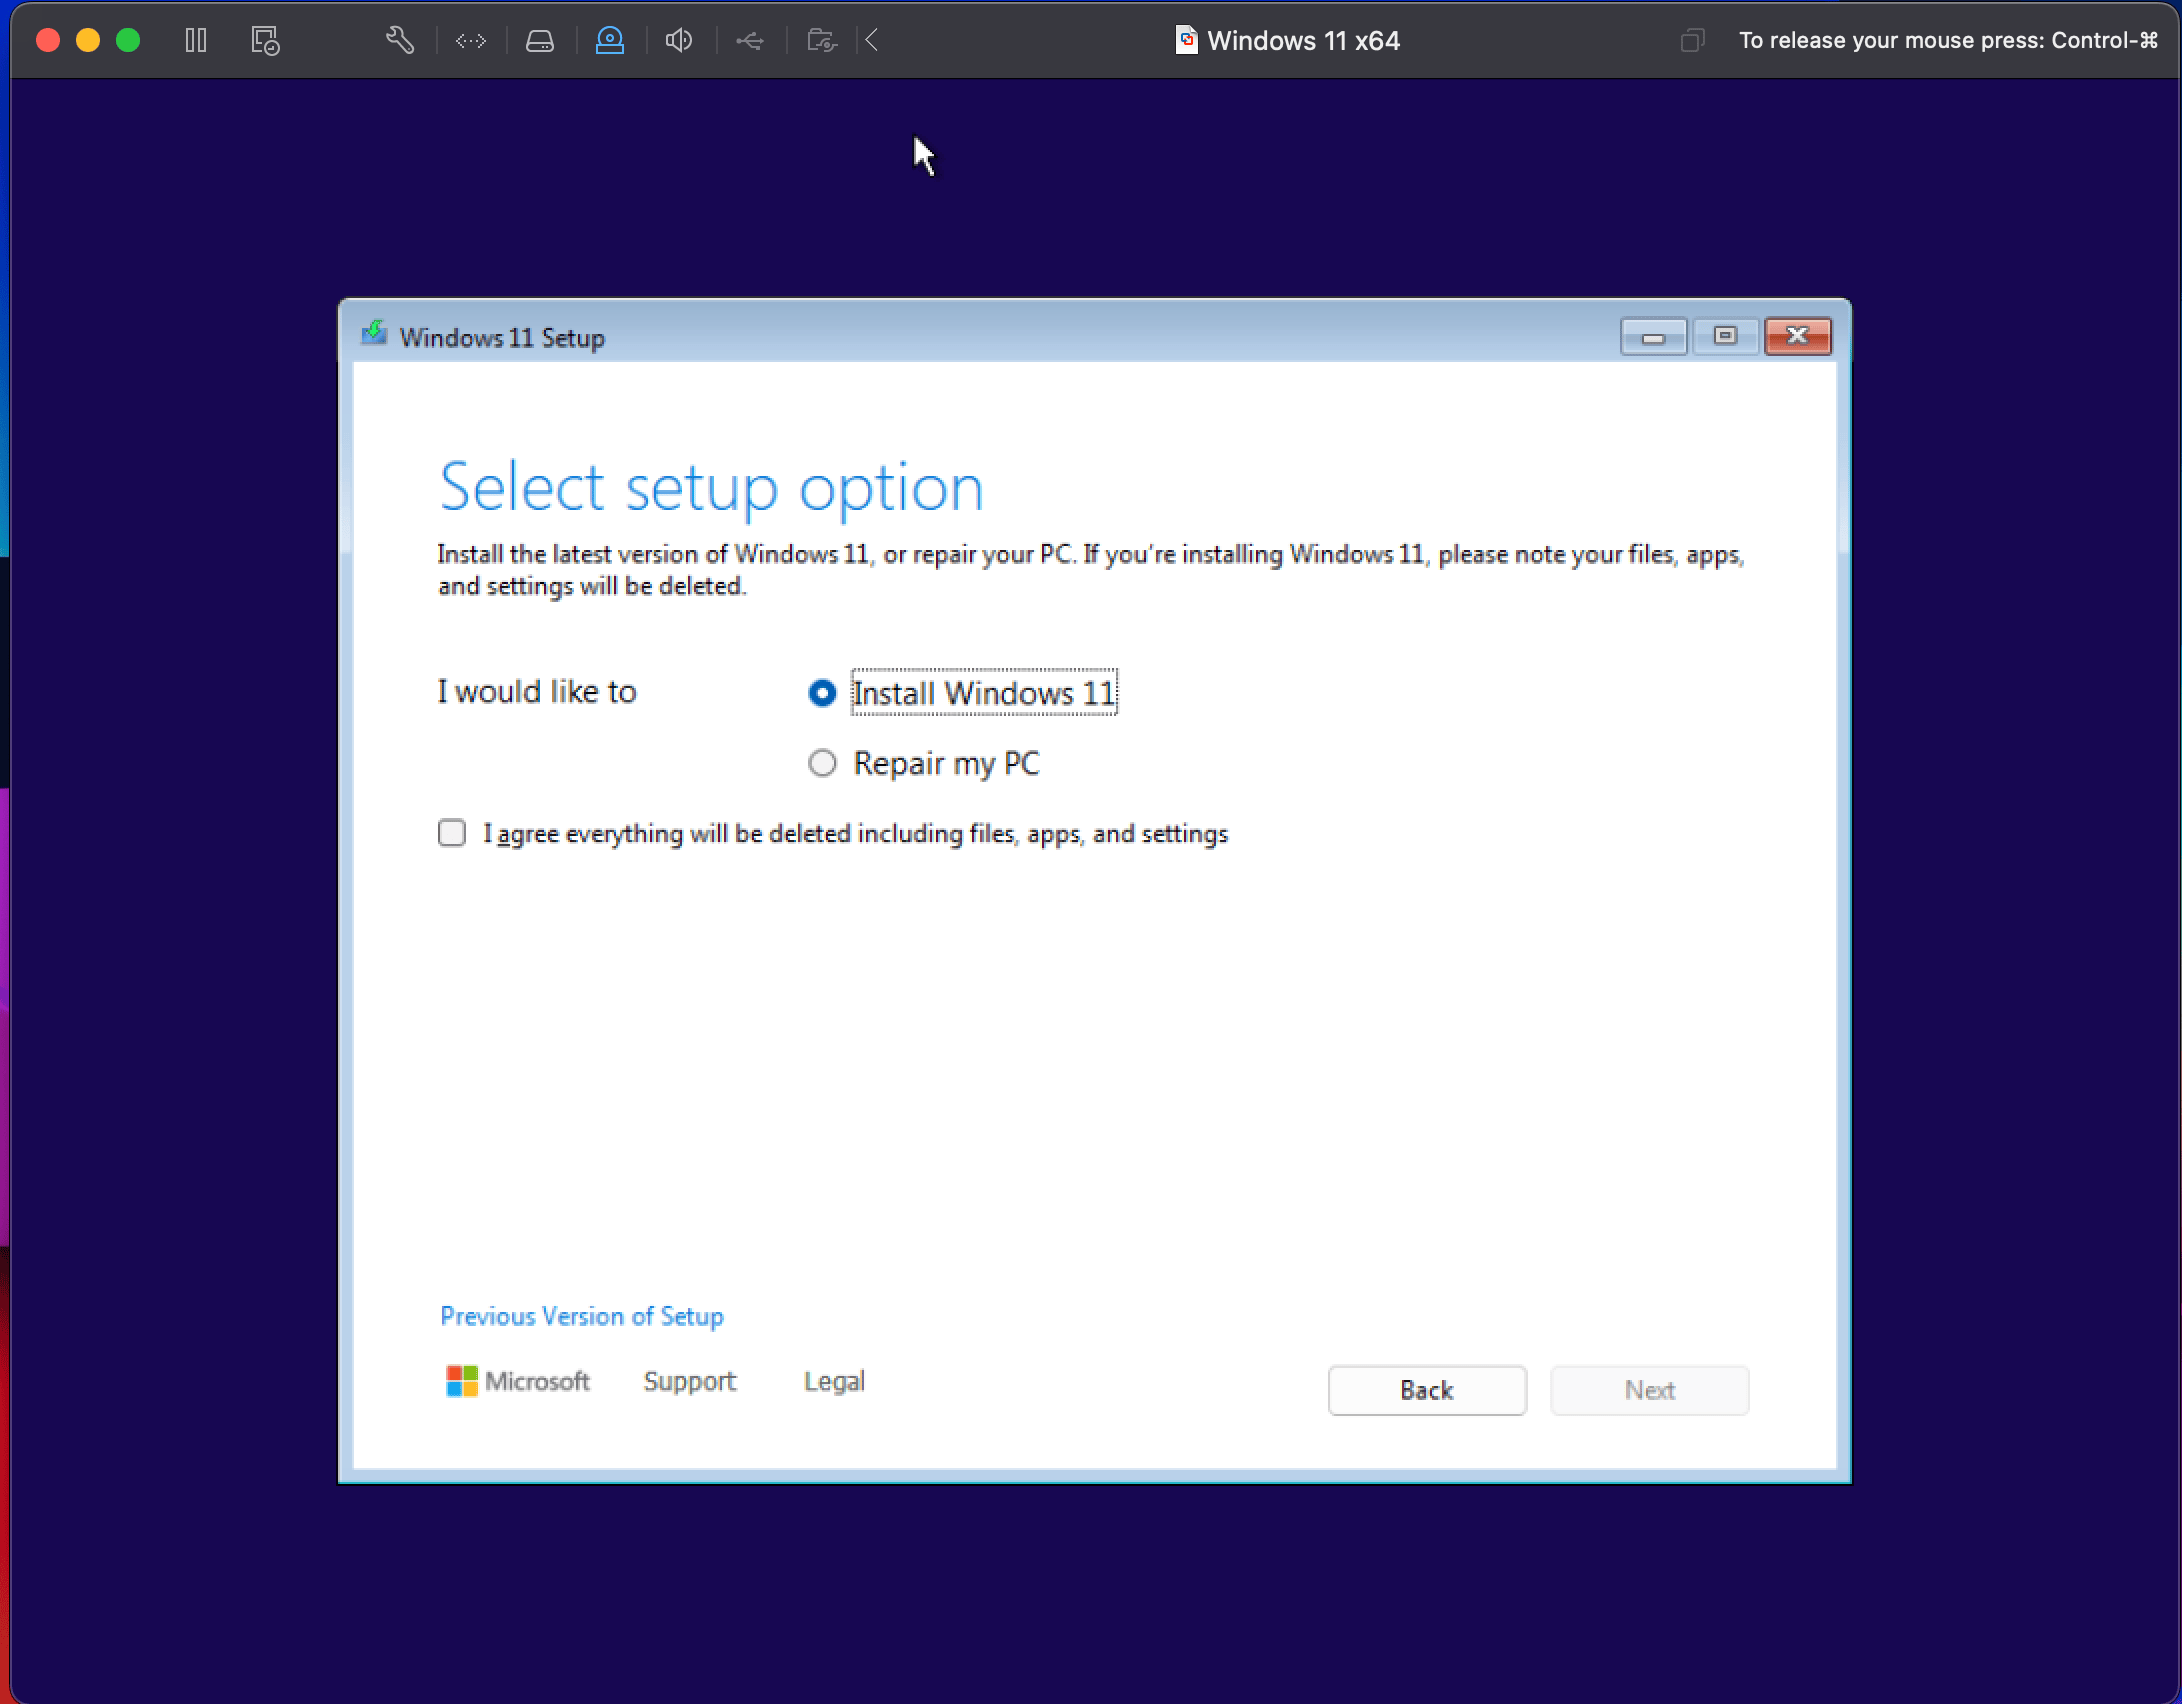
- Be sure to check the box confirming that you understand everything will be erased during the installation process.
4. Navigating the Setup Process
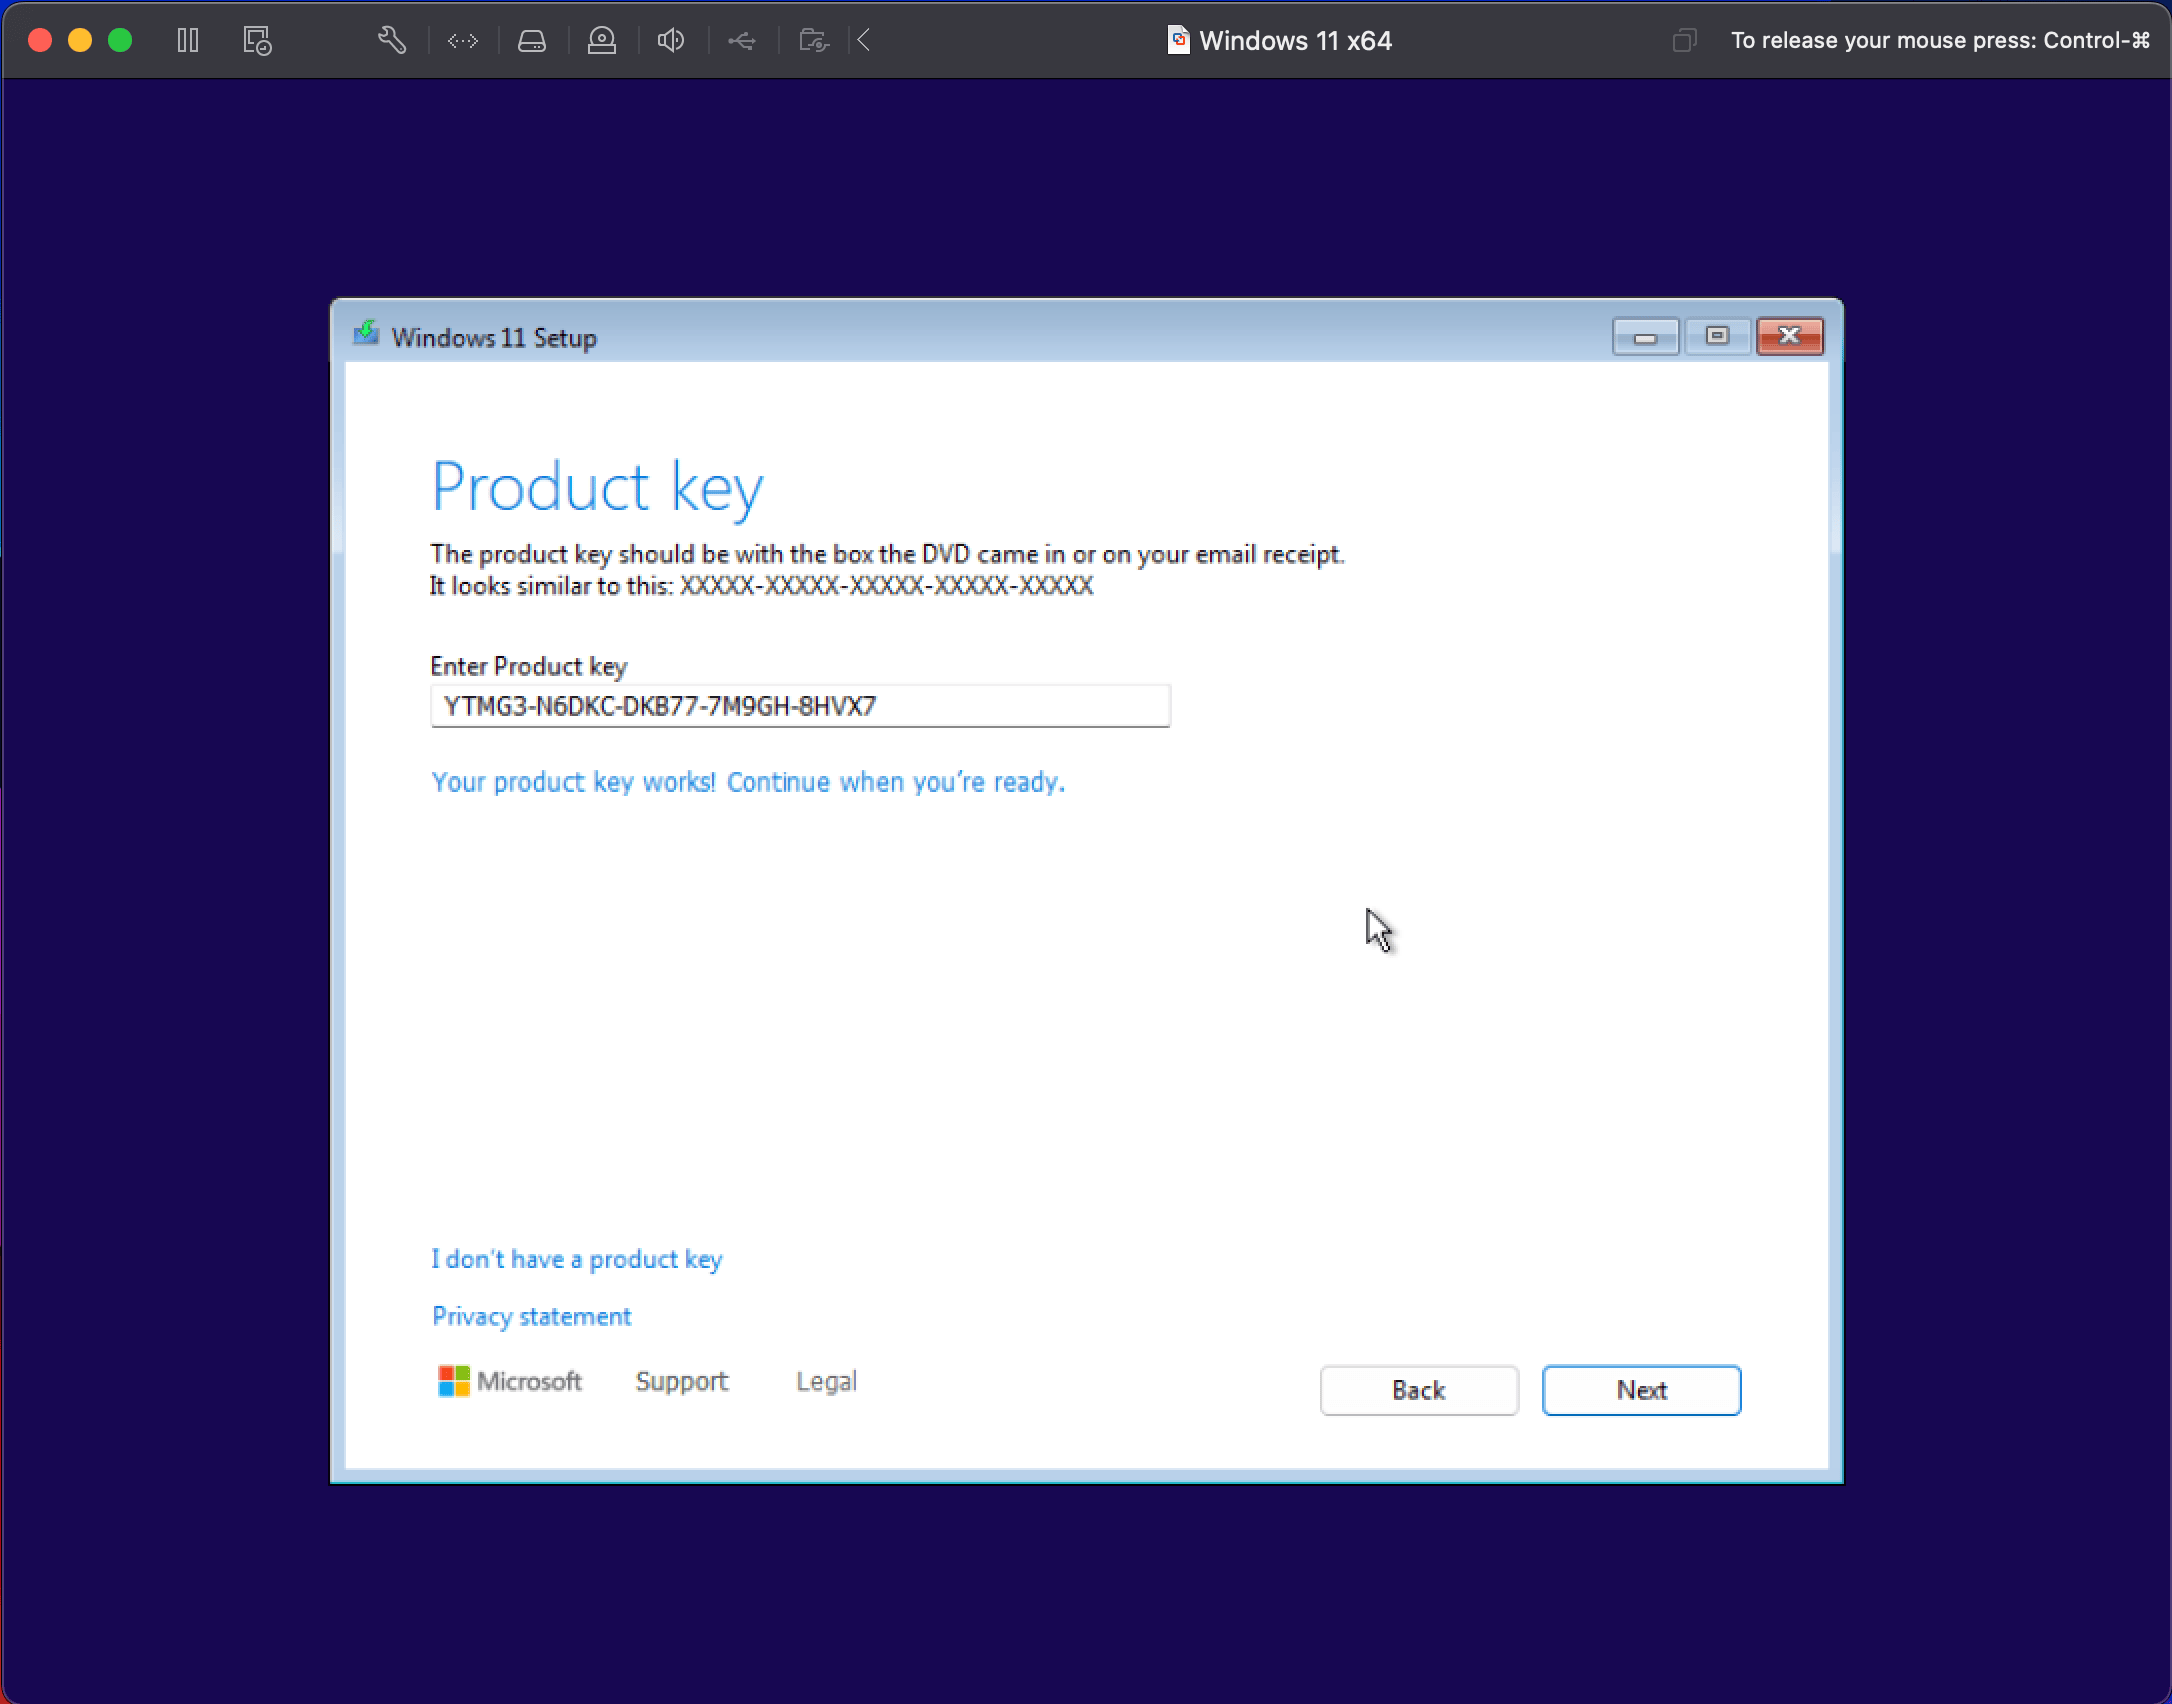
Step 1: Product Key and Installation Type
- You’ll be prompted for a product key. Enter it if you have one, or click I don’t have a product key to proceed. Some might wonder why Microsoft doesn’t just skip this part for us. At least we have the option to ignore it, right?
- Accent the license agreement.

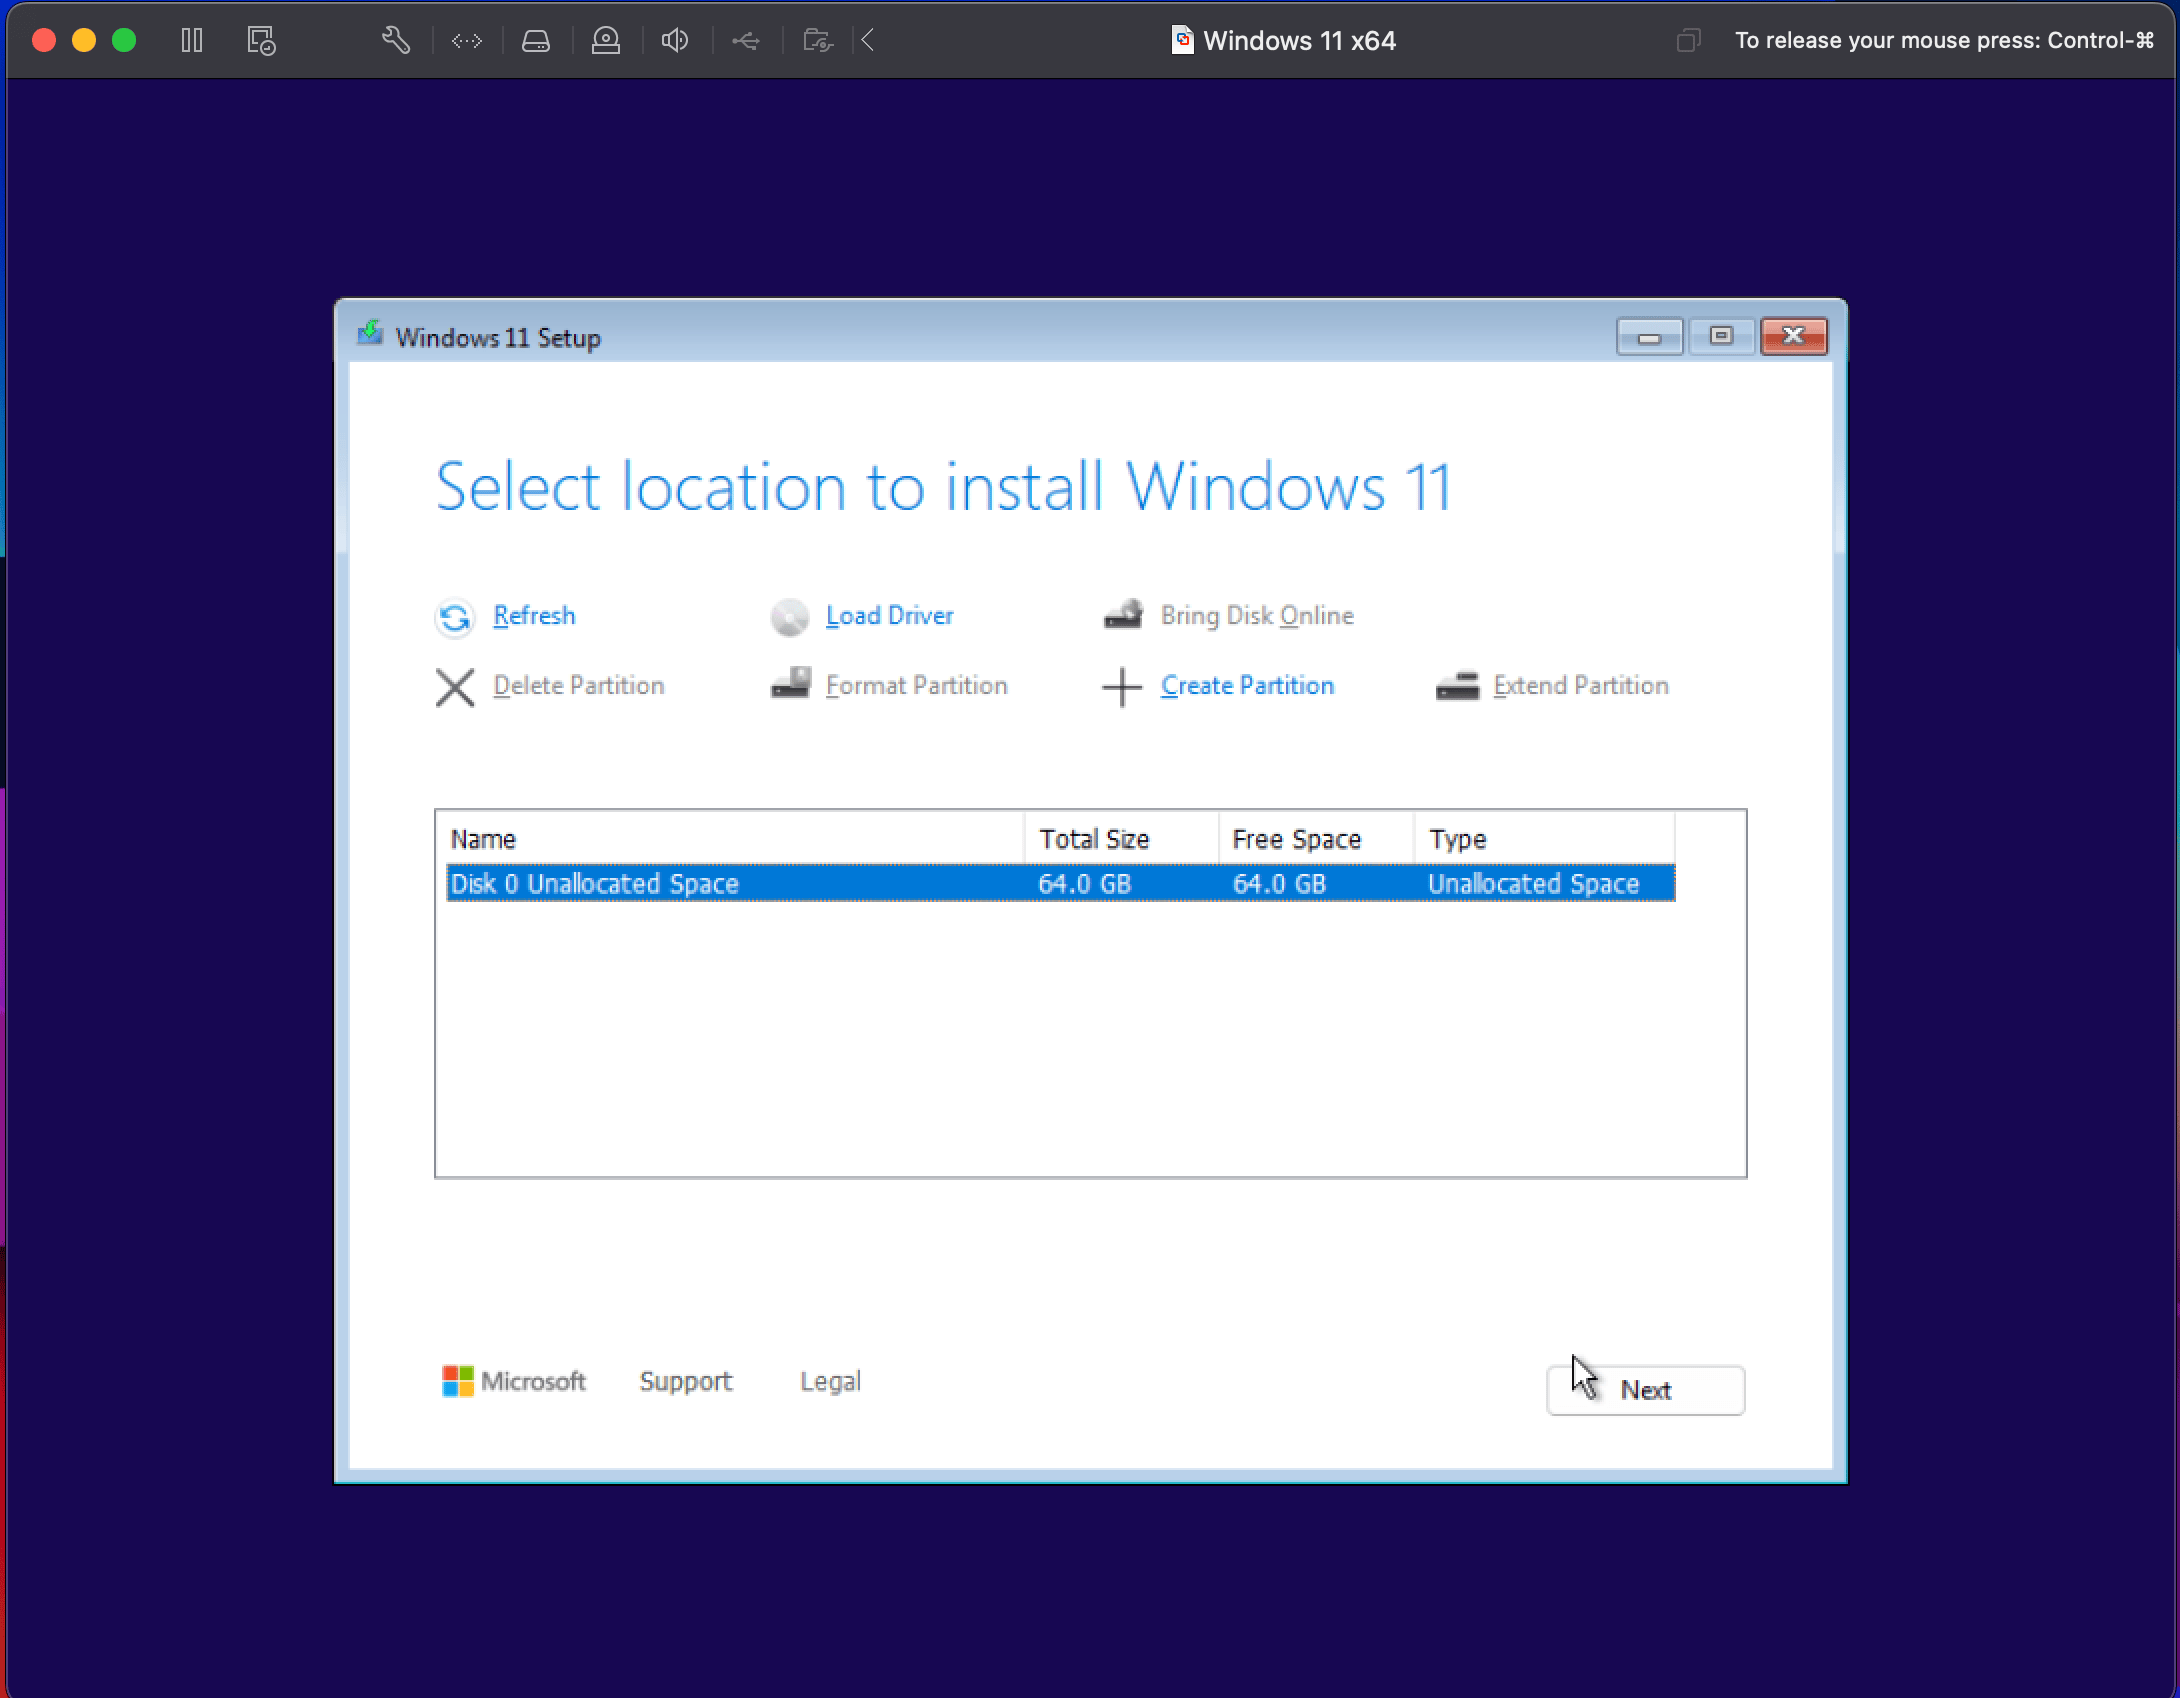
Step 2: Partitioning the Virtual Hard Drive
- When asked where to install Windows, you’ll see an unallocated space. Select it and click Next. Virtual hard drives are magical—no need to worry about accidentally formatting the wrong drive (which definitely happened to a friend of mine once…).
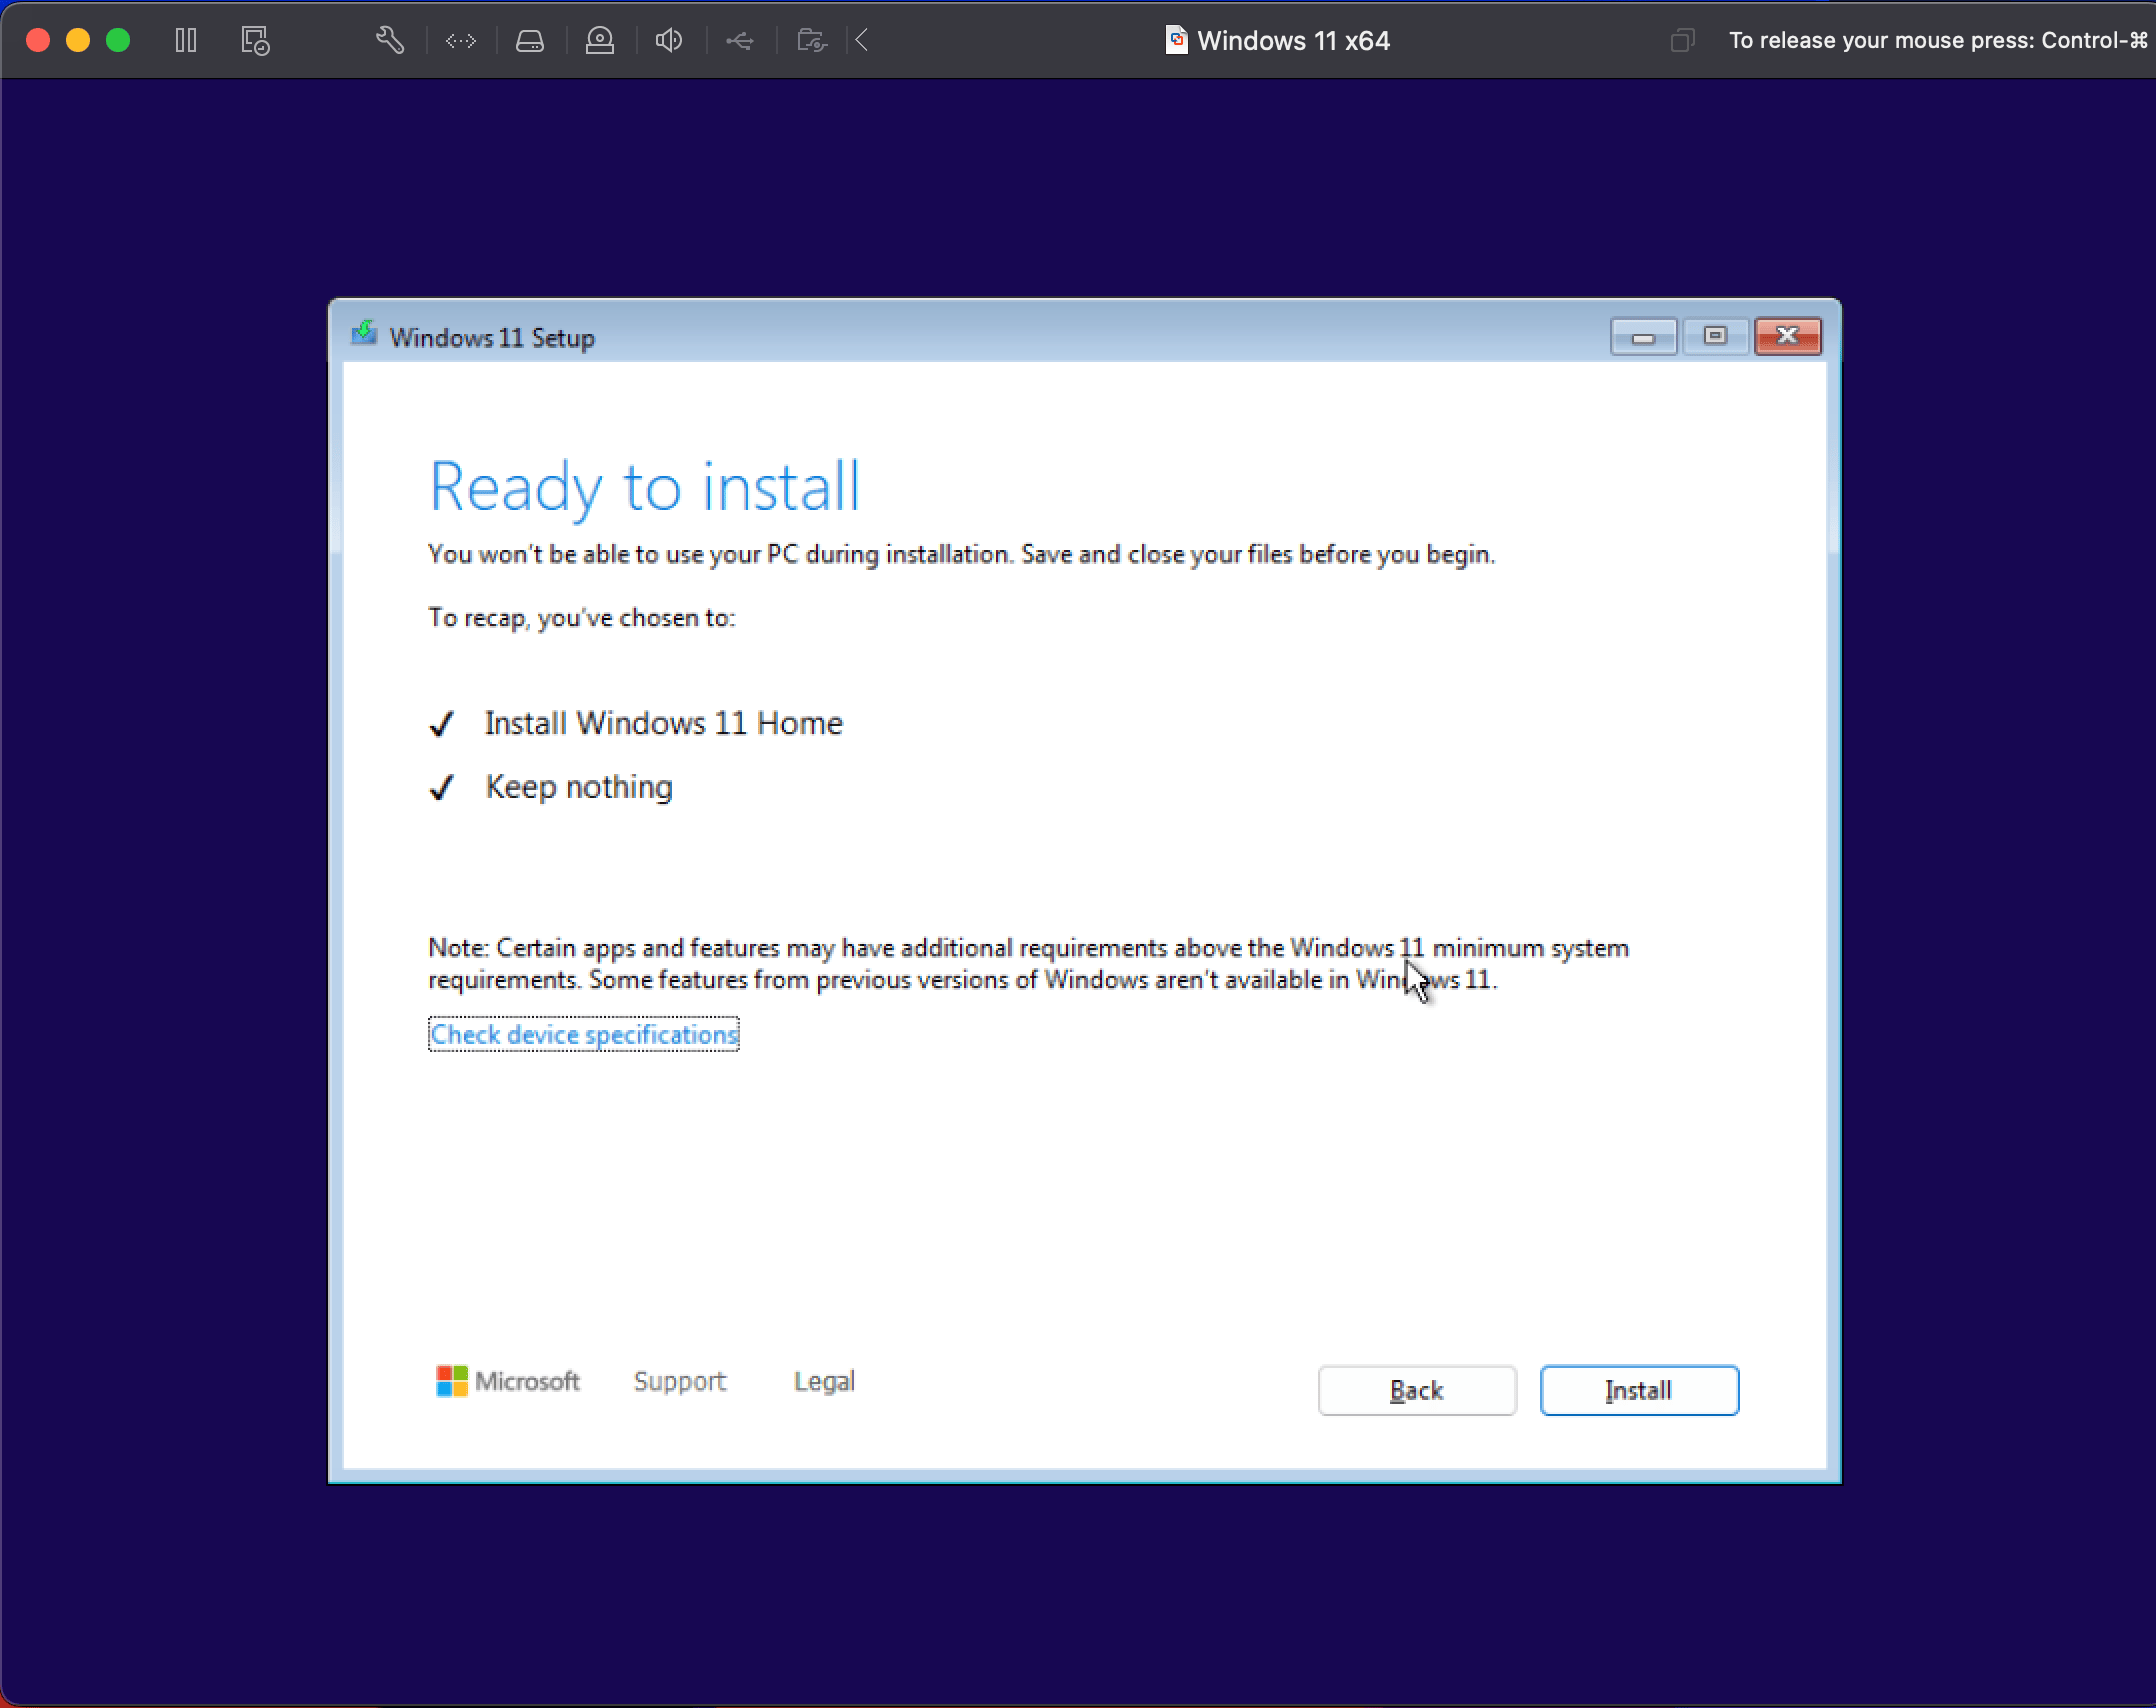
5. Windows 11 Installs… (Sort of)
At this point, Windows 11 should begin installing. If it seems like it's stuck or frozen, welcome to the club. But seriously, if it does, just restart the VM and give it another go. Sometimes even Windows needs a coffee break. In my case, simply clicking Back and Next a few times was sufficient.
6. Installing ...
It might be because my Mac mini is slightly old and not very powerful, or perhaps it's due to the installation running on a Virtual Machine, but the process took a while.

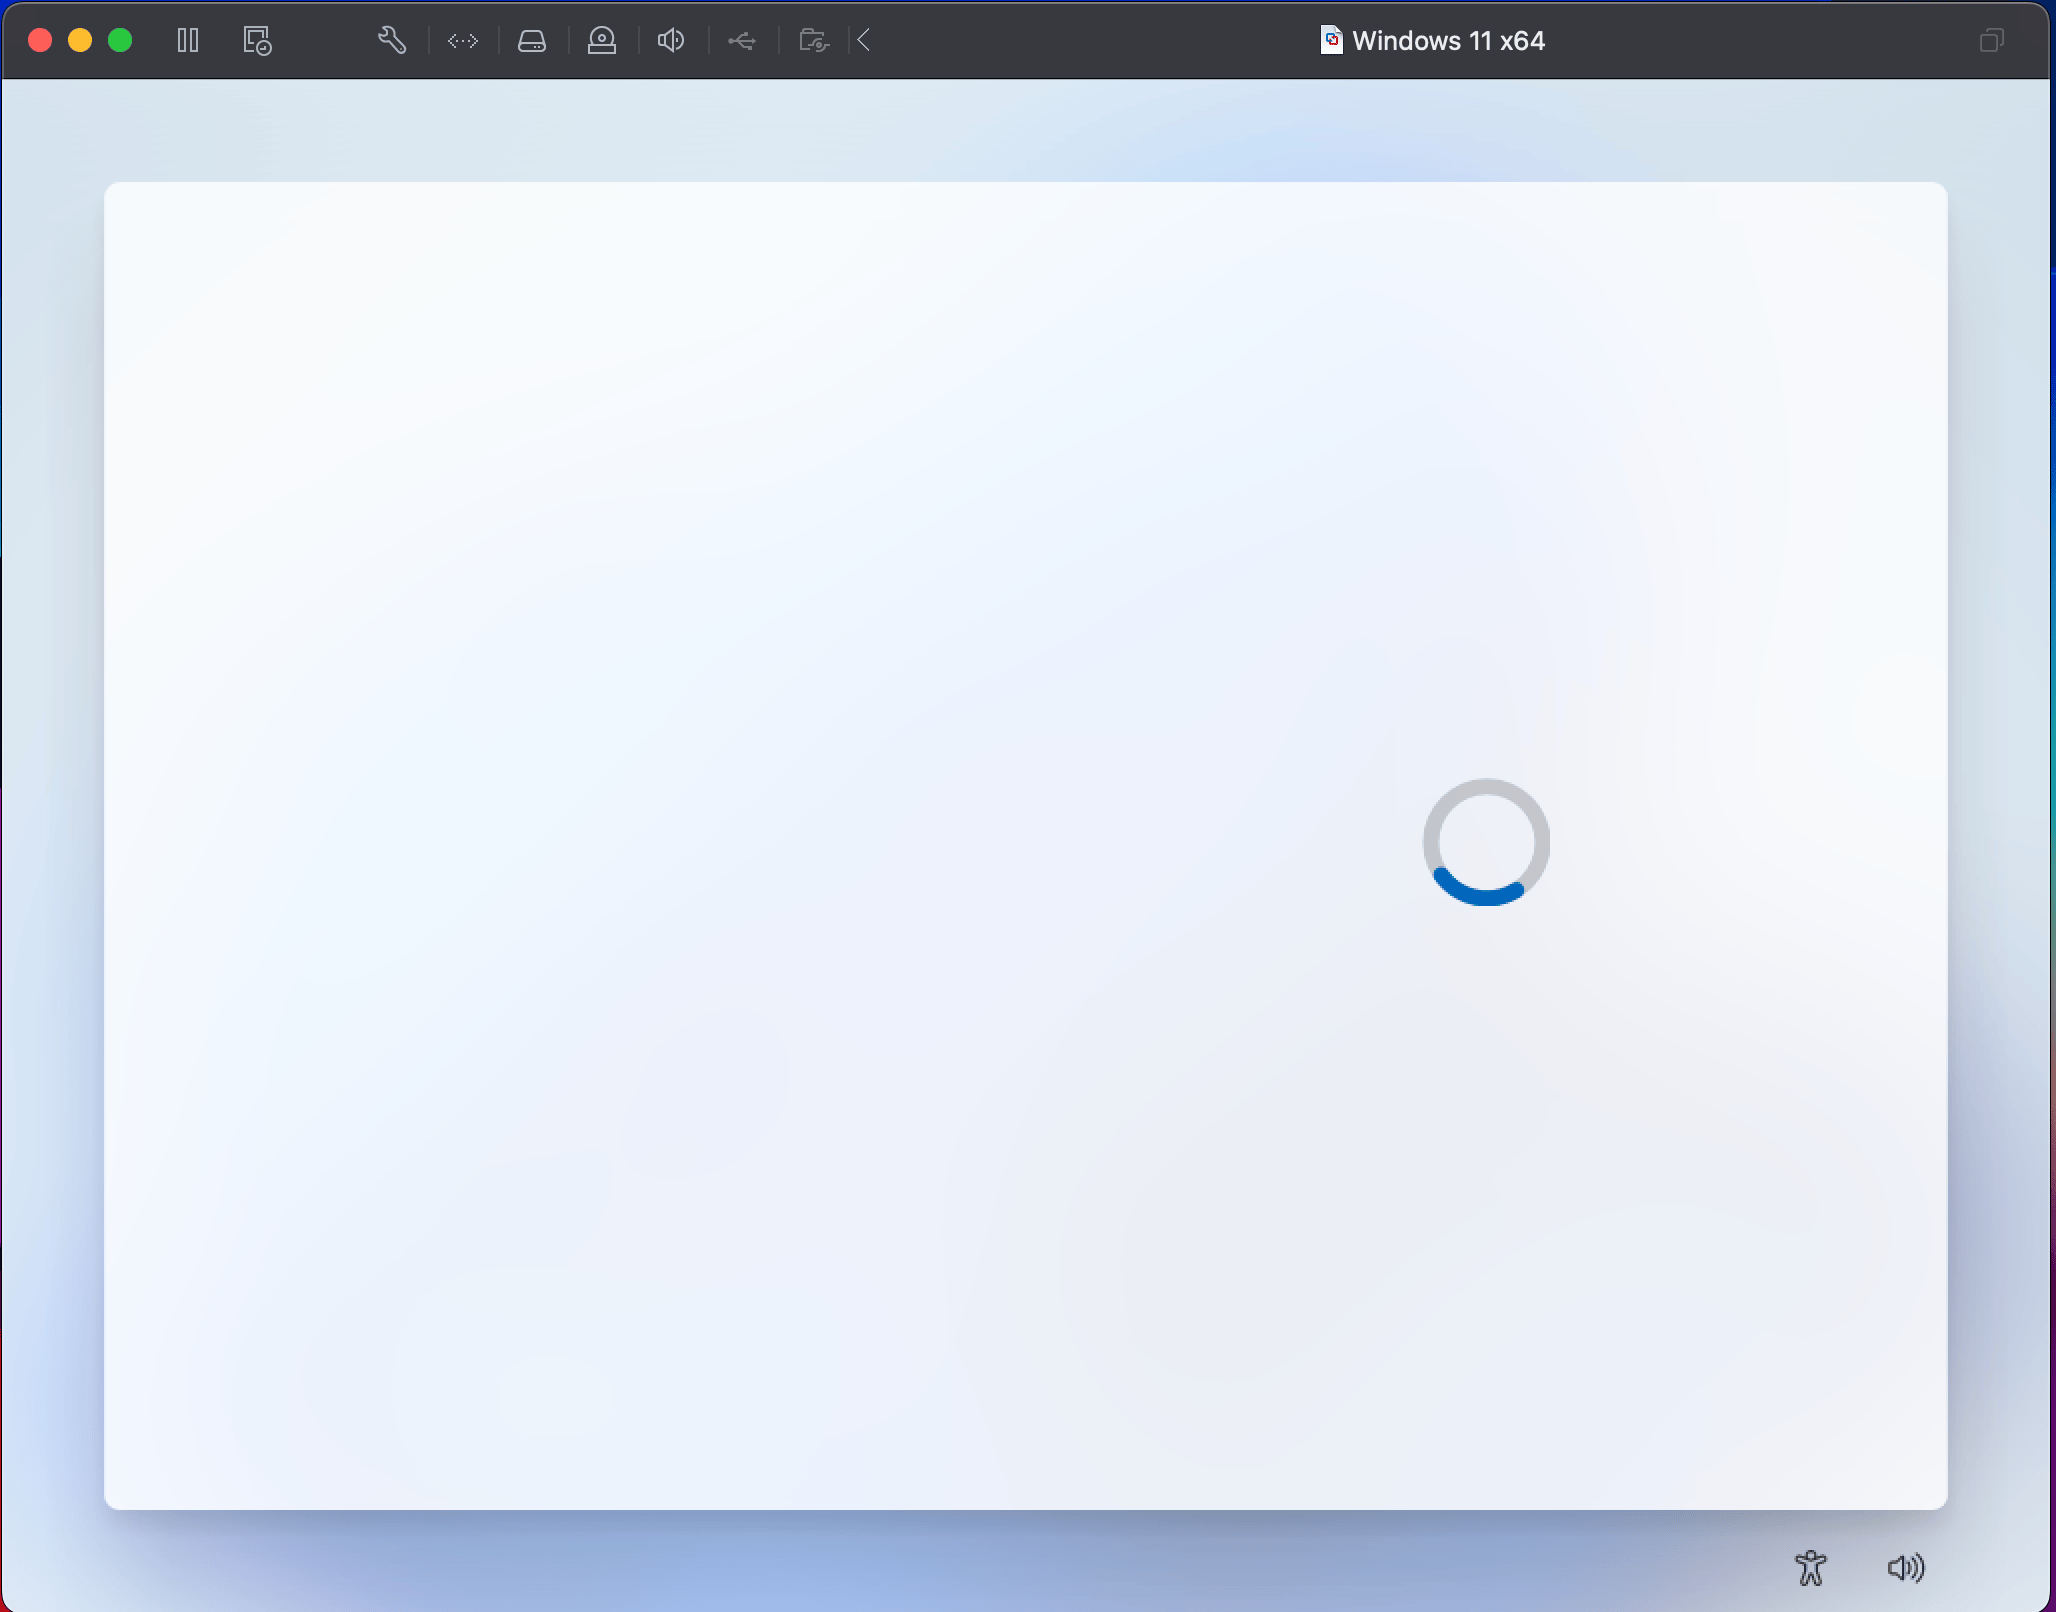
And then another screen of installing ...
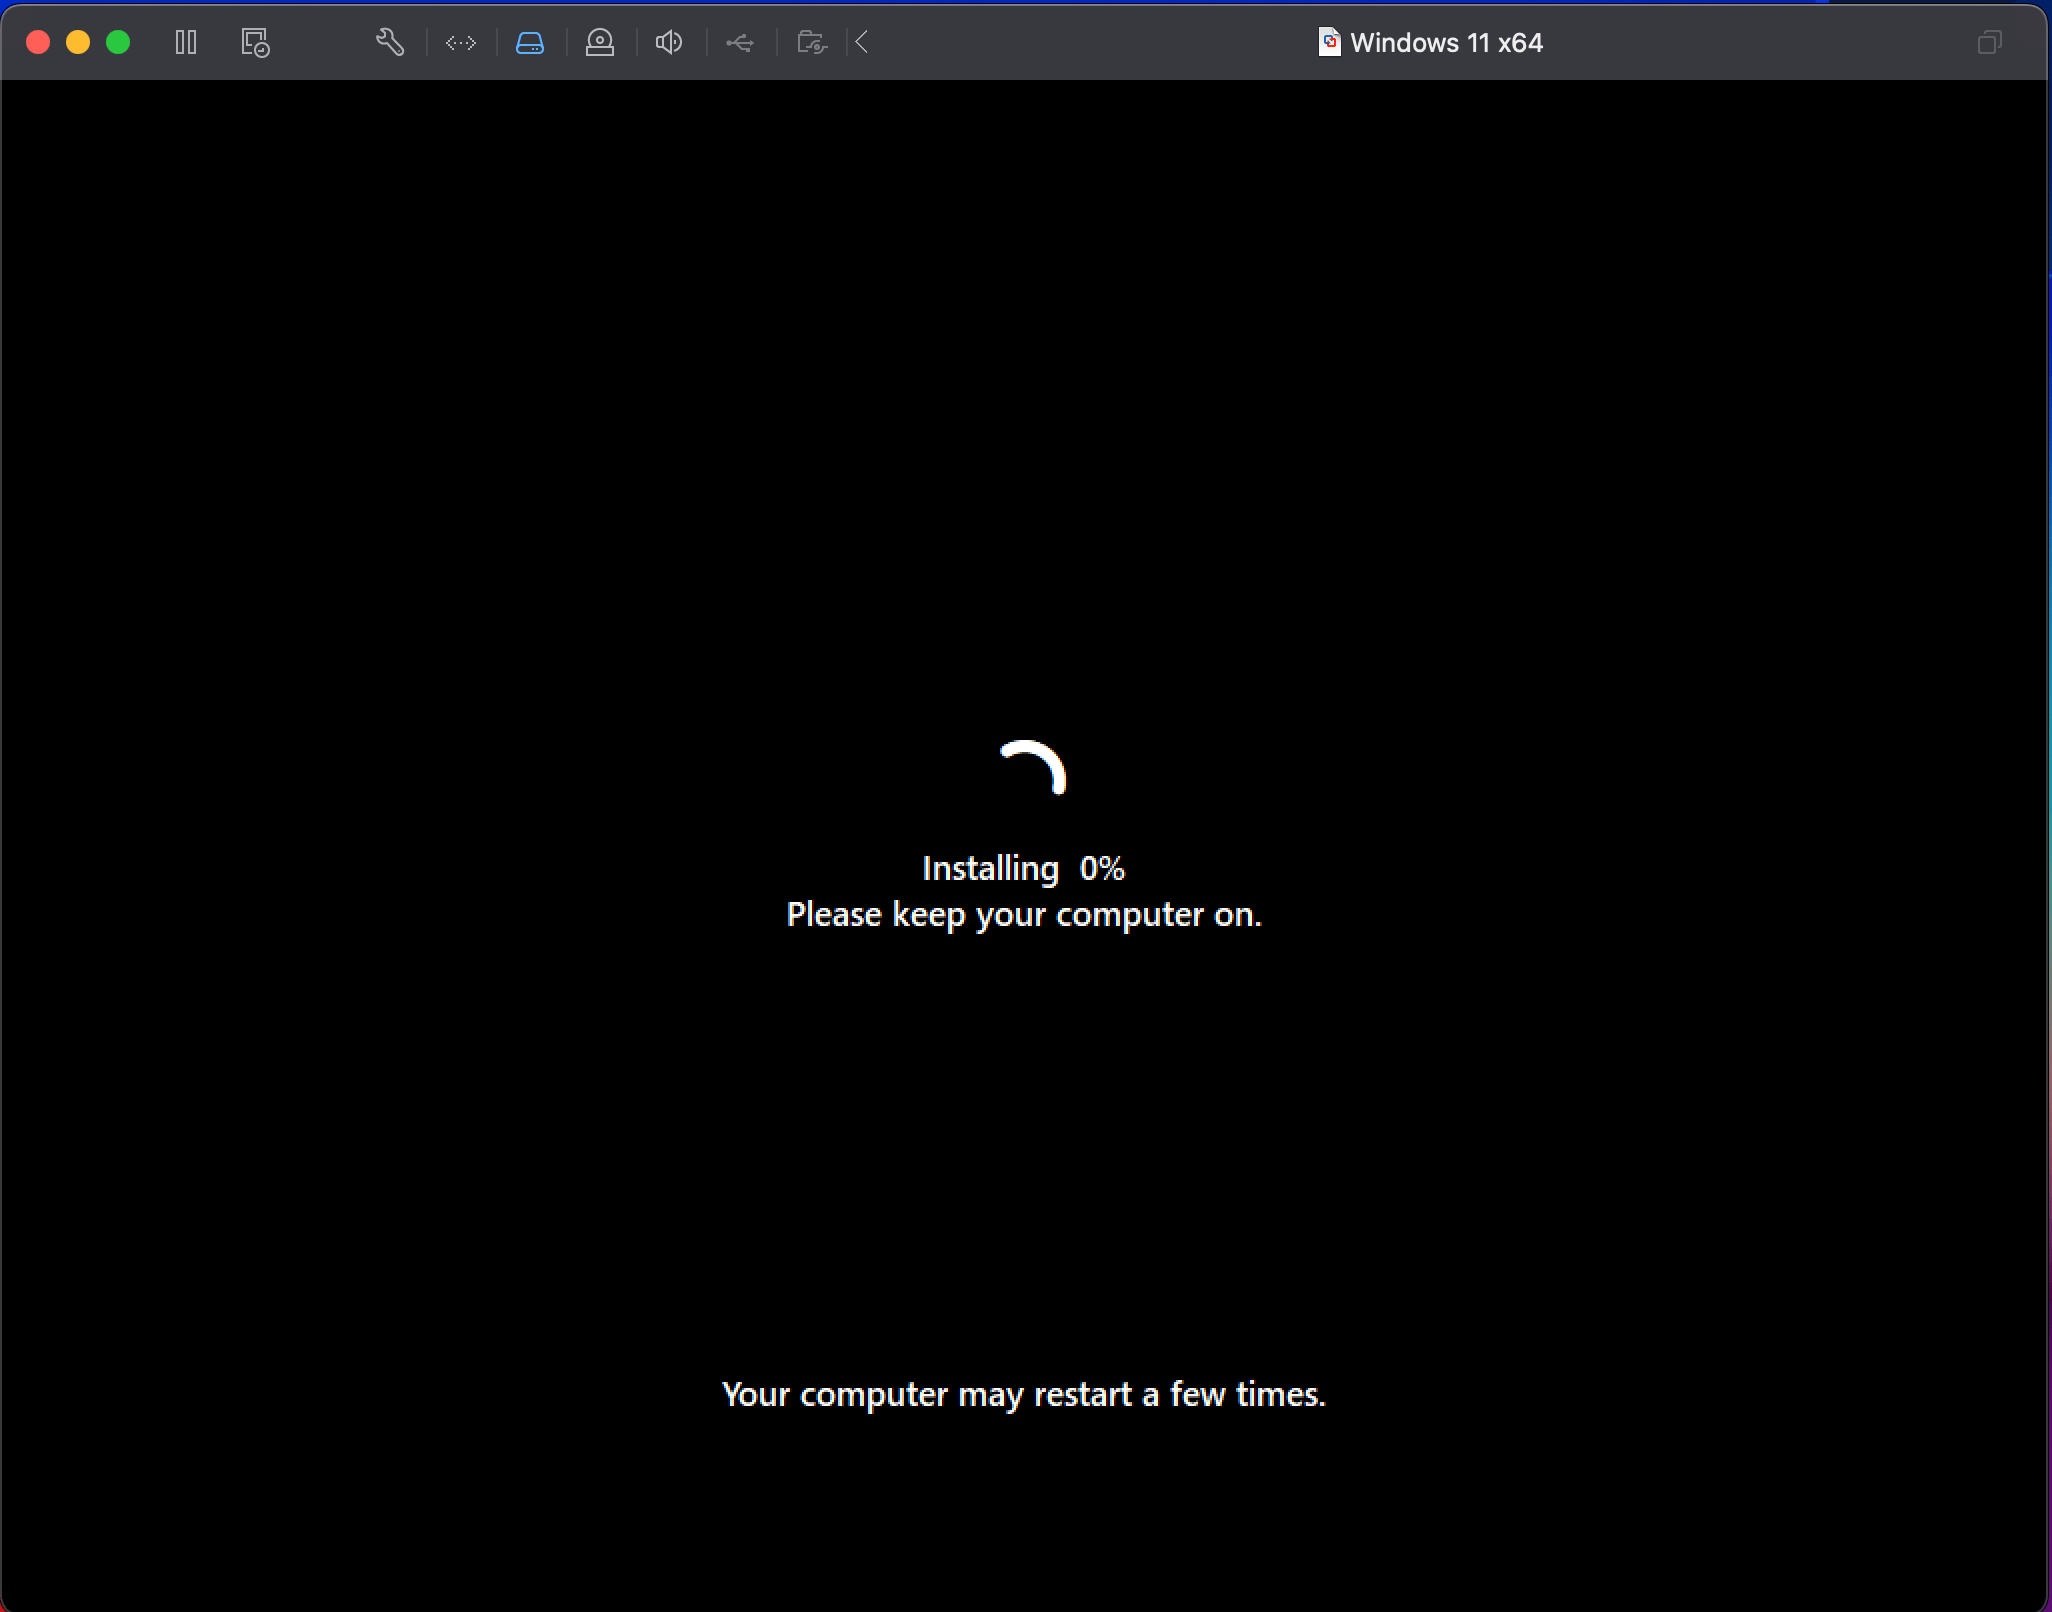
And then thinking ...
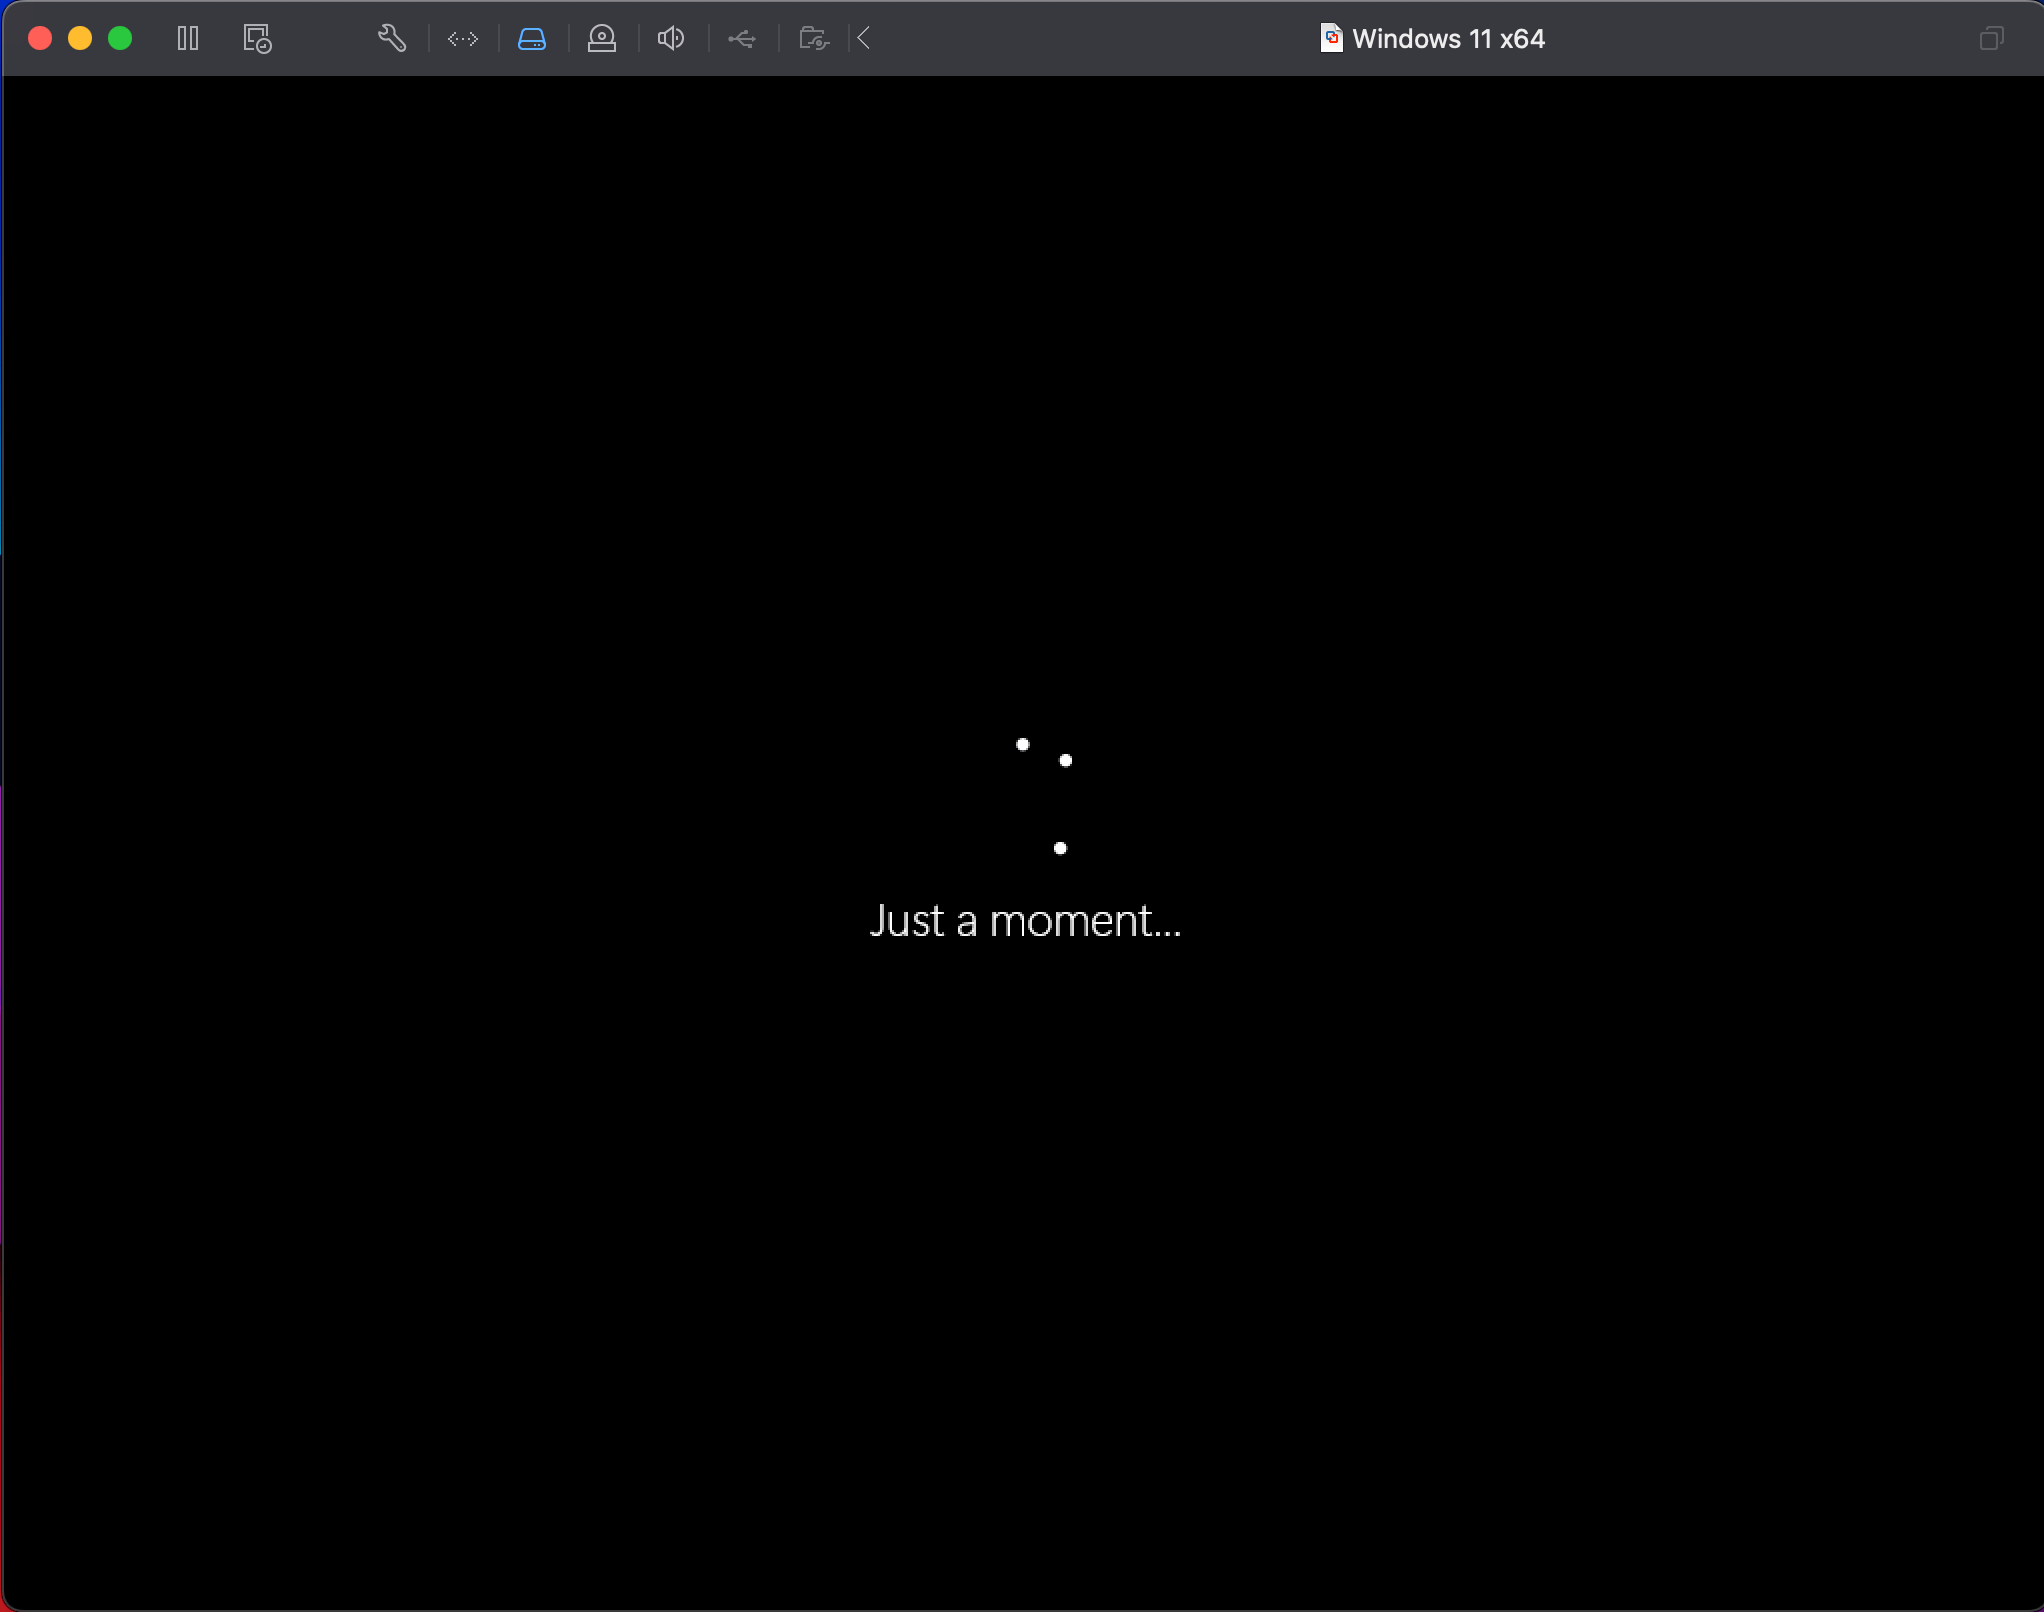
7. First Boot and Initial Setup
Once Windows 11 finally finishes installing (with or without hiccups), the first boot will take you to the setup screens.
And the first screen you will see it's another long thinking ...
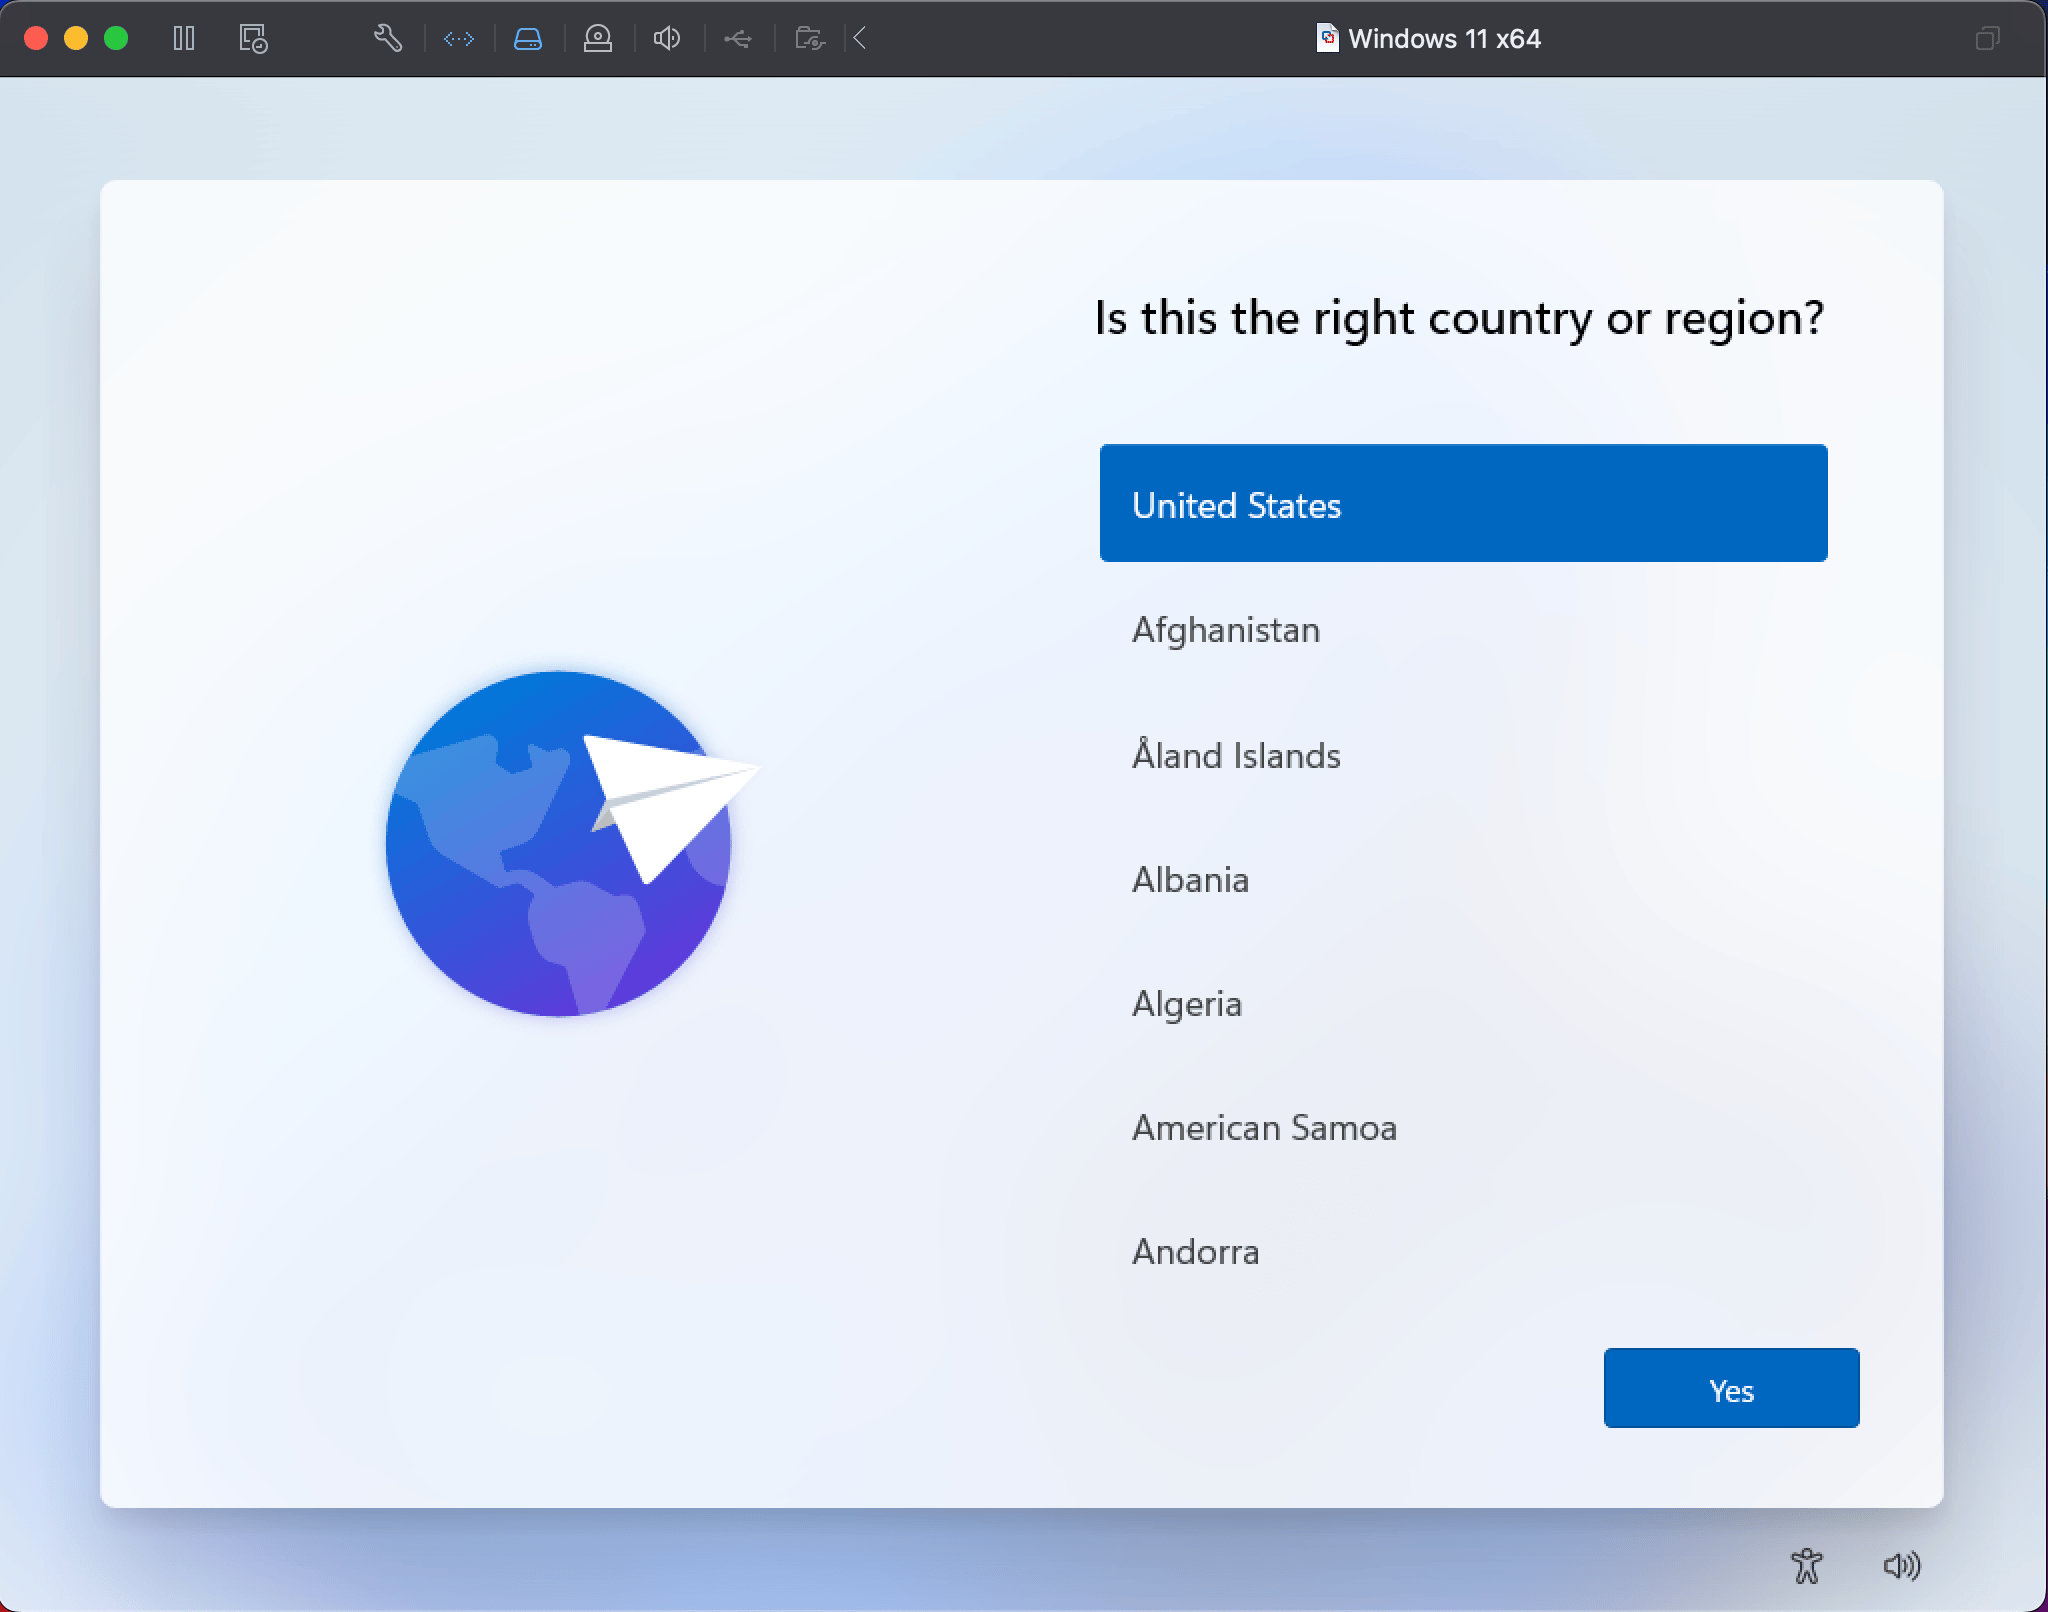
Step 1: Select the region
- After the first boot, you’ll be prompted to select your region.
- This is where things got a bit tricky for me. What should’ve been a simple drop-down selection turned into an unexpected challenge, as I encountered the dreaded OOKEYKEYBOARD error.
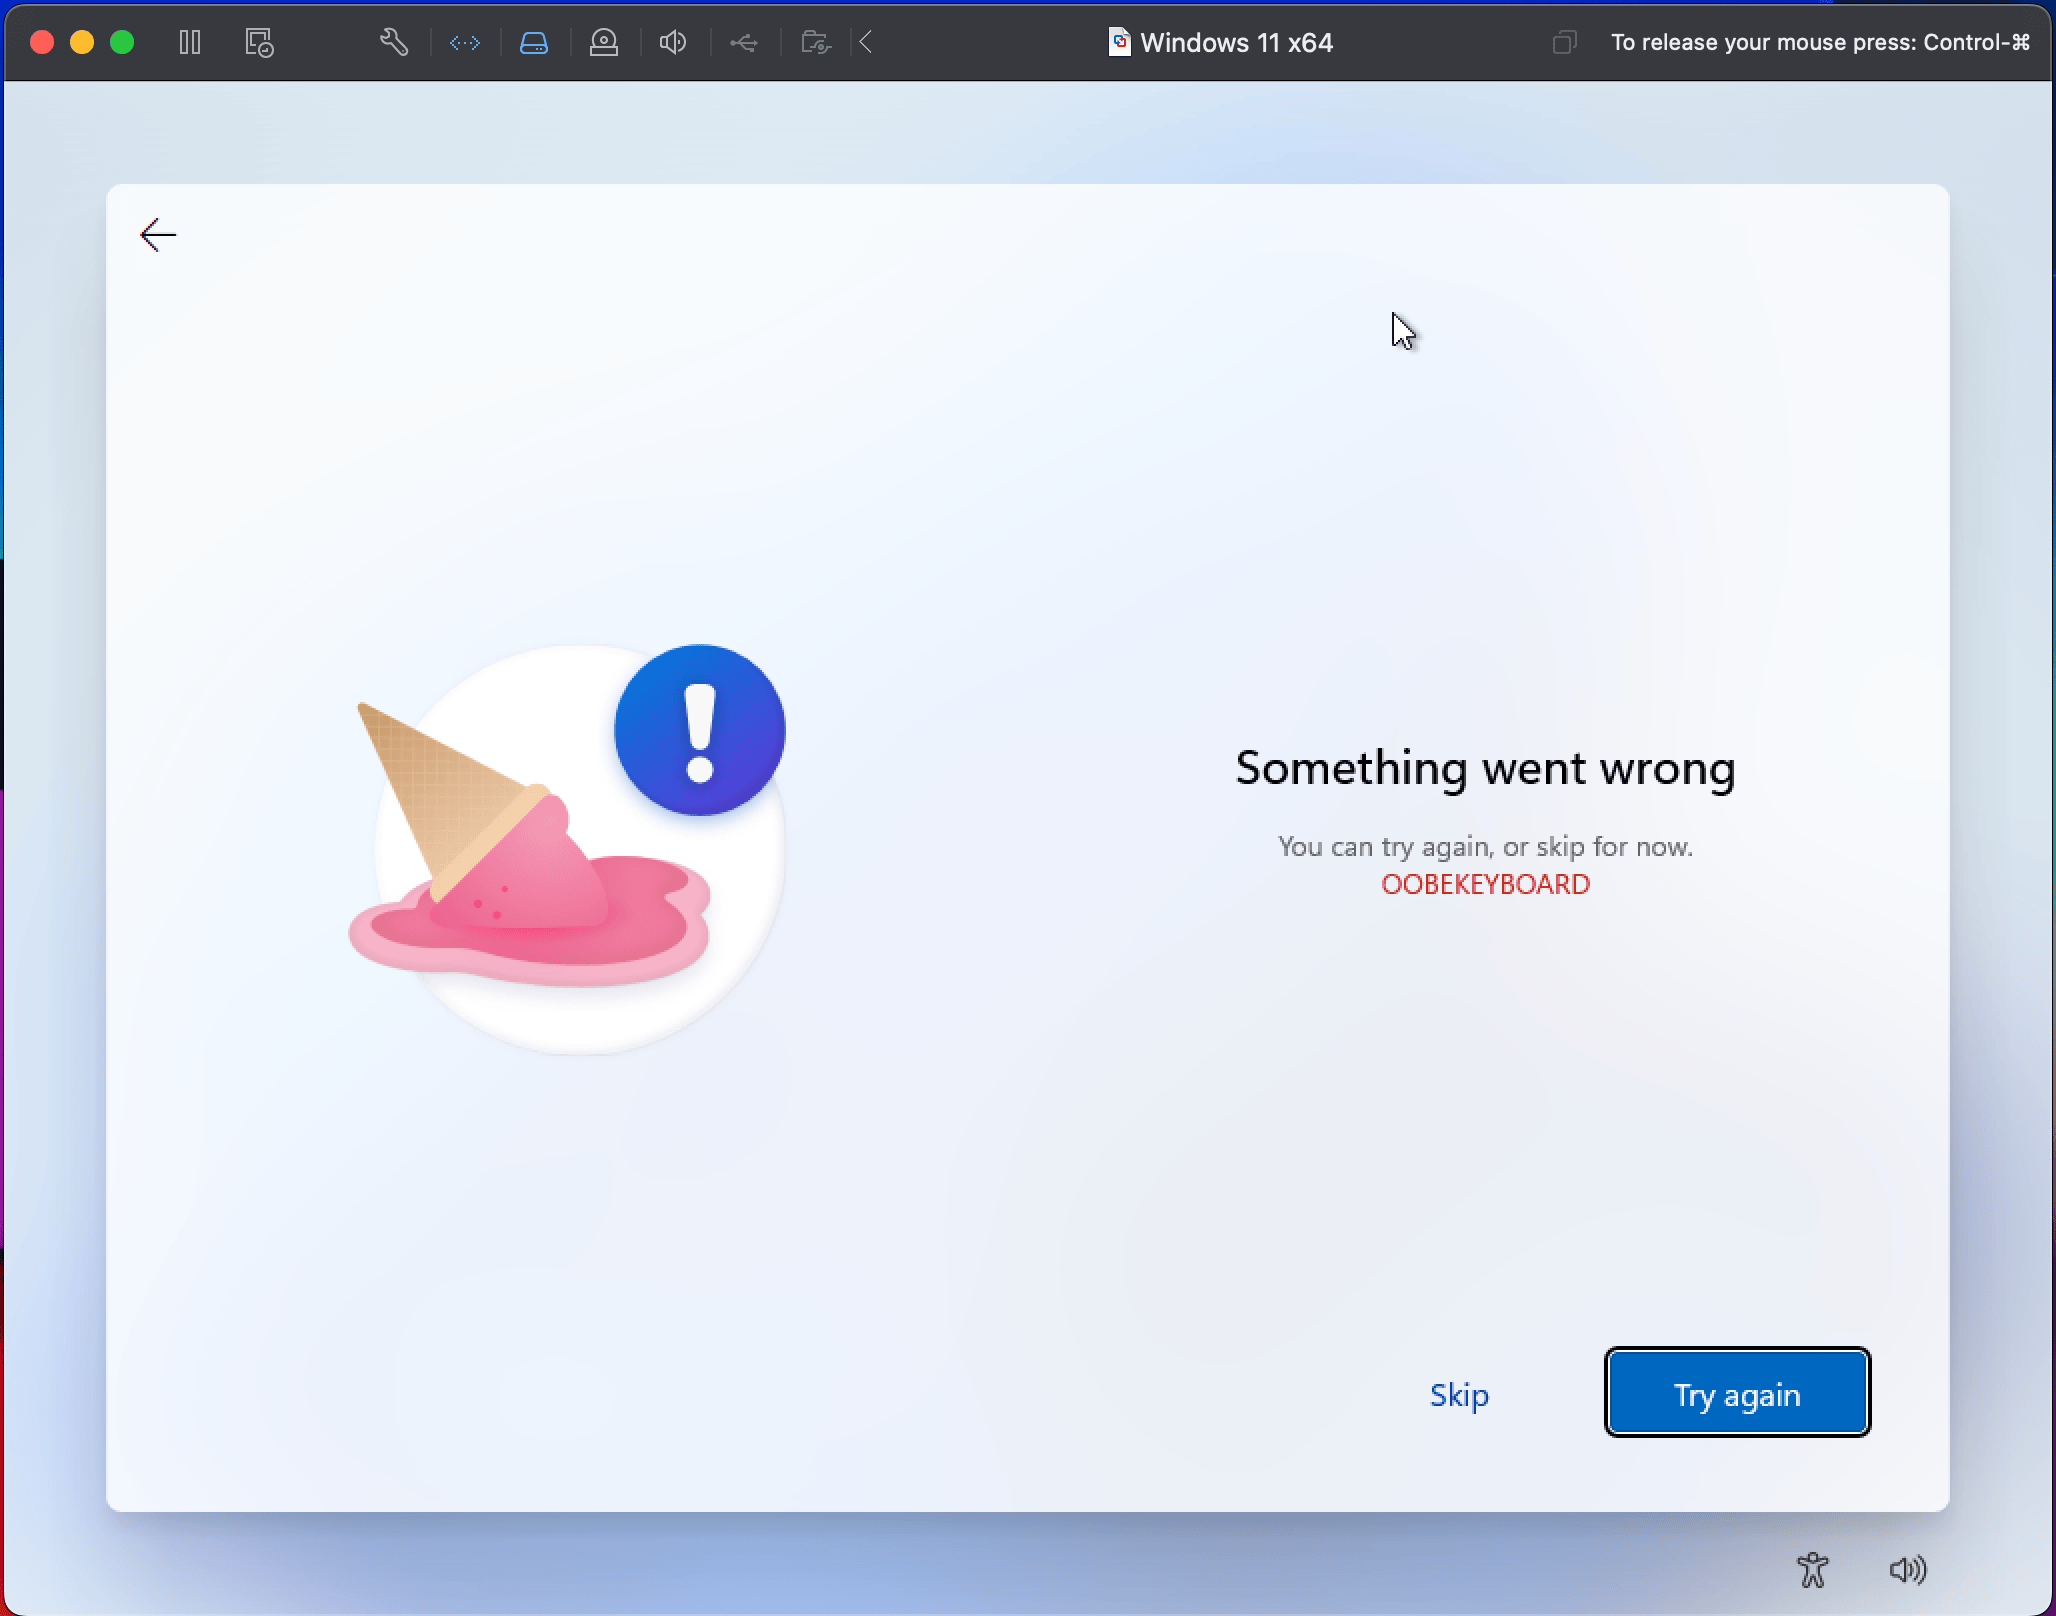
- Yes, you read that right. It took a few attempts before I finally made it through. If you run into the same issue, just take a deep breath and try again—it will eventually work, I promise!
Step 2: Select the keyboard layout (again)
- Yes, it asked me again for my keyboard layout.
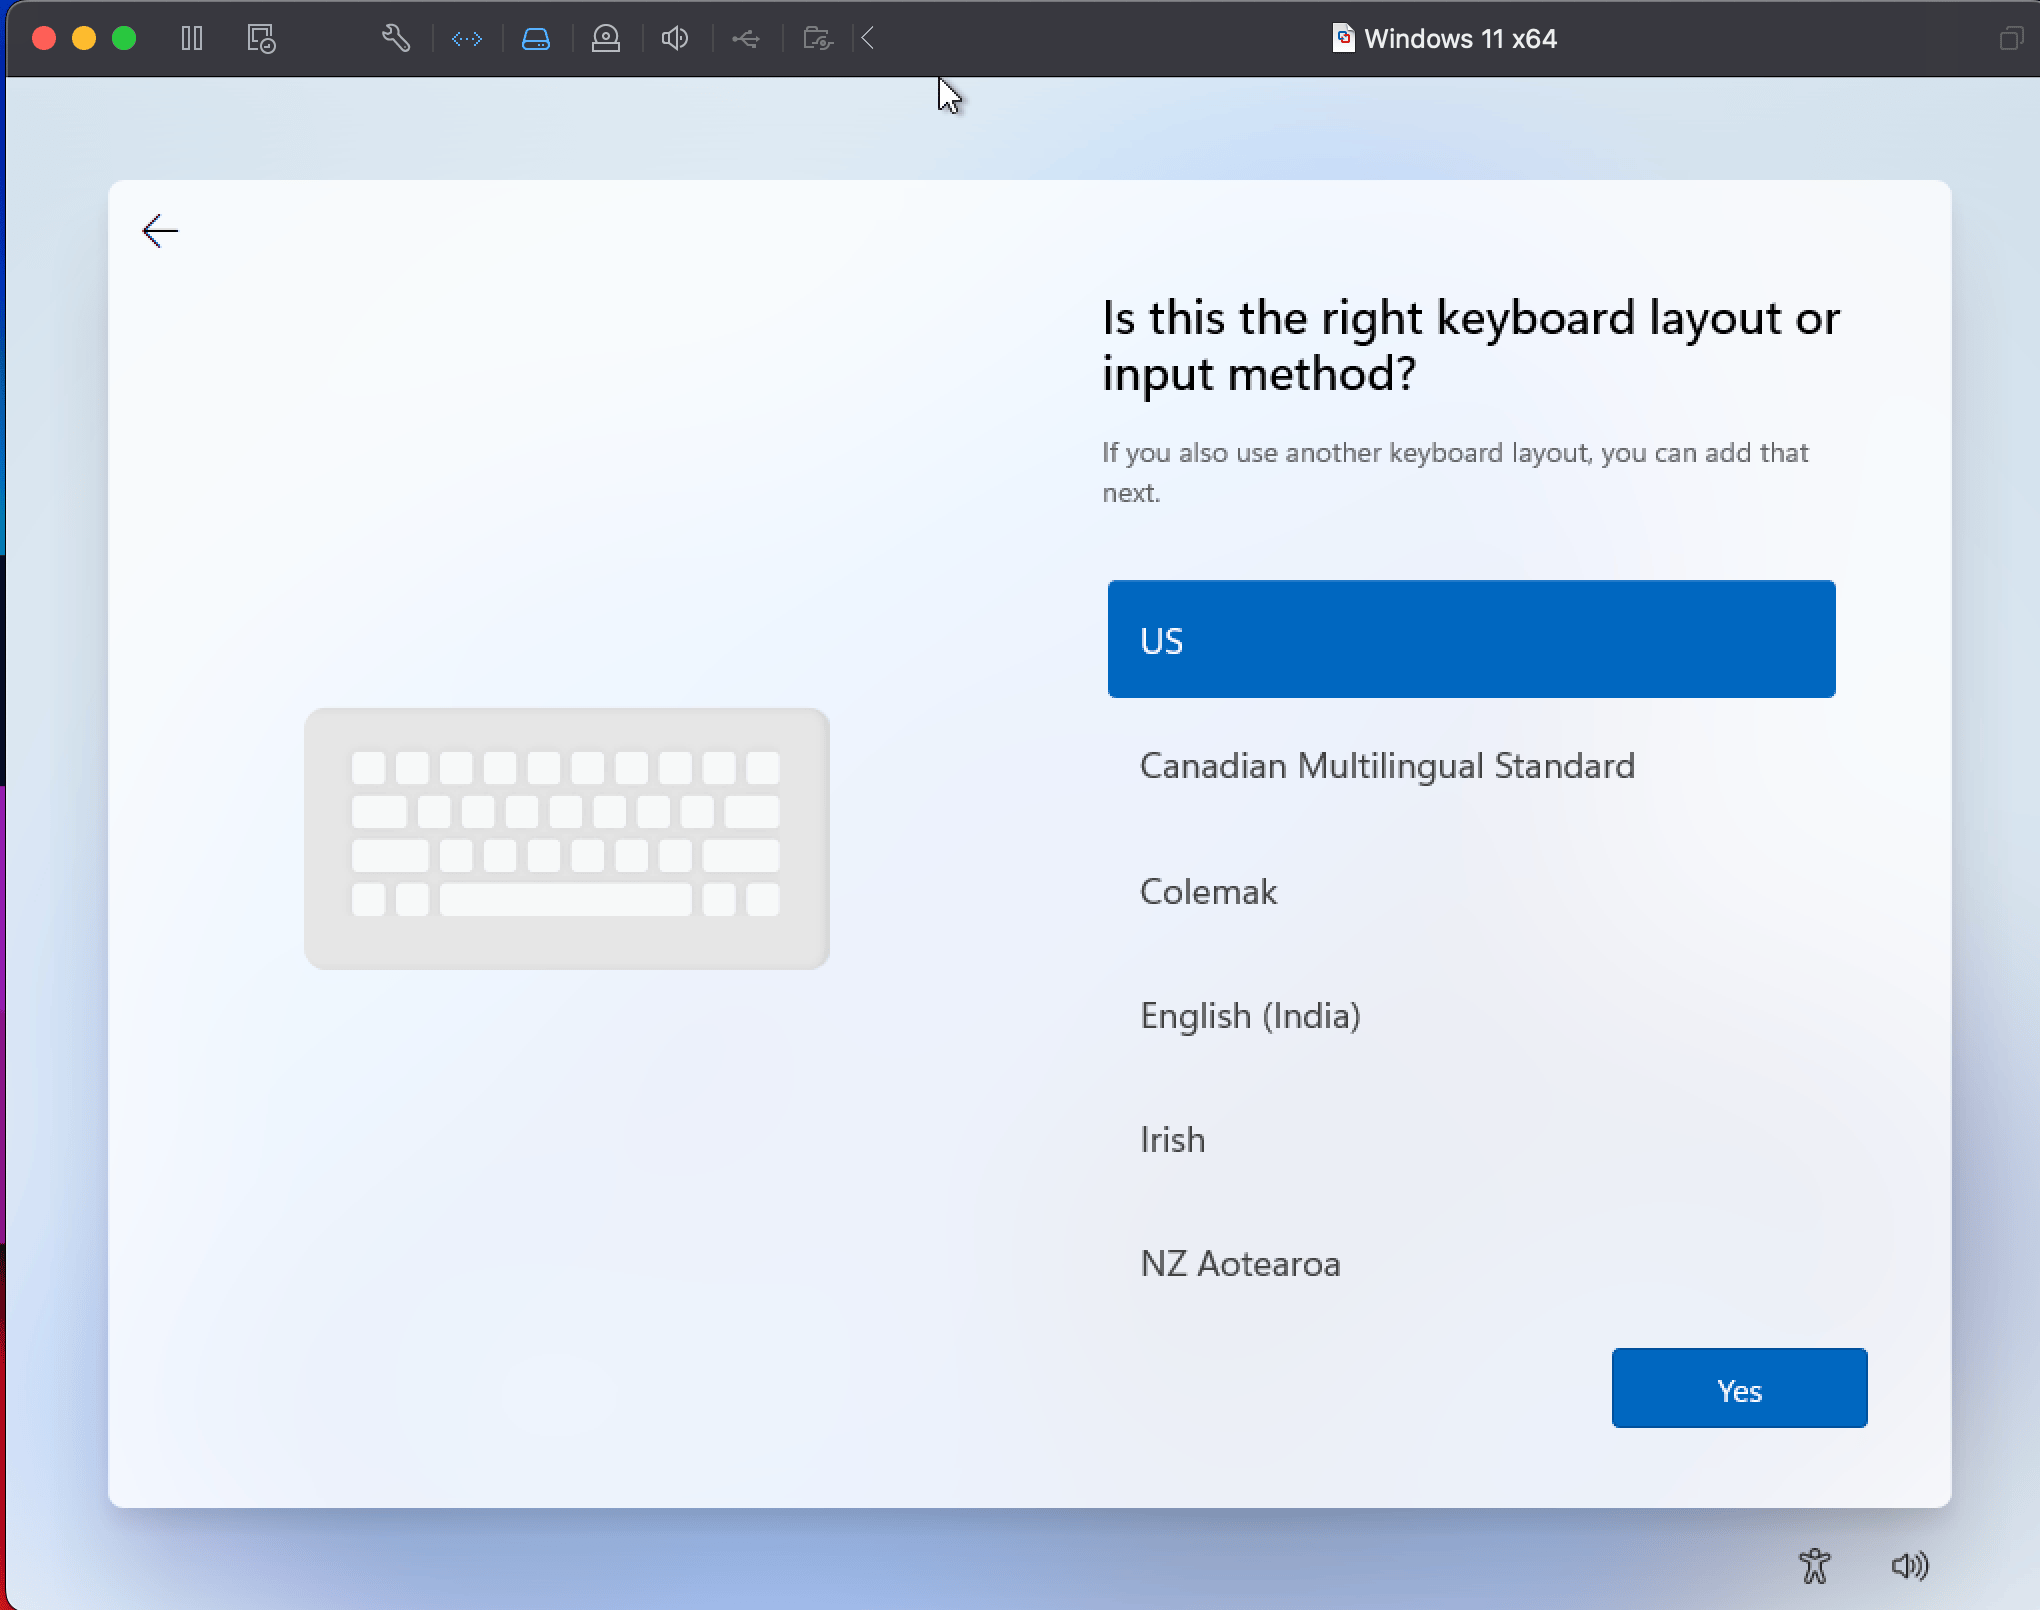
- And additional keyboard layout.

- And then another OOKEYKEYBOARD error.

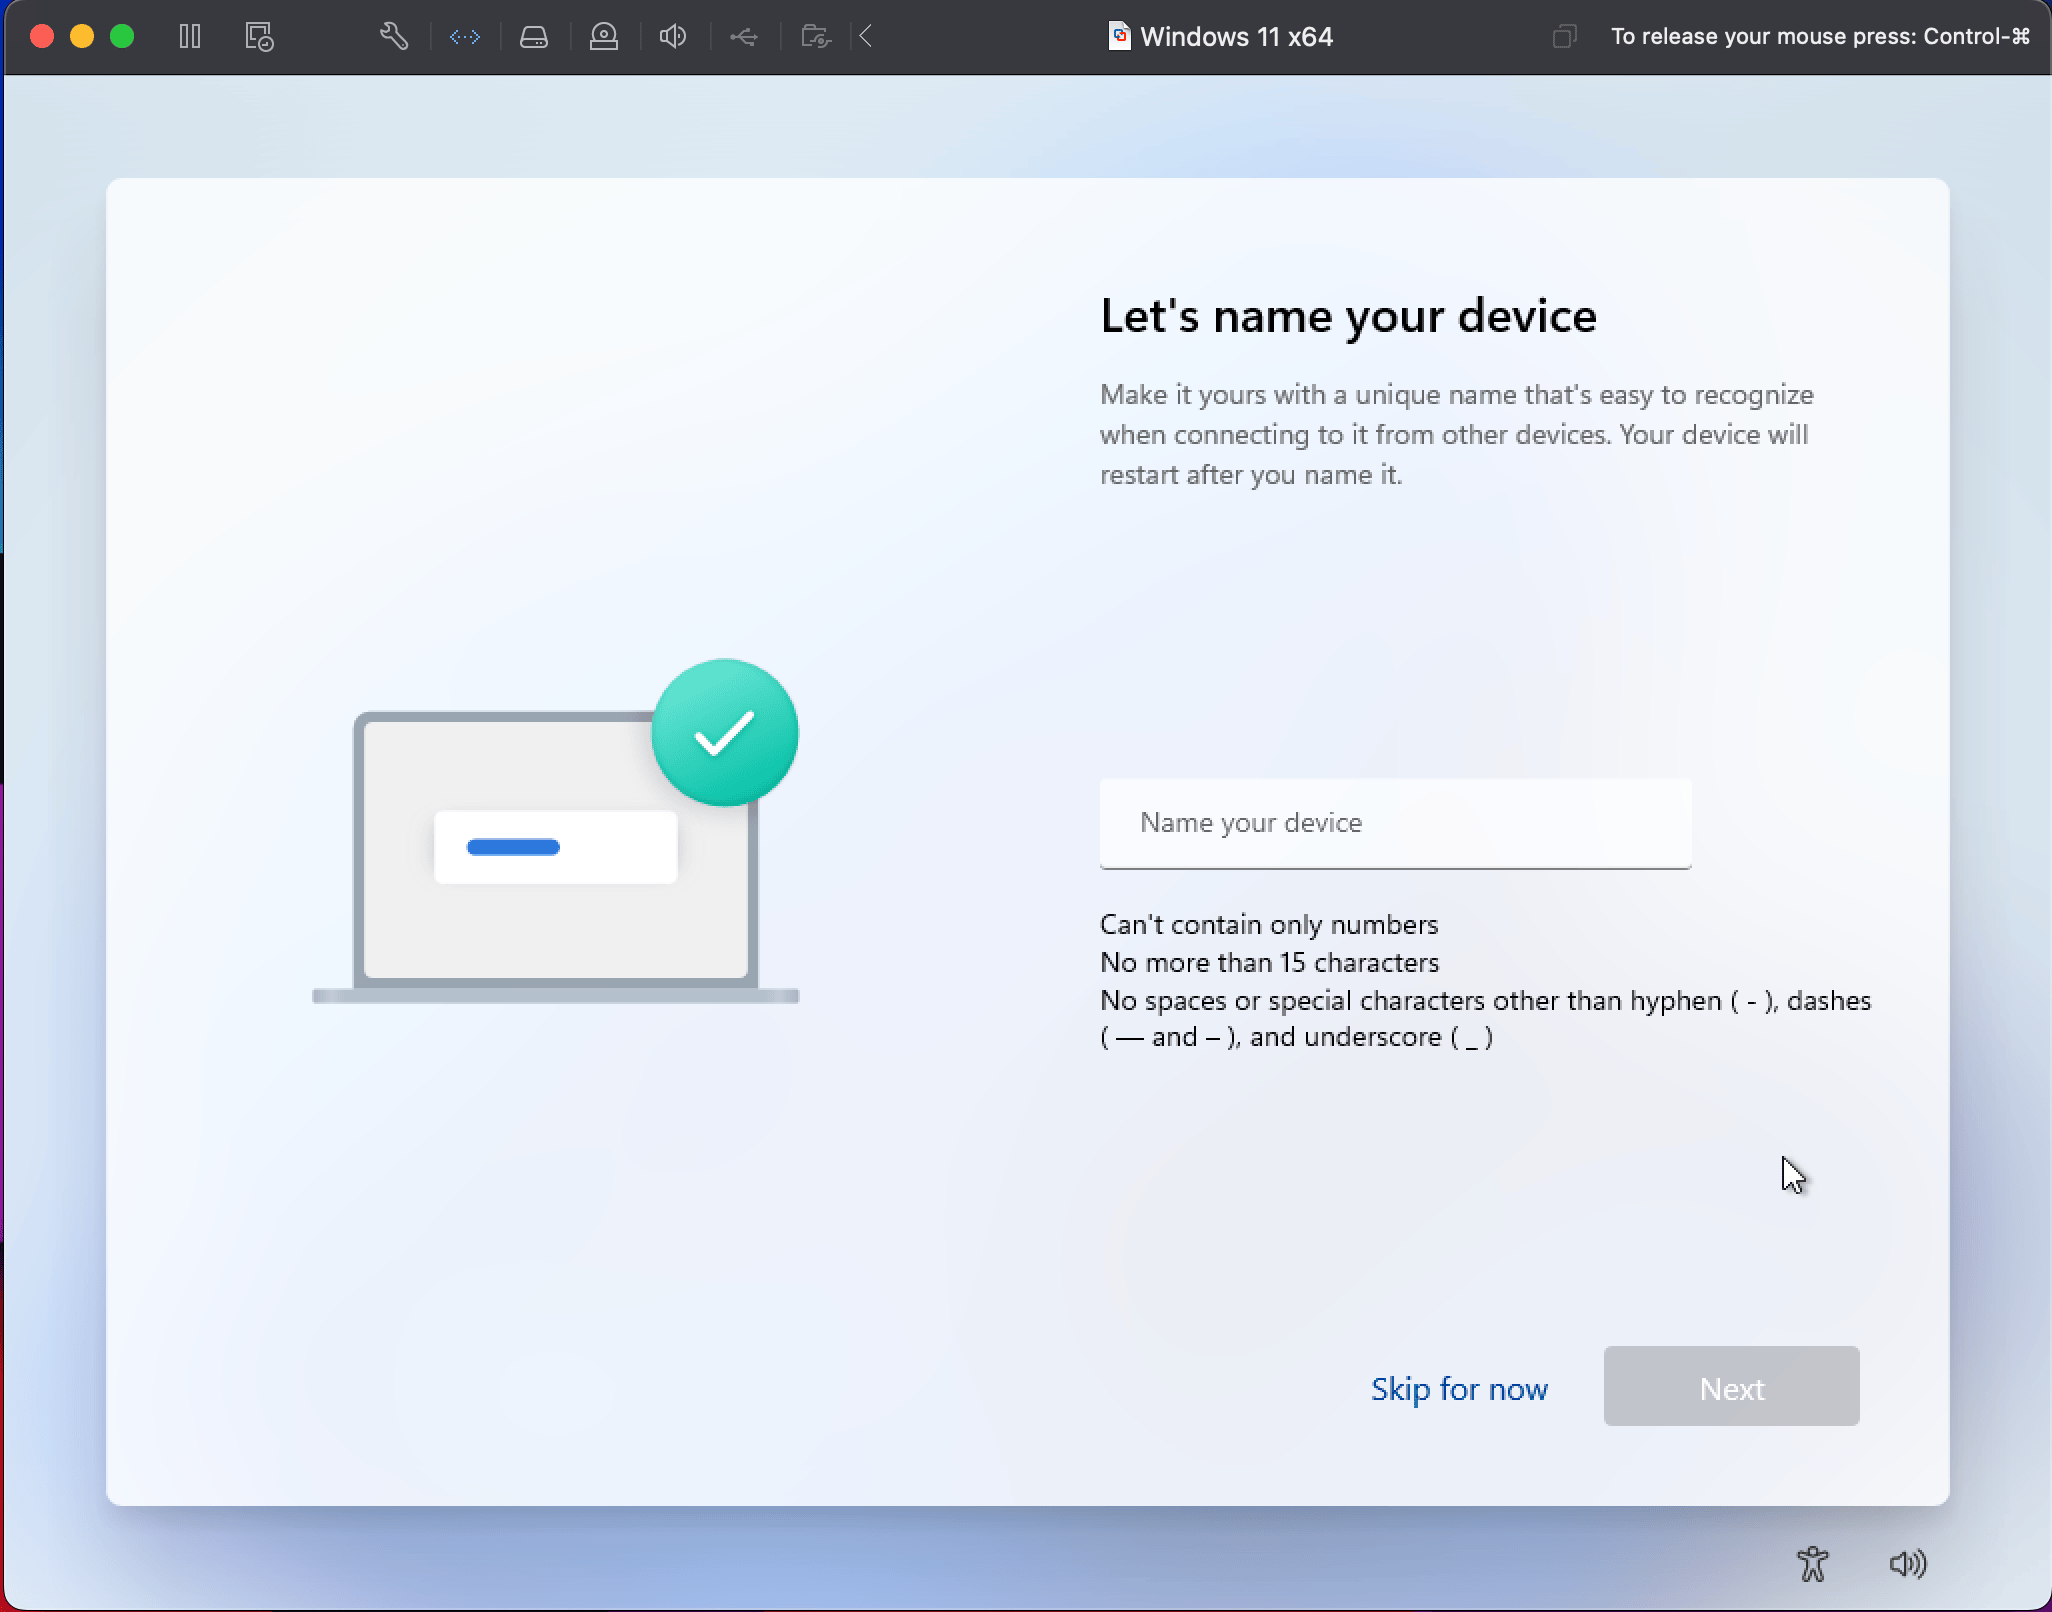
Step 3: Device name
Just type your device name.
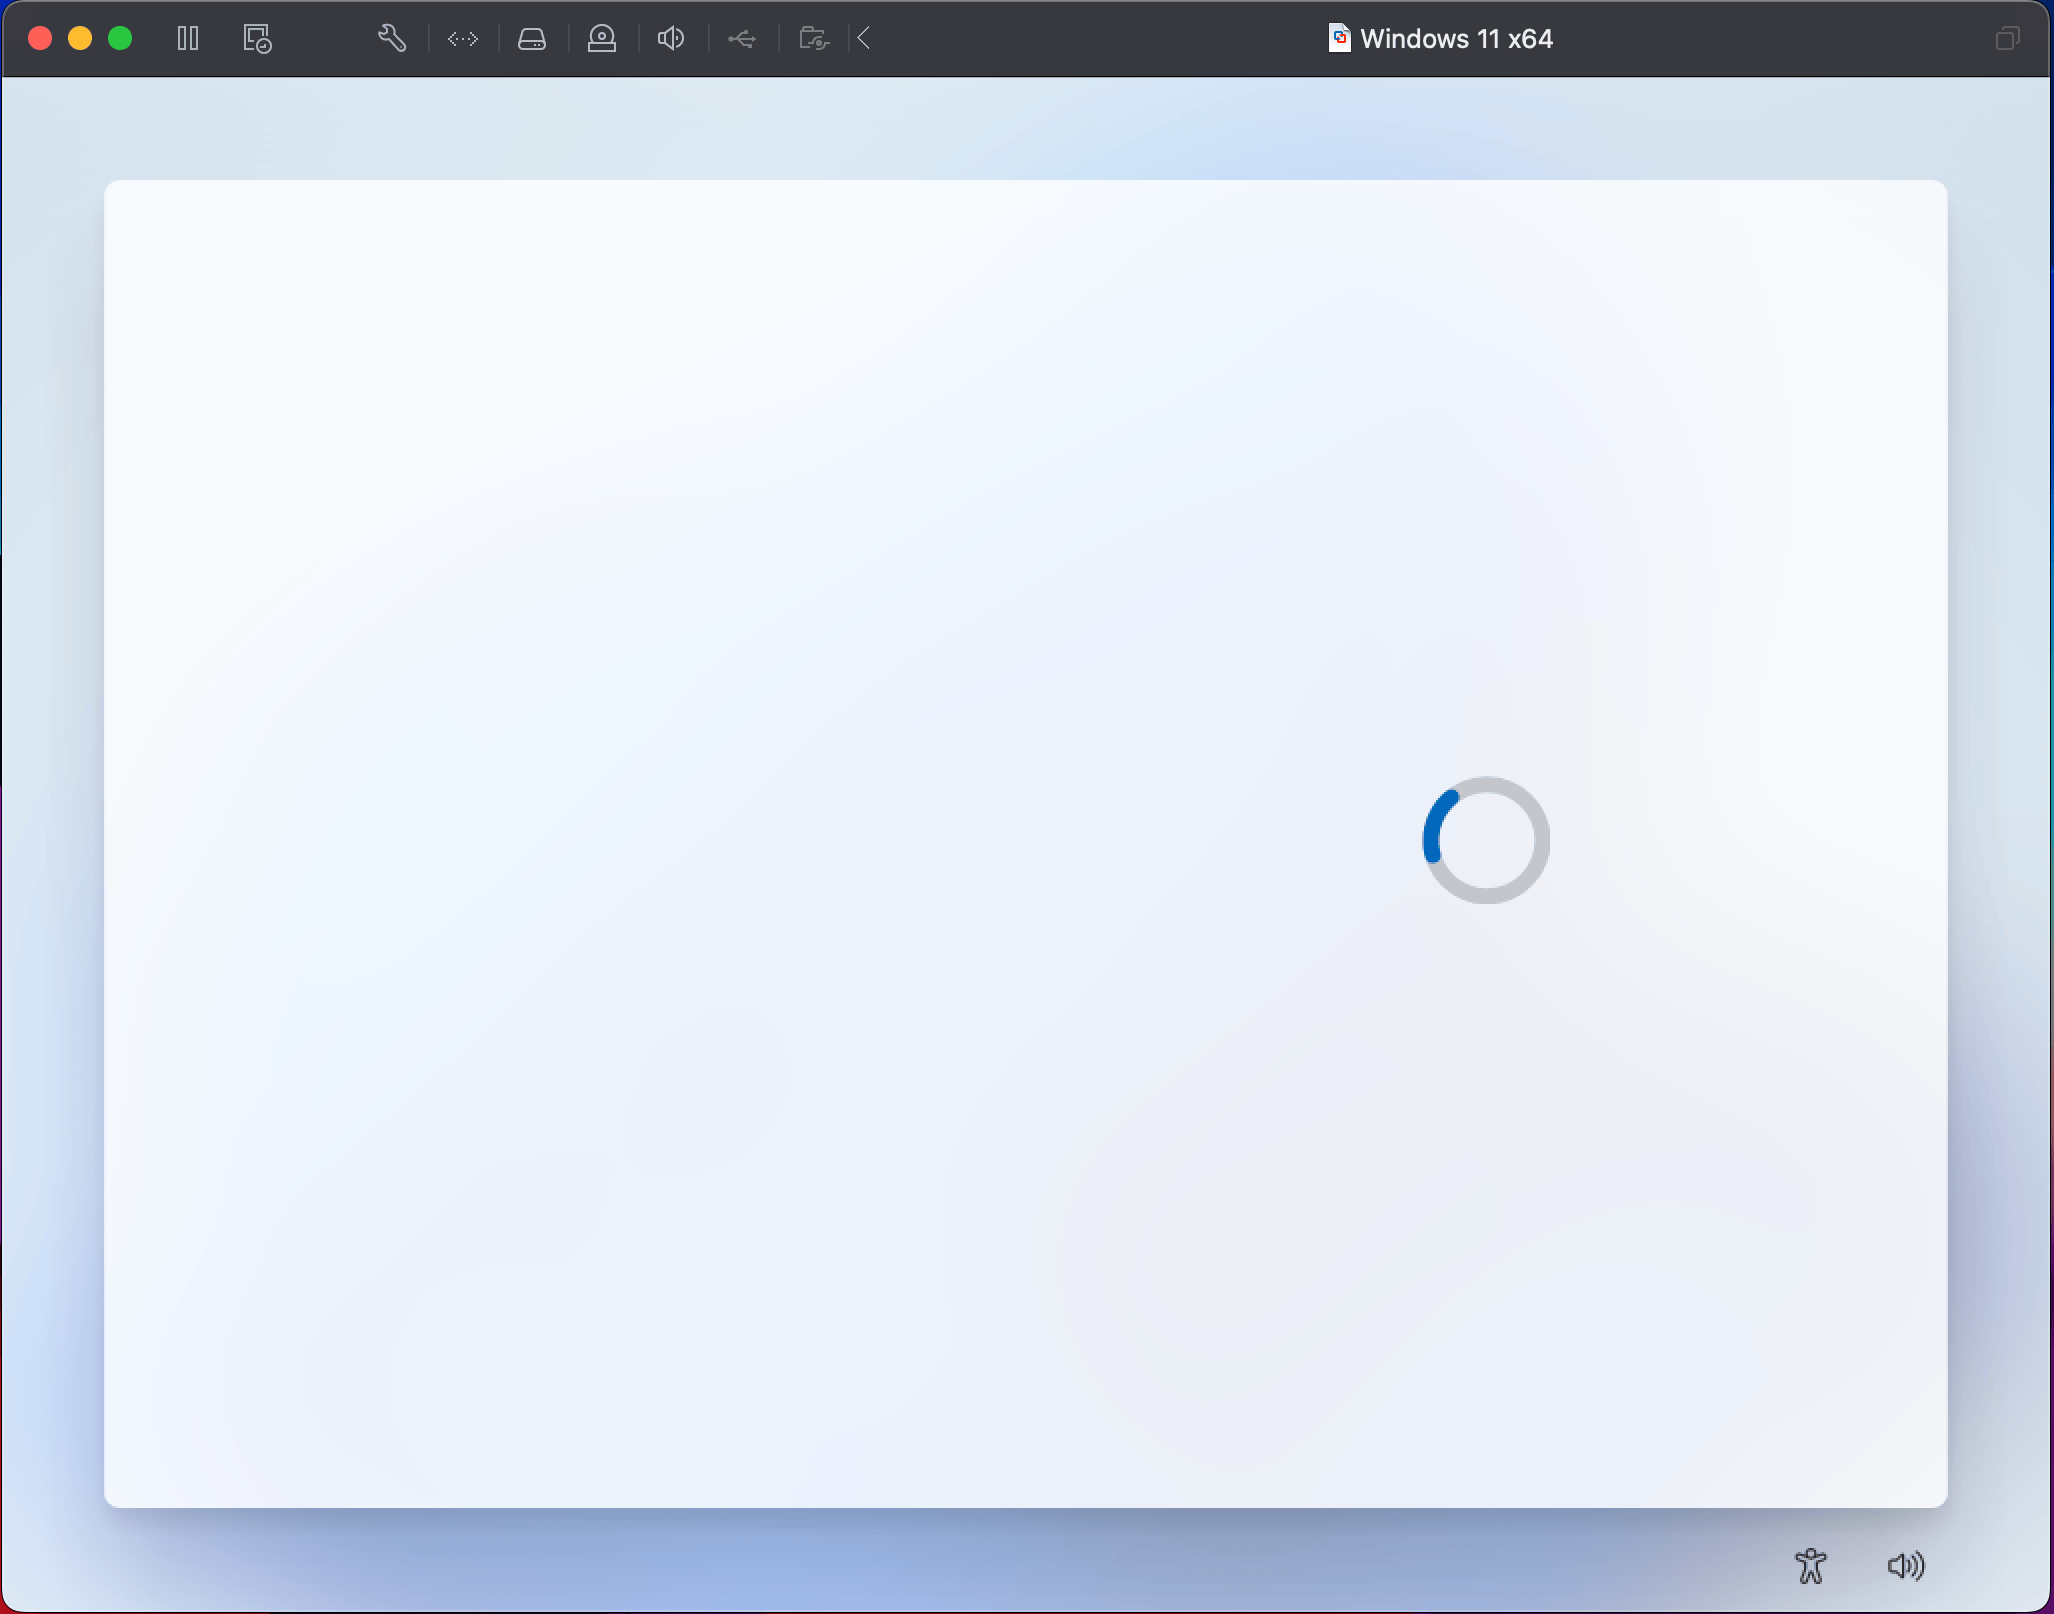
And another "Just a moment..."

You'll encounter another loading cycle that may take some time.
Step 4: Set Up Your Account
- Choose to sign in with a Microsoft account or create a local account. Fun fact: Signing in with a Microsoft account is like getting into an exclusive club where they keep asking for more information.
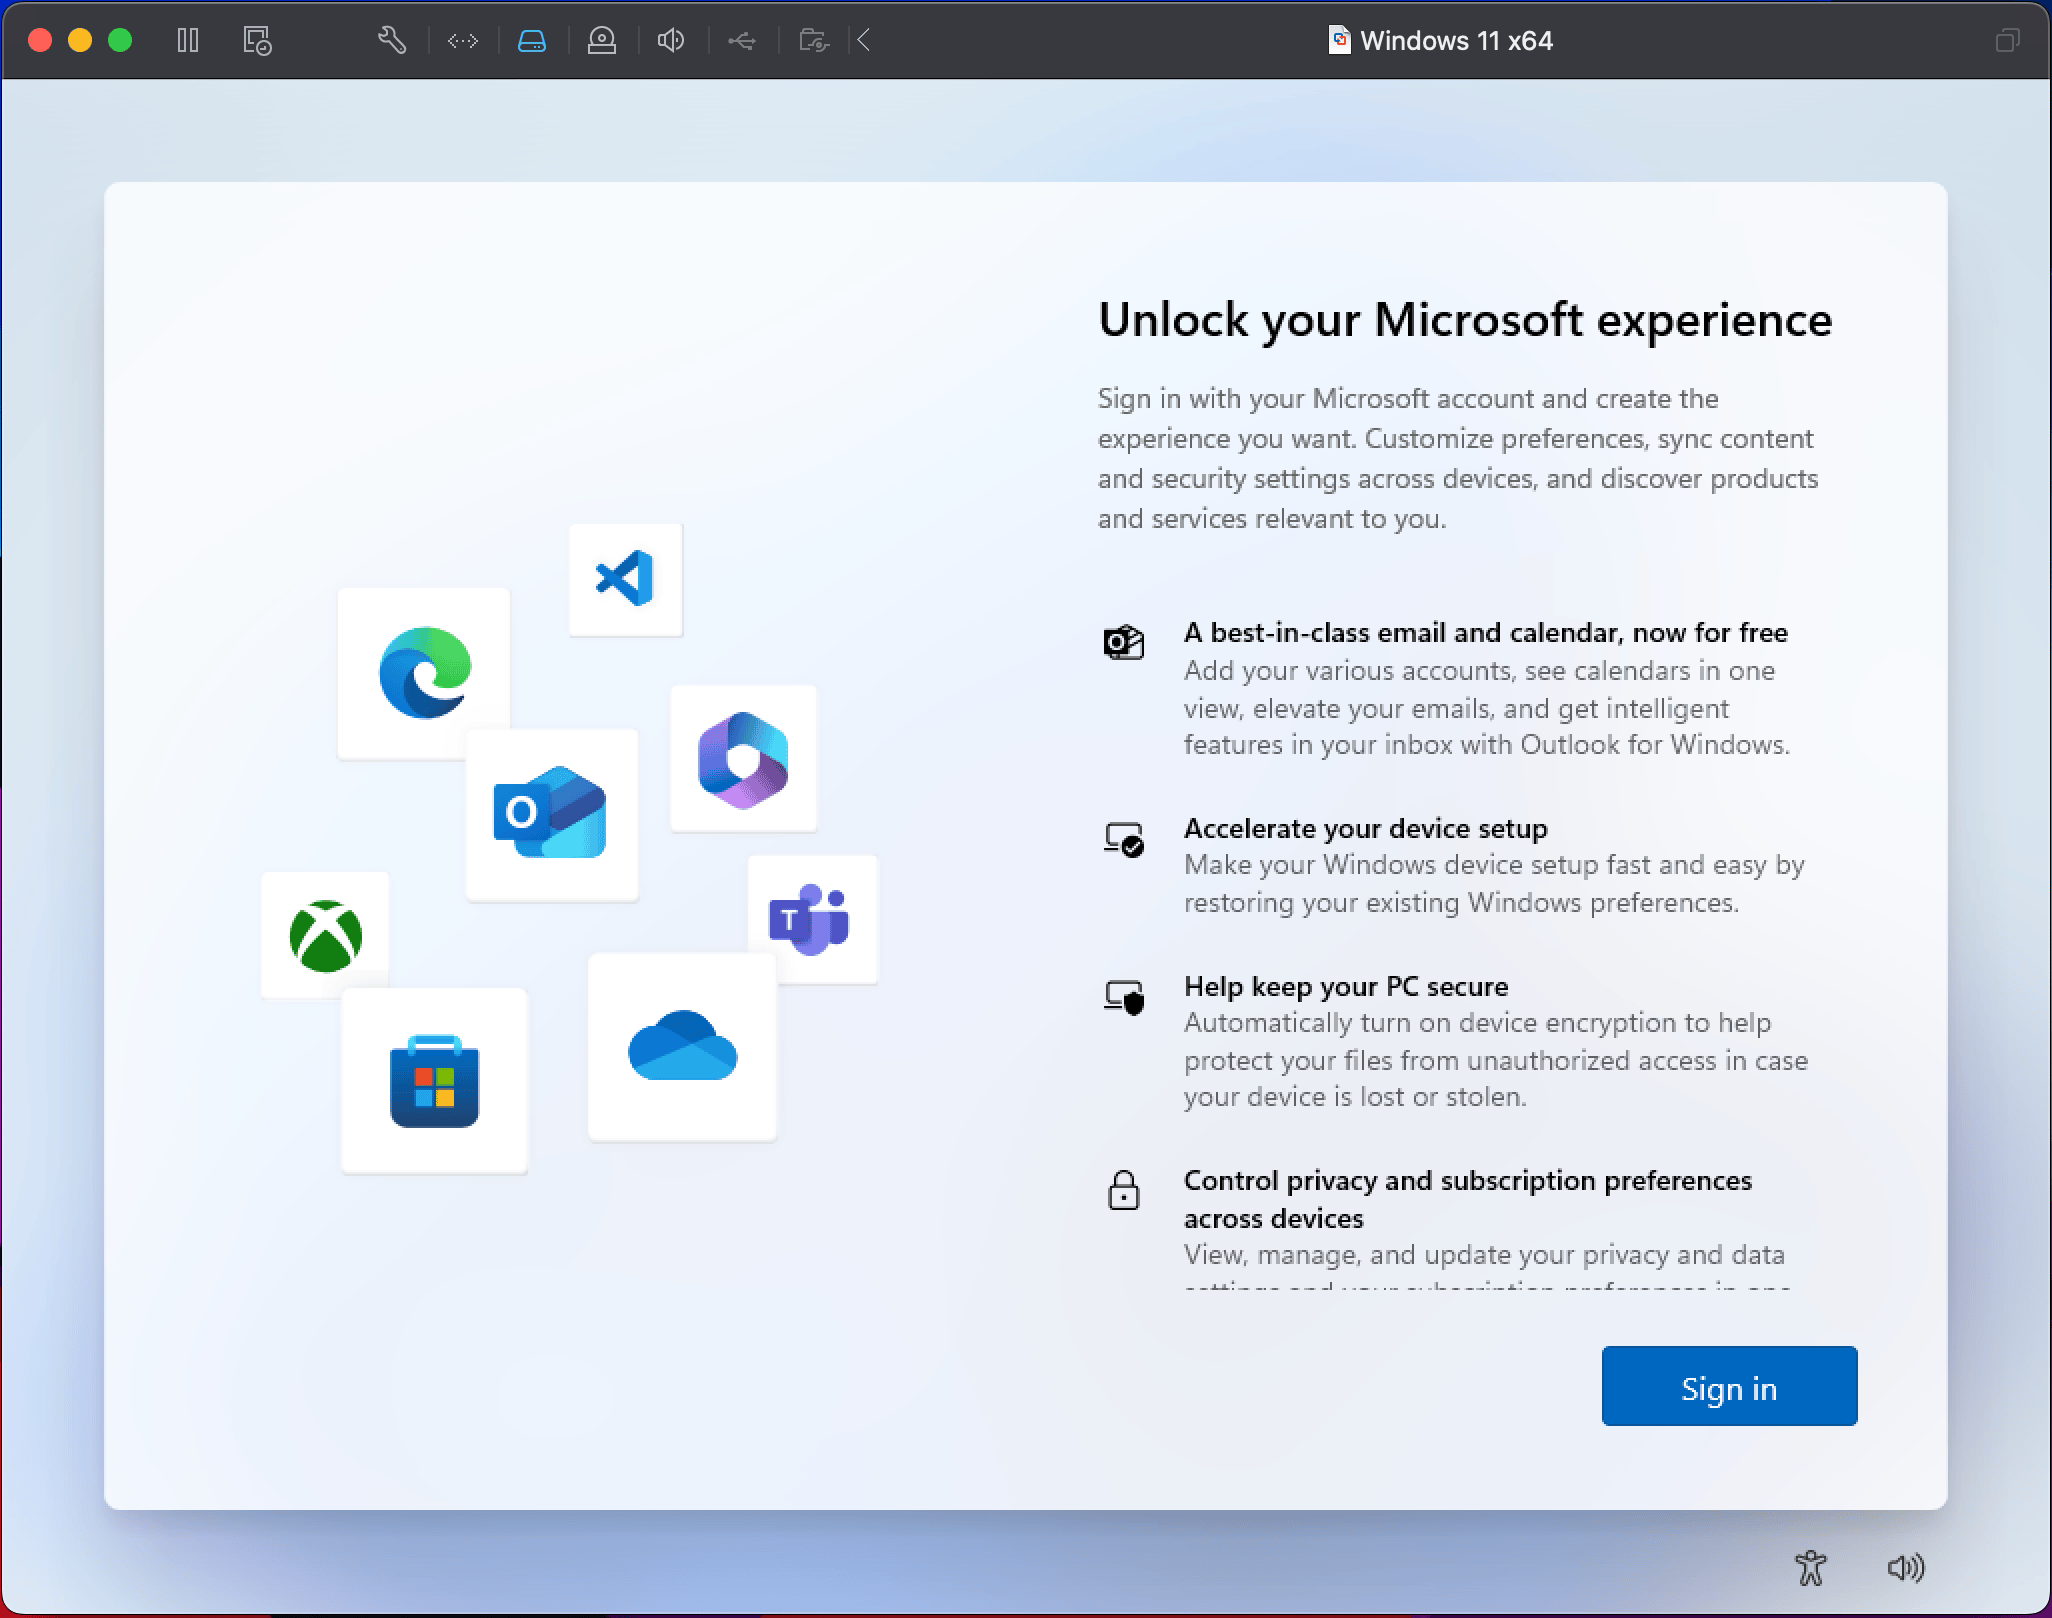
- Or create a new account.

Creating the account took me an additional 10 minutes and around 12 screenshots, which I plan to share in a separate post.
Step 5: Configure Settings
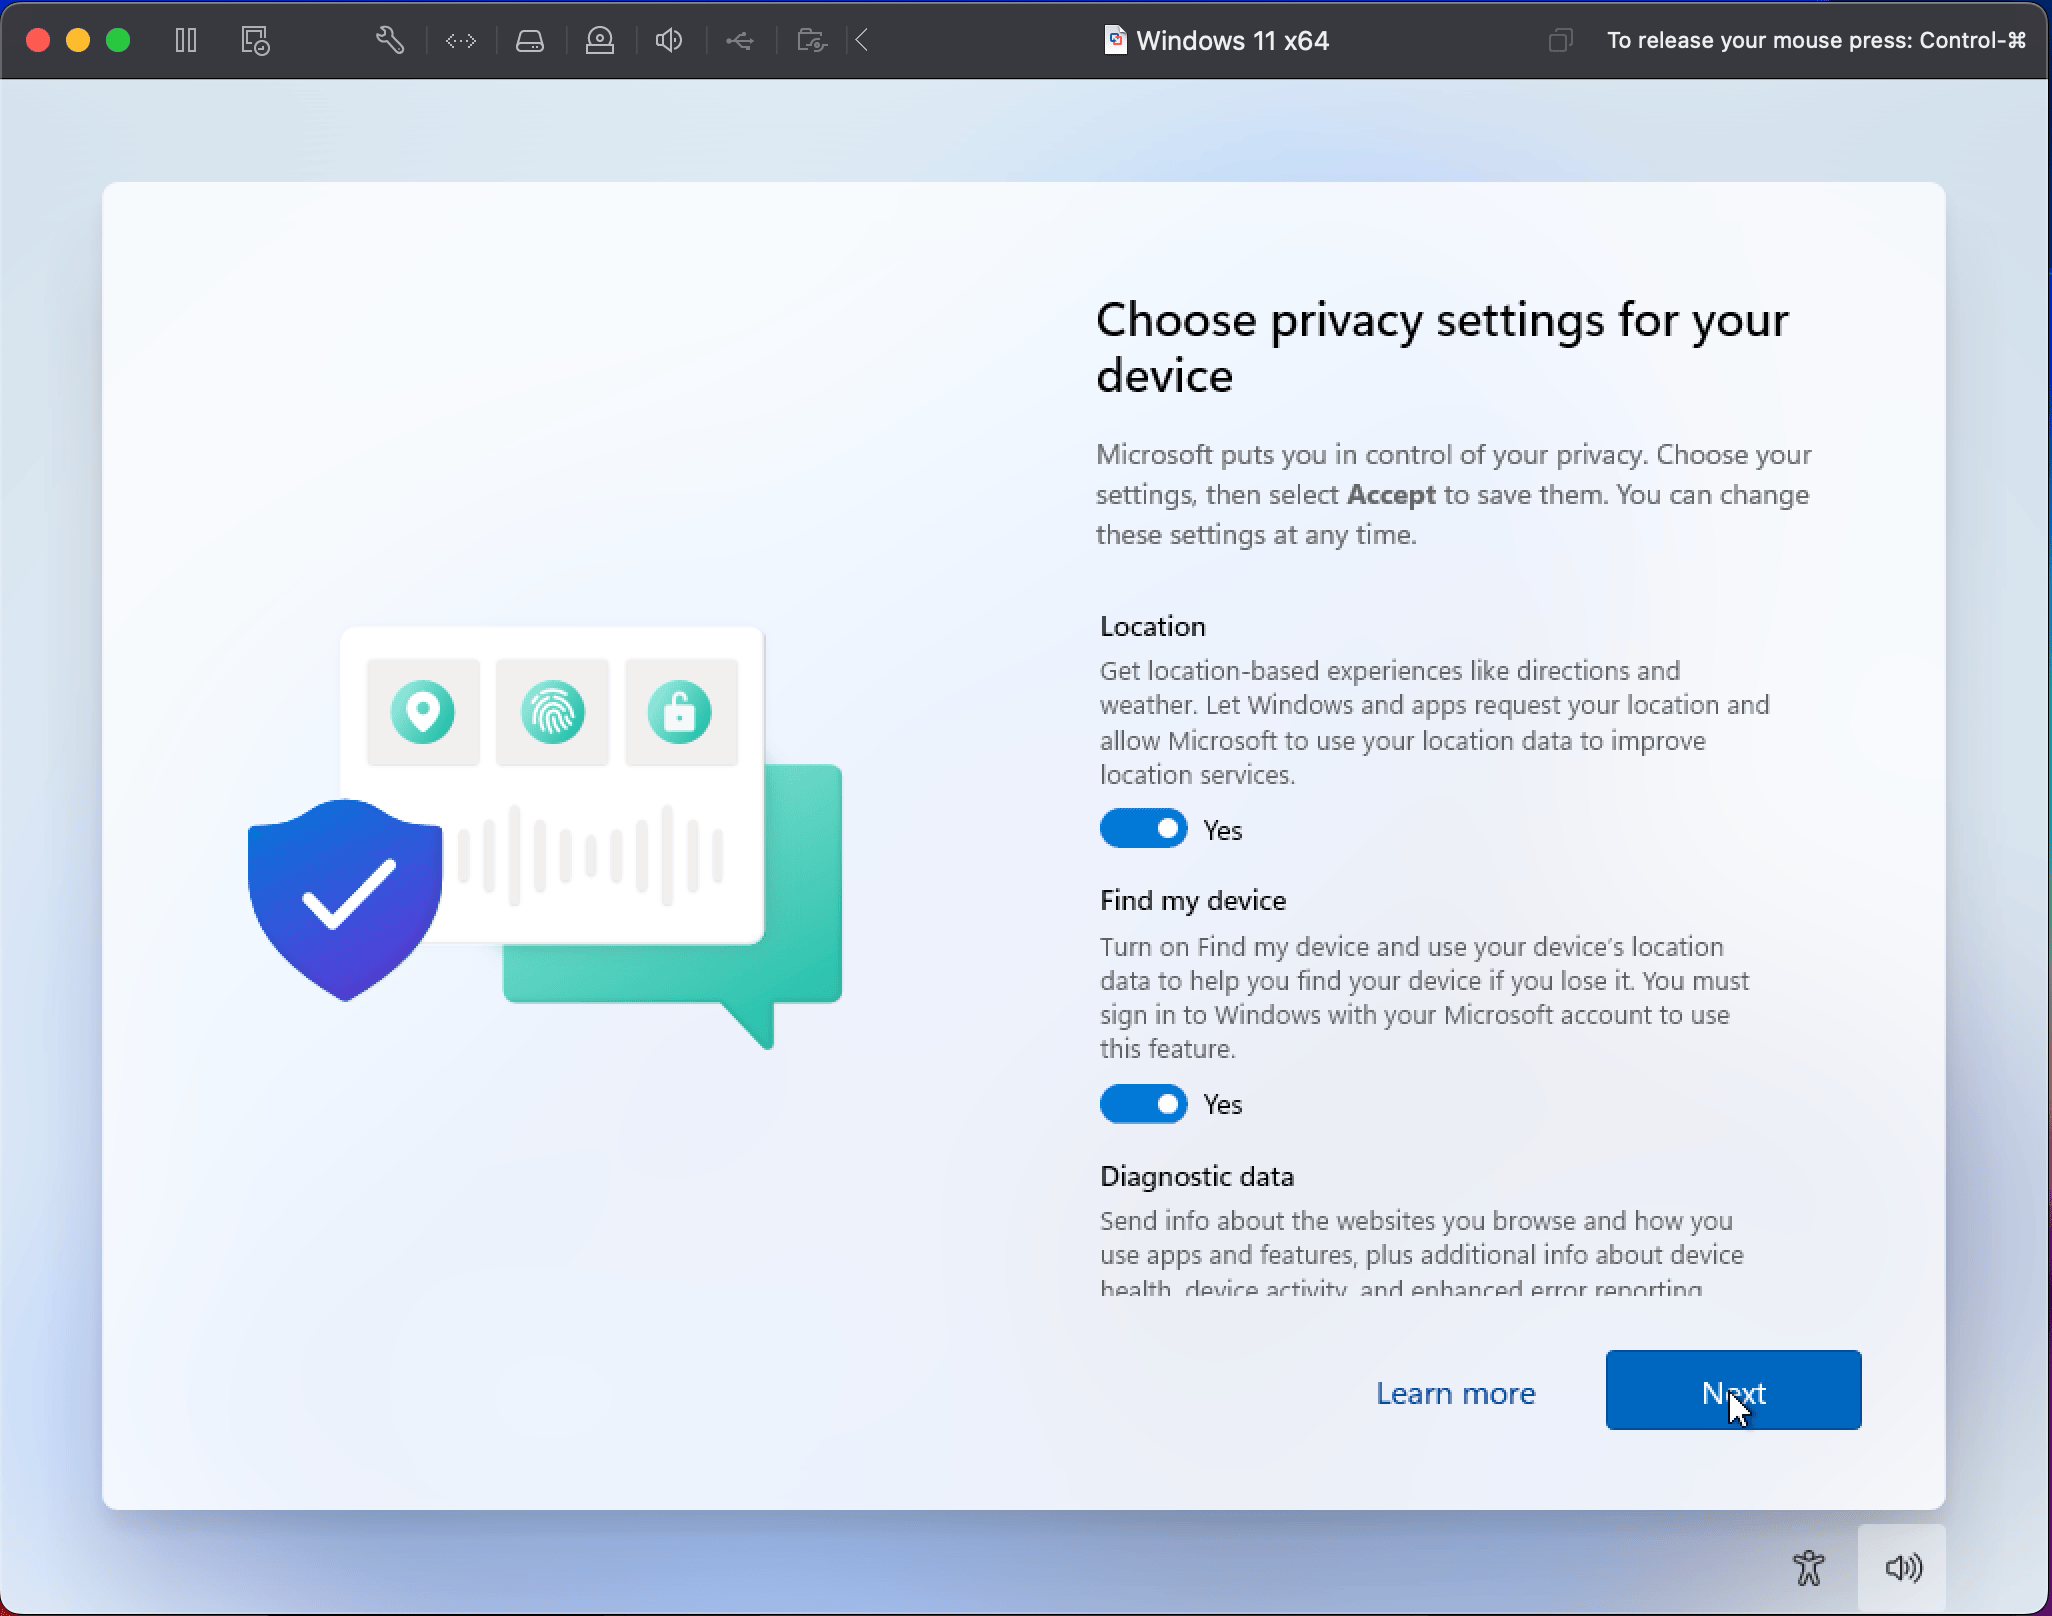
- Choose your privacy settings, location, diagnostics, etc. Microsoft loves collecting data, but you can opt out of some of it.Let’s just say, if Windows starts feeling too familiar with your habits, it's because it’s always watching.
- After privacy settings, you’ll be asked to choose how you plan to use Windows from a set of options like Development, Entertainment, Gaming, School, and a few others. Naturally, I went with Development, since this is all about testing Git and some DevOps workflows. But if you’re installing Windows for something more relaxing (like gaming or entertainment), you might want to explore those options. This step helps Windows tailor your settings to match your intended use, though I suspect it’s also a way for it to keep track of how often we’re working versus gaming.

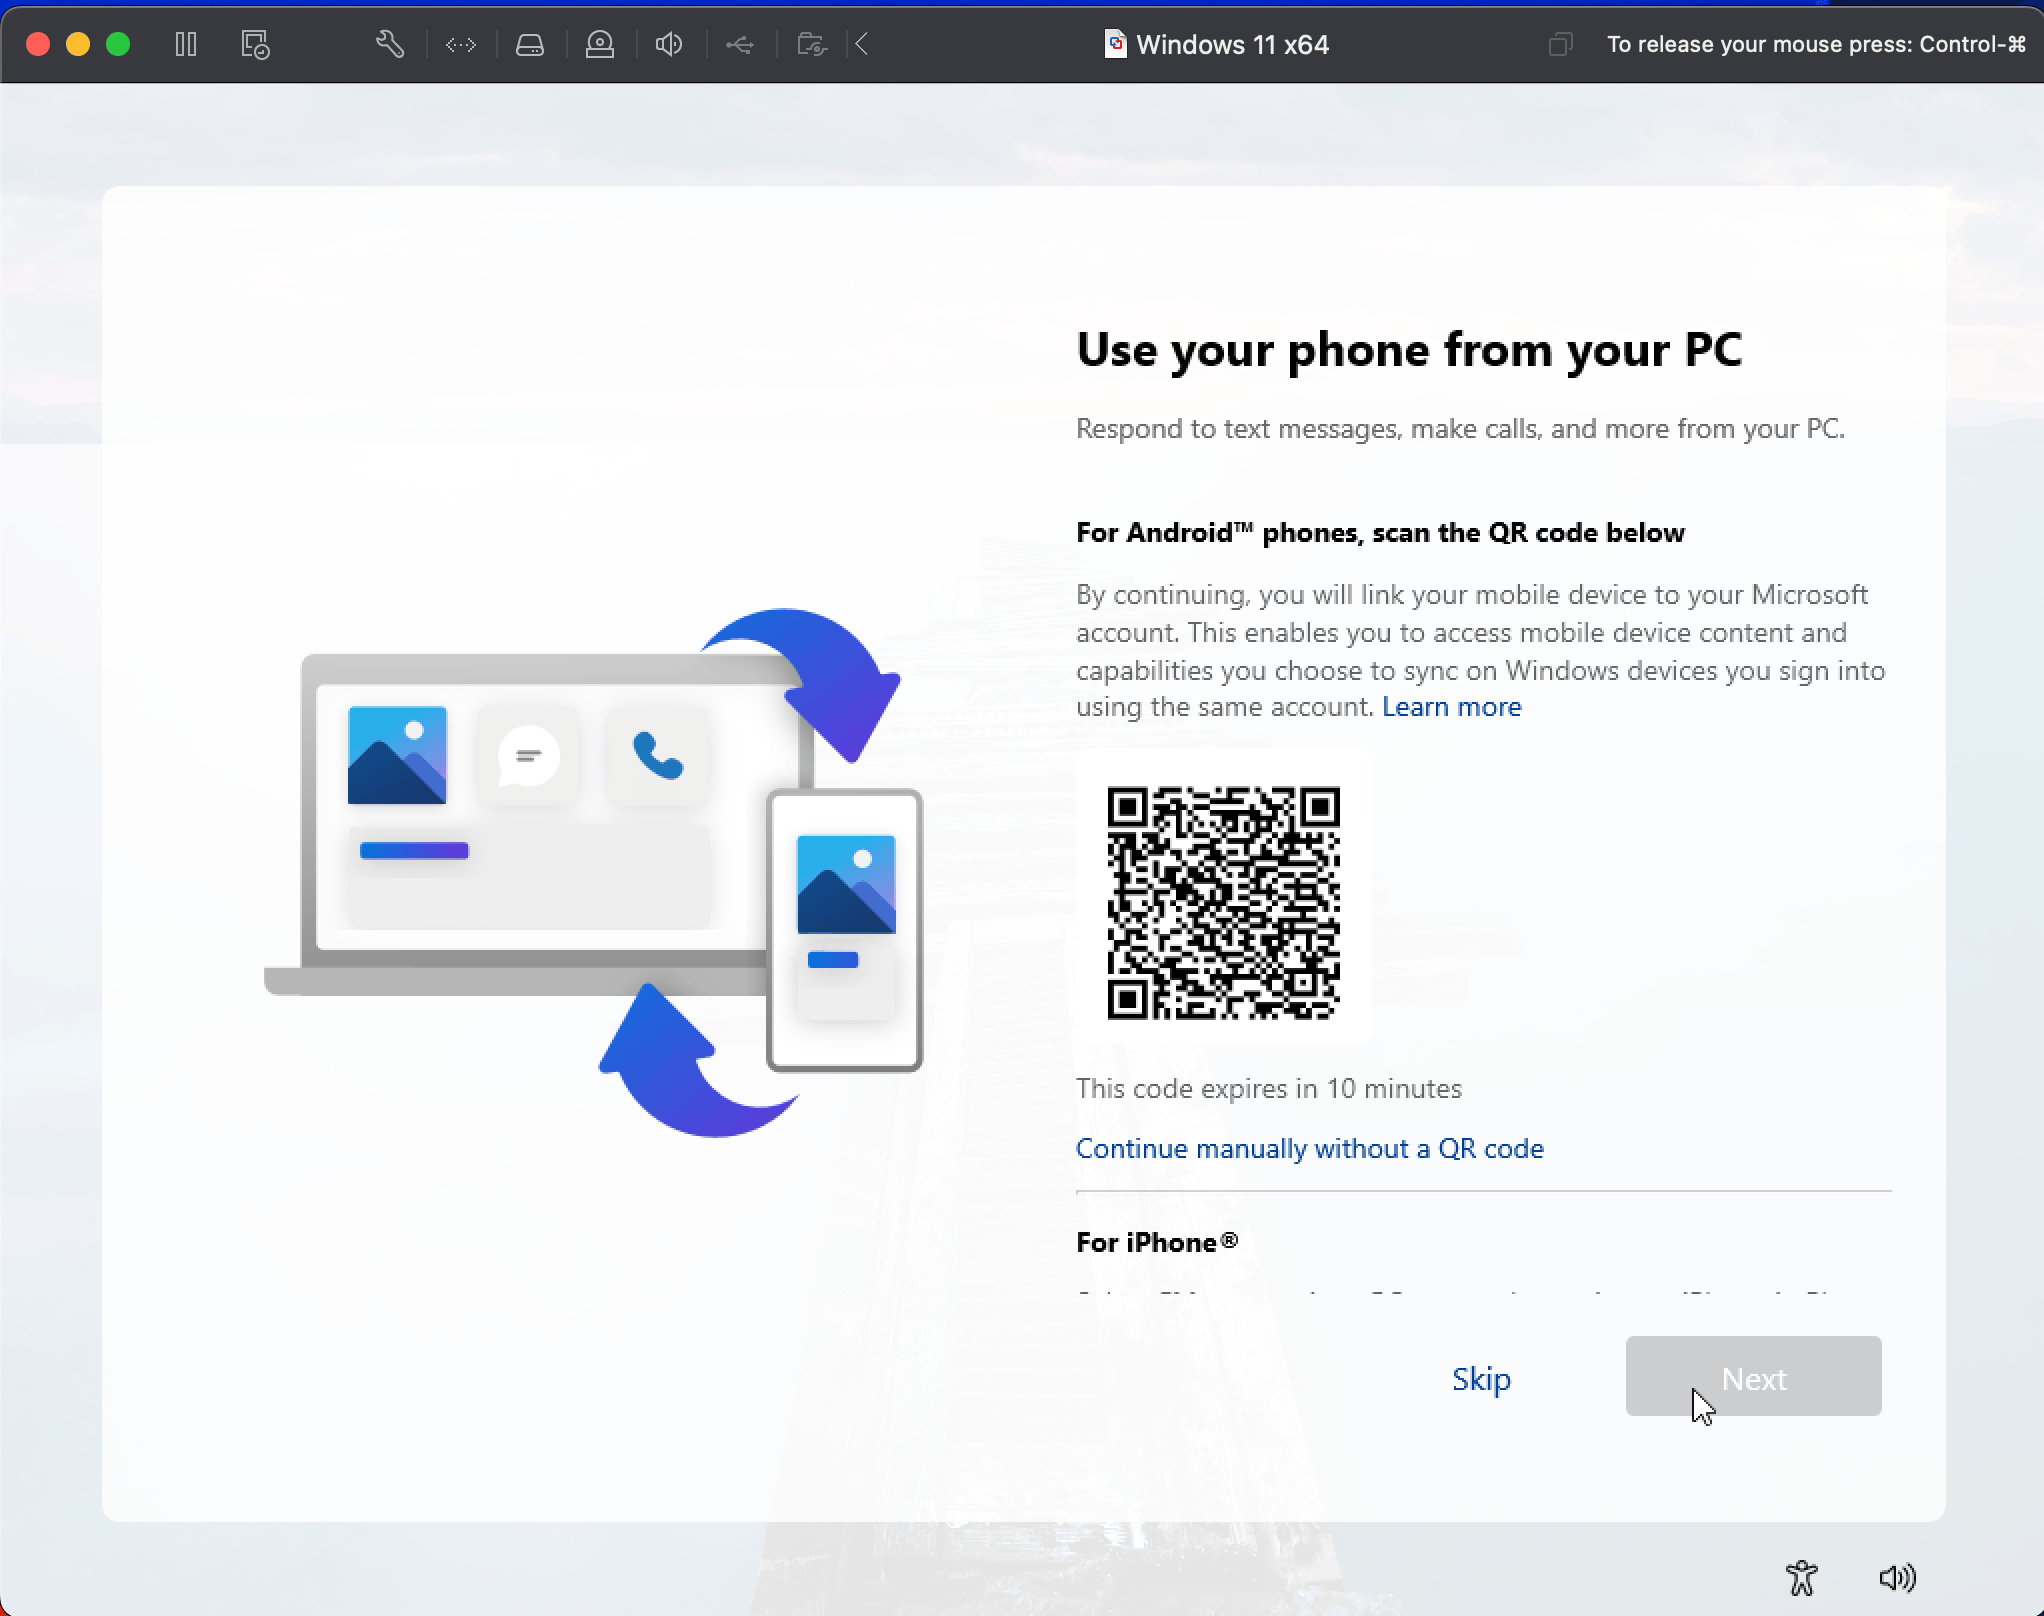
- Next up, you'll encounter the Use Your Phone feature, which prompts you to connect your smartphone to your PC. This integration aims to streamline your experience by allowing you to access notifications, messages, and even apps directly from your Windows desktop. While I appreciate the convenience of having my phone and PC work in harmony, I opted to skip this step for now. It’s one of those features that sounds great in theory, but I figured I’d save it for another day—after all, I’m here to test Git, not to turn my workspace into a tech convention!
8. Post-Installation Tweaks
You’re almost there! Now it's time to tweak a few things and make sure everything is running smoothly.
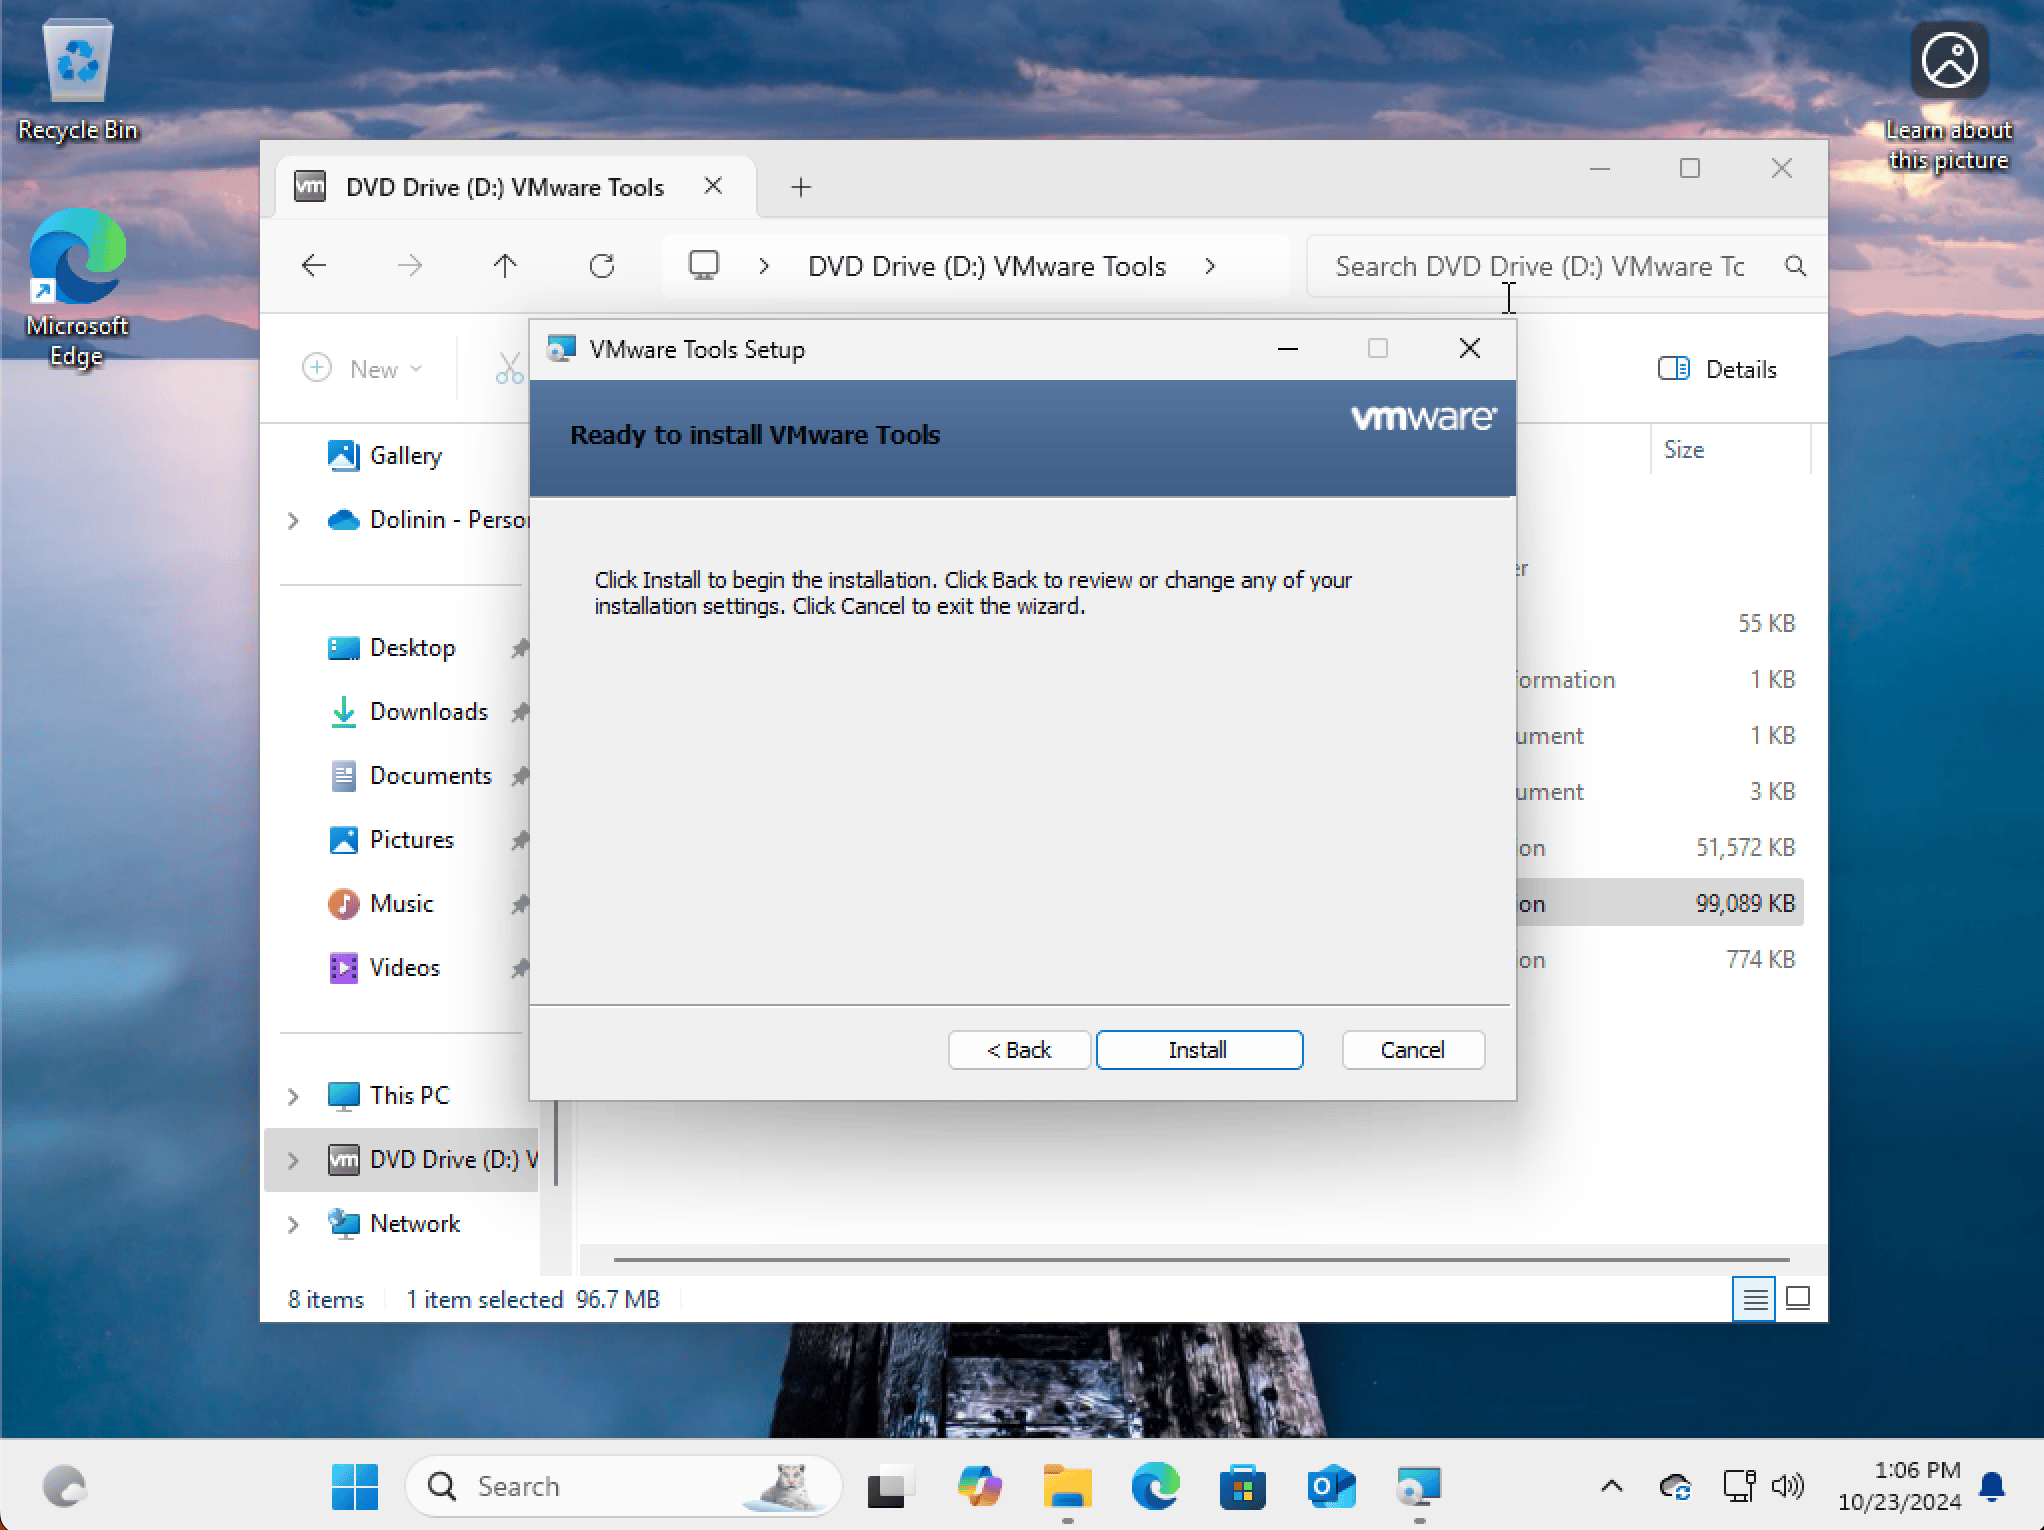
Step 1: Install VMware Tools
- Once Windows 11 is installed, go to Virtual Machine > Install VMware Tools.
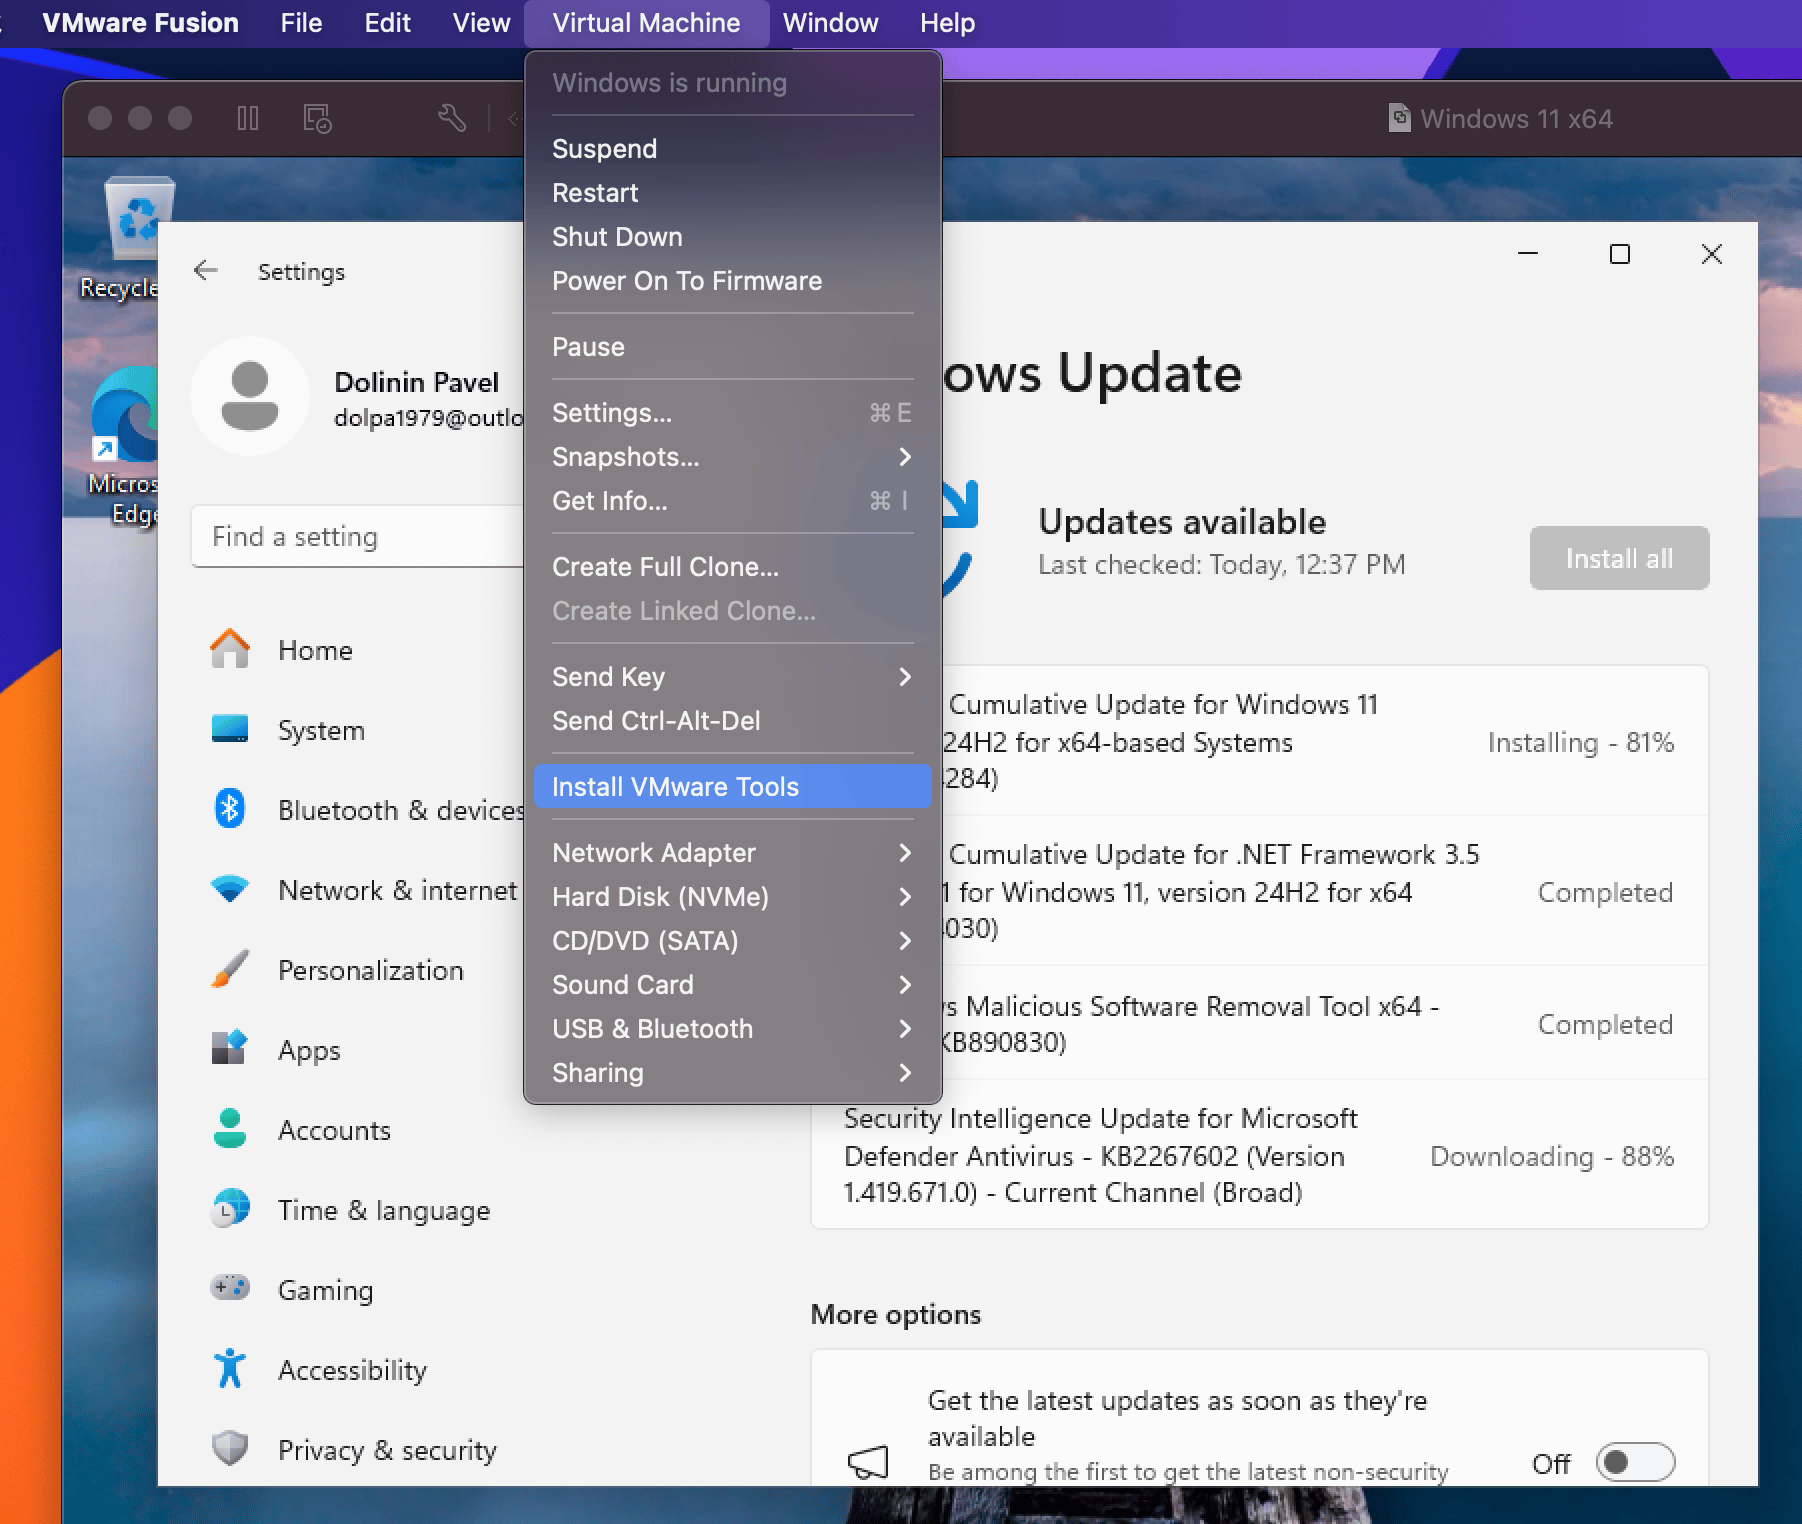
- It will mount the CD image with installer to the Virtual Machine CD Drive.

- From the CD Drive, you need to run the 'setup64' file and go through the Installation process.
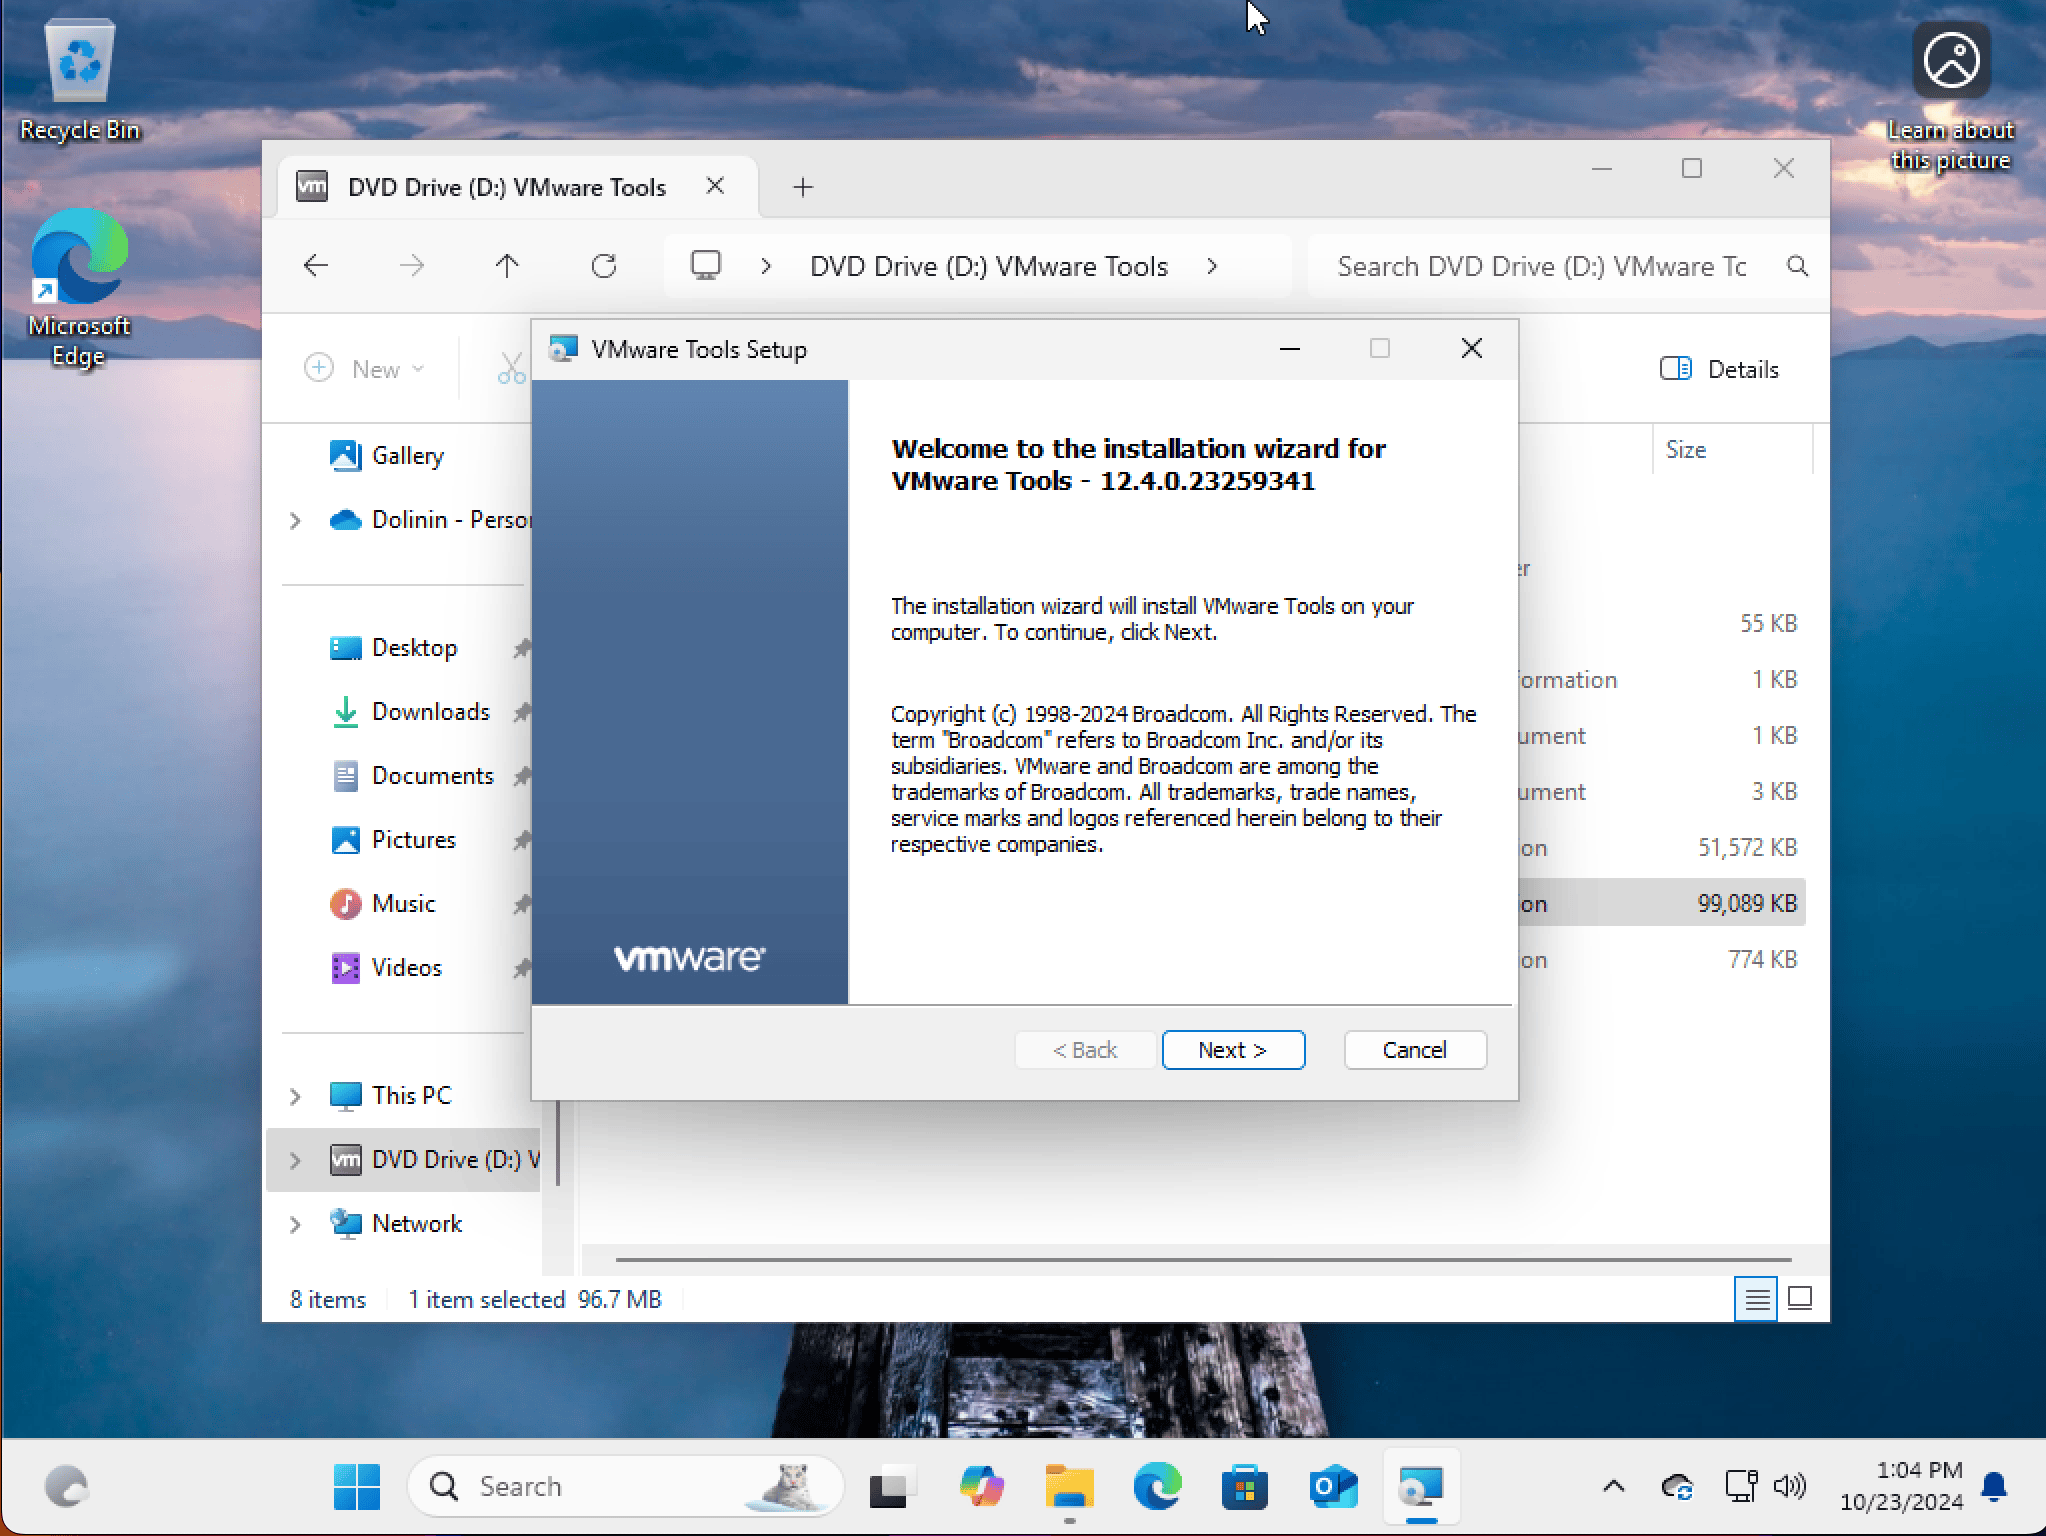
- Just click 'Next' till the end and then click 'Install'
- This installs drivers to improve performance and enable features like shared folders and clipboard sharing between your Mac and Windows VM. Remember when this used to be optional? Now it's mandatory. Gotta love progress!
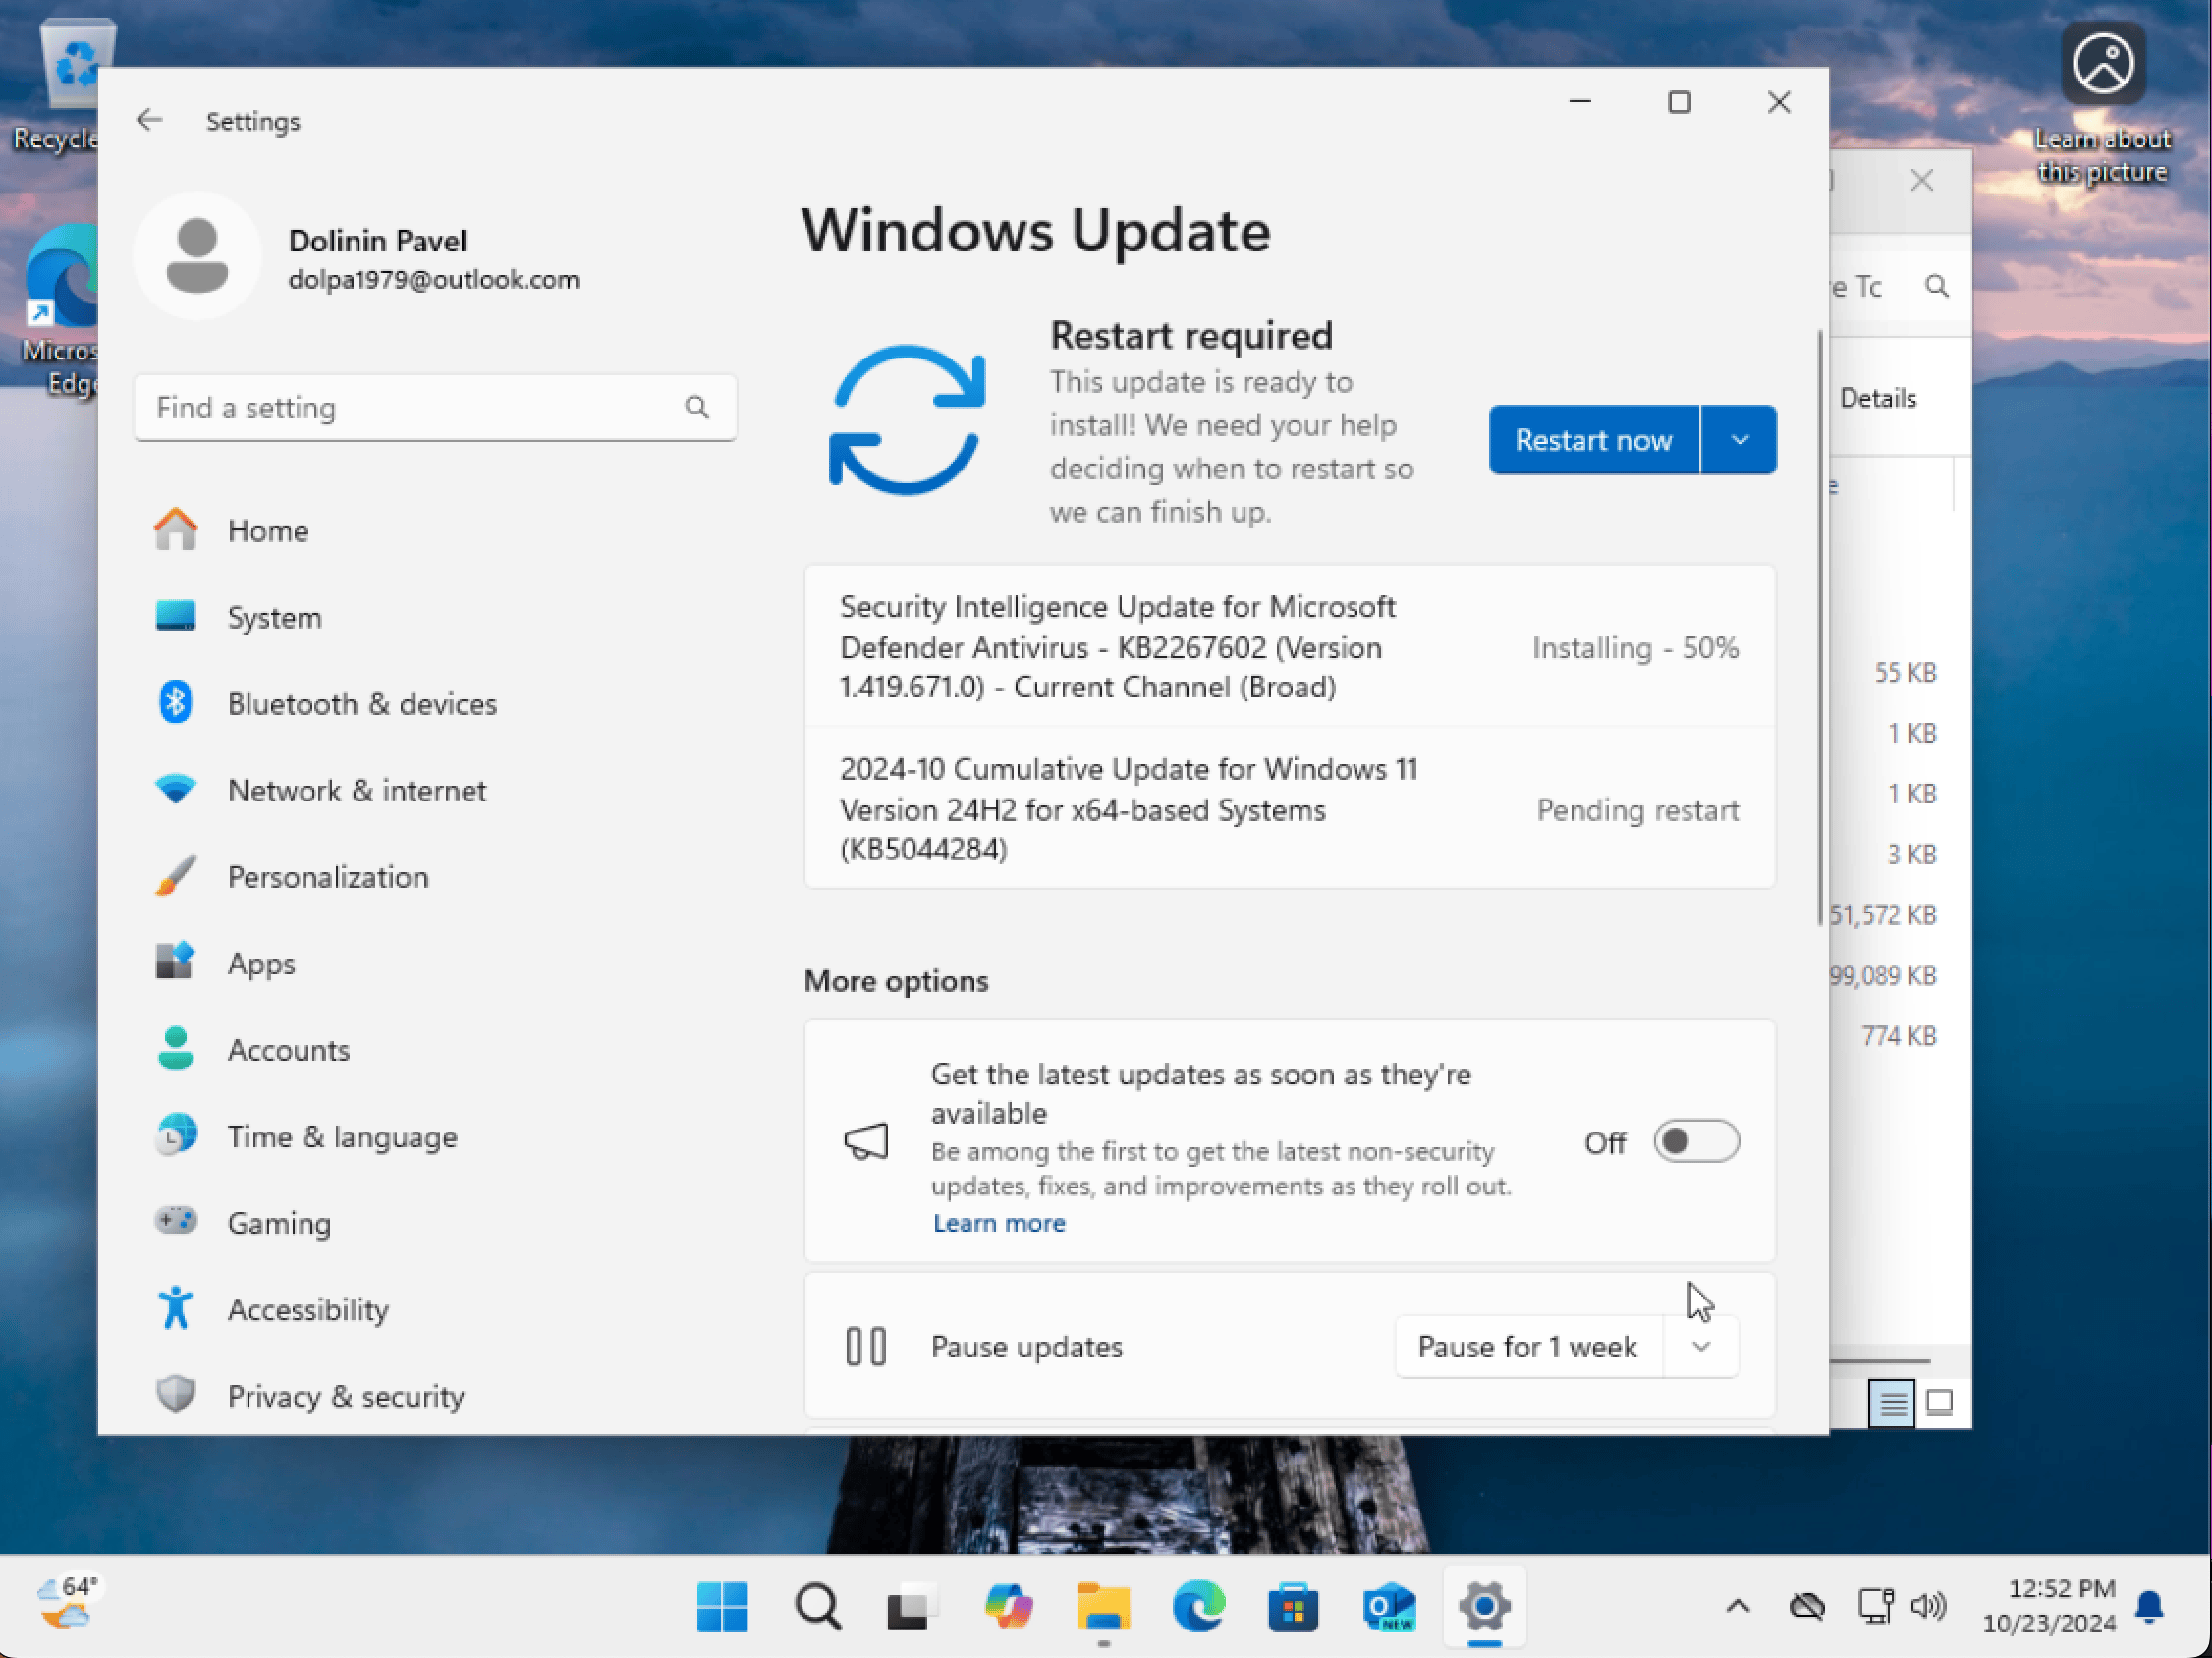
Step 2: Update Windows
- Head to Settings > Windows Update and check for any updates. Windows 11 loves updates, so make sure it’s fully up to date before you start using it.
Conclusion
And that’s it! You've successfully installed Windows 11 on your Mac mini using VMware Fusion. While the process might have made you nostalgic for simpler Windows installations of the past, at least now you’ve got the latest and (arguably) greatest Windows experience right at your fingertips.
Just remember: if things freeze or act up, take a deep breath, restart, and laugh. Because sometimes, Windows needs a little extra coaxing—just like old times.