

Waiting for new hardware is always a mix of excitement and impatience. While my new GPU and network card were on their way from eBay and KSP, I found myself staring at my current setup and realizing something important: the placement of my AI server wasn’t sustainable.
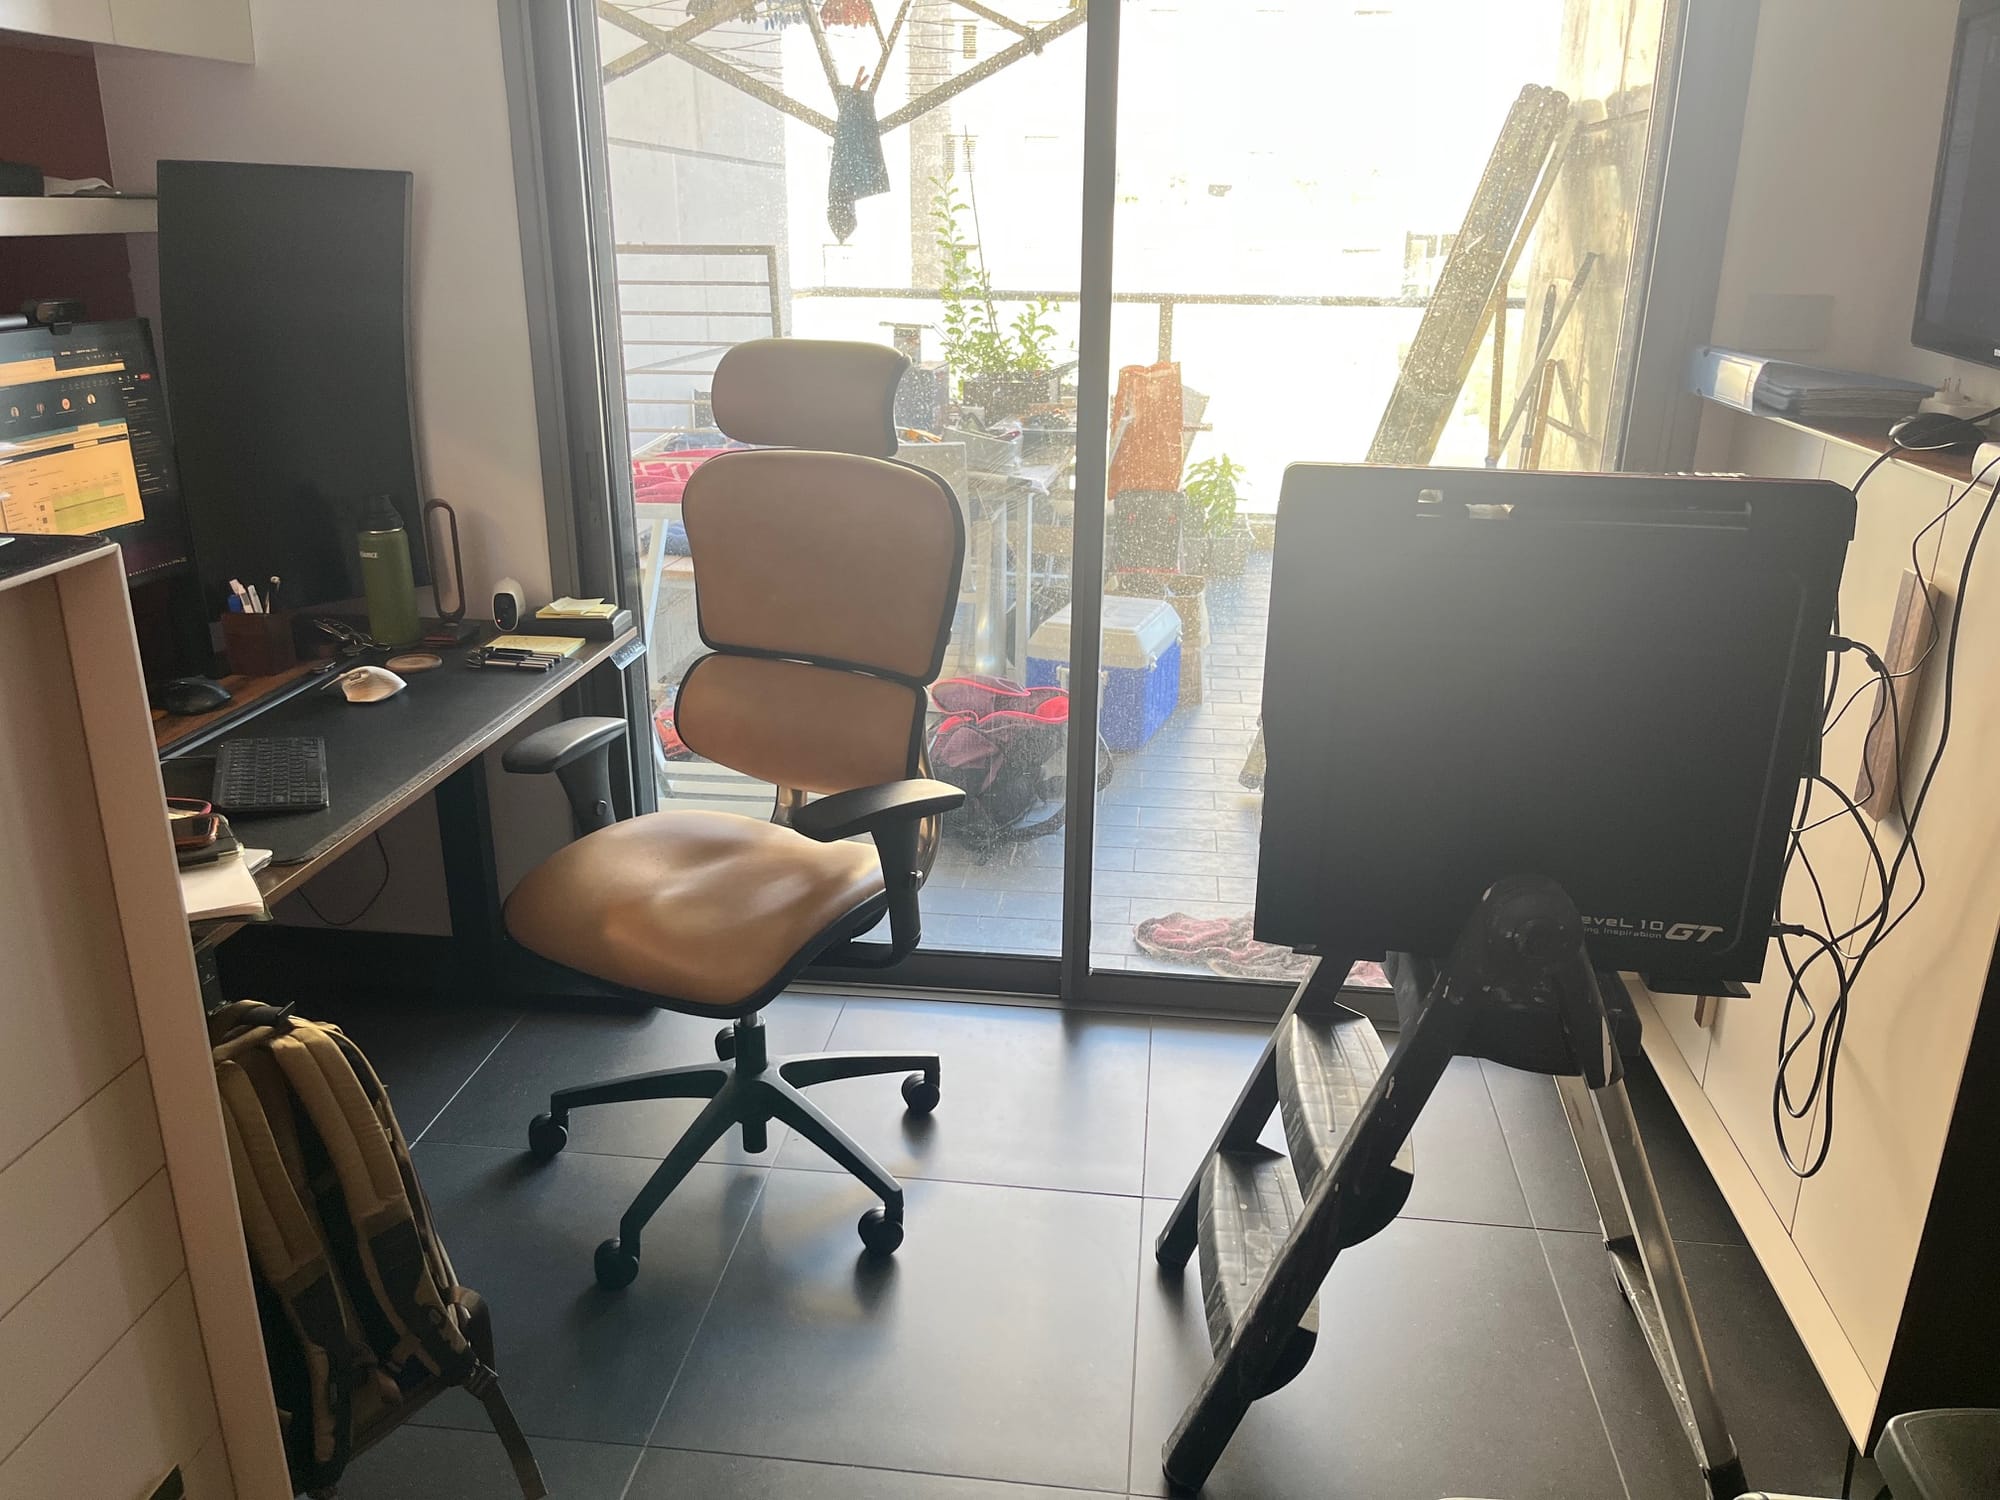
At first, I thought it was fine. The server was standing right by the passage to the balcony, neatly tucked in but still accessible. You could go out to the balcony and come back without too much trouble. I even had a trick to make the path wider — sliding my chair all the way under the desk gave at least “+100 points” to passability.
But life has its own way of testing setups. My kid often walks back and forth carrying a swimming bag, sometimes even two, and every time I imagined the possibility of one wrong step. One stumble, and the server could become the victim of a domestic accident. That’s when it became clear: I had to move it.
The Dilemma of Placement
Two options came to mind.
- Move the server under my desk, even though there’s barely enough space there already.
- Or relocate it entirely to another room and work with it remotely.
The second option had its own drawback: if the server moved, I couldn’t connect it directly to the router with an Ethernet cable. In other words, I’d need to rethink networking.
The Wi-Fi + Bluetooth Solution
The good news was that my server still had a free PCI slot. So, the natural step was to install a Wi-Fi card, preferably one that also supports Bluetooth. That would let me move the server anywhere in the apartment without being tied to Ethernet.
After browsing my favorite store, KSP, I ordered a TP-Link card. The cost was around $55–60 — not bad for solving a problem that could save my sanity and my balcony passage. While waiting for the delivery, I decided it was the perfect time to configure remote access. That way, even before the card arrived, I’d be ready.
Setting Up Remote Access
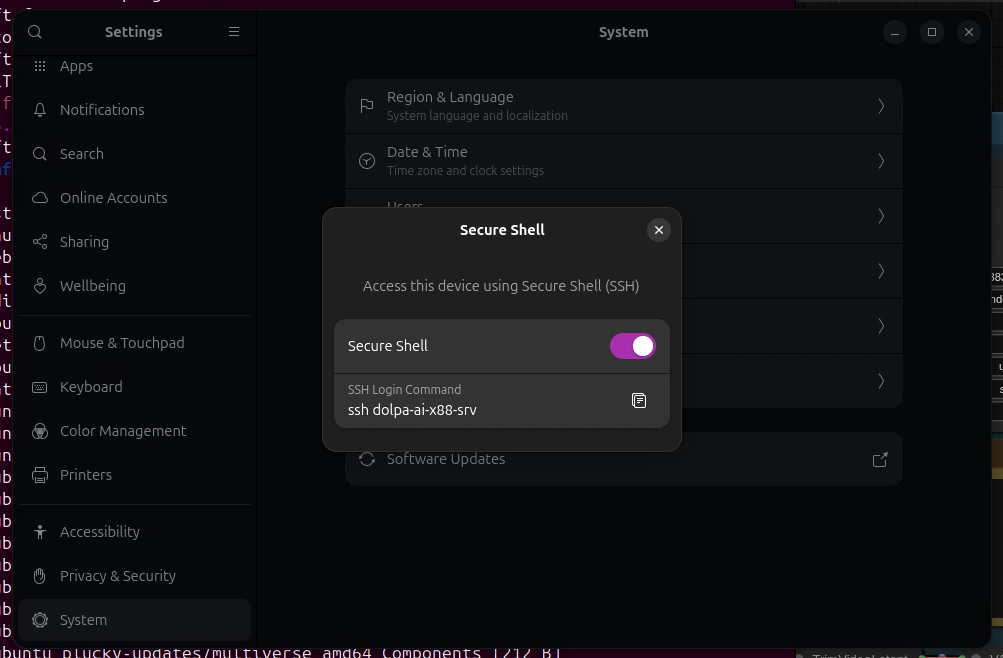
The first step was console access. For this, we turn to the good old SSH protocol.
- I opened the system settings.
- Navigated to About.
- Enabled Remote Login.
Here’s a screenshot of the setting:
But of course, nothing is ever that simple. On some systems, the option turns itself off immediately after you enable it. If this happens to you, don’t panic — it usually just means the SSH server isn’t installed. The fix is easy: open the terminal and run the following command:
sudo apt install openssh-serverOnce installed, SSH stays active, and you can connect to the server securely from another machine.
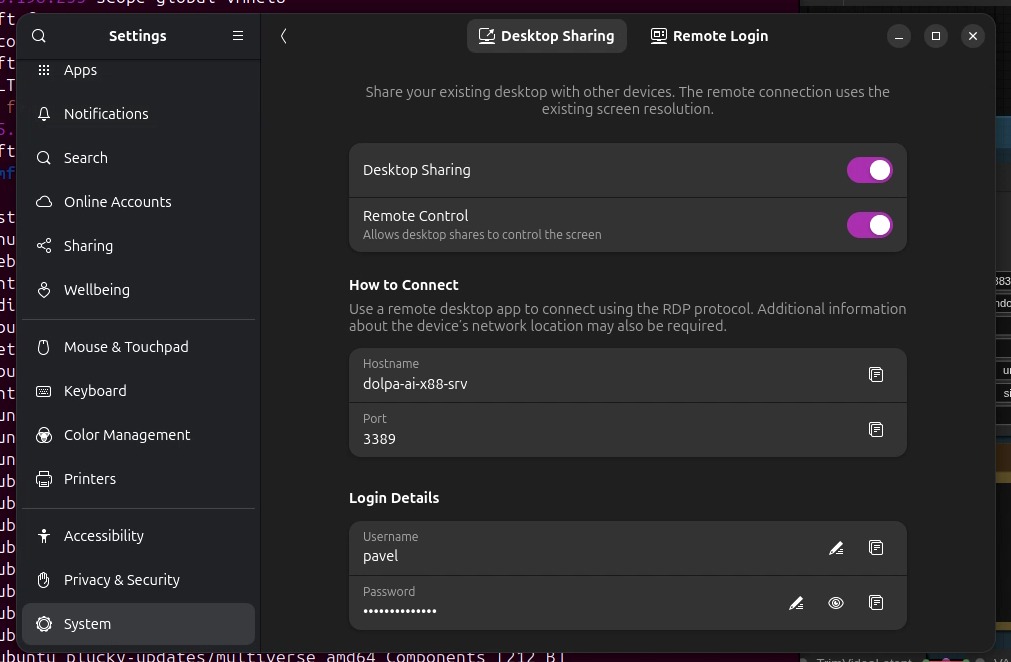
Remote Desktop Access
In addition to SSH, I also enabled remote desktop access. This way, I could connect graphically when needed. Again, the option is available in the settings right next to remote login.
There’s a small nuance here (which I’ll cover in a future post), but once enabled, it worked as expected.
And just as I finished setting this up, fate had its own little twist in store for me.
The Death of the Old TV
My trusty old TV, which I had been using as a monitor behind me, suddenly died.
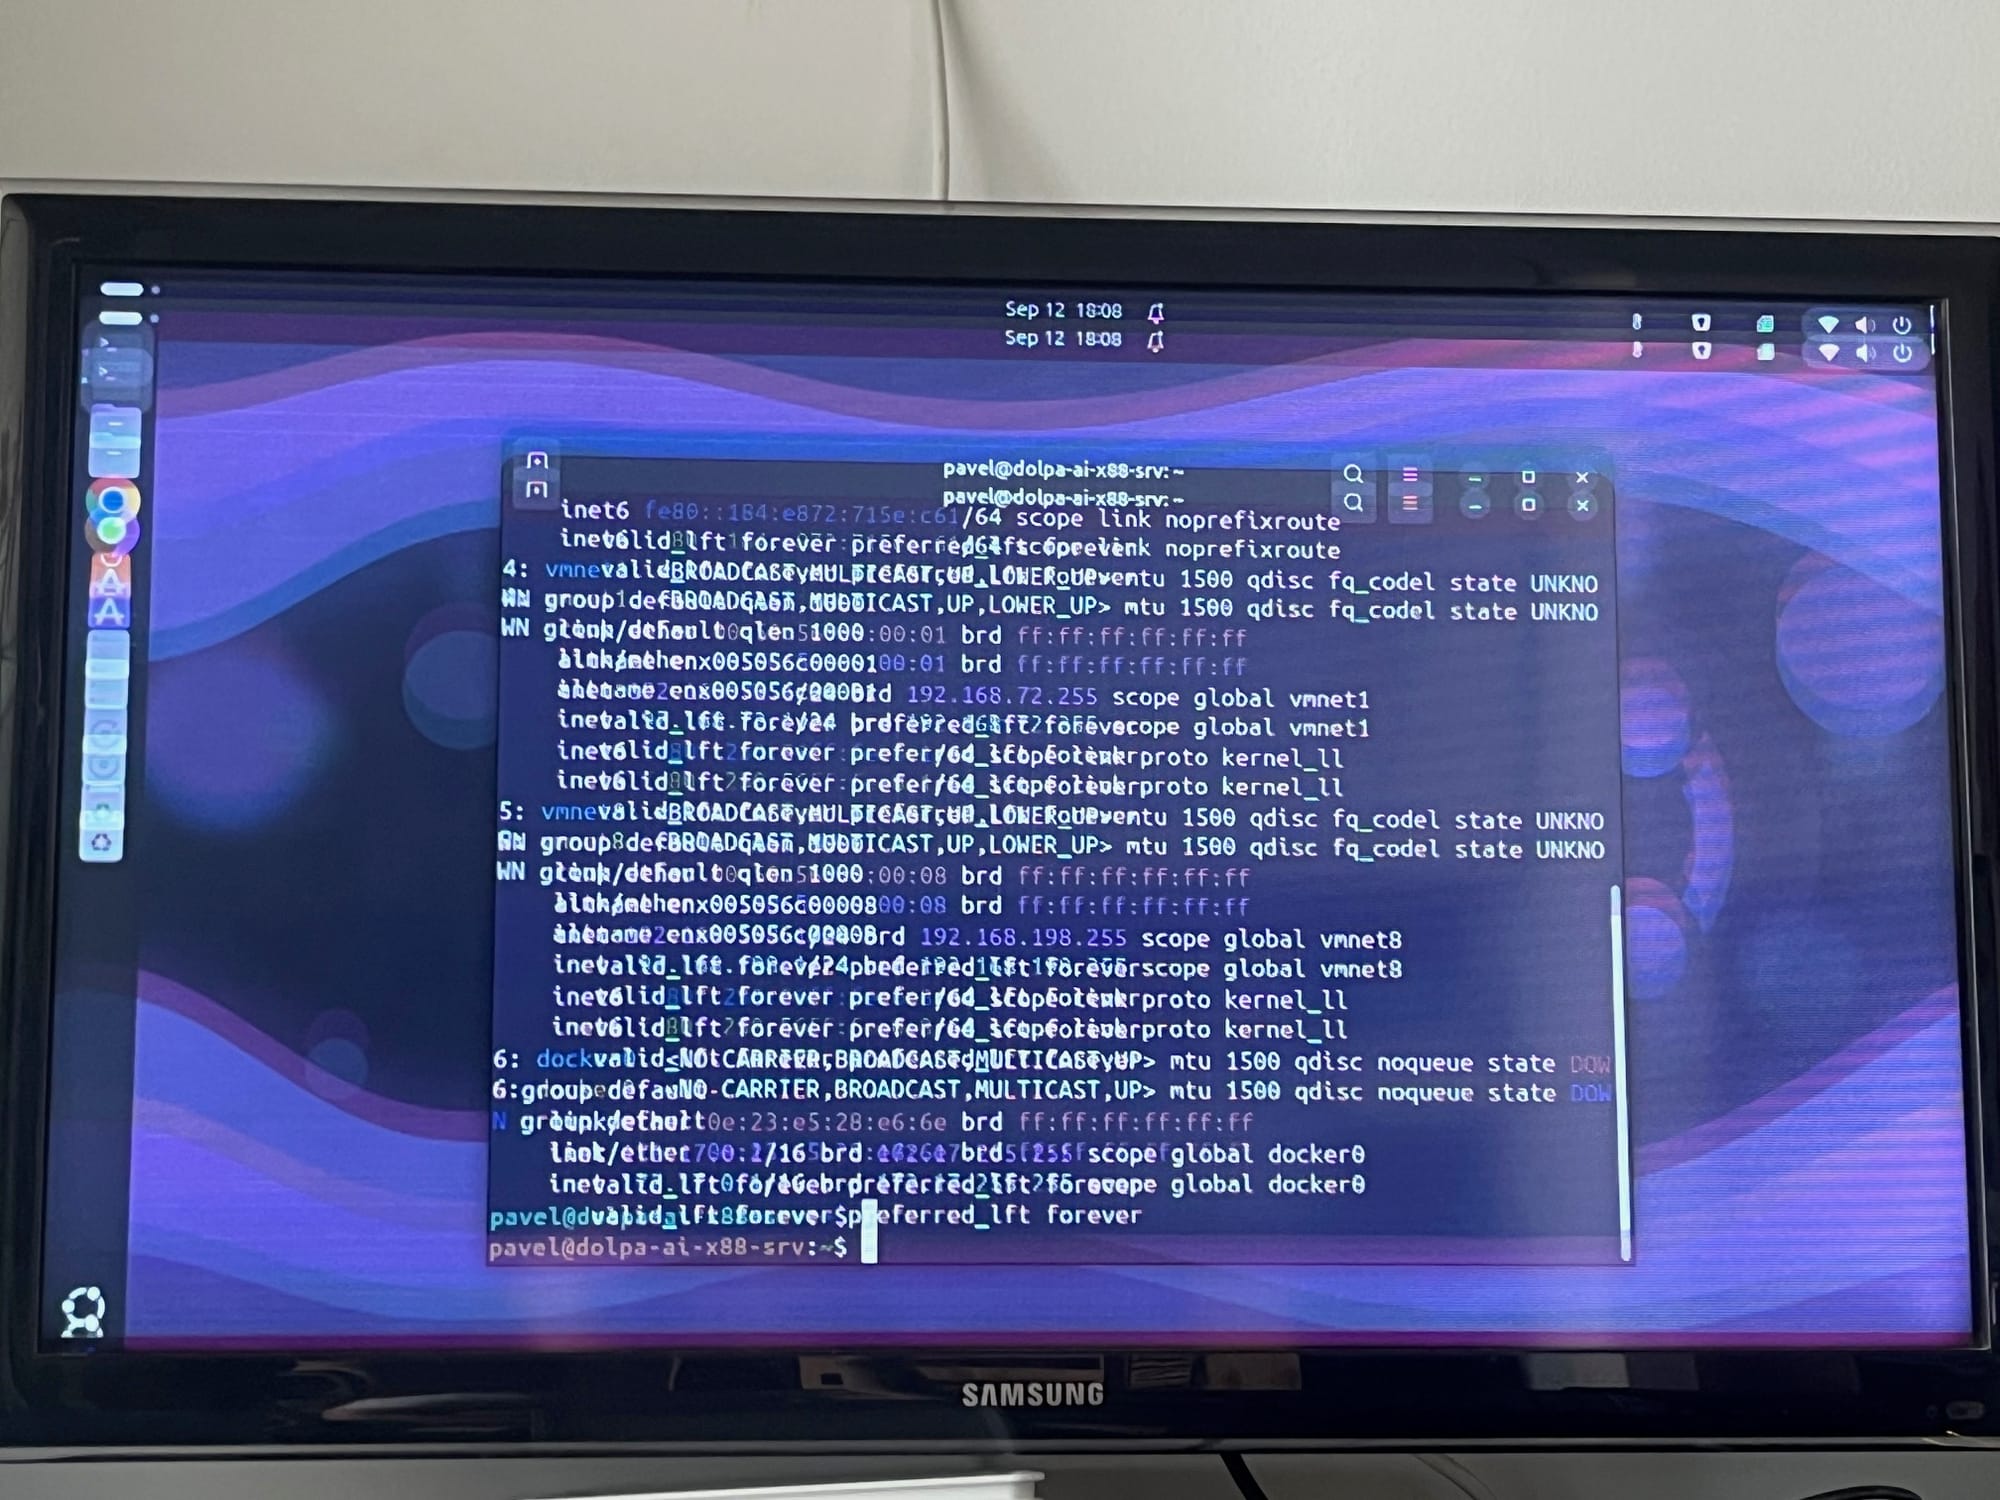
The timing was almost comical. I had just prepared for remote access, and now I was forced to use it for real. Still, I couldn’t help but feel disappointed. That old TV was a handy second workstation. With a keyboard, a mouse, and “not-so-great but still useful” display, it gave me a convenient secondary setup.
Now, with it gone, I’ll need to rethink how to organize my workspace.
Looking Ahead
The GPU and network card are still on their way. Soon, my server will move under the desk or maybe into another room entirely, powered by Wi-Fi and controlled remotely. It’s a reminder that building an AI server isn’t just about processors and benchmarks — it’s also about cables, kids with bags, and the sudden death of old TVs.
Every small detail becomes part of the story.