

If you're looking to install Ubuntu Desktop 24.04, you've come to the right place. In this guide, we’ll walk through the entire installation process with easy-to-follow steps, so even if you're a Linux newbie, you'll be up and running in no time. If you’re ready, let's dive into the world of open-source freedom!
1. Booting from the USB
Once the bootable USB is ready, it's time to boot from it and start the installation process.
- Insert the USB drive into the computer where you wish to install Ubuntu.
- Restart the computer.
- While booting, enter your BIOS or boot menu (usually by pressing a key like F12, Esc, or Del during startup).
- Select the USB drive as the boot device and press Enter.
2. Select the Language for the Installation Process
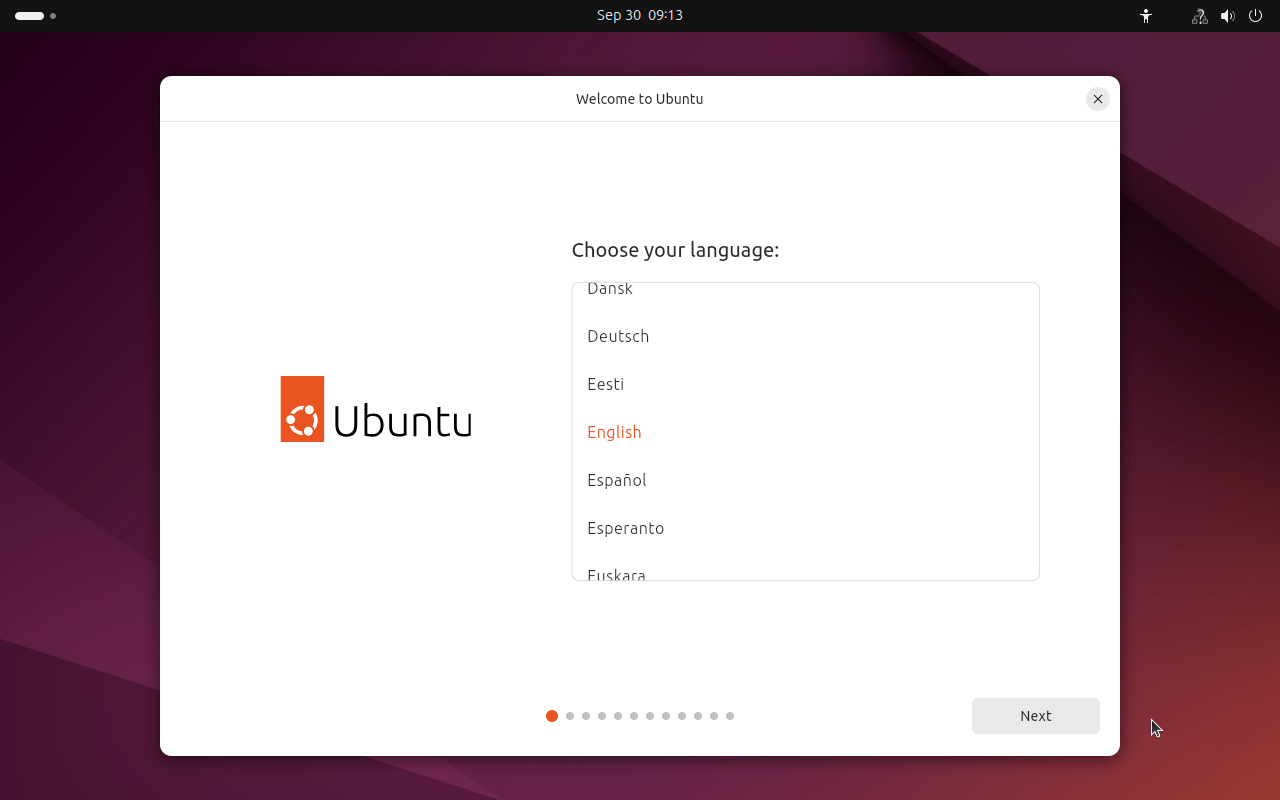
Once you boot your system from the Ubuntu installation media (USB or DVD), the first screen you’ll encounter will prompt you to select a language. This will set the language for the installation process itself, as well as the default language for your system once Ubuntu is installed.
On the left side of the screen, you’ll see a list of languages. Scroll through the list and click to select your preferred language. The language options are quite extensive, so be sure to choose the one you’re most comfortable with.
3. Choose Accessibility Options
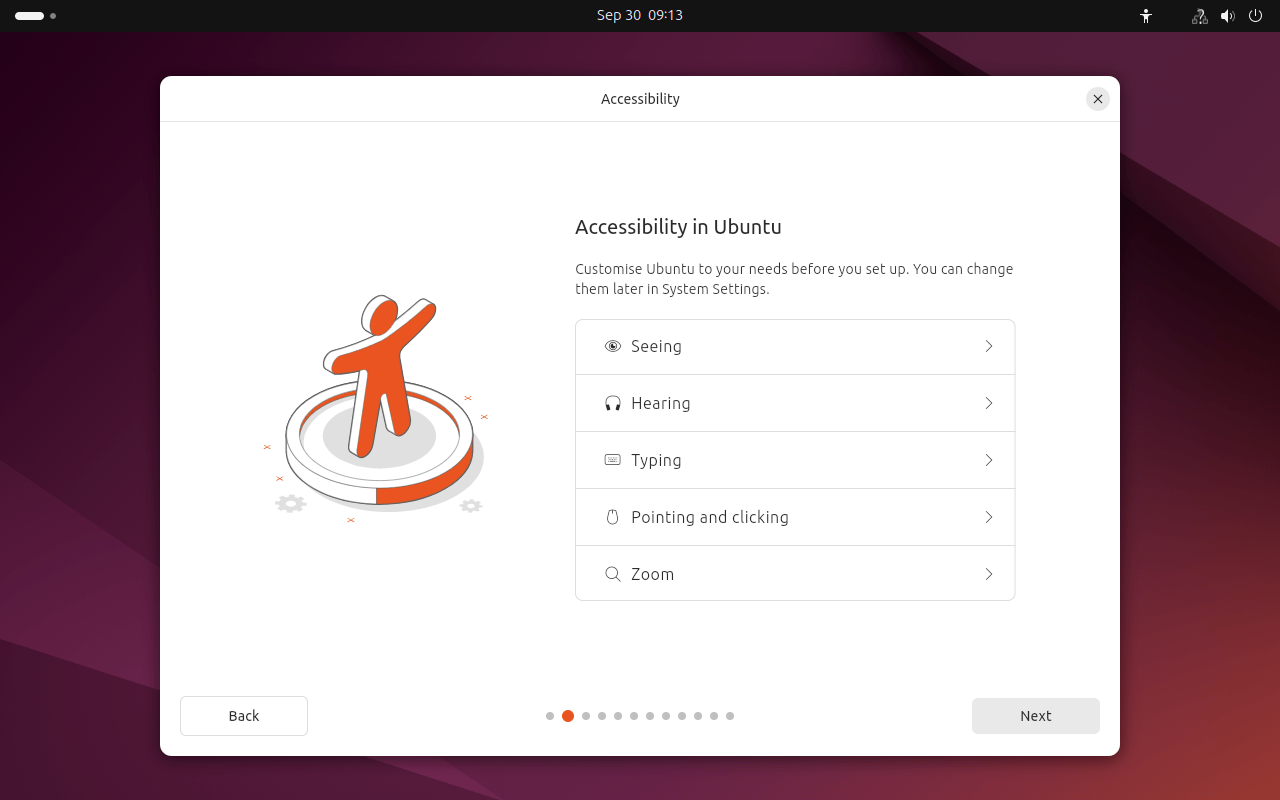
In Ubuntu 24.04, the Choose Accessibility step allows you to configure specific accessibility features, ensuring that the system is ready to assist users with various needs from the start. During this step, you'll see several categories of accessibility options designed to improve the usability of Ubuntu for all users.
The available options include:
- Seeing: This option enables visual enhancements such as a screen reader and a high-contrast theme to assist users with visual impairments.
- Hearing: For users who have difficulty hearing, this option adjusts system notifications and sound settings to ensure the experience is tailored for hearing needs.
- Typing: This option allows you to enable the on-screen keyboard or adjust keyboard settings, making typing easier for those who may have difficulty using a physical keyboard.
- Pointing and Clicking: Tailored for users who have trouble using a mouse or other pointing devices, this option provides alternatives and adjustments to make interacting with the interface easier.
- Zoom: This feature allows you to enable screen magnification, making it easier to zoom into specific parts of the screen for a closer view of details.
You can select the features that best meet your needs, or you can skip this step if no accessibility features are required at this time. Rest assured, these settings can be adjusted later from the system preferences after installation.
Once you've made your selections, click Next to proceed with the installation.
This step makes Ubuntu 24.04 more accessible and user-friendly right from the installation process. Let me know if you need further adjustments or more information!
4. Selecting Your Keyboard Layout
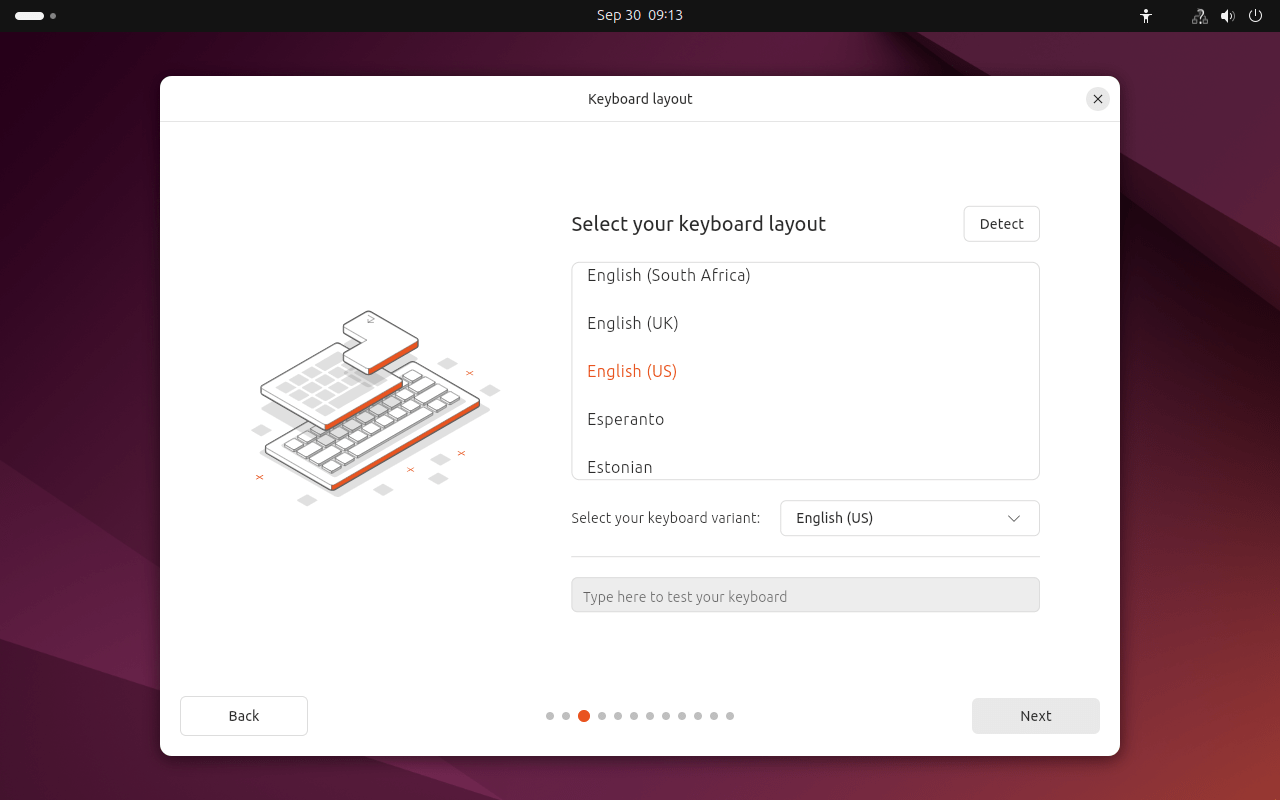
During the Ubuntu 24.04 installation, the Selecting Your Keyboard Layout step allows you to choose the appropriate keyboard layout for your system. This is important because it ensures that the keys on your physical keyboard match the input recognized by Ubuntu, making typing smooth and accurate.
In this step, you will see a list of keyboard layouts categorized by region and language. The layout you choose will affect how certain keys are interpreted—especially special characters, symbols, and accents.
- Automatic Detection (Optional): You can click on the "Detect Keyboard Layout" option, and Ubuntu will attempt to detect your keyboard layout by having you press specific keys. This is helpful if you're unsure of the exact layout you're using.
- Manual Selection: If you know your layout, you can manually select it by first choosing the appropriate region (e.g., English, Spanish, French) from the list on the left and then selecting the specific layout (e.g., US, UK, International) from the right-hand list.
- Test Your Layout: To the right of the layout selection, there is a text box where you can test your keyboard. Simply type in this field to make sure the layout behaves as expected. This is especially useful if you are selecting a different language or a regional variation.
- Alternative Layouts: If you use more than one keyboard layout, you can configure additional layouts later through the system settings. However, for now, it's best to choose the primary layout that matches your keyboard.
After confirming that the correct layout has been chosen, click Next to move on to the next step.
5. Setting Up Networking
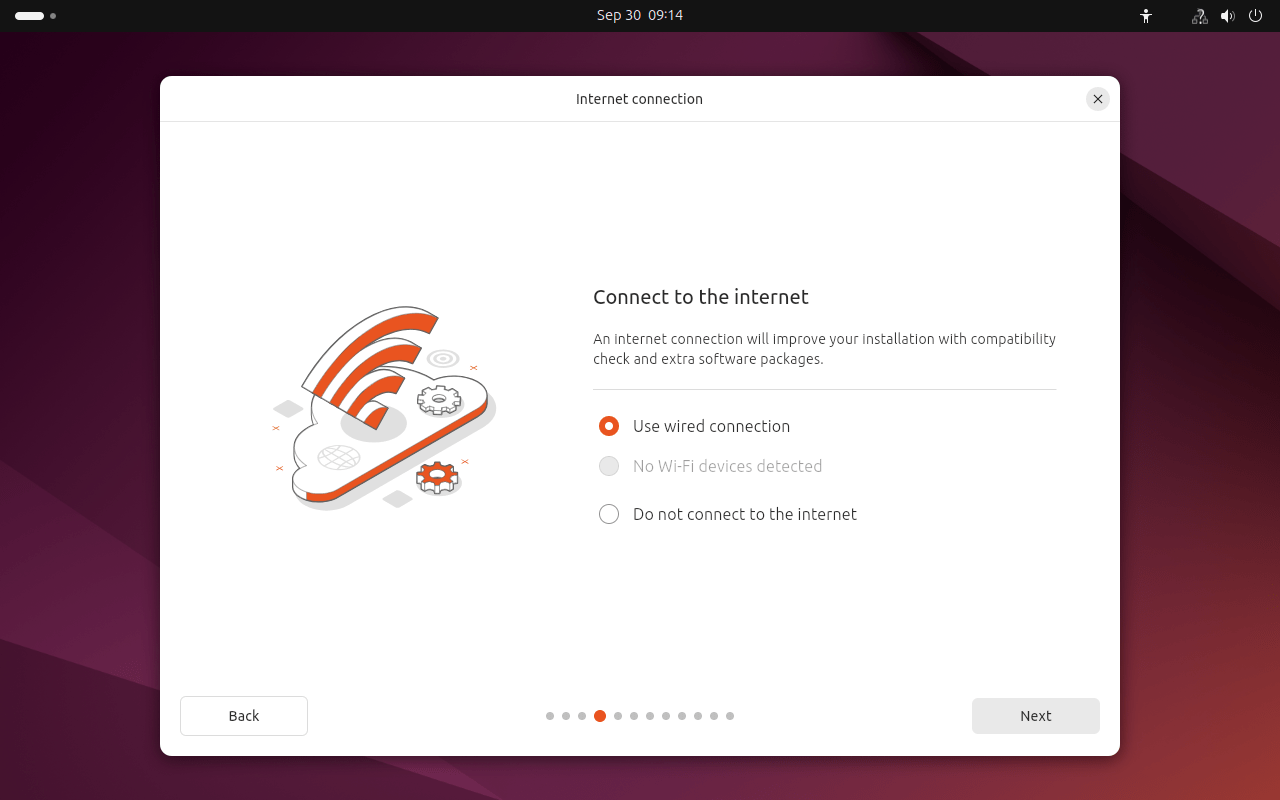
In the Setting Up Networking step of the Ubuntu 24.04 installation, you’ll configure how your system connects to the network. This is a crucial step as it ensures that your system can access the internet and other network resources during and after installation.
Since you're installing Ubuntu in a virtual machine (VM), the networking setup is usually very straightforward. Virtualization platforms, like VMware Workstation, often handle much of the networking configuration behind the scenes, allowing your virtual machine to connect to the host network without needing much user intervention.
Here’s what you’ll typically encounter in this step:
- Network Adapter Auto-Configuration: In most VM installations, the networking is set to "Automatic" using DHCP (Dynamic Host Configuration Protocol). This means your virtual machine will automatically obtain an IP address and necessary networking information from your network or the host system. No manual configuration is needed in most cases.
- You’ll see a network interface listed (e.g., "eth0") with an automatically assigned IP address.
- You should also see a status indicator confirming that the machine is connected to the network. It might say something like "Connected" or "Auto-configured."
- Advanced Configuration (Optional): If you're on a physical machine or require a specific network setup, such as a static IP address, you can click on the gear icon next to the detected network interface to configure your connection manually.However, if you're in a VM and the networking is detected and configured correctly, no further changes should be needed.
- In a manual configuration, you can set a static IP address, specify DNS servers, and configure proxy settings if necessary.
- Proxy Configuration (Optional): If your network requires a proxy to access the internet, this is where you would enter the proxy information. This step is typically skipped in standard setups unless your network administrator requires it.
Once you confirm that the network is properly configured, click Continue to proceed with the installation.
Networking in a Virtual Machine
In your VM setup, the networking configuration is simple because your virtualization software, such as VMware Workstation, creates a virtual network interface for the Ubuntu guest OS. This virtual adapter connects your virtual machine to the host system’s network, allowing for internet access and communication with other devices on the network. The installer usually handles everything automatically.
You will likely see something like:
- Network Interface: eth0 (or ens33) with an IP address assigned by your host machine's DHCP service.
- Connection Type: Wired or Ethernet (if using a bridged or NAT network in VMware).
If you see that the system is already connected and receiving an IP address, you're good to go! Simply click Next to proceed.
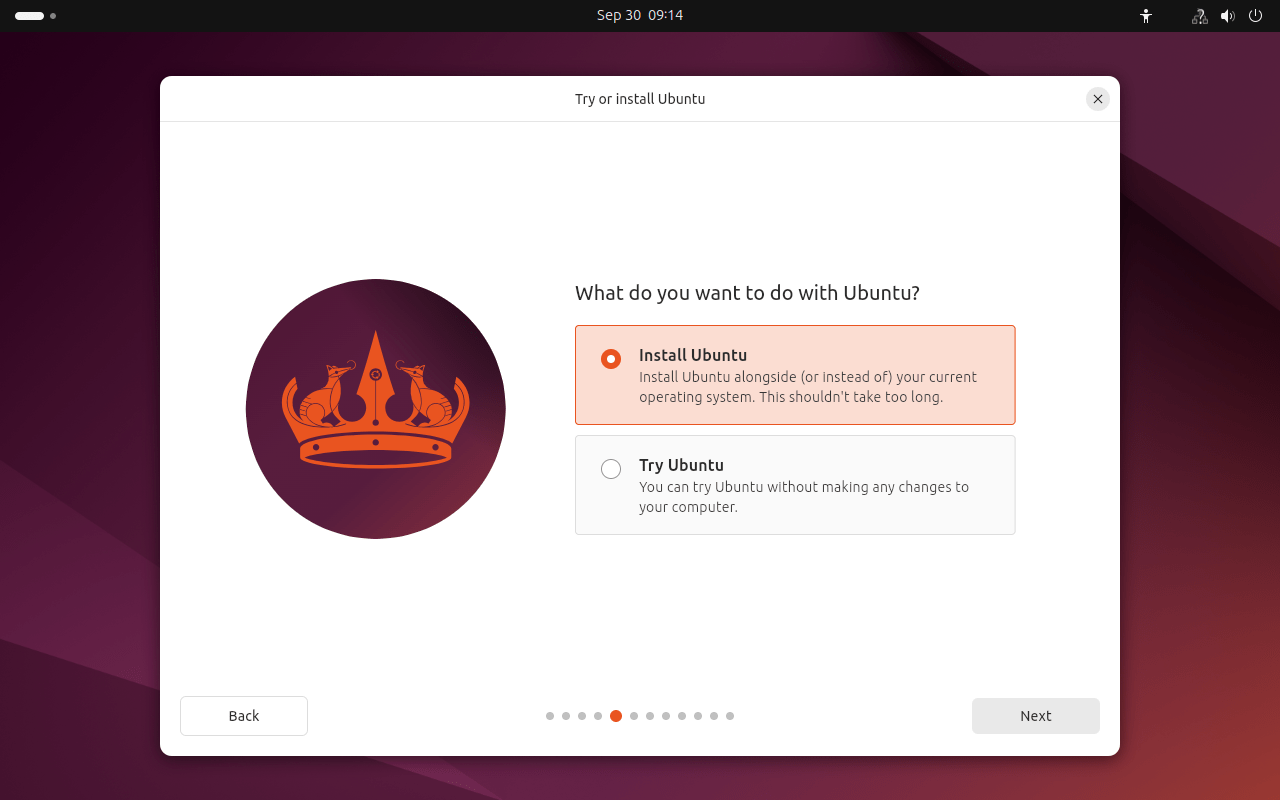
6. Try Ubuntu or Install
In this step, you’ll be asked to choose between two options:
- Try Ubuntu: This option allows you to test Ubuntu without making any changes to your computer. It boots into a live session, where you can explore the desktop, run applications, and access the internet. This is useful if you want to see how Ubuntu works before committing to an installation. If you're satisfied, you can install Ubuntu from the live session later.
- Install Ubuntu: This option directly starts the installation process, allowing you to install Ubuntu on your system right away. Choose this if you're ready to proceed with setting up Ubuntu on your machine.
Since we’re going through the installation, click on Install Ubuntu and then Next to move forward with the process.
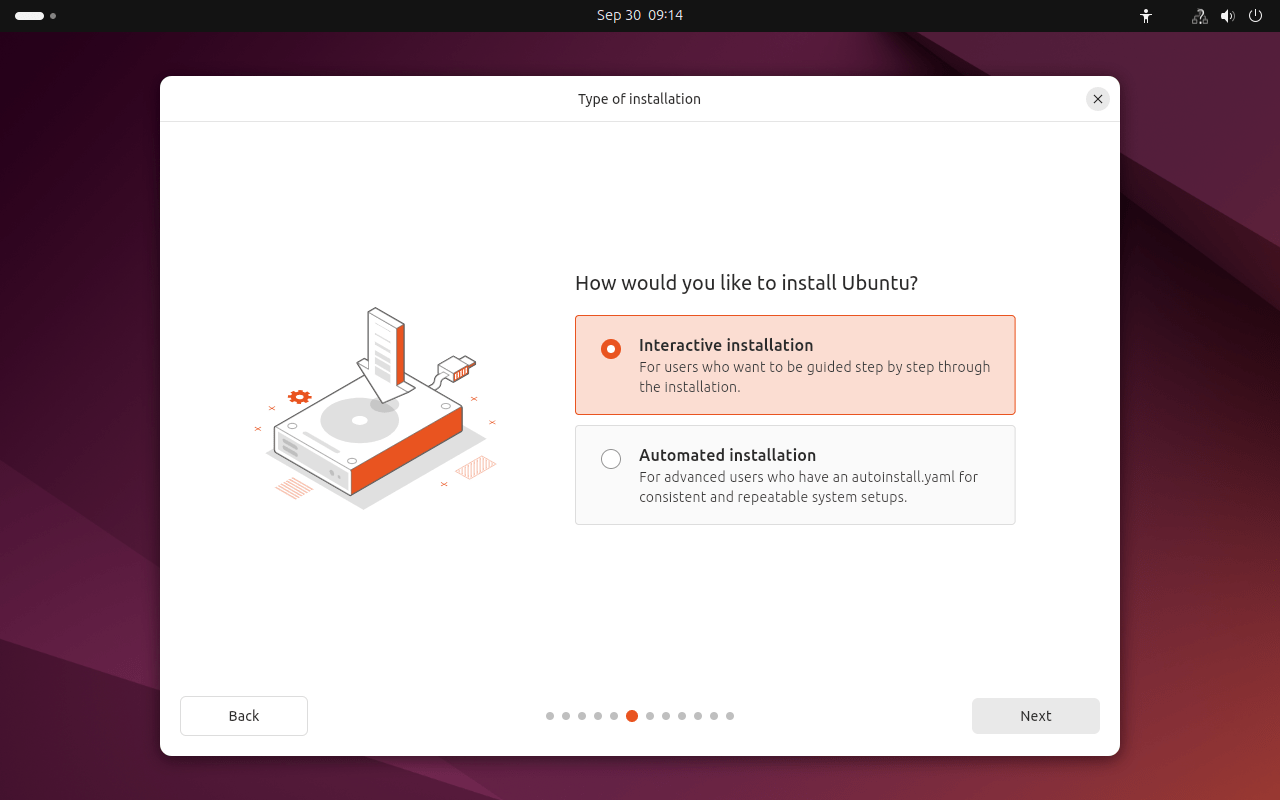
7. How Would You Like to Install Ubuntu?
In this step, you'll be asked to choose between two methods for installing Ubuntu: Interactive installation and Automated installation. Each option offers a different approach based on how much control you want over the process.
- Interactive Installation: This is the traditional method where you'll be guided through each step of the installation process. It allows you to customize settings such as disk partitions, time zones, user accounts, and more. Choose this option if you prefer to manually configure various aspects of your installation and want a hands-on approach.
- Automated Installation: If you’re looking for a quicker, simpler experience, this option automates most of the installation process. Ubuntu will make the majority of decisions for you, including disk partitioning and user setup, based on defaults or pre-configured settings. This is ideal if you’re comfortable with default configurations or if you need a rapid setup without too much manual input.
Since we're doing a detailed walkthrough, select Interactive Installation to continue. However, if you’re in a hurry or are fine with Ubuntu's default settings, the Automated Installation option can save time.
8. What Apps Would You Like to Install to Start With?
In this step, you'll have the option to select which apps you'd like to install alongside Ubuntu. This is a great opportunity to customize your installation by choosing either the default set of apps or adding extra software that suits your specific needs right from the start.
- Default Installation: This option installs Ubuntu's standard set of applications, which includes essentials like a web browser (Firefox), an office suite (LibreOffice), email clients, and other useful utilities. If you're happy with the typical apps included in Ubuntu, this is the quickest and simplest option.
- Custom Selection: If you need specific software or additional apps beyond the default ones, you can customize your installation. You’ll be presented with a list of categories (such as productivity tools, media applications, and development software), allowing you to choose which apps to install during the process. This is perfect if you already know you'll need certain software (like Git, development tools, or media players) pre-installed when you first log in.
Once you’ve made your selection, proceed with the installation. Keep in mind that you can always install additional apps later using Ubuntu's package manager (apt) or the Software Center.

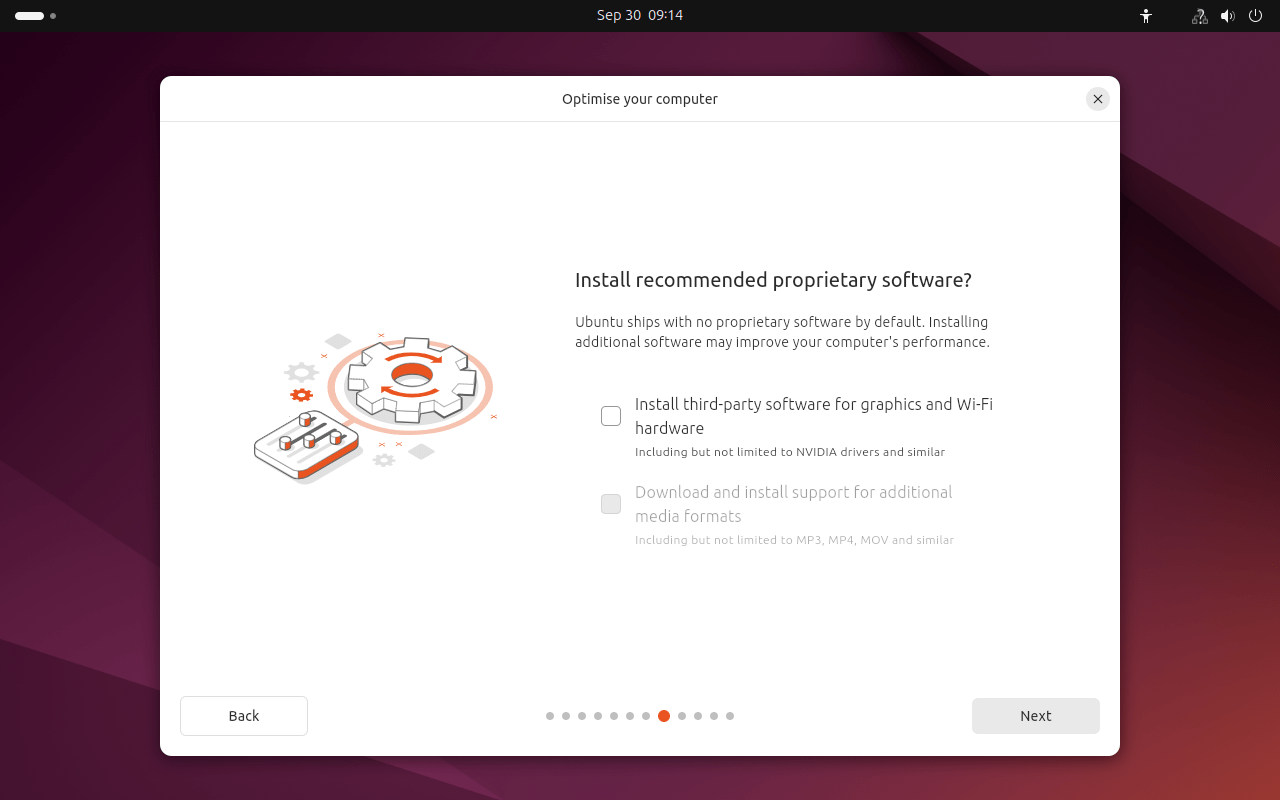
9. Install Recomended proprietary Software
At this step, you’ll be given the option to install third-party software that’s often necessary for your computer’s hardware to work correctly, especially if you have proprietary graphics drivers or Wi-Fi adapters.
- Why this is important: Ubuntu, by default, uses open-source drivers and software to maintain full compatibility with its free software philosophy. However, certain hardware—such as specific graphics cards (e.g., NVIDIA) and Wi-Fi adapters—might require proprietary drivers or firmware for optimal performance or even basic functionality. This is particularly relevant for users with dedicated graphics cards or laptops with proprietary wireless hardware.
- What it installs: If you check this option, Ubuntu will install the necessary proprietary drivers and firmware for your hardware, such as:
- Graphics drivers for NVIDIA or AMD GPUs (if needed)
- Wi-Fi firmware for various wireless adapters that require proprietary software
- Additional multimedia codecs for playing certain types of video and audio files (like MP3s and some video formats)
- When to select this option: If you’re using Ubuntu on a machine with modern or specialized hardware (like gaming laptops, high-end workstations, or devices with Wi-Fi/Bluetooth that often need proprietary drivers), it’s a good idea to enable this option. It ensures that your system will have full support for your hardware right after installation.
Even if you don’t check this box, you can install third-party drivers later through the “Additional Drivers” tool in Ubuntu, but selecting this now saves time and effort by setting things up during installation.
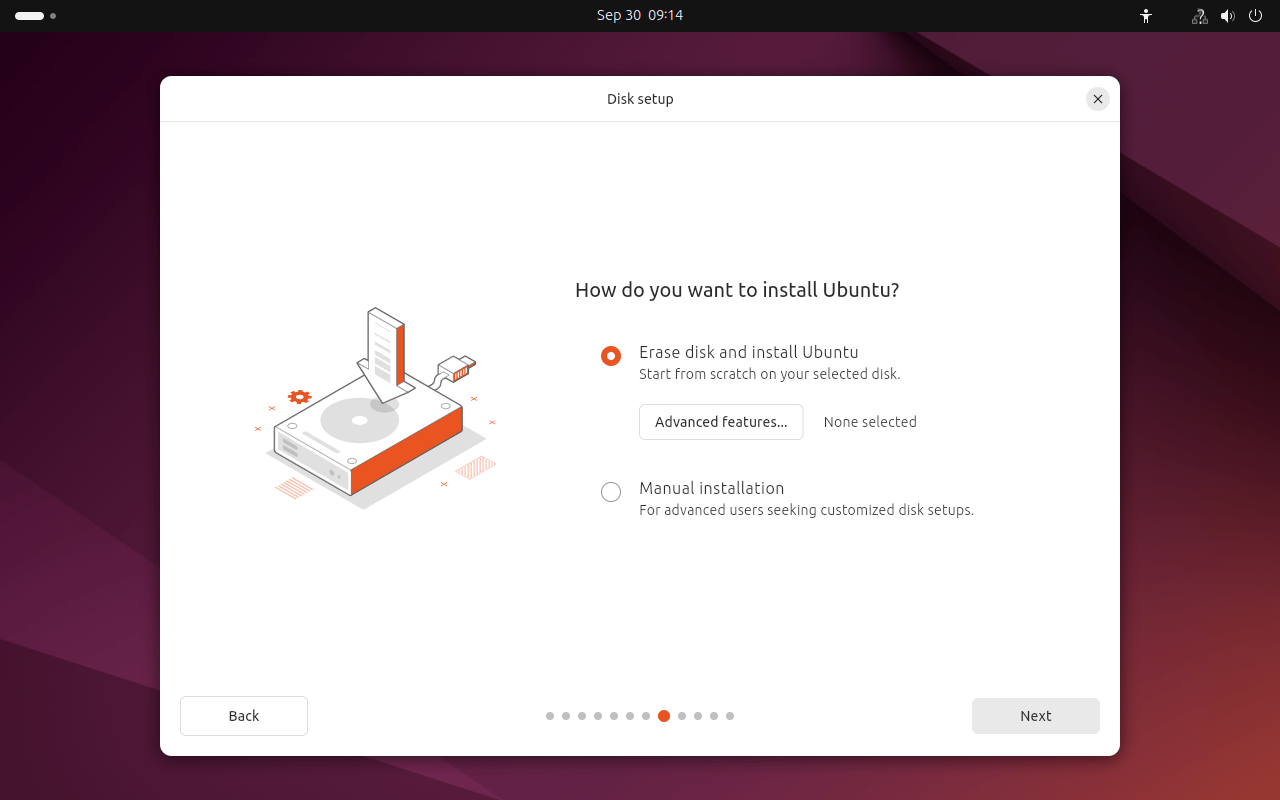
6. How Do You Want to Install Ubuntu?
In this step, you will decide where and how Ubuntu will be installed on your system's storage. Ubuntu provides several installation options depending on how you want to configure your hard drive or SSD, offering both automatic and manual partitioning.
1. Installation Type:
- Erase disk and install Ubuntu:
- This option is the simplest and most straightforward. Ubuntu will automatically partition and format the entire selected disk, erasing everything on it, and install Ubuntu as the only operating system on that drive. If you're using Ubuntu as your primary OS or on a fresh disk, this is the recommended choice.
- Note: Make sure to back up any important data on the selected disk before proceeding, as this will erase all contents.
- Manual (Something Else):
- This option allows you to manually partition your disk. If you want more control over your partitioning layout (for example, if you're dual-booting, creating custom partitions, or managing multiple operating systems), this is the option for you.
- You can create, delete, or modify partitions according to your needs. For example, you can create separate partitions for
/,/home, or/swapif desired. This is ideal for advanced users who want to fine-tune their disk setup.
2. Select Disk for Installation:
- You'll be prompted to select the hard drive or SSD where you want Ubuntu to be installed. If you have multiple drives, ensure you're selecting the correct one to avoid accidental data loss.
3. Advanced Features (Optional):
- Clicking Advanced Features reveals more options for setting up your storage:
- LVM (Logical Volume Management):
- If you check this option, Ubuntu will use LVM for disk partitioning. LVM allows more flexibility with disk management, including resizing disk partitions easily and creating snapshots.
- This is useful if you expect your storage needs to change or if you want easier control over partitions post-installation.
- Encrypt the new Ubuntu installation for security:
- This option will encrypt your entire disk, adding an extra layer of security by requiring a passphrase to unlock your disk each time you boot. It's highly recommended for users concerned about privacy or for anyone using a laptop that might be lost or stolen.
- Use ZFS:
- ZFS is an advanced file system that provides features like snapshots, high redundancy, and better protection against data corruption. It is ideal for enterprise systems or users who need extra reliability.
- This option is for advanced users who want the benefits of ZFS for their Ubuntu installation.
- LVM (Logical Volume Management):
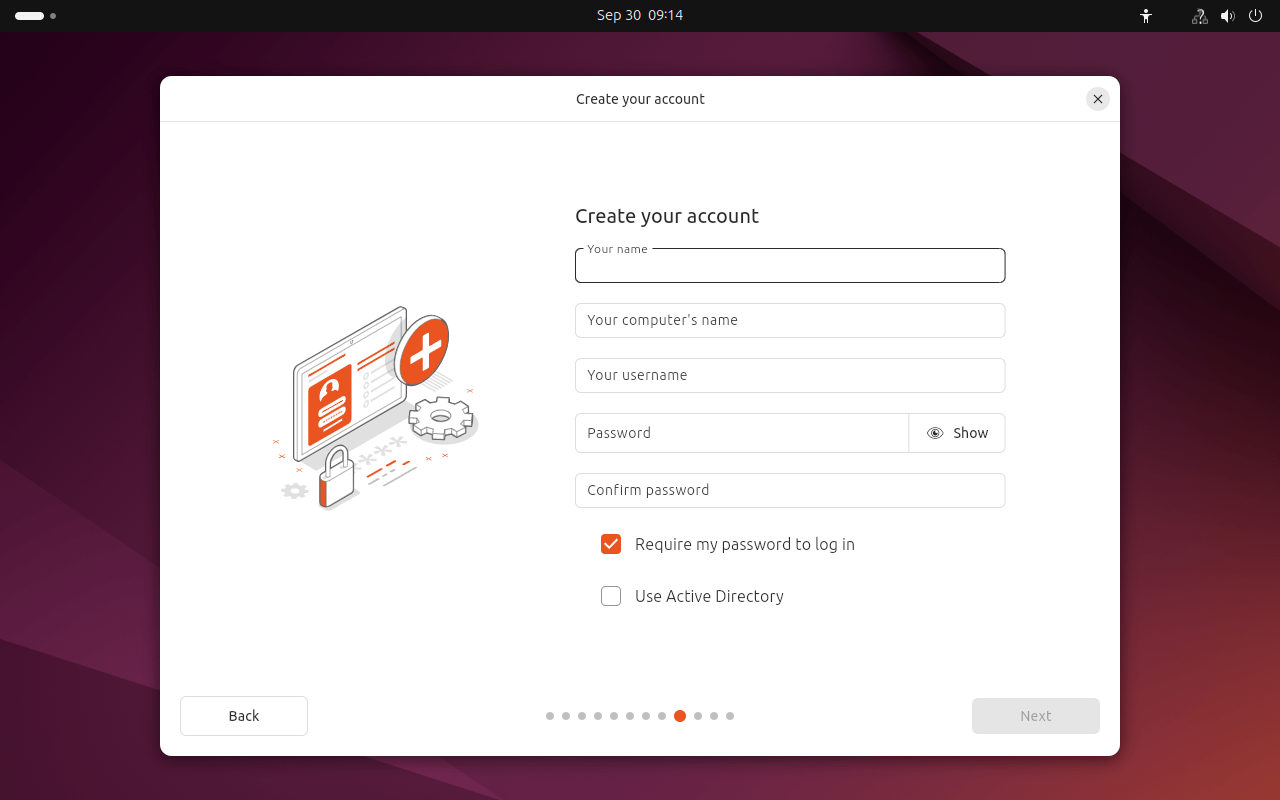
8. Creating a User Account
The installer will now prompt you to create a user account:
- Enter your name.
- Choose a username.
- Set a strong password.
- You can also configure the computer name (hostname) if you wish.
- Select whether you want to Log in automatically or Require a password at login.
9. Installing Ubuntu Desktop
Now that everything is configured, the installer will begin copying files and installing Ubuntu.
- Wait for the installation to complete. This might take several minutes, depending on your system speed.
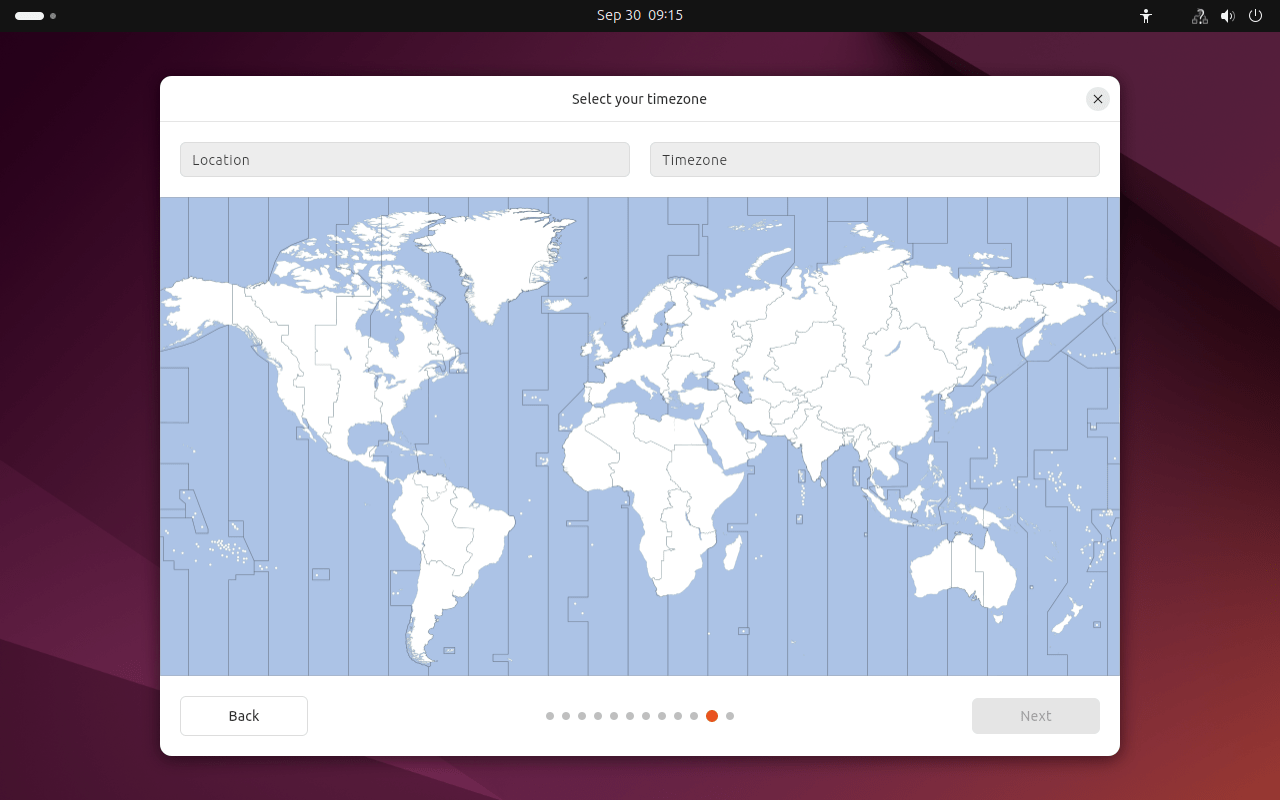
10. Select Your Time Zone
In this step, you'll set your time zone to ensure that your system's clock displays the correct local time. Ubuntu provides a map interface where you can easily select your location. Simply click on your city or region to highlight it. This setting is crucial for scheduling tasks, logging activities, and maintaining accurate timestamps on files. Once you’ve made your selection, click Continue to proceed with the installation.
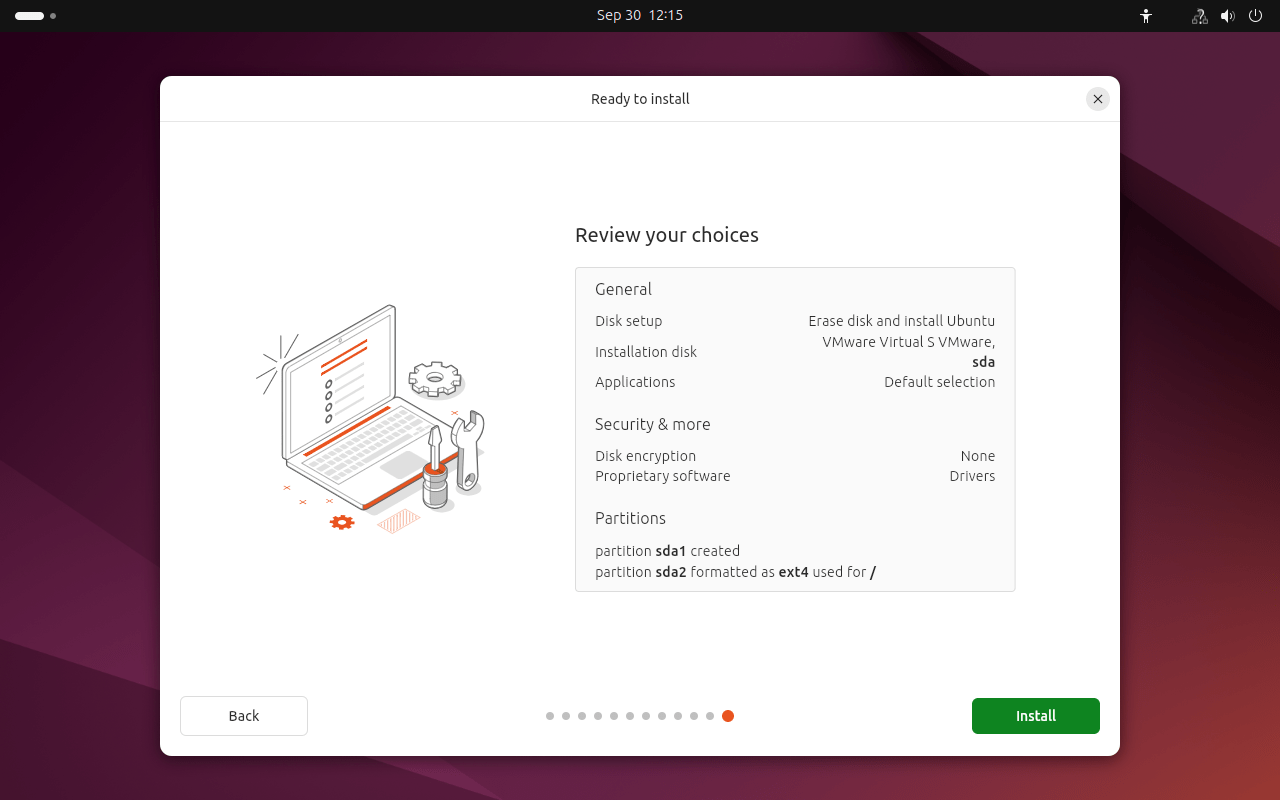
11. Review Your Choices
Before proceeding with the installation, the Ubuntu installer presents you with a summary of your selections. This is your chance to double-check that all the information you've provided, such as language, keyboard layout, time zone, installation type, and any software choices, is correct. Take a moment to review each section carefully to ensure everything is set up according to your preferences. If you need to make any adjustments, you can navigate back to the relevant steps. Once you are satisfied with your choices and ready to begin the installation, click the Install button to start the process. A confirmation dialog may appear, providing one final opportunity to confirm your selections.
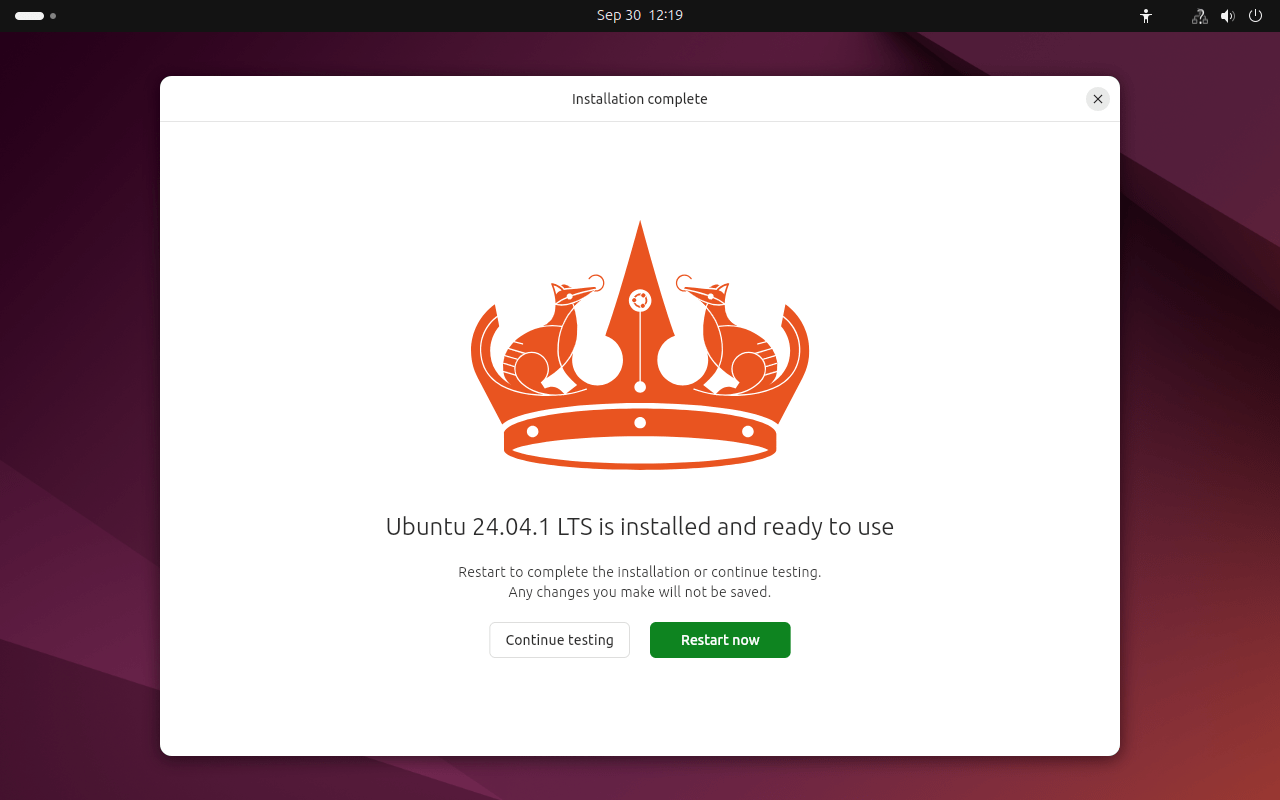
12. Finalizing the Installation and First Boot
Once the installation is complete, you’ll be prompted to restart your computer.
- Remove the installation USB when asked.
- Press Enter to reboot.
- Your system will now boot into Ubuntu Desktop.
13. Login Screen
After the installation process is complete and your system reboots, you will be greeted by the Ubuntu 24.04 login screen. This screen serves as the gateway to your newly installed operating system and offers a secure way to access your user account. Here’s what to expect and how to proceed:
- Login Prompt: The login screen features a clean and minimalist design, showcasing the Ubuntu logo prominently. You will see a text box asking for your username. If you are the only user on the system, your username may already be displayed, or you can type it in. If multiple users are configured, a list of user accounts may appear. Click on your account to proceed.
- Password Entry: After selecting your account, a password field will appear. Enter the password you set during the installation process. Note that for security reasons, the characters you type will not be displayed on the screen. This is a common practice to protect your password from prying eyes. Make sure to type carefully to avoid any errors.
- Accessibility Options: In case you need assistance, the login screen provides accessibility options. You can access tools for improving visibility, such as a screen magnifier, high-contrast themes, or a virtual keyboard, among others. Look for the accessibility icon, usually located in one of the corners of the screen, to activate these features.
- Login Button: After entering your username and password, press the Enter key on your keyboard or click the Log In button on the screen. If your credentials are correct, the system will authenticate your information, and you will be granted access to your desktop environment.
14. Conclusion
Congratulations! You've successfully installed Ubuntu Desktop 24.04. Whether you're new to Linux or a seasoned user, Ubuntu is a versatile and powerful operating system that will allow you to dive deep into the world of open-source software. Now that you’ve completed the installation, you’re ready to explore and customize your system according to your needs.