

After installing and testing the new network card, I moved on to the GPU upgrade. The process was straightforward: first, I powered down the server completely. Then, I removed a few screws from the back panel, pressed the release latch at the end of the PCIe slot, and carefully pulled out the old graphics card.
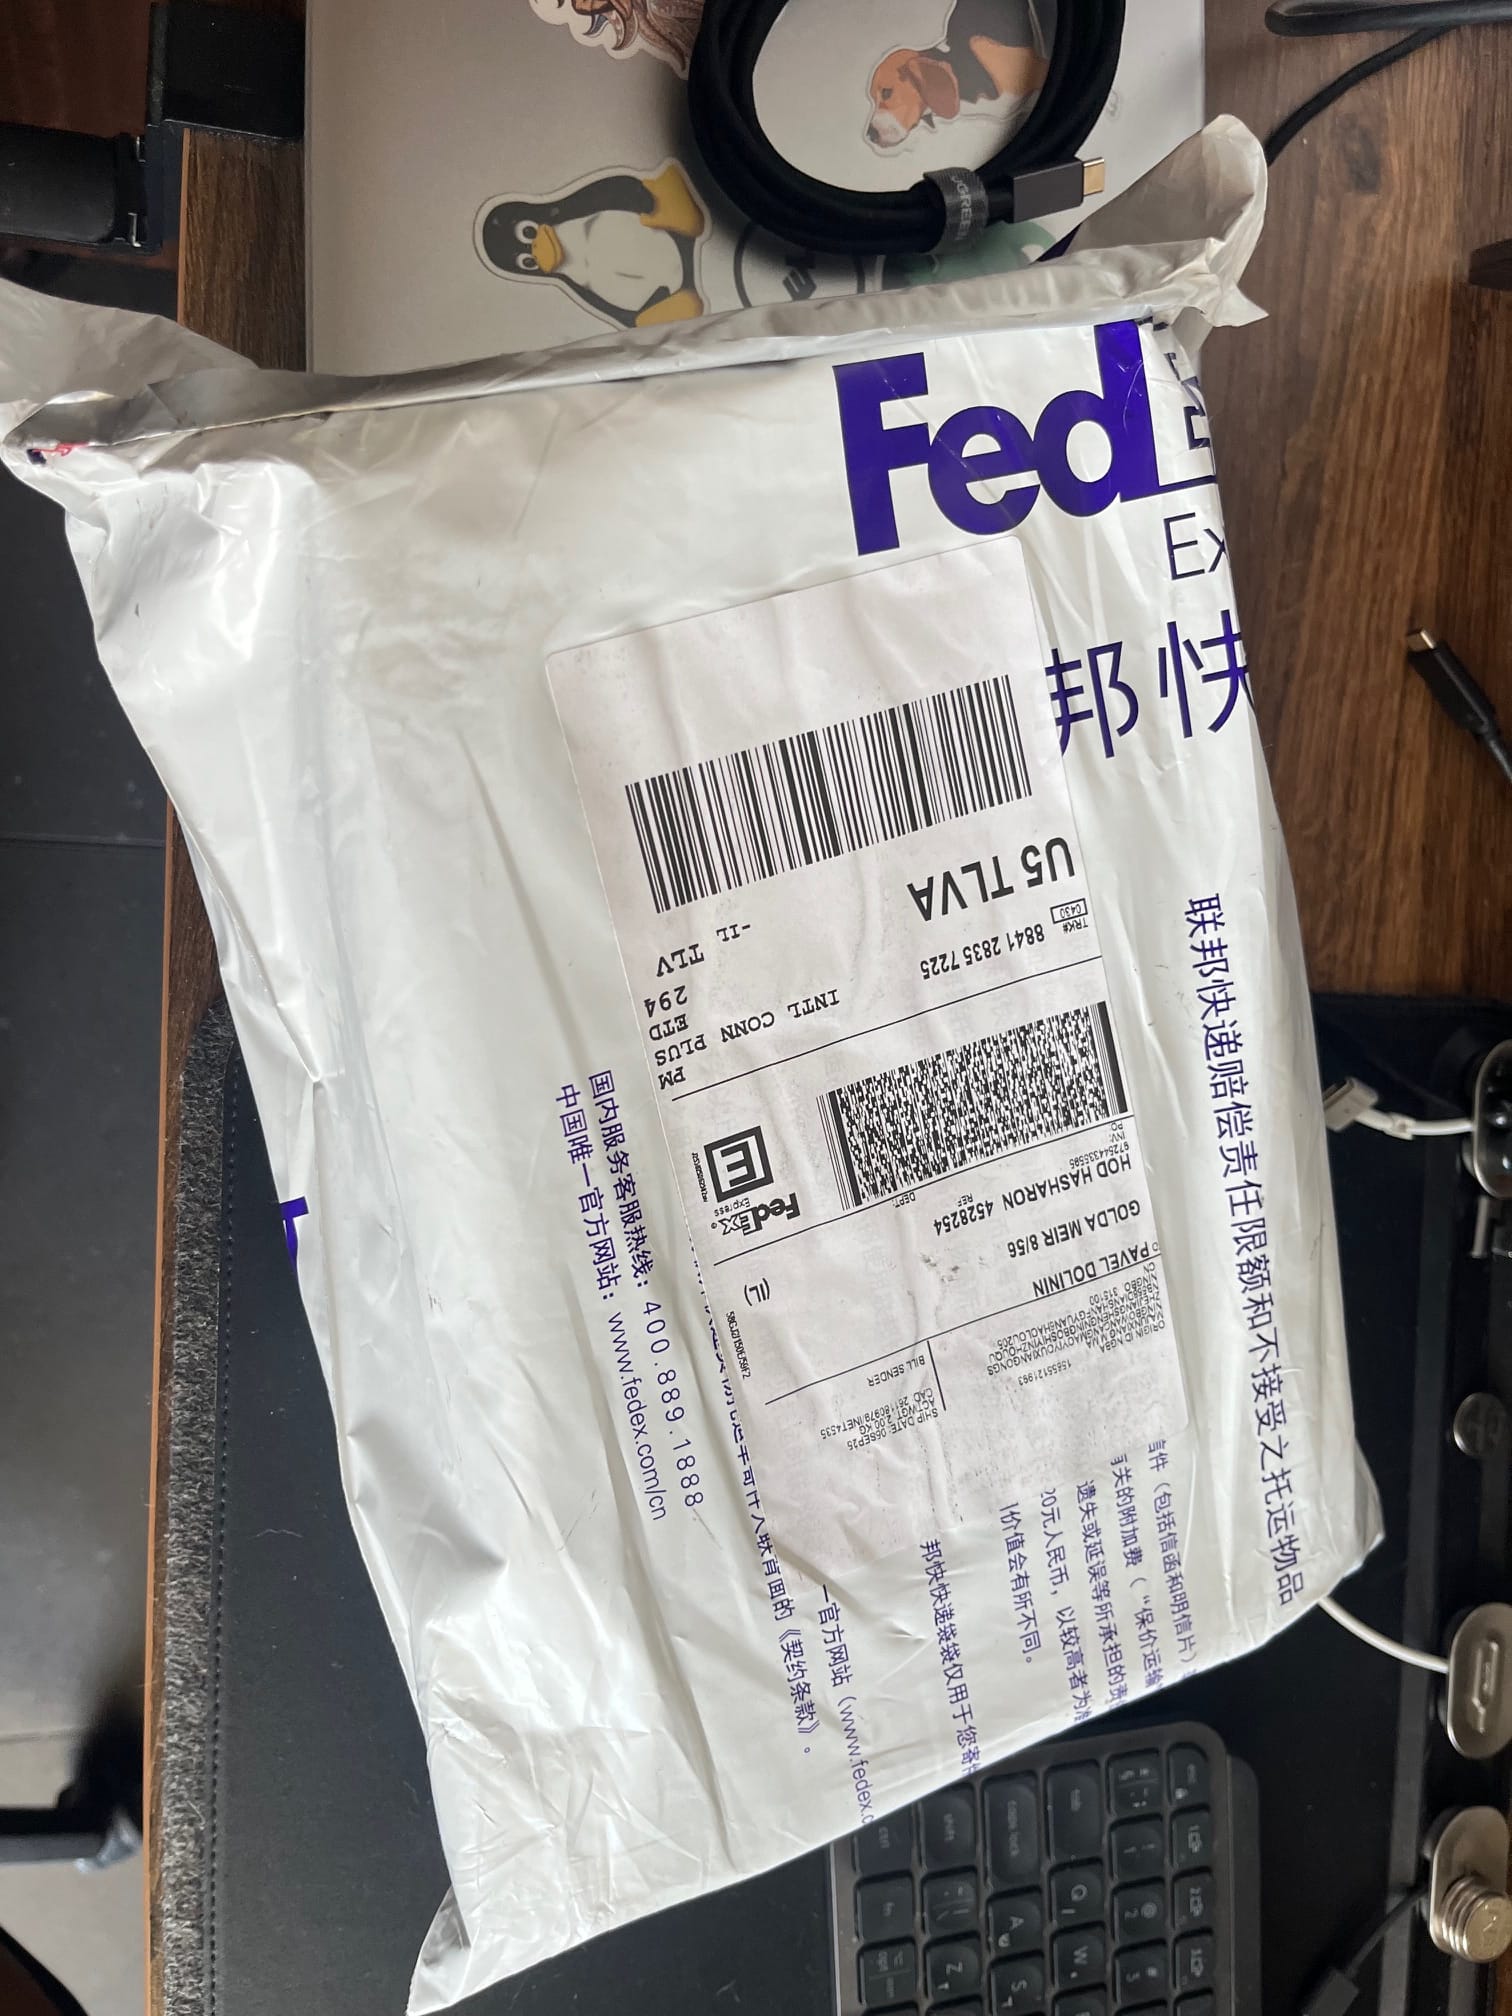
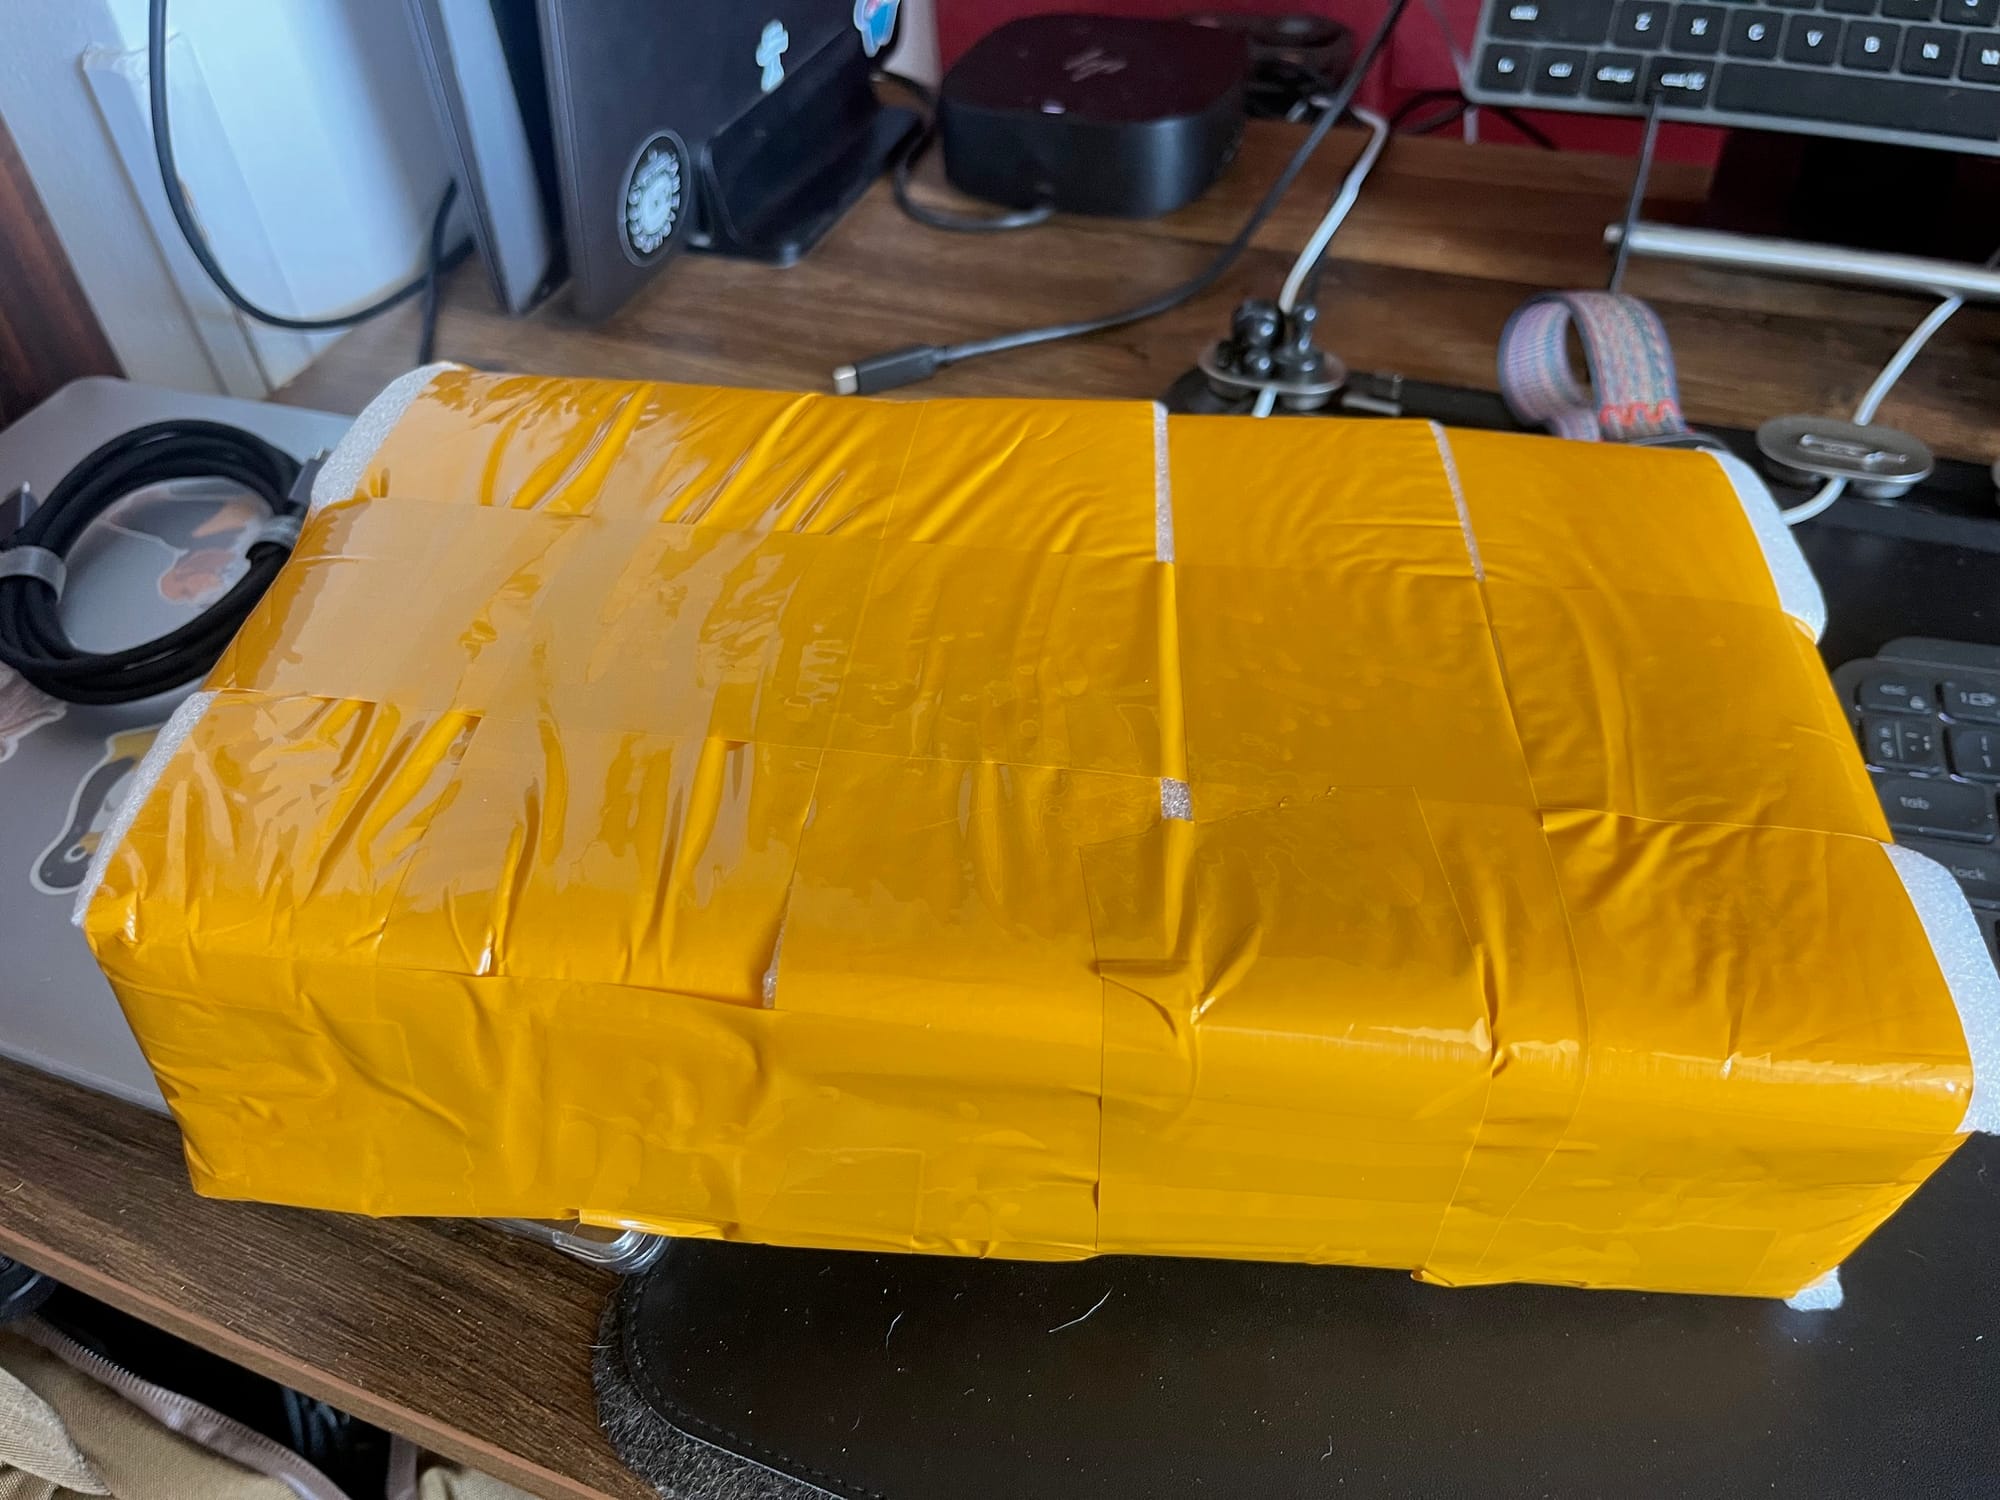
1. The Arrival of the Graphics Card
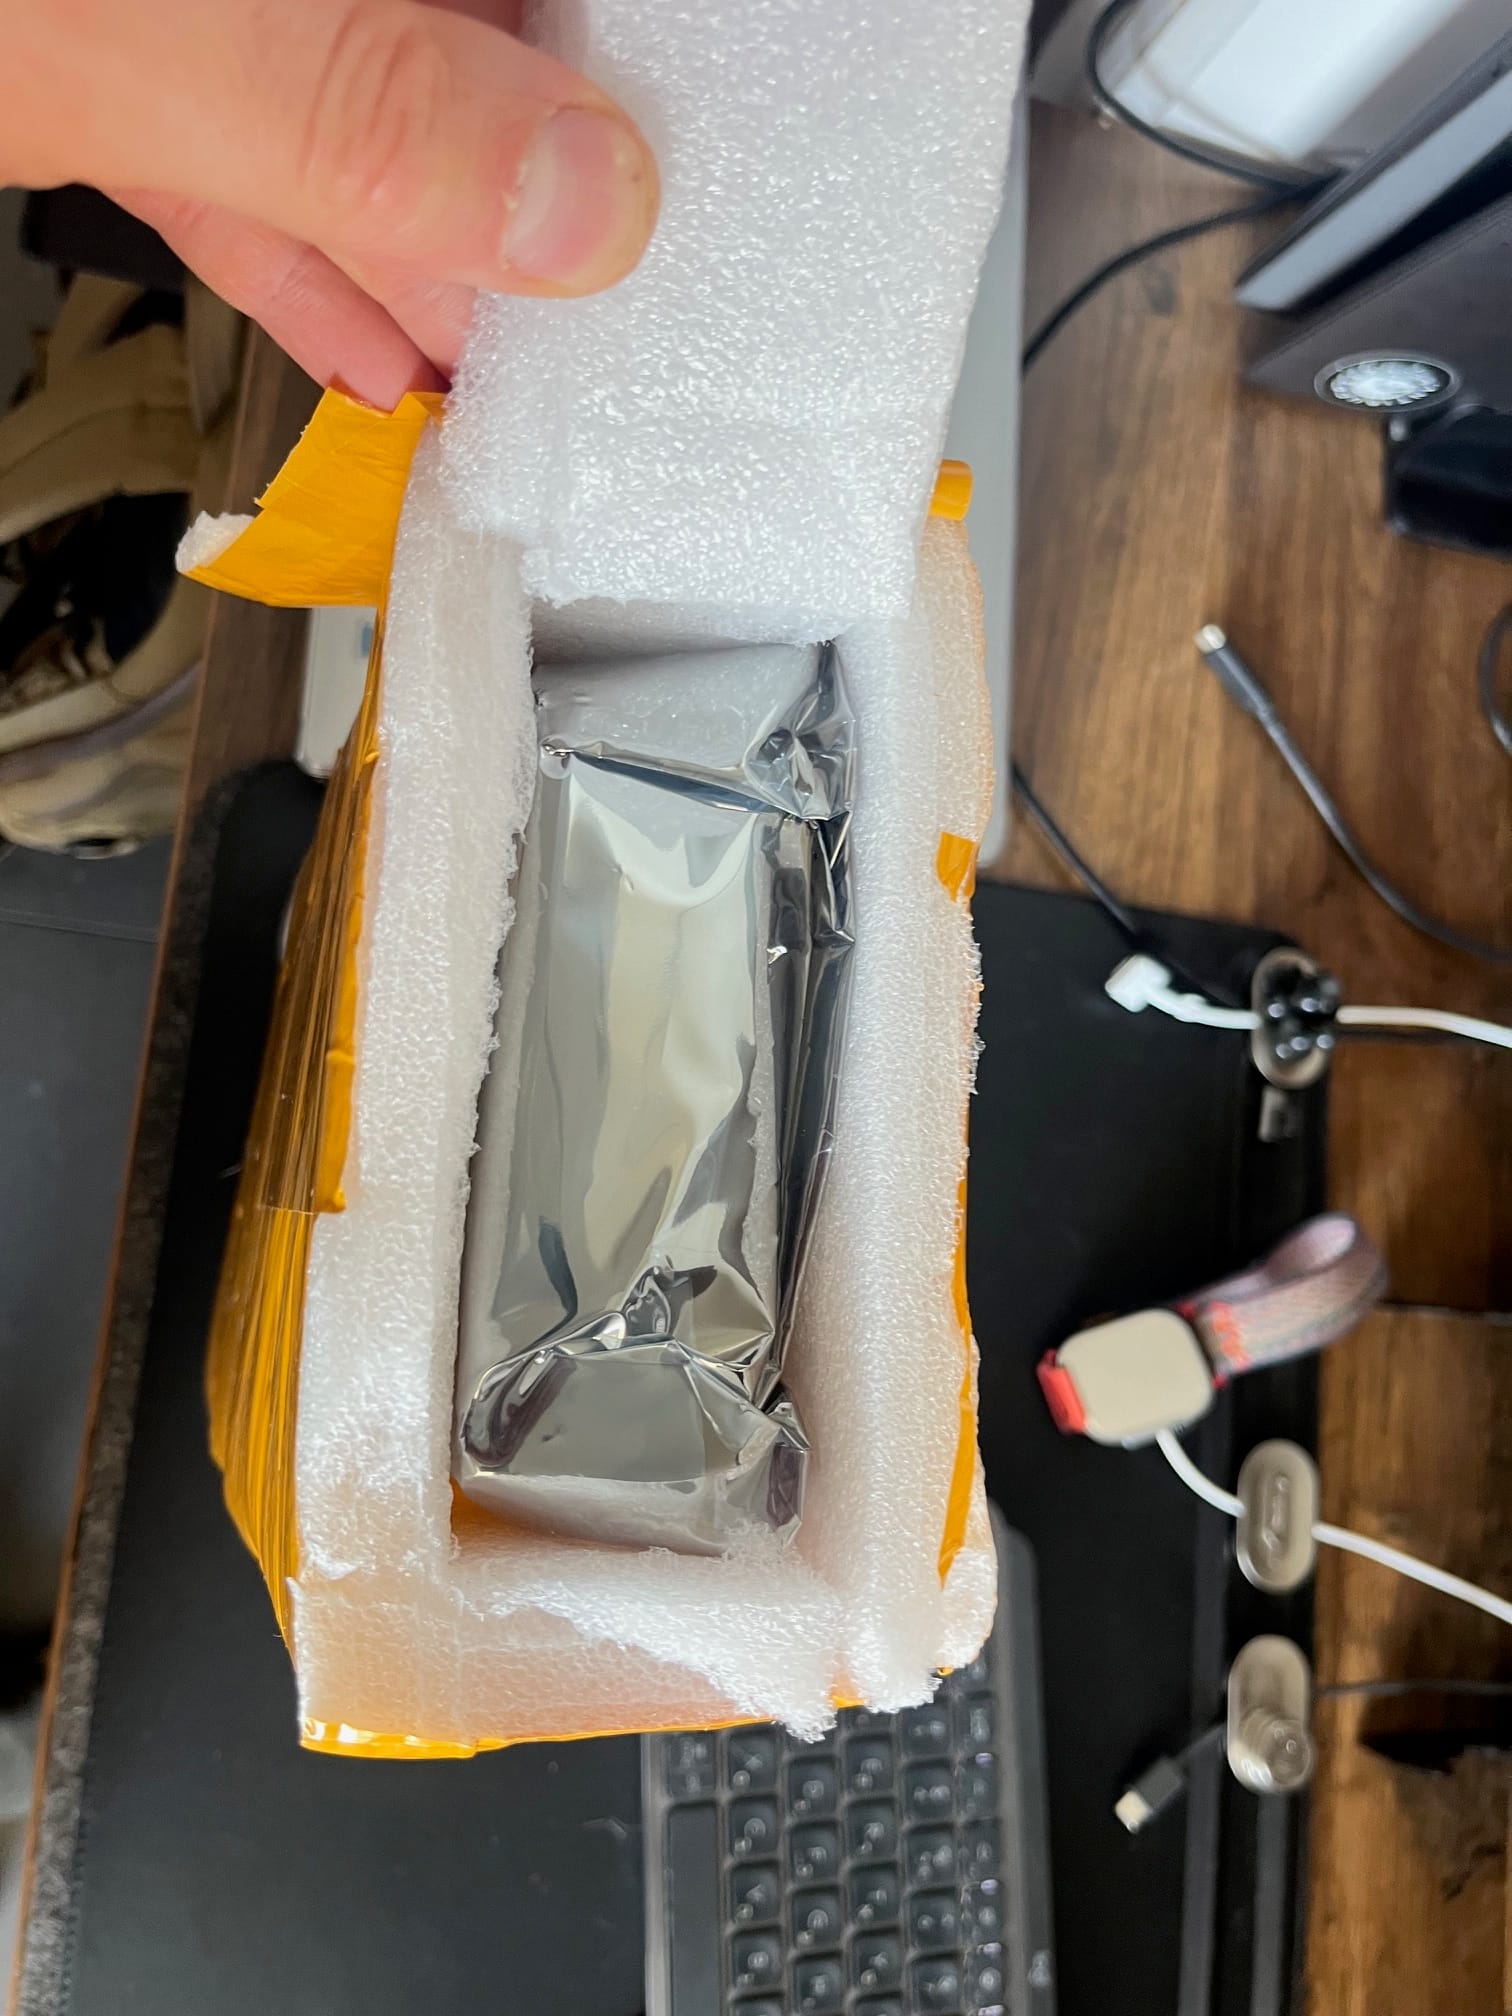
The first thing I want to mention is how the GPU arrived. Instead of a proper box with padding, the seller shipped it in a makeshift cardboard container, glued together with multiple layers of tape and soft packing material. No outer shell, no professional packaging — just the card bouncing around during transport. Honestly, it was not a confidence-inspiring sight.
New GPU
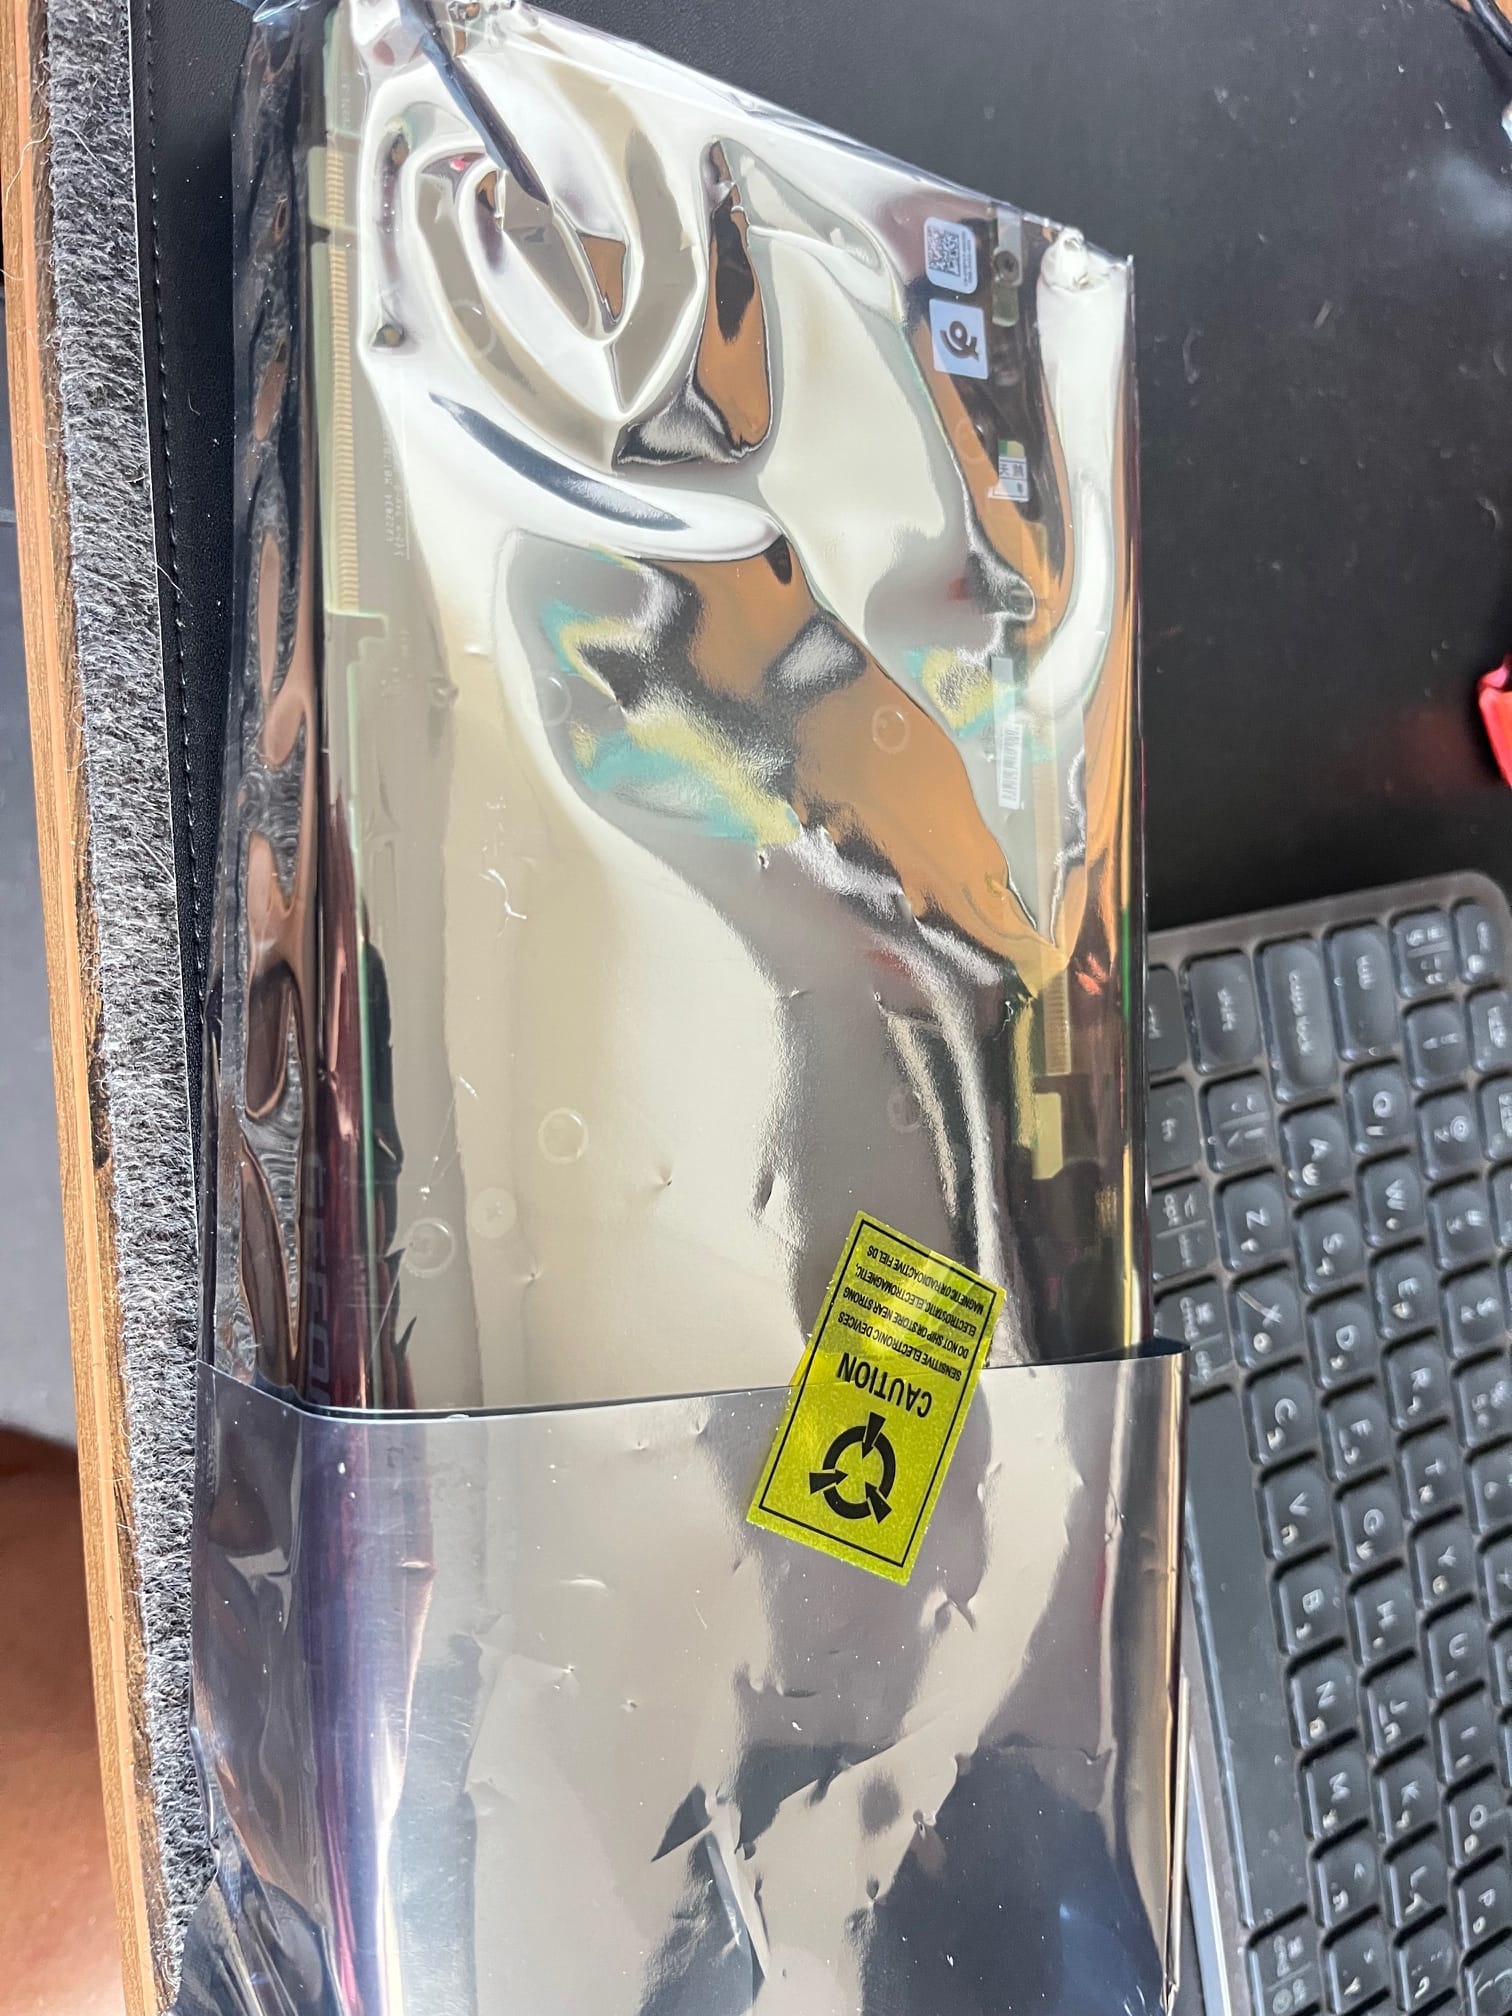
This particular GPU wasn’t brand new. It came from a Dell workstation (one of those so-called “Alienware” models). To be frank, the card didn’t look impressive at all: a cheap-looking plastic casing, a fan that had clearly seen better days, and an overall worn-out appearance. But beauty wasn’t the point of this project. My goal is functionality, learning, and building a server that can handle AI workloads. Looks can wait.
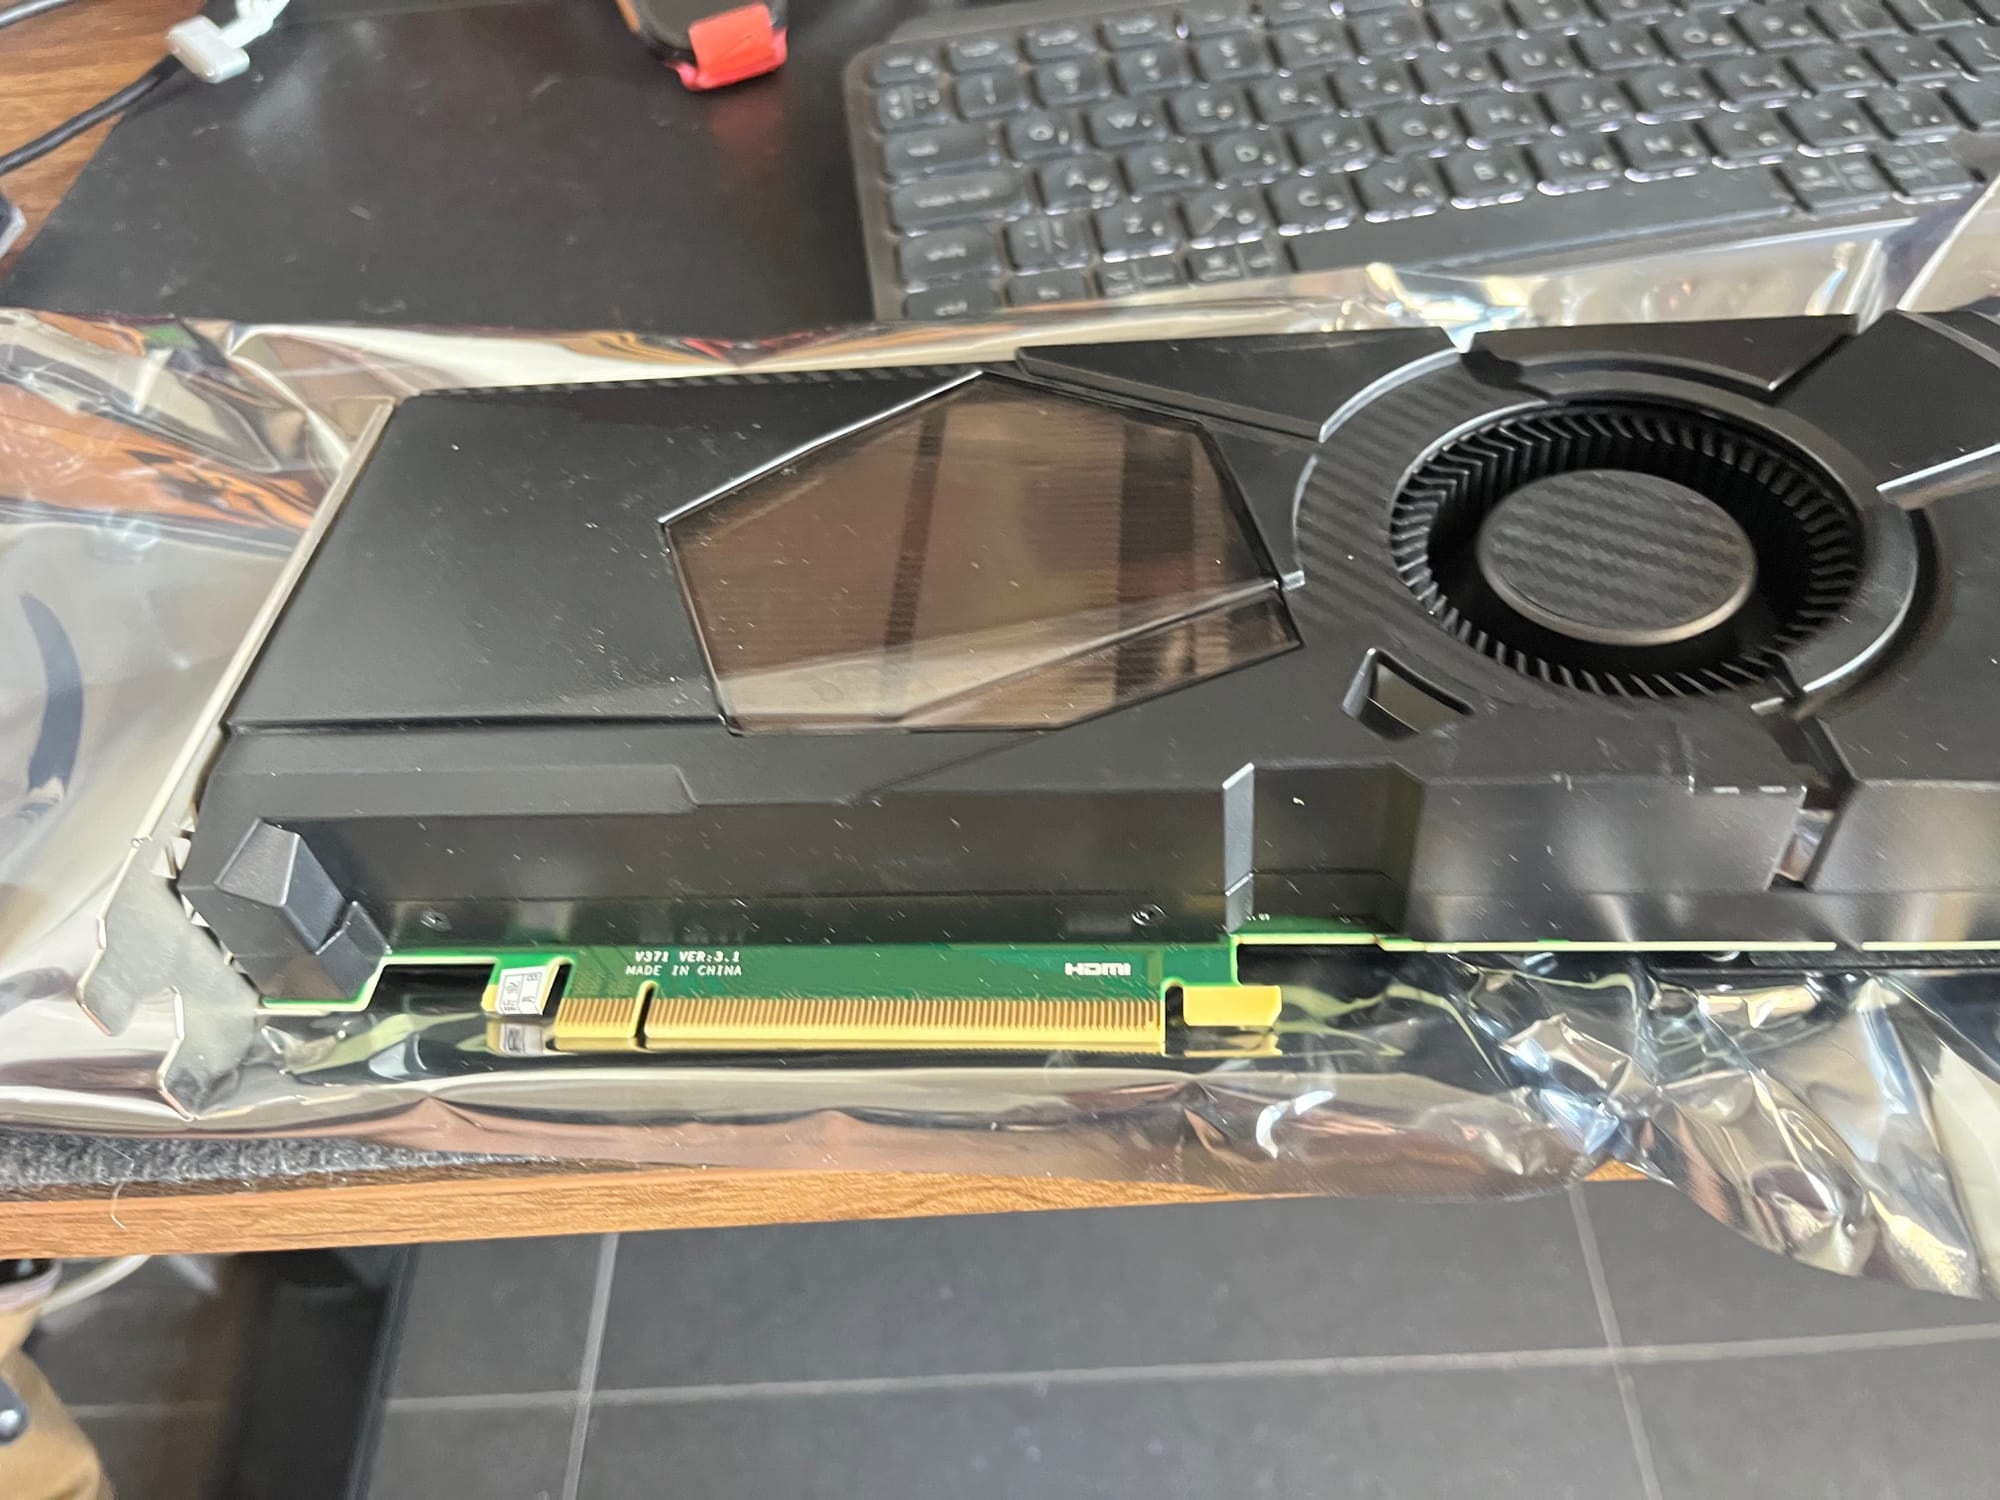
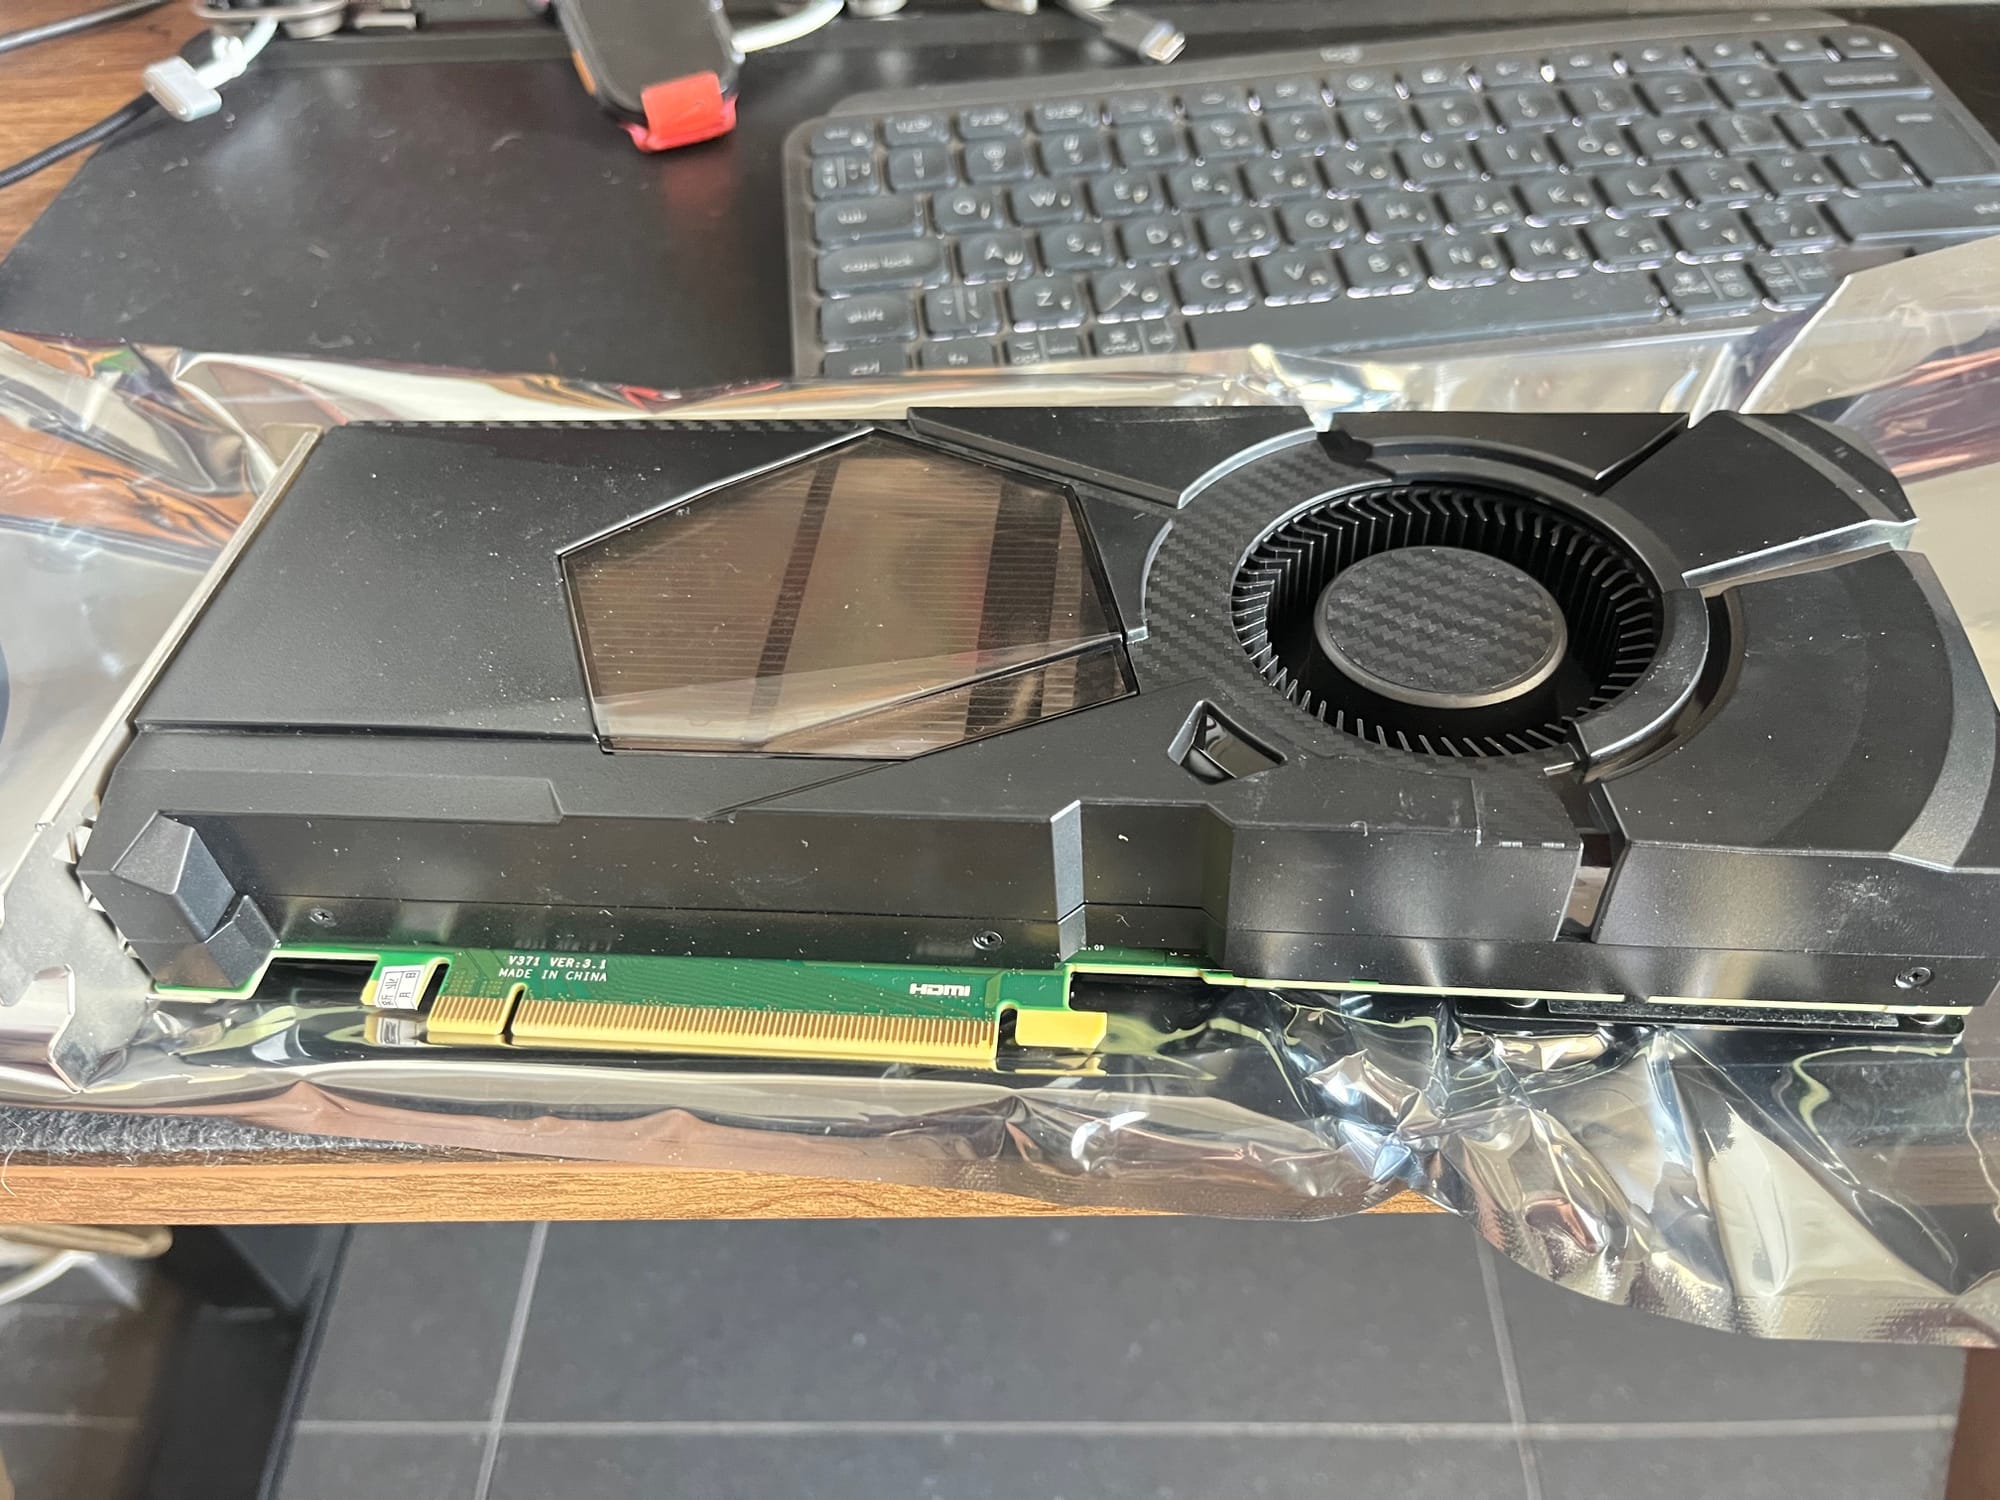
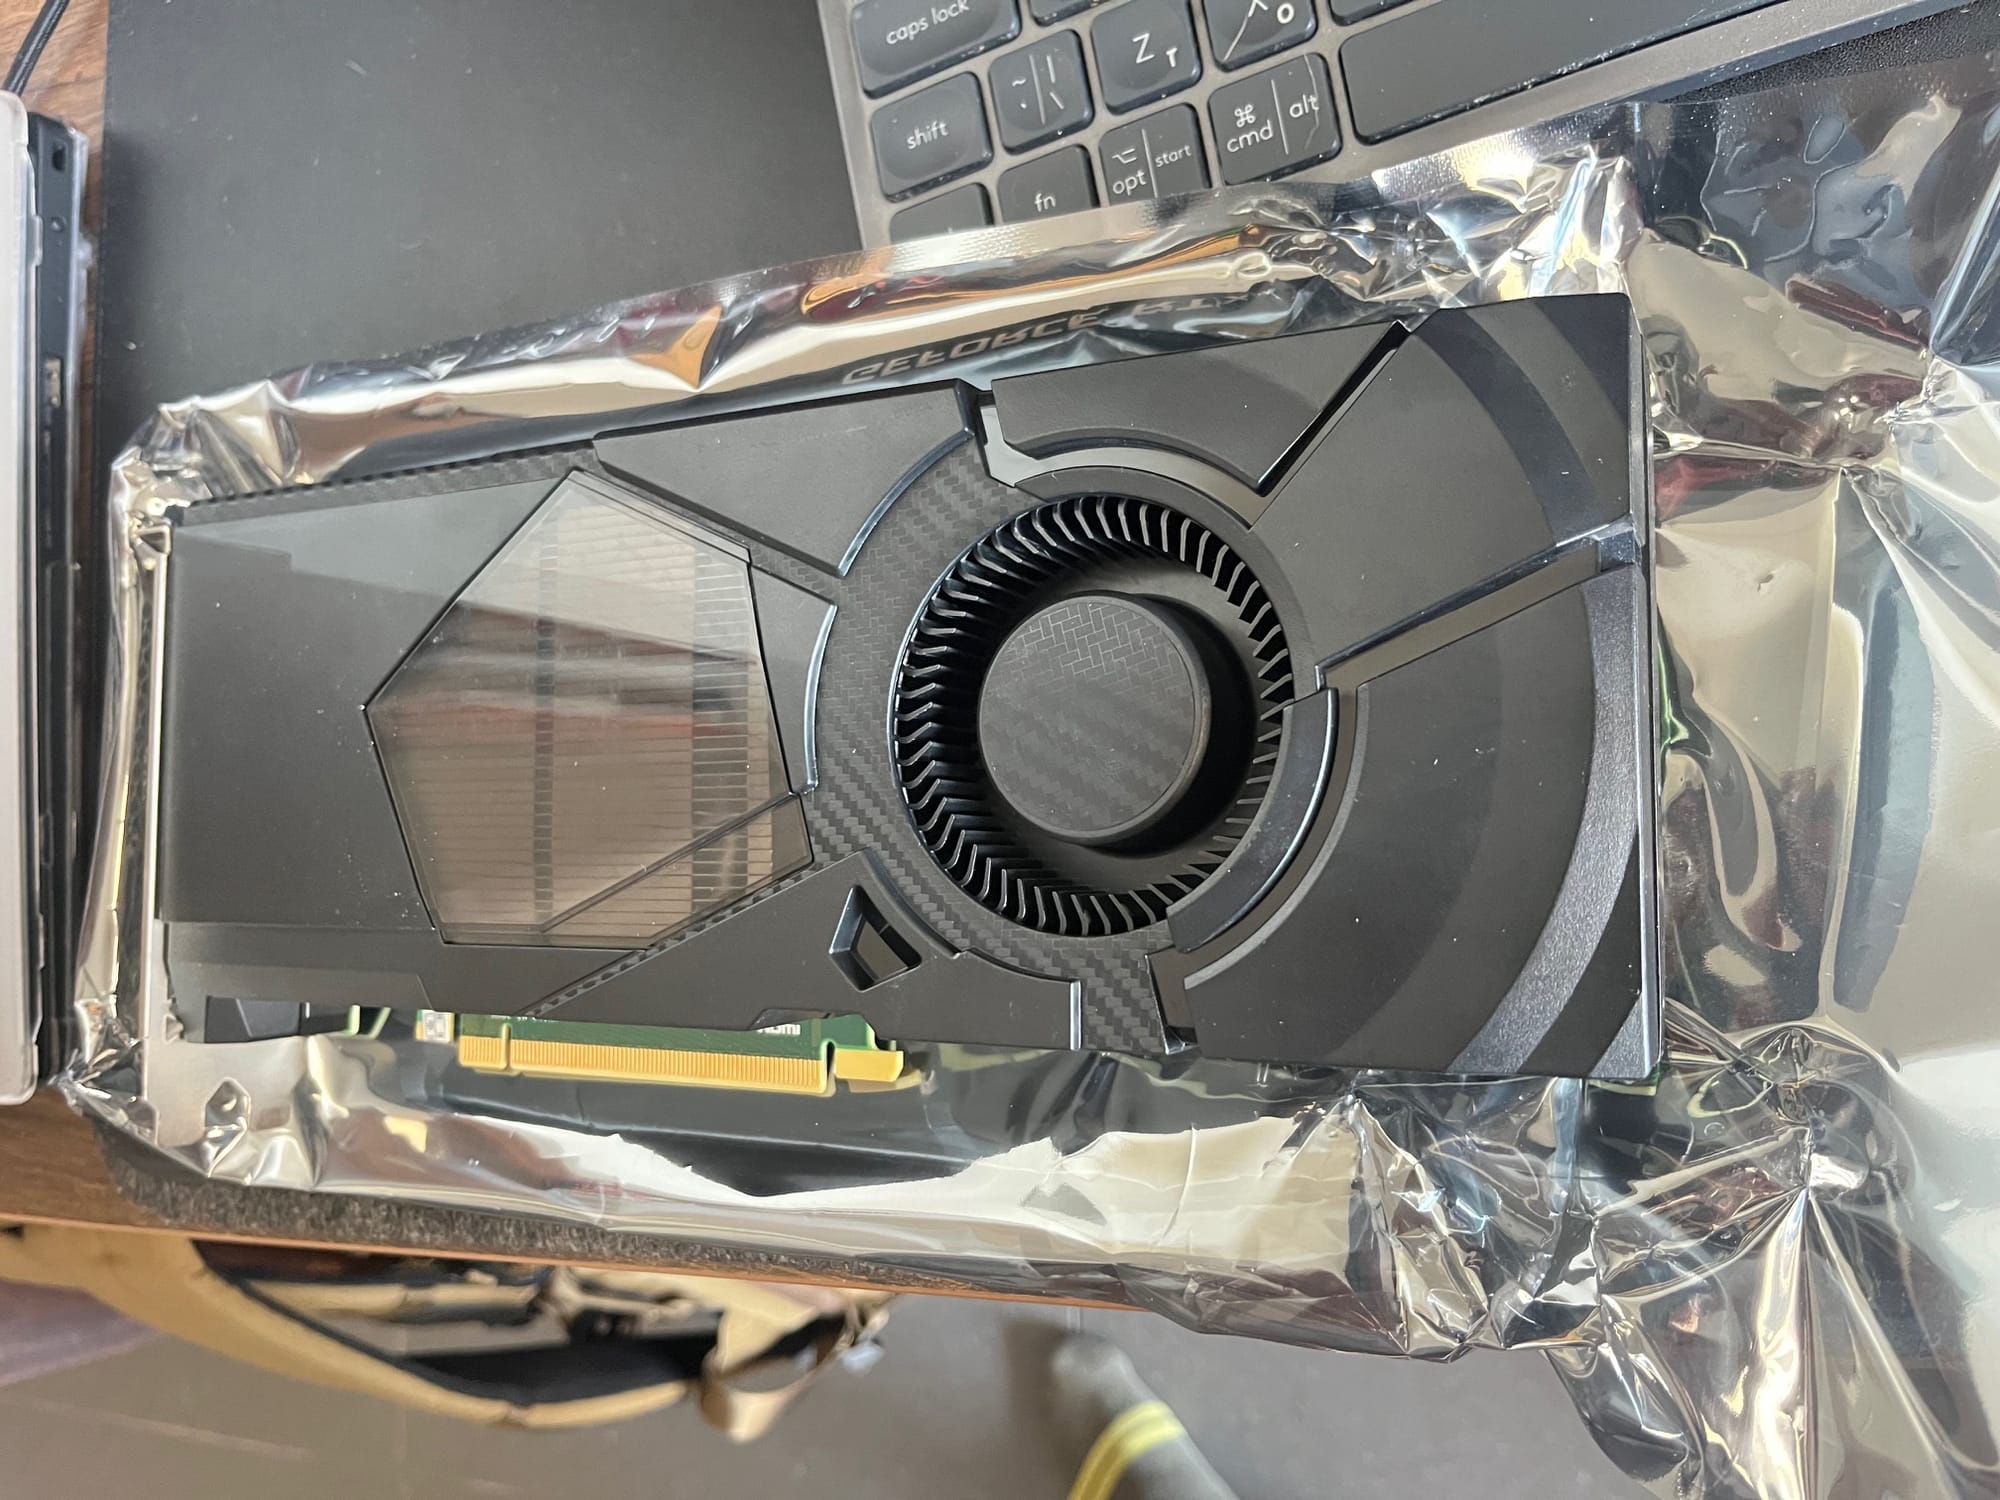

The "glorious" look of the new GPU
2. Preparing for Installation
After successfully testing my newly installed network card, it was time to move on to the GPU.
The process was straightforward:
- Shut down the server completely.
- Unscrew the back panel screws holding the current GPU in place.
- Press the release latch at the end of the PCIe slot.
- Remove the old GPU carefully.
- Insert the new GPU firmly into the PCIe slot.
- Secure it with screws so it doesn’t wobble.
- Close the case and power the server back on.
Because I had already installed the necessary drivers beforehand, the system recognized the new card right away. No errors, no overheating, and — most importantly — nothing started smoking. Always a good sign ;-).
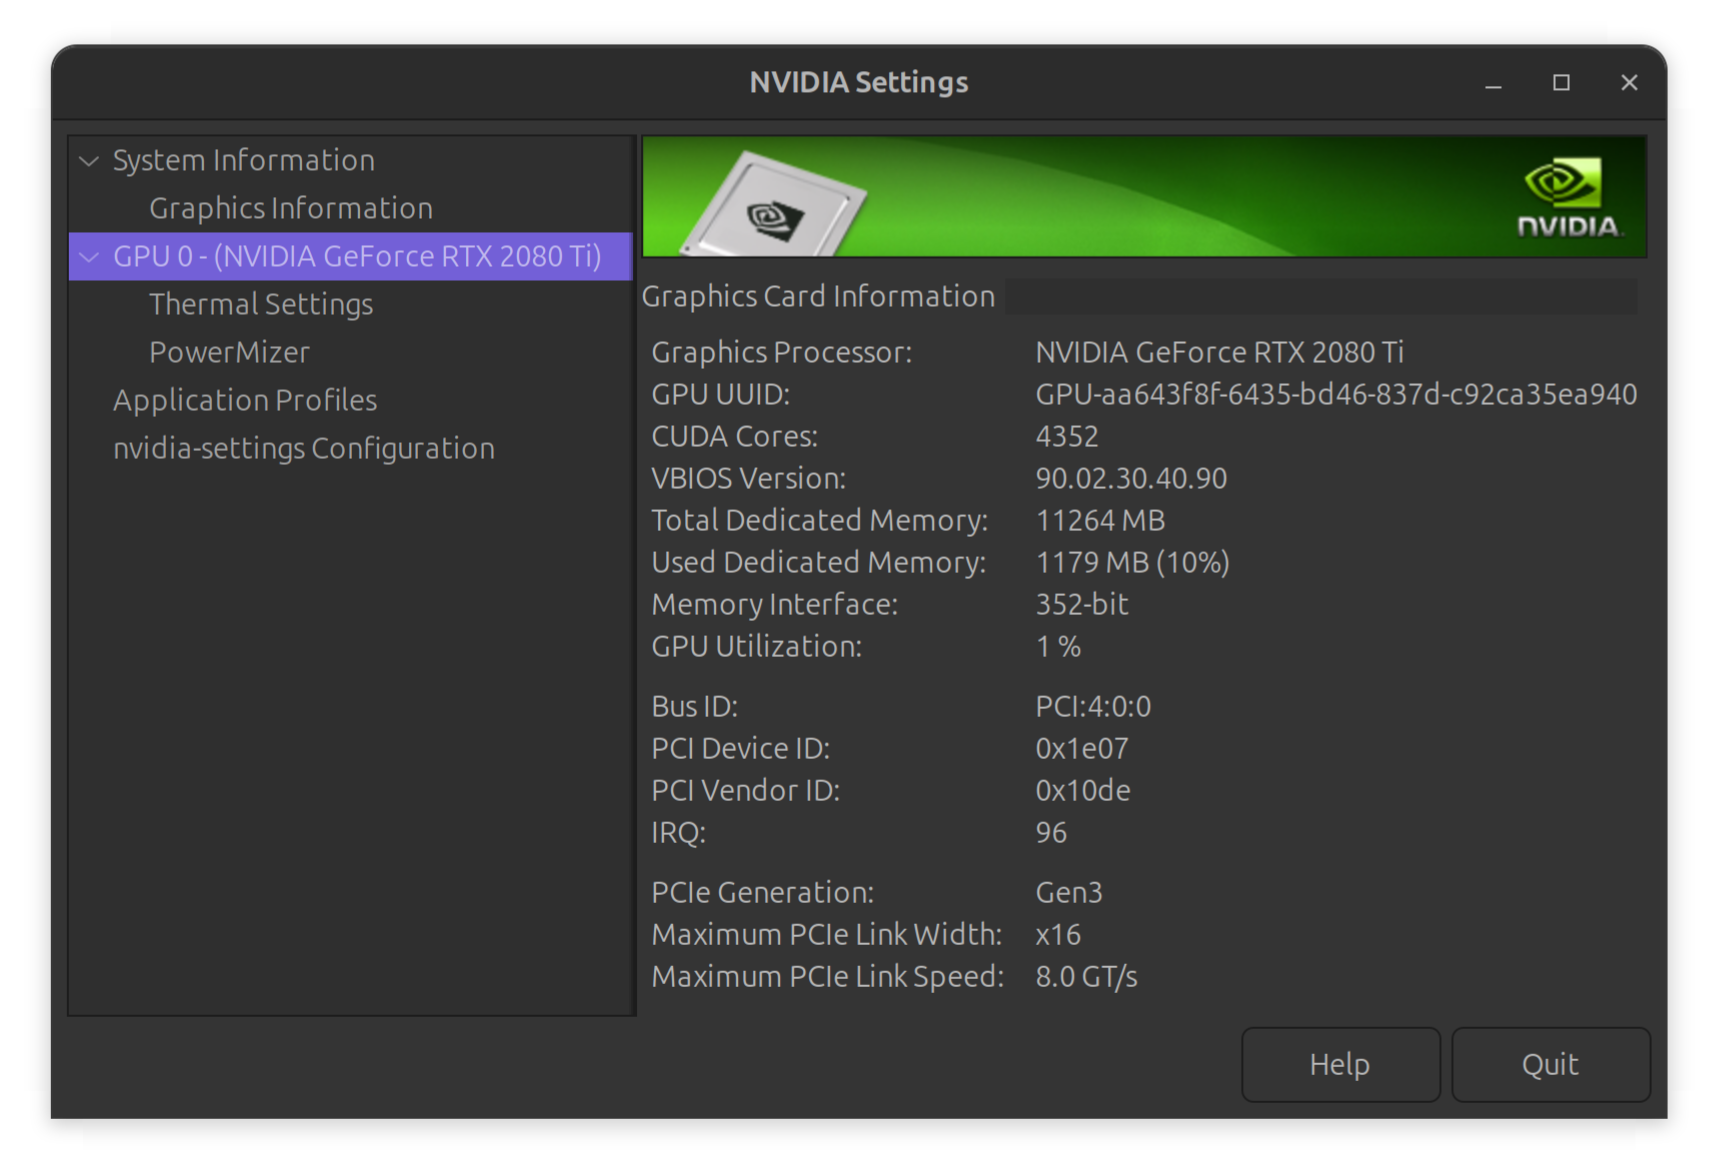
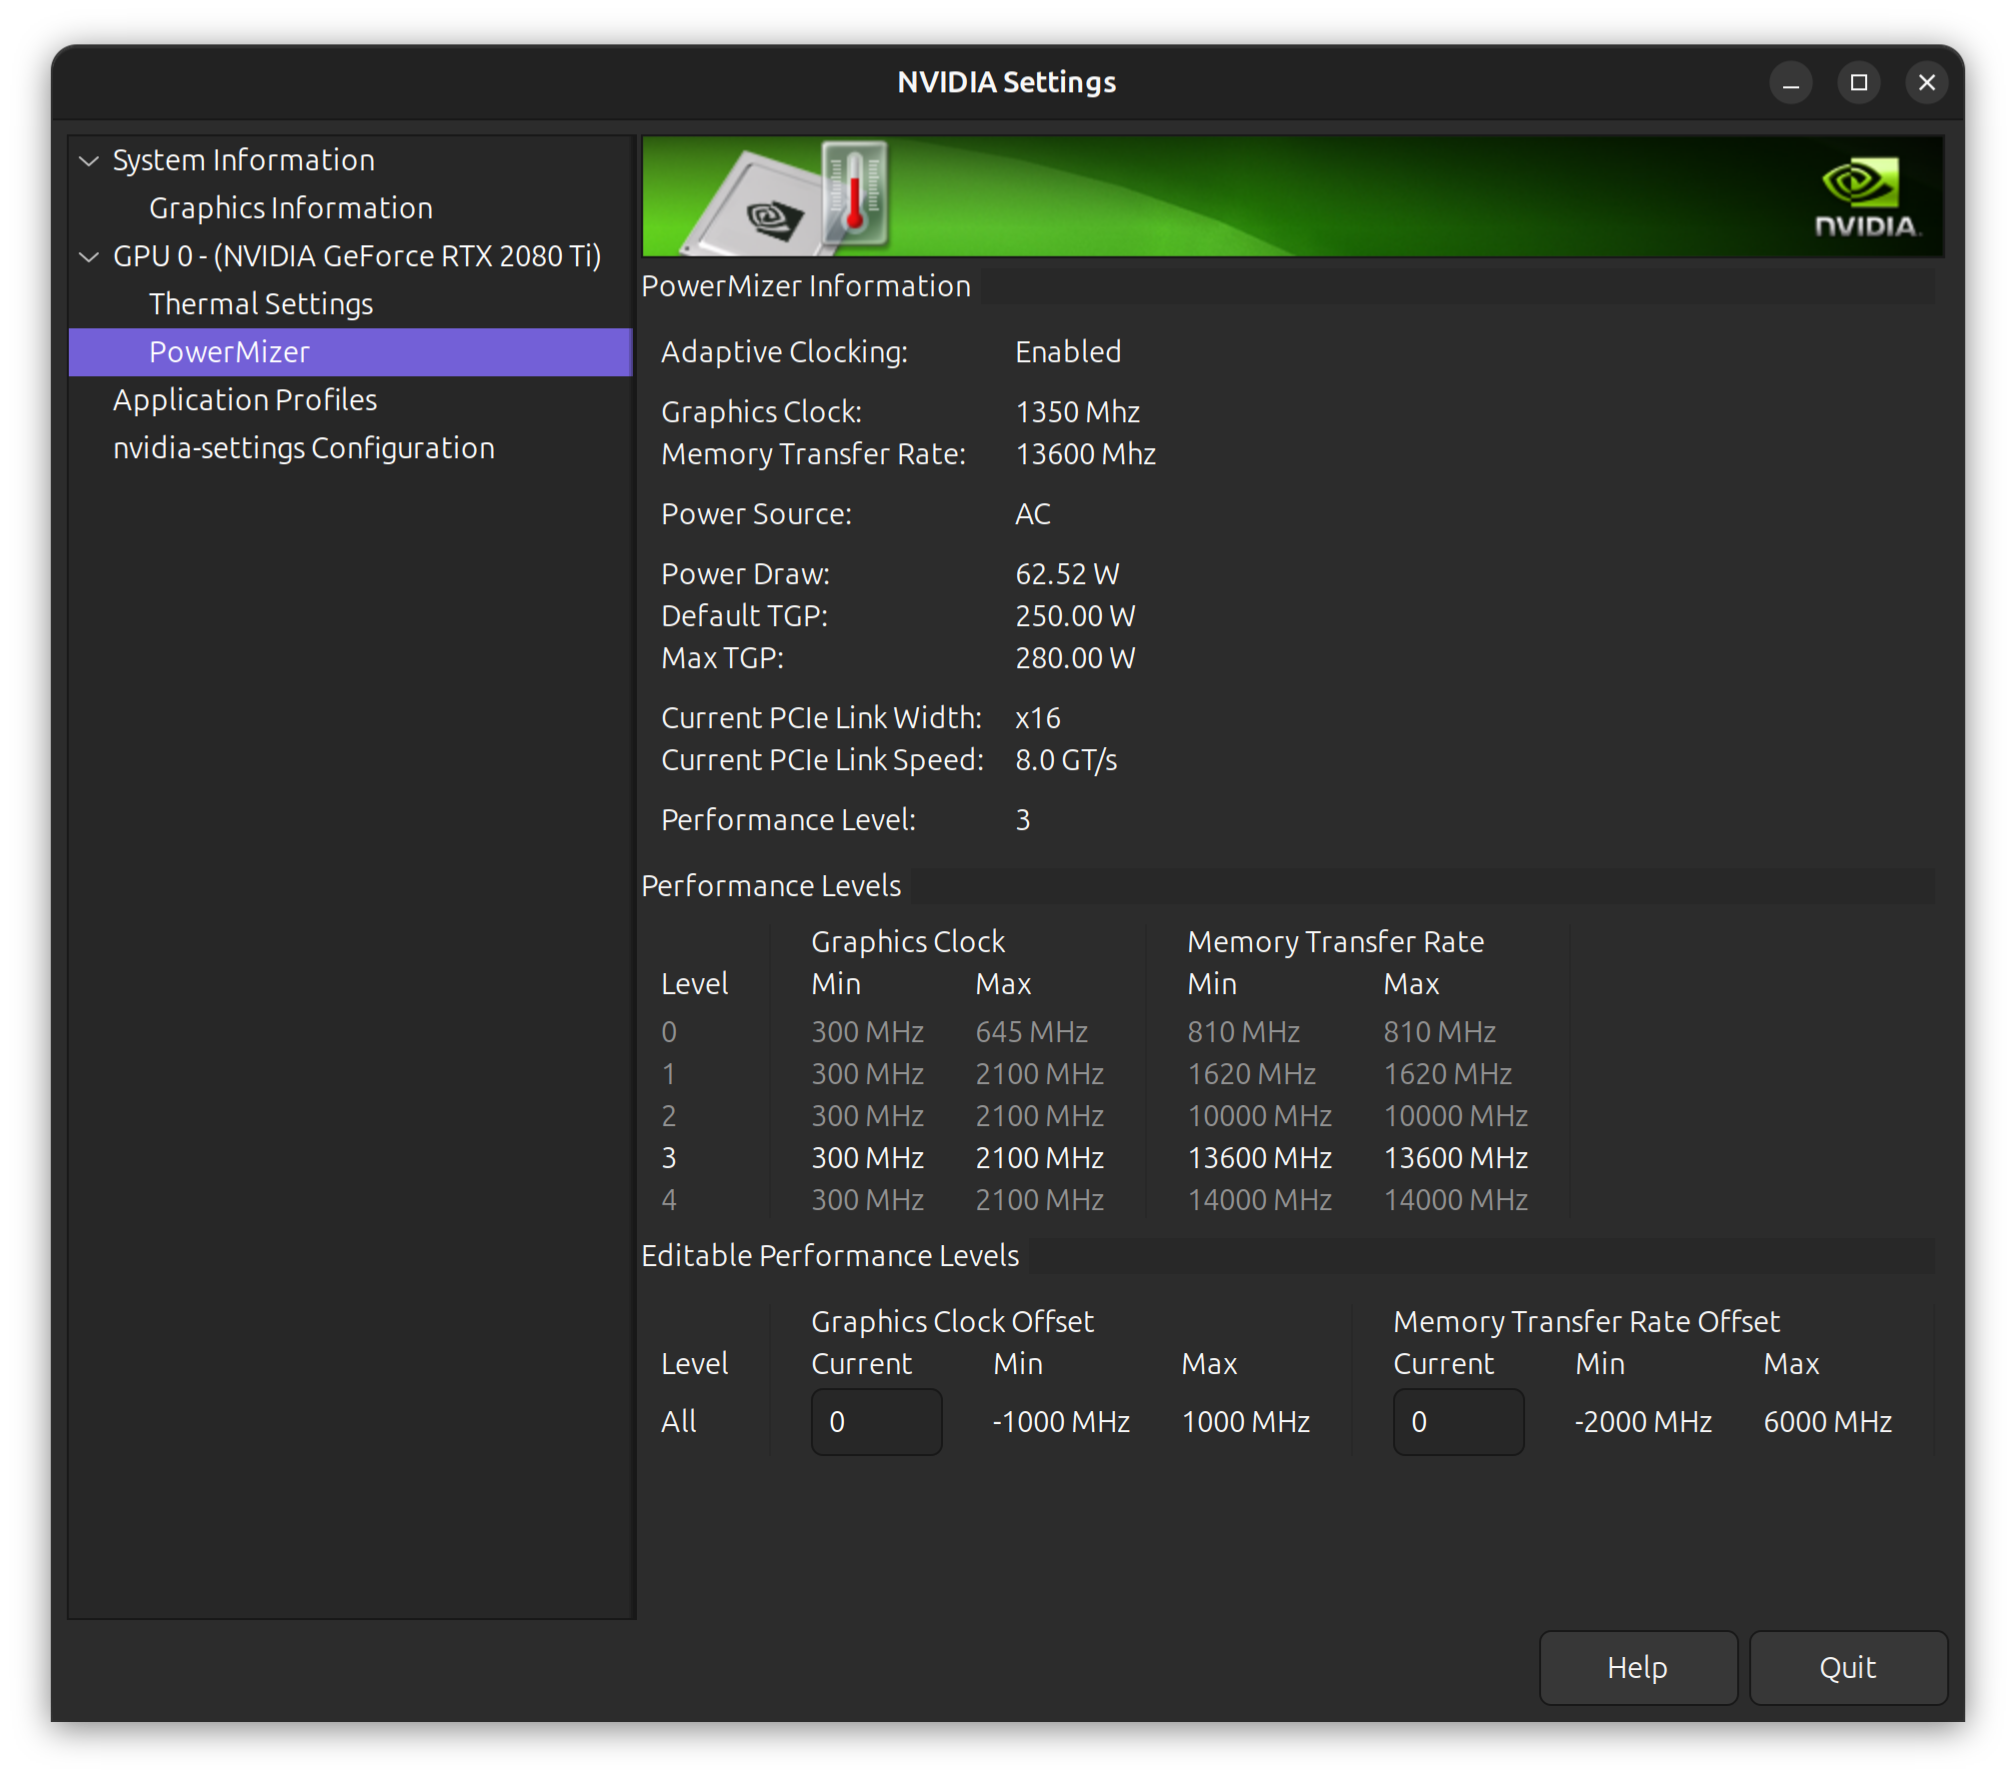
New NVIDIA Setting shows new GPU
3. Connecting Displays
Until now, my server had been hooked up to an old TV, which had recently started showing strange behavior. That meant I needed to switch to a more reliable display.
I slid the server under my desk and connected it to my secondary monitor — a 4K display that usually serves as a screen for my Mac mini. Due to limited desk space, I keep this monitor in a vertical orientation. Surprisingly, this setup worked perfectly fine for the server. For monitoring logs, running commands, and checking GPU usage, vertical alignment isn’t an issue at all.
4. Storing the Old GPU
The previous GPU wasn’t going into the trash. Instead, I packed it carefully into the same box for future use. Although it might not be powerful enough for my current AI workloads, it could be helpful for other projects down the line.
5. First Impressions of the New GPU
The card I installed is an NVIDIA RTX 2080 with 11 GB of VRAM. For my AI experiments, that’s a huge step forward. While it’s not the latest generation, it provides significantly more horsepower than my old card.
I’m optimistic that this upgrade will noticeably speed up training times and inference workloads on my AI super server. Even small improvements in GPU performance can save hours of processing time when working with large datasets and models.
6. Conclusion
The installation itself was quick and painless, but the impact on my AI setup should be substantial. This upgrade, combined with the earlier network card installation, makes my server much more capable of handling heavy experiments, and it is also easier to use.
It wasn’t the prettiest GPU, and the packaging was far from ideal, but in the end, it’s not about how the card looks — it’s about what it can do. With 11 GB of VRAM now at my disposal, I’m excited to see how much more efficiently my server can run AI workloads.