

1. Starting Fresh with Just the Case
After confirming that my old PC no longer worked, I decided to strip it down and keep only the case and the power supply. Everything else was going to be replaced.
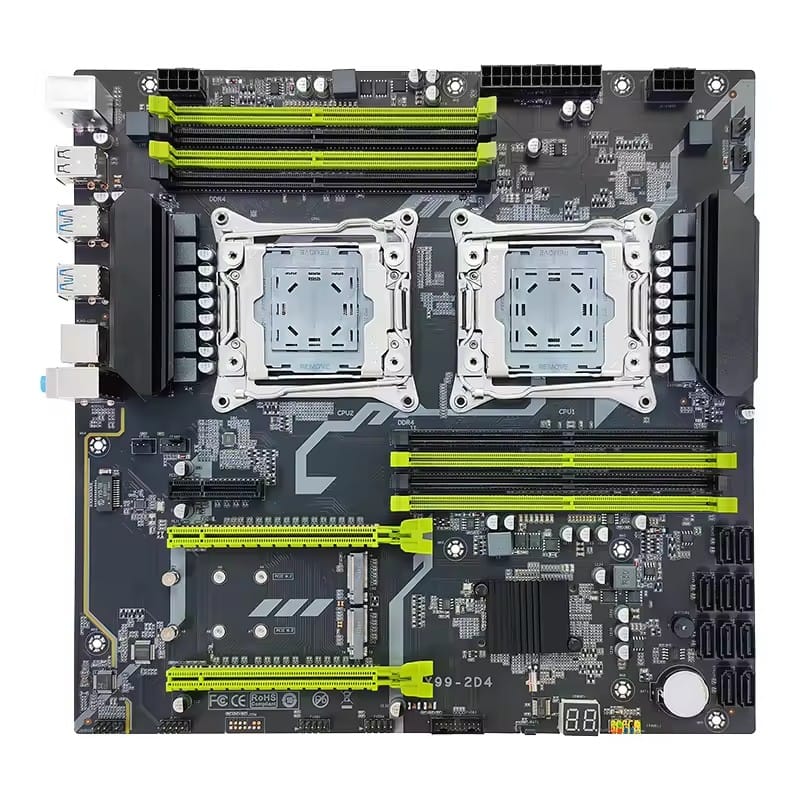
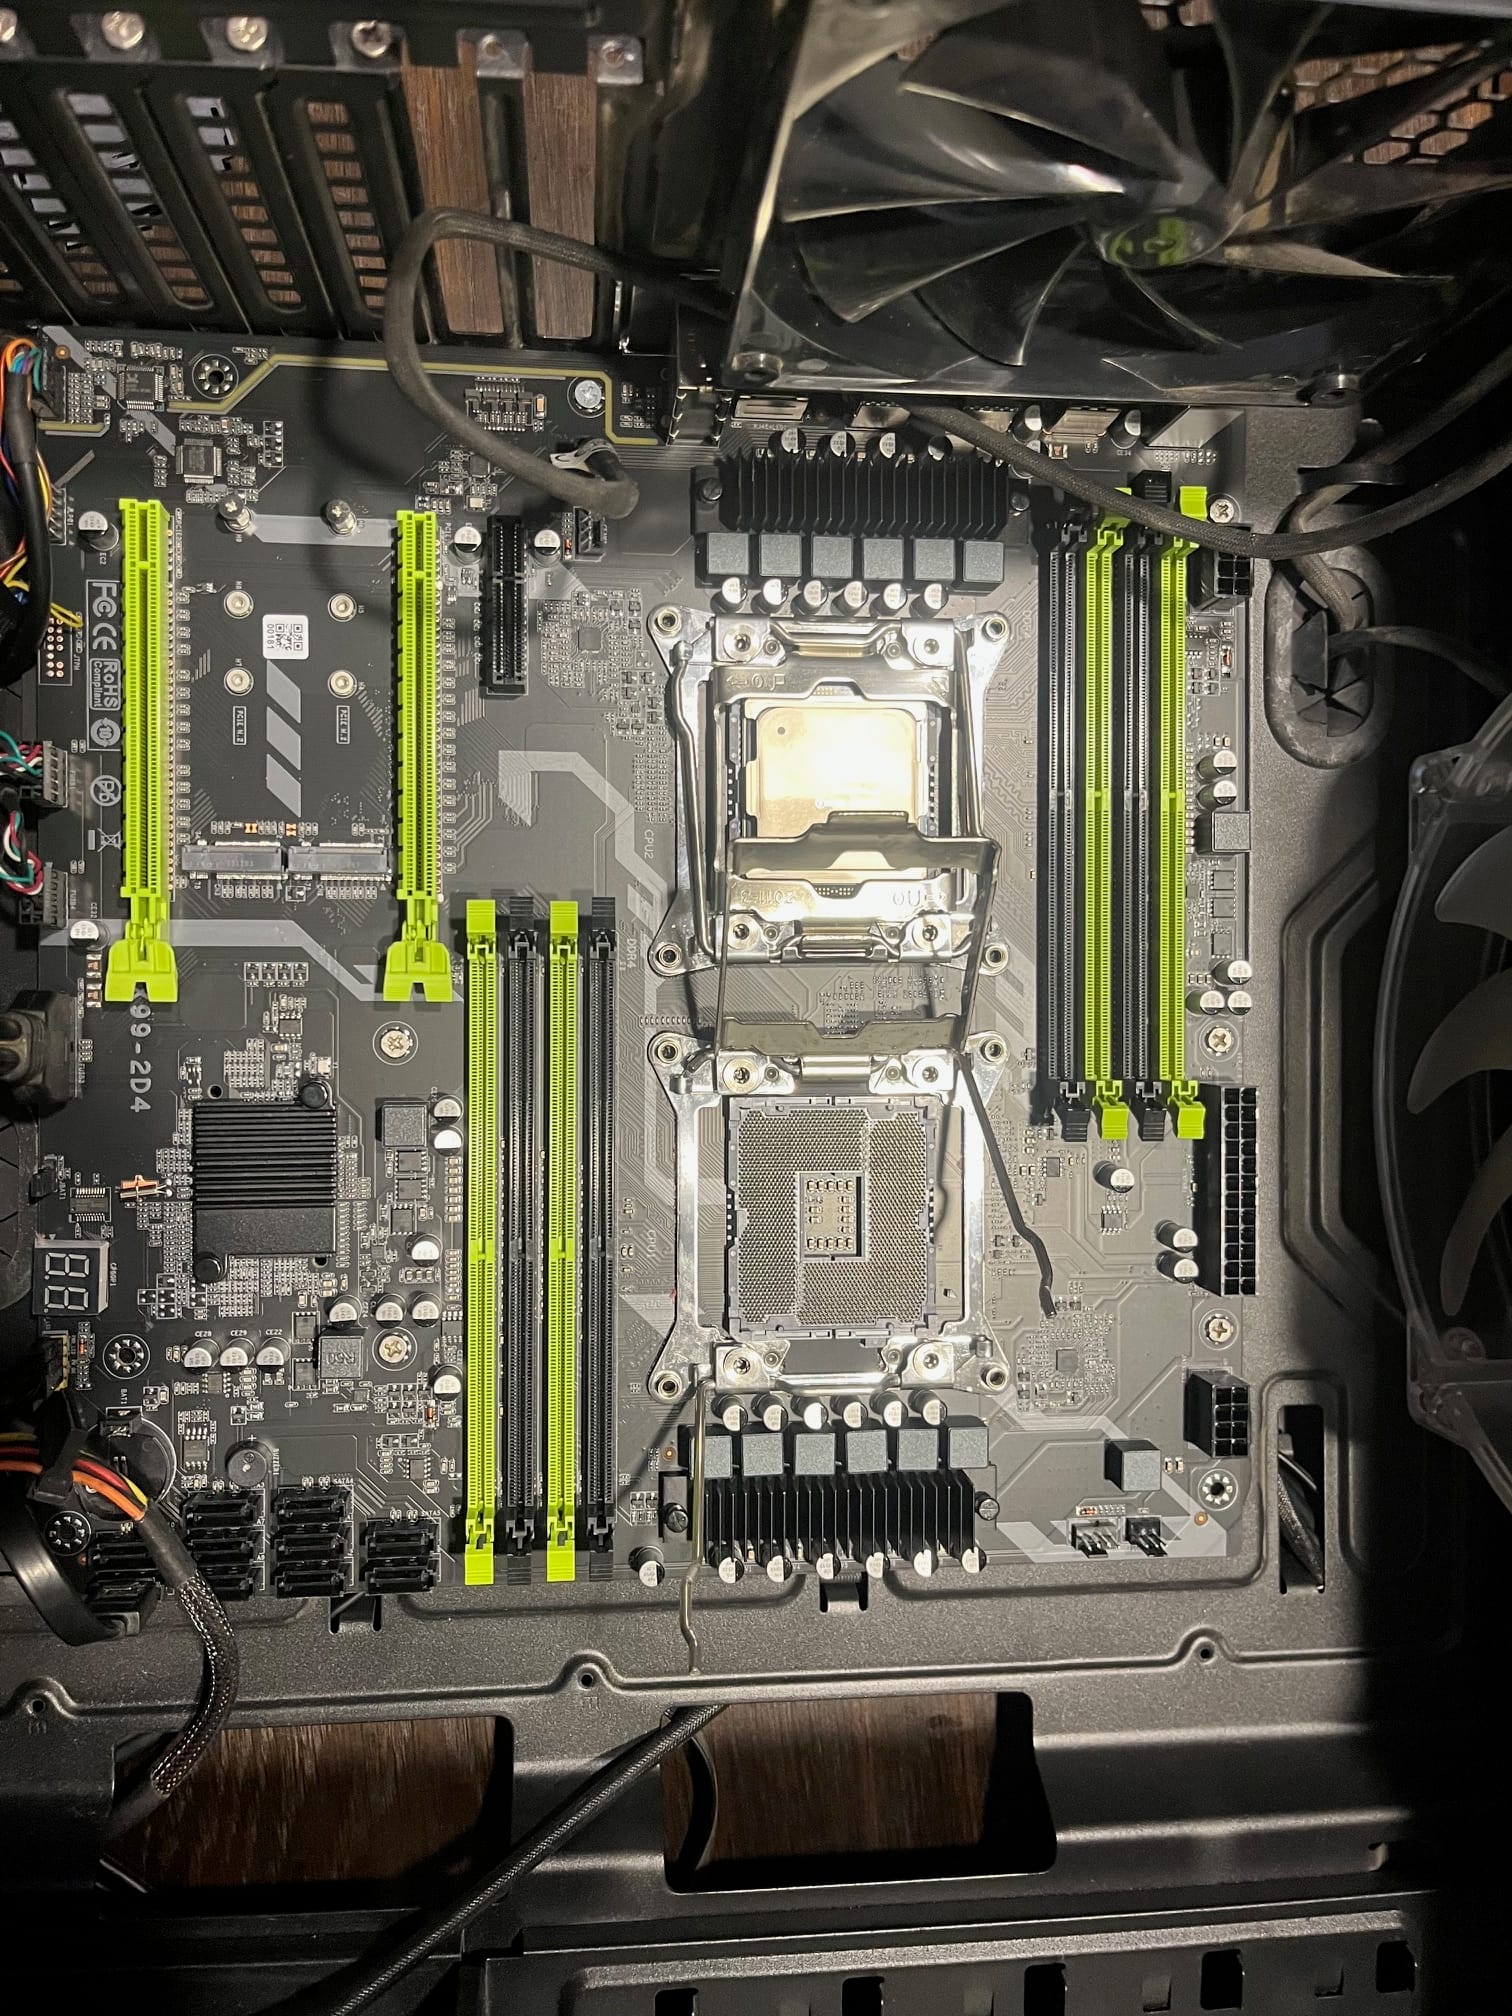
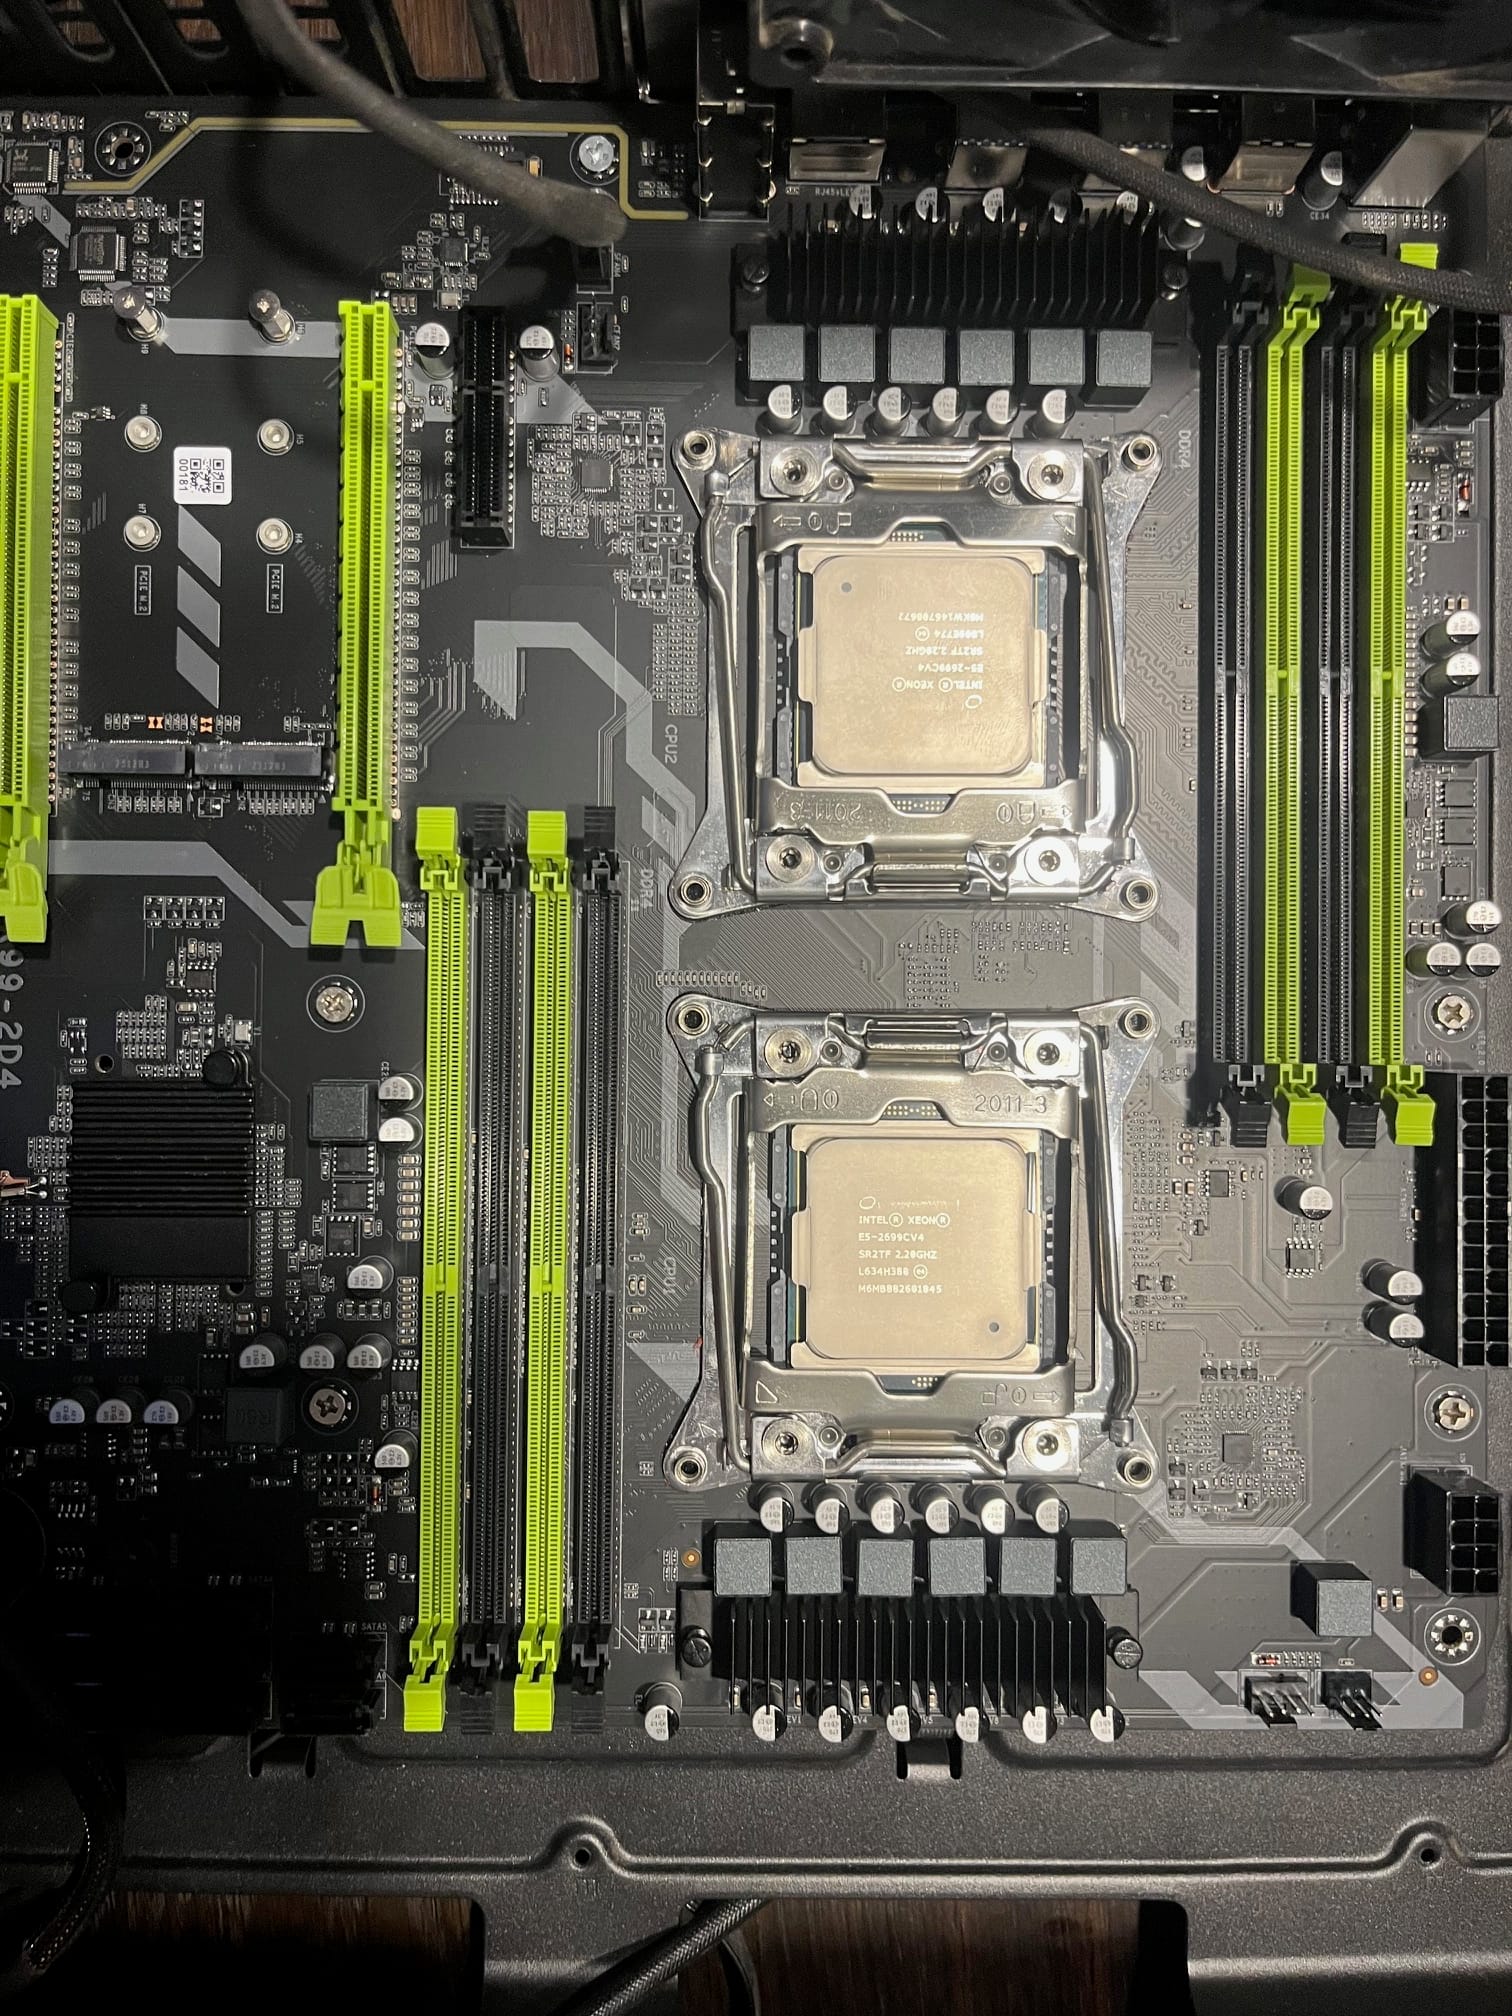
I began looking for motherboards that could support two processors. Surprisingly, I found a very cheap option—a no-name Chinese X99 board—for only $55. The description looked promising, so I ordered it right away.
2. Memory: The Heart of the Build
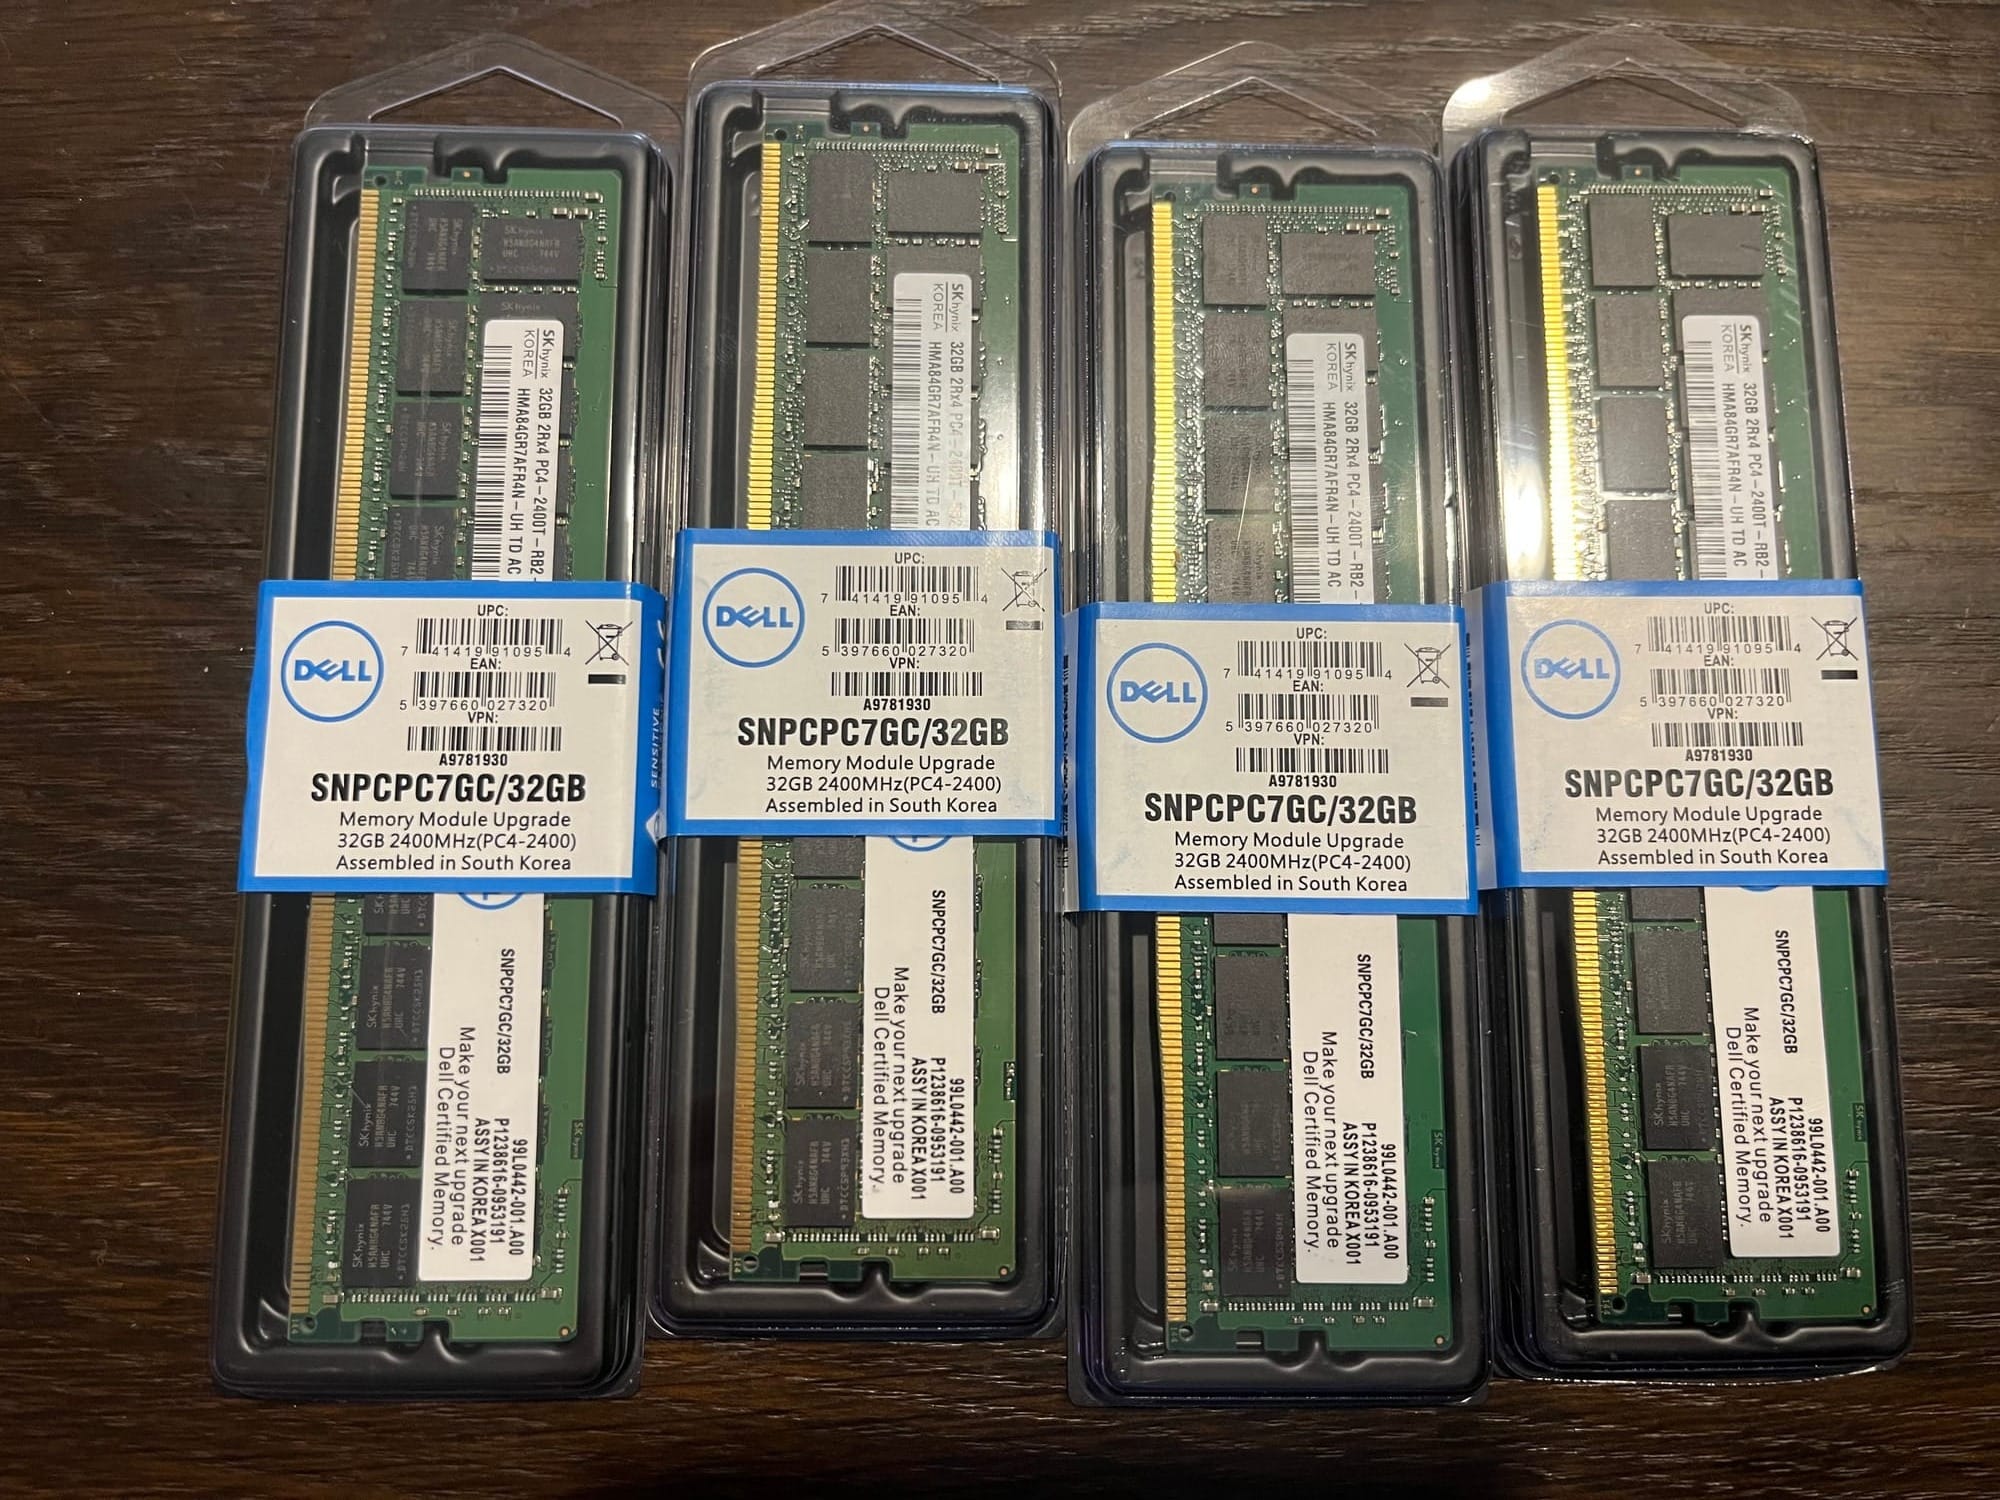
The next step was memory. For AI workloads, reliability is just as important as speed—bad RAM can cause random issues that appear only under specific conditions.
I found four sticks of 32 GB DDR4 memory from Dell. Altogether, they cost me about $230. The seller wasn’t an official store, but they had excellent reviews and claimed the modules were new. That was good enough for me, and I was happy that at least the memory came from a recognizable brand.
3. Dual Xeons on a Budget
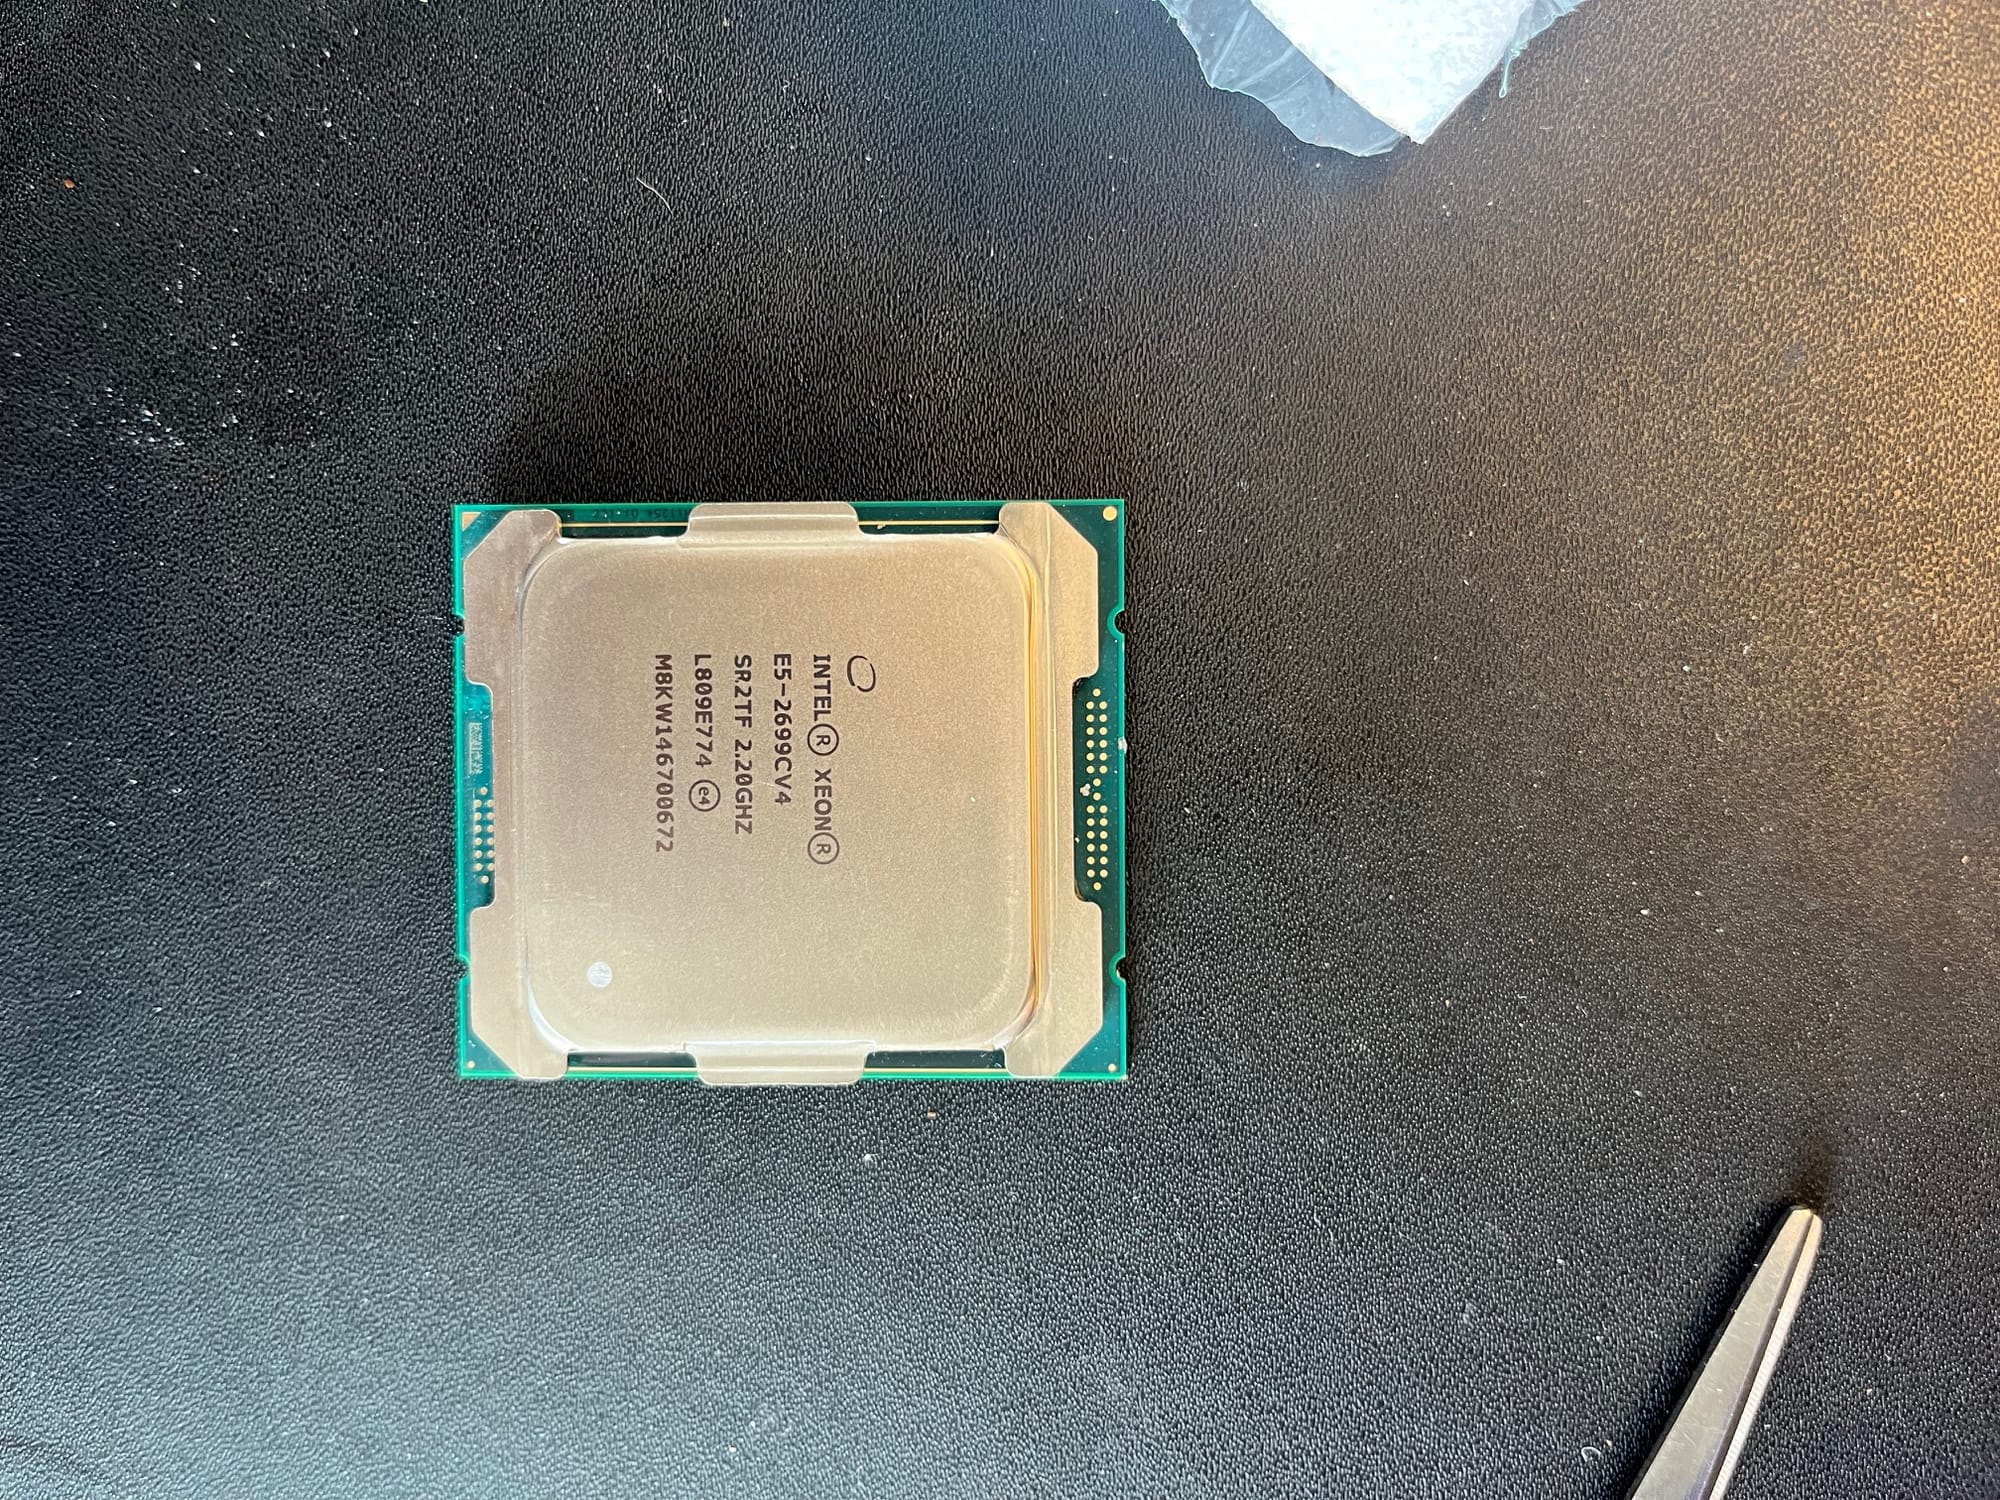
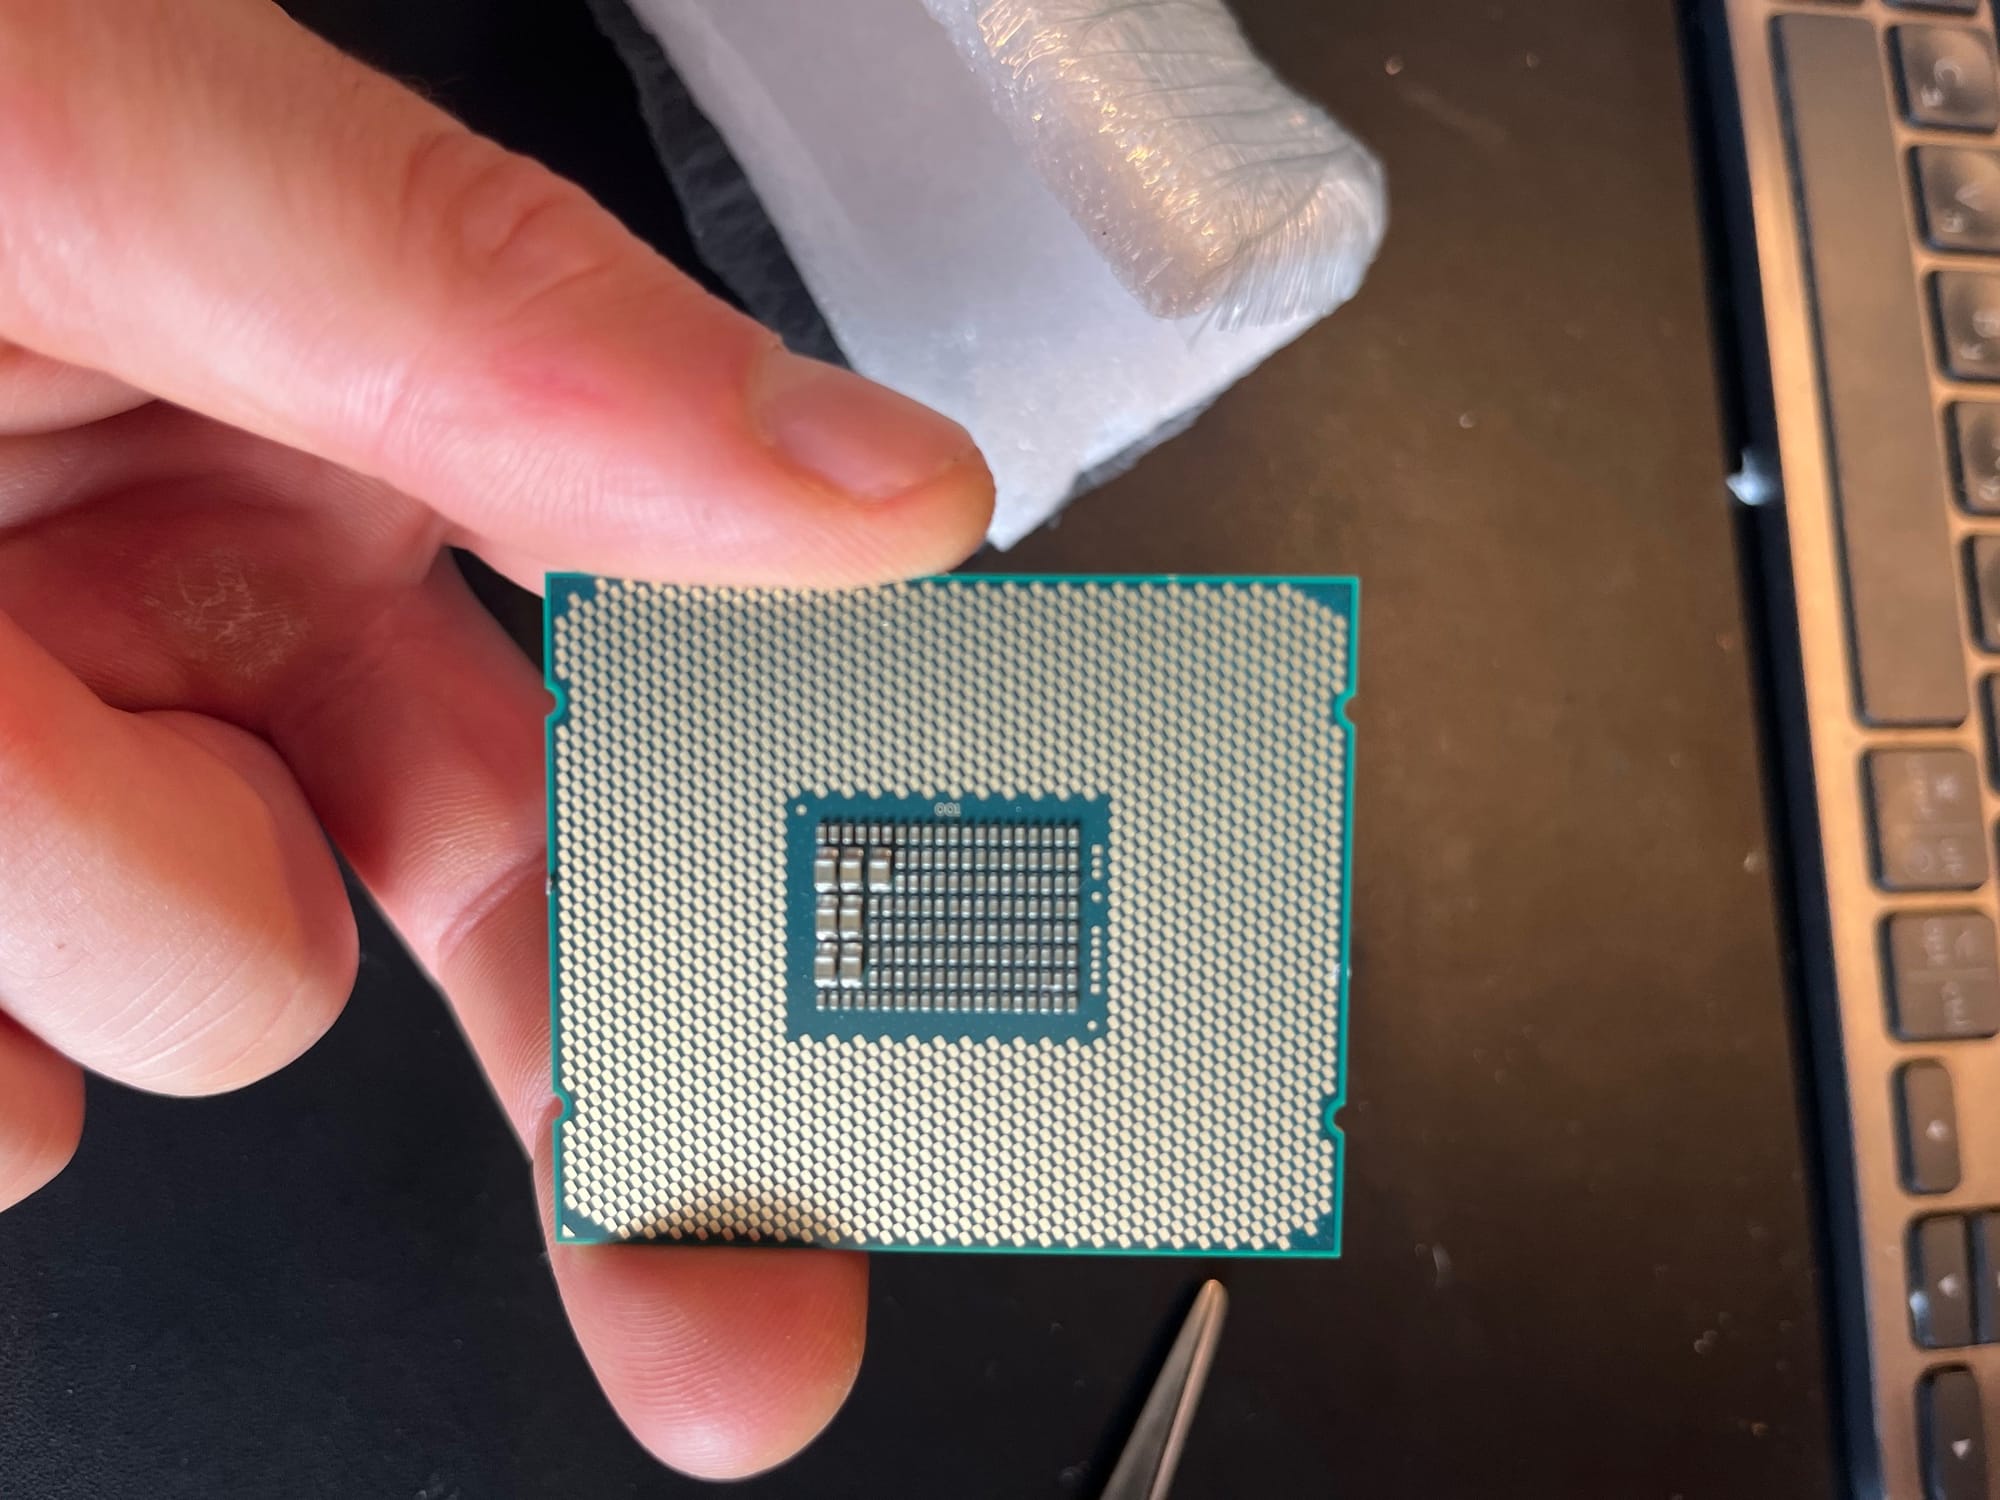
Then came the CPUs. I went for the most affordable Xeon E5-2699 v4 processors, each with 22 cores (44 threads with Hyper-Threading). That gave me a total of 88 threads across two CPUs.
I took a small risk and ordered two used processors from eBay. The seller had a high rating and even gave me a discount for buying both at once.
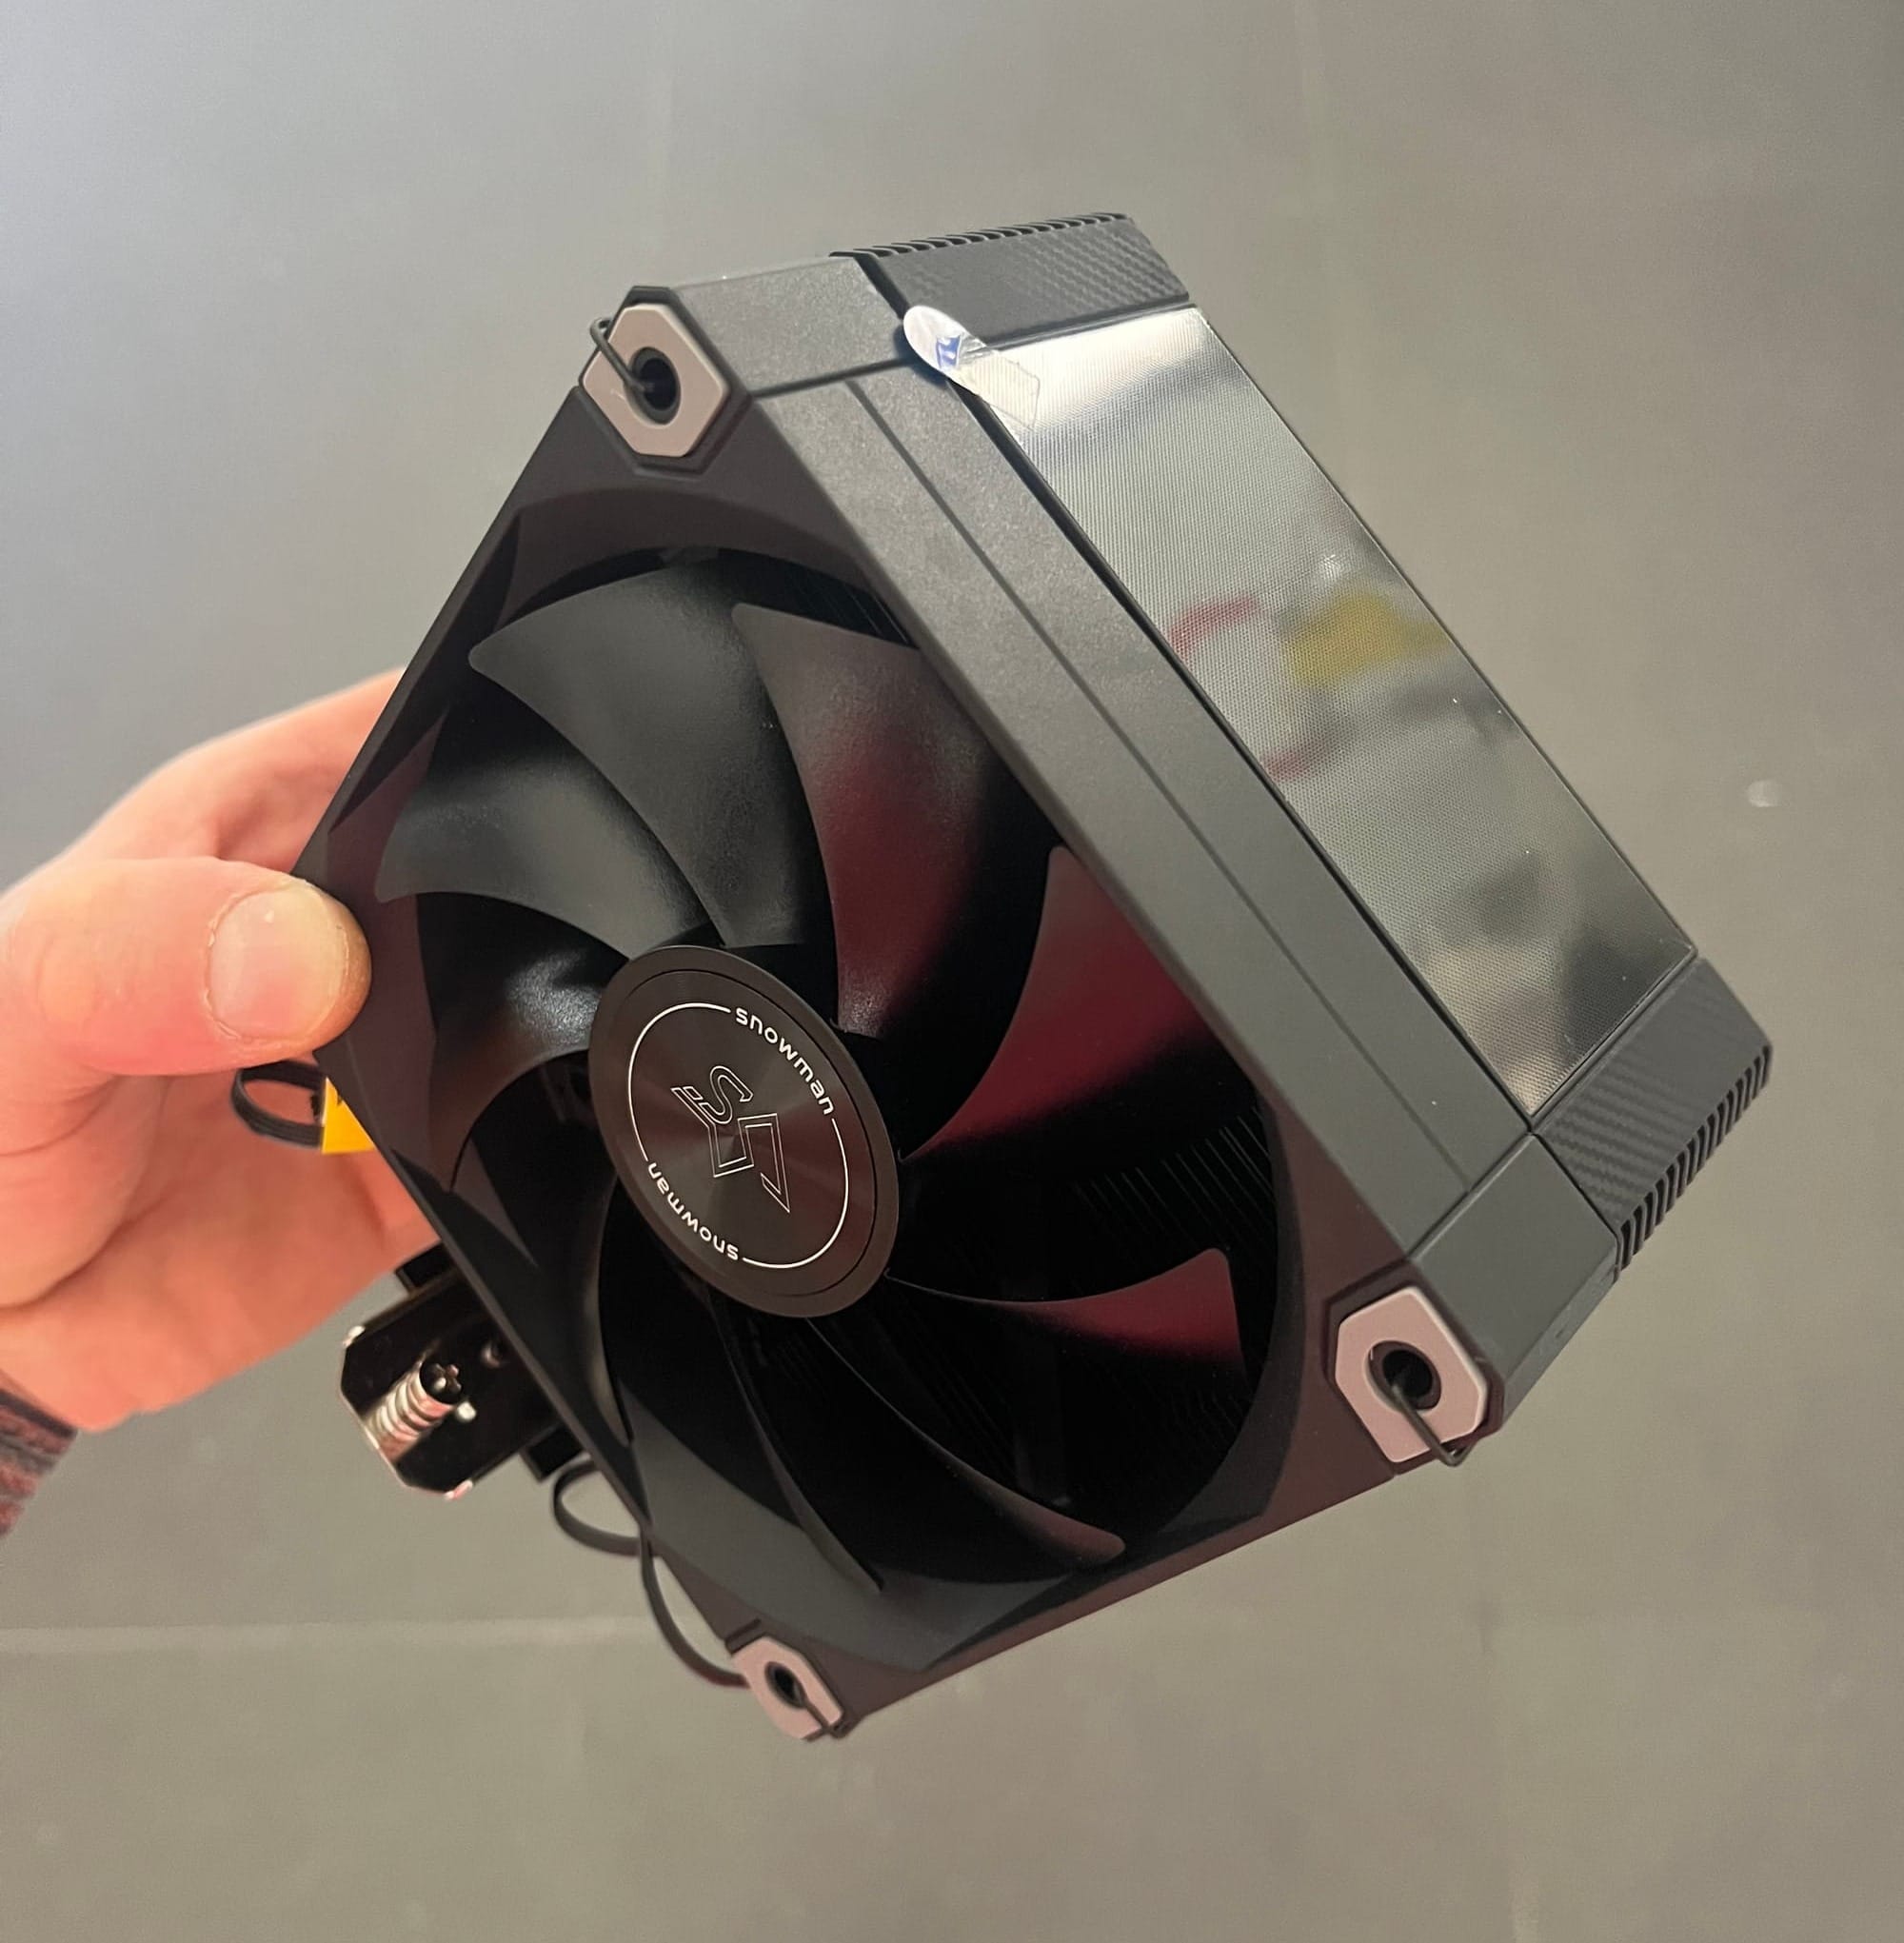
To keep them cool, I bought two Snowman heatsinks with fans from AliExpress, only $14 each with free shipping. Surprisingly, they worked very well in practice.
4. Mistakes Along the Way
Not everything went smoothly. I made a couple of rookie mistakes when choosing the motherboard:
- No built-in video output – I had to dig up my old NVIDIA GTX 960 just to connect a display.
- No Wi-Fi or Bluetooth – This meant dragging out a network cable from storage room and plugging in a wired keyboard and mouse.
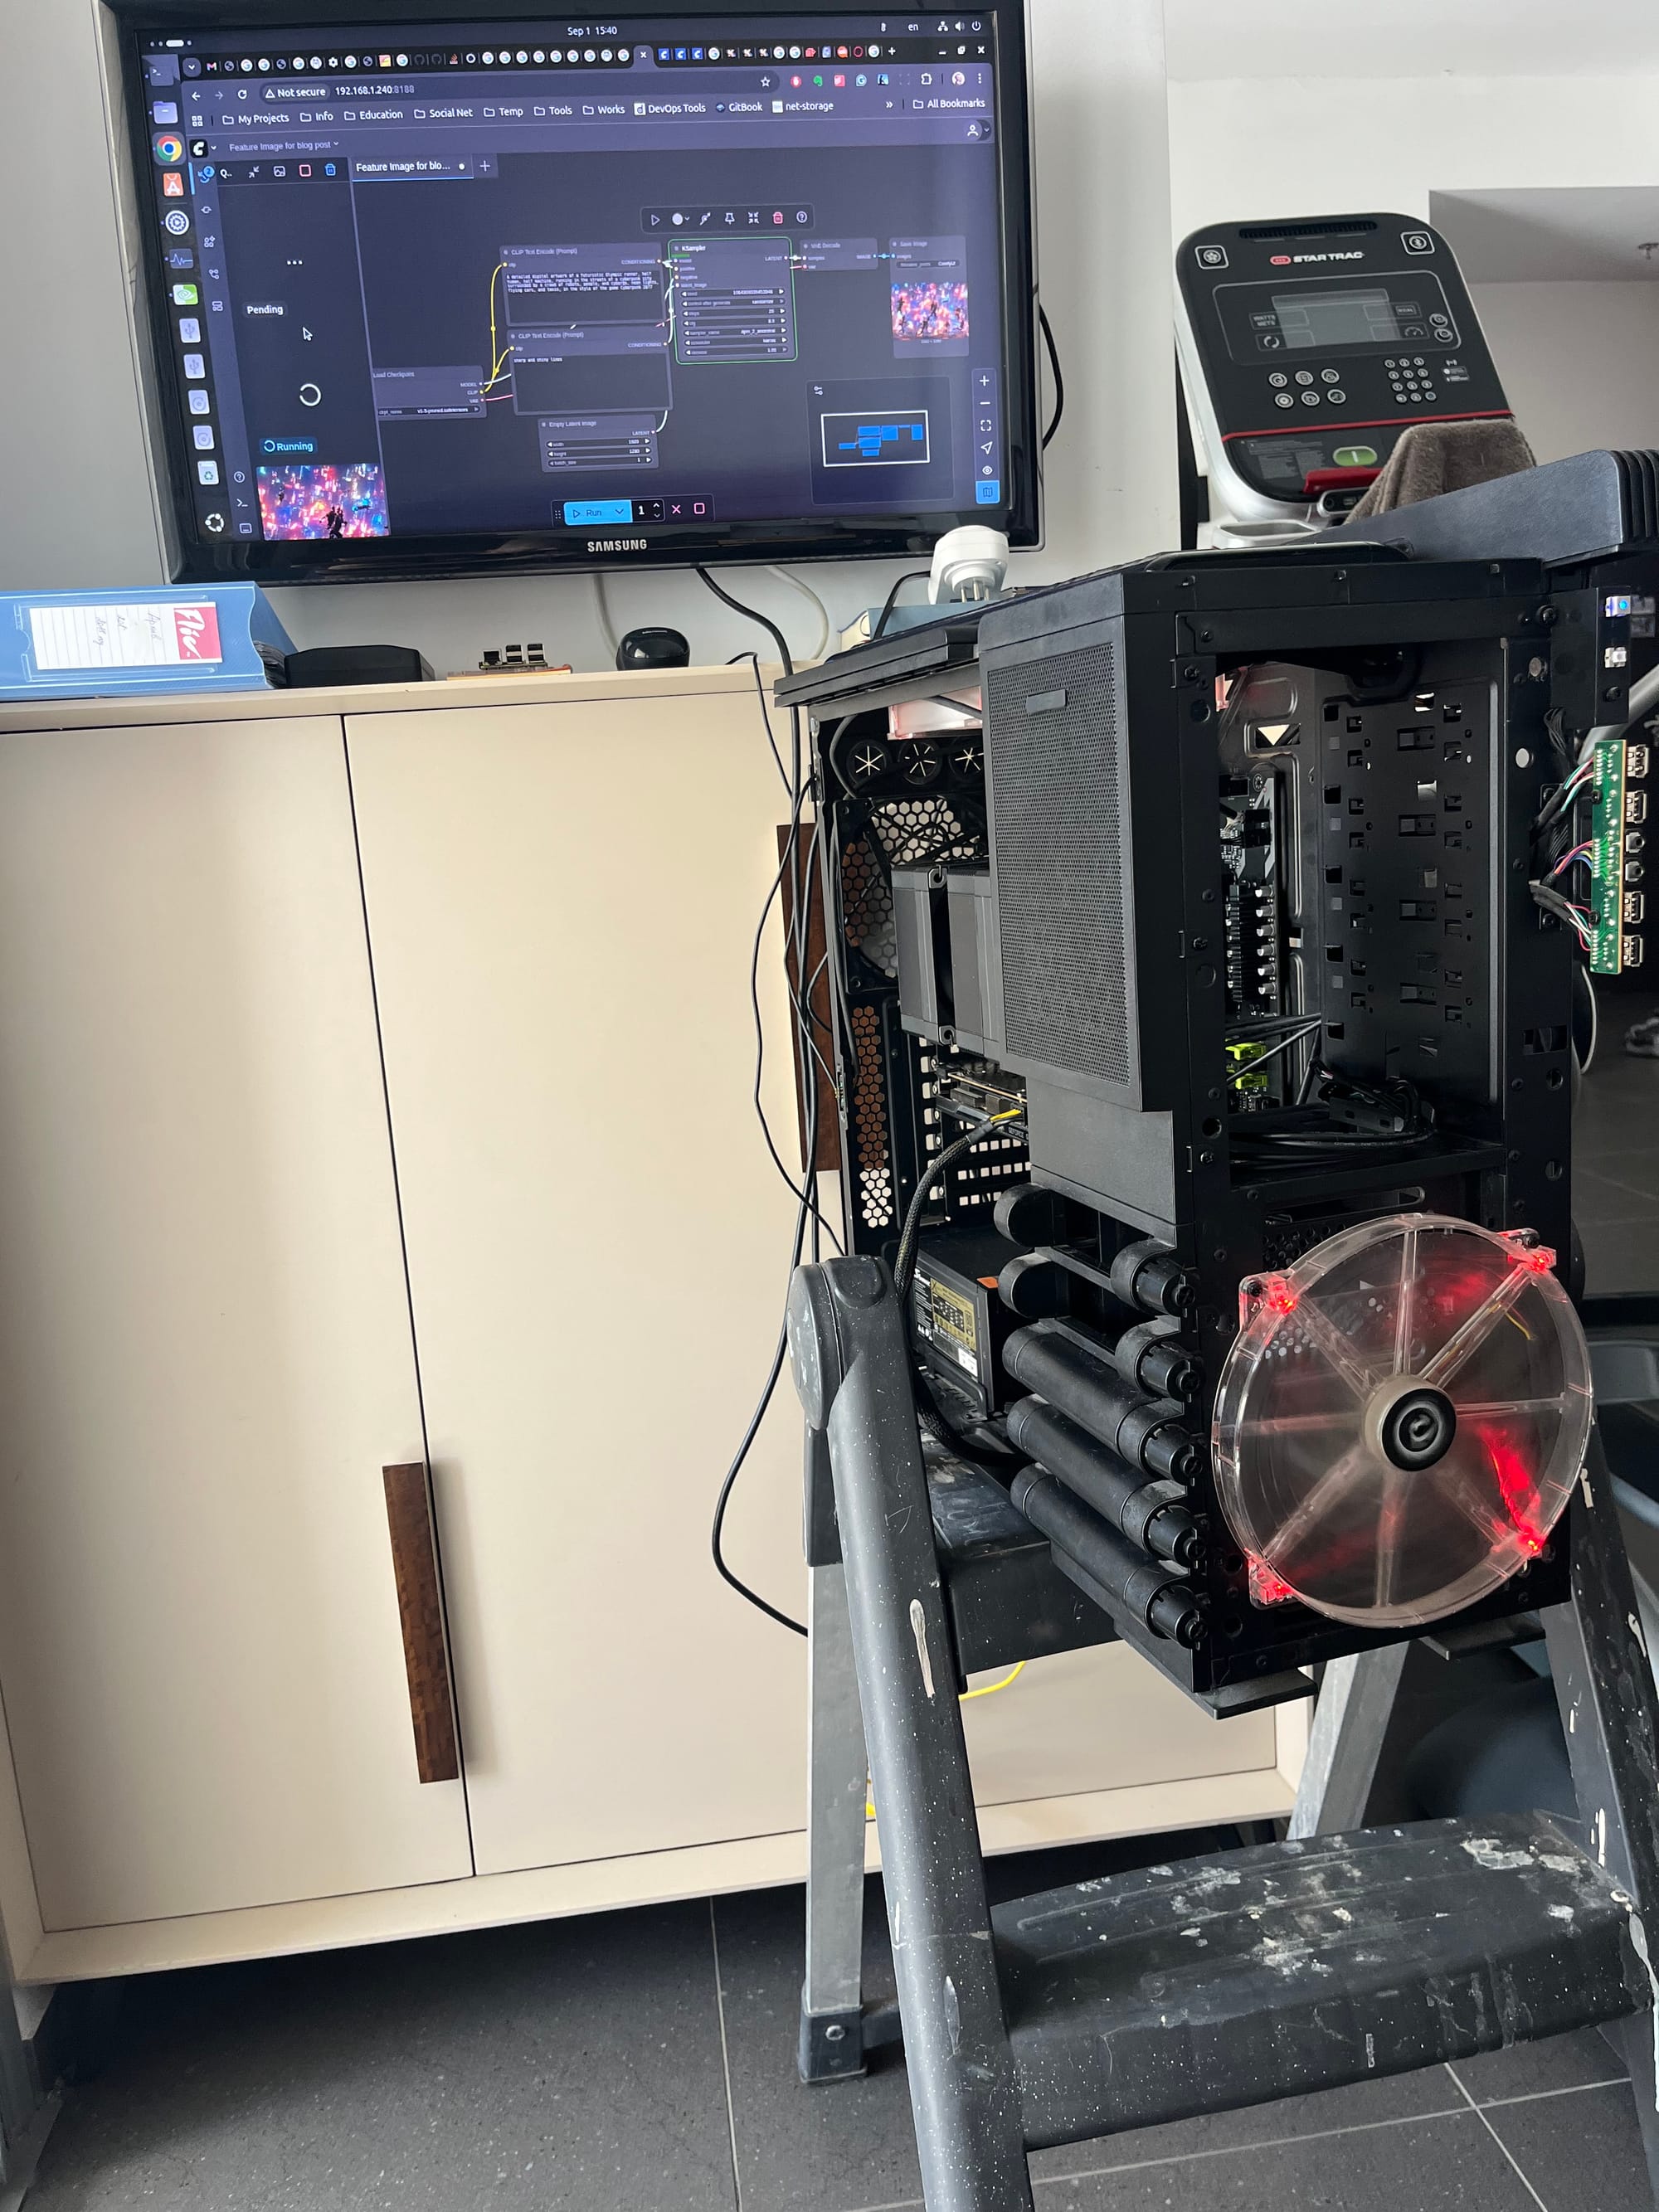
I removed all the side panels from the case and began installing the new parts.


Building the AI machine
Since I had to run an Ethernet cable directly to my home router, the computer ended up standing right next to it. Luckily, I had a spare monitor behind my home office desk, so that became its temporary spot.
5. Looking Ahead
For now, my AI server is running open, with the case panels off, as I continue to test and add parts.
The next big step will be finding a graphics card (or two) with plenty of VRAM, since that’s essential for running AI models and image generation.
This project isn’t about building the most powerful machine in the world—it’s about building something useful on a budget and learning along the way. After more than a decade away from PC building, it feels both nostalgic and exciting to be back at it.
Stay tuned for the next chapter, where I’ll share how the first tests go and what it takes to actually run AI models locally.