

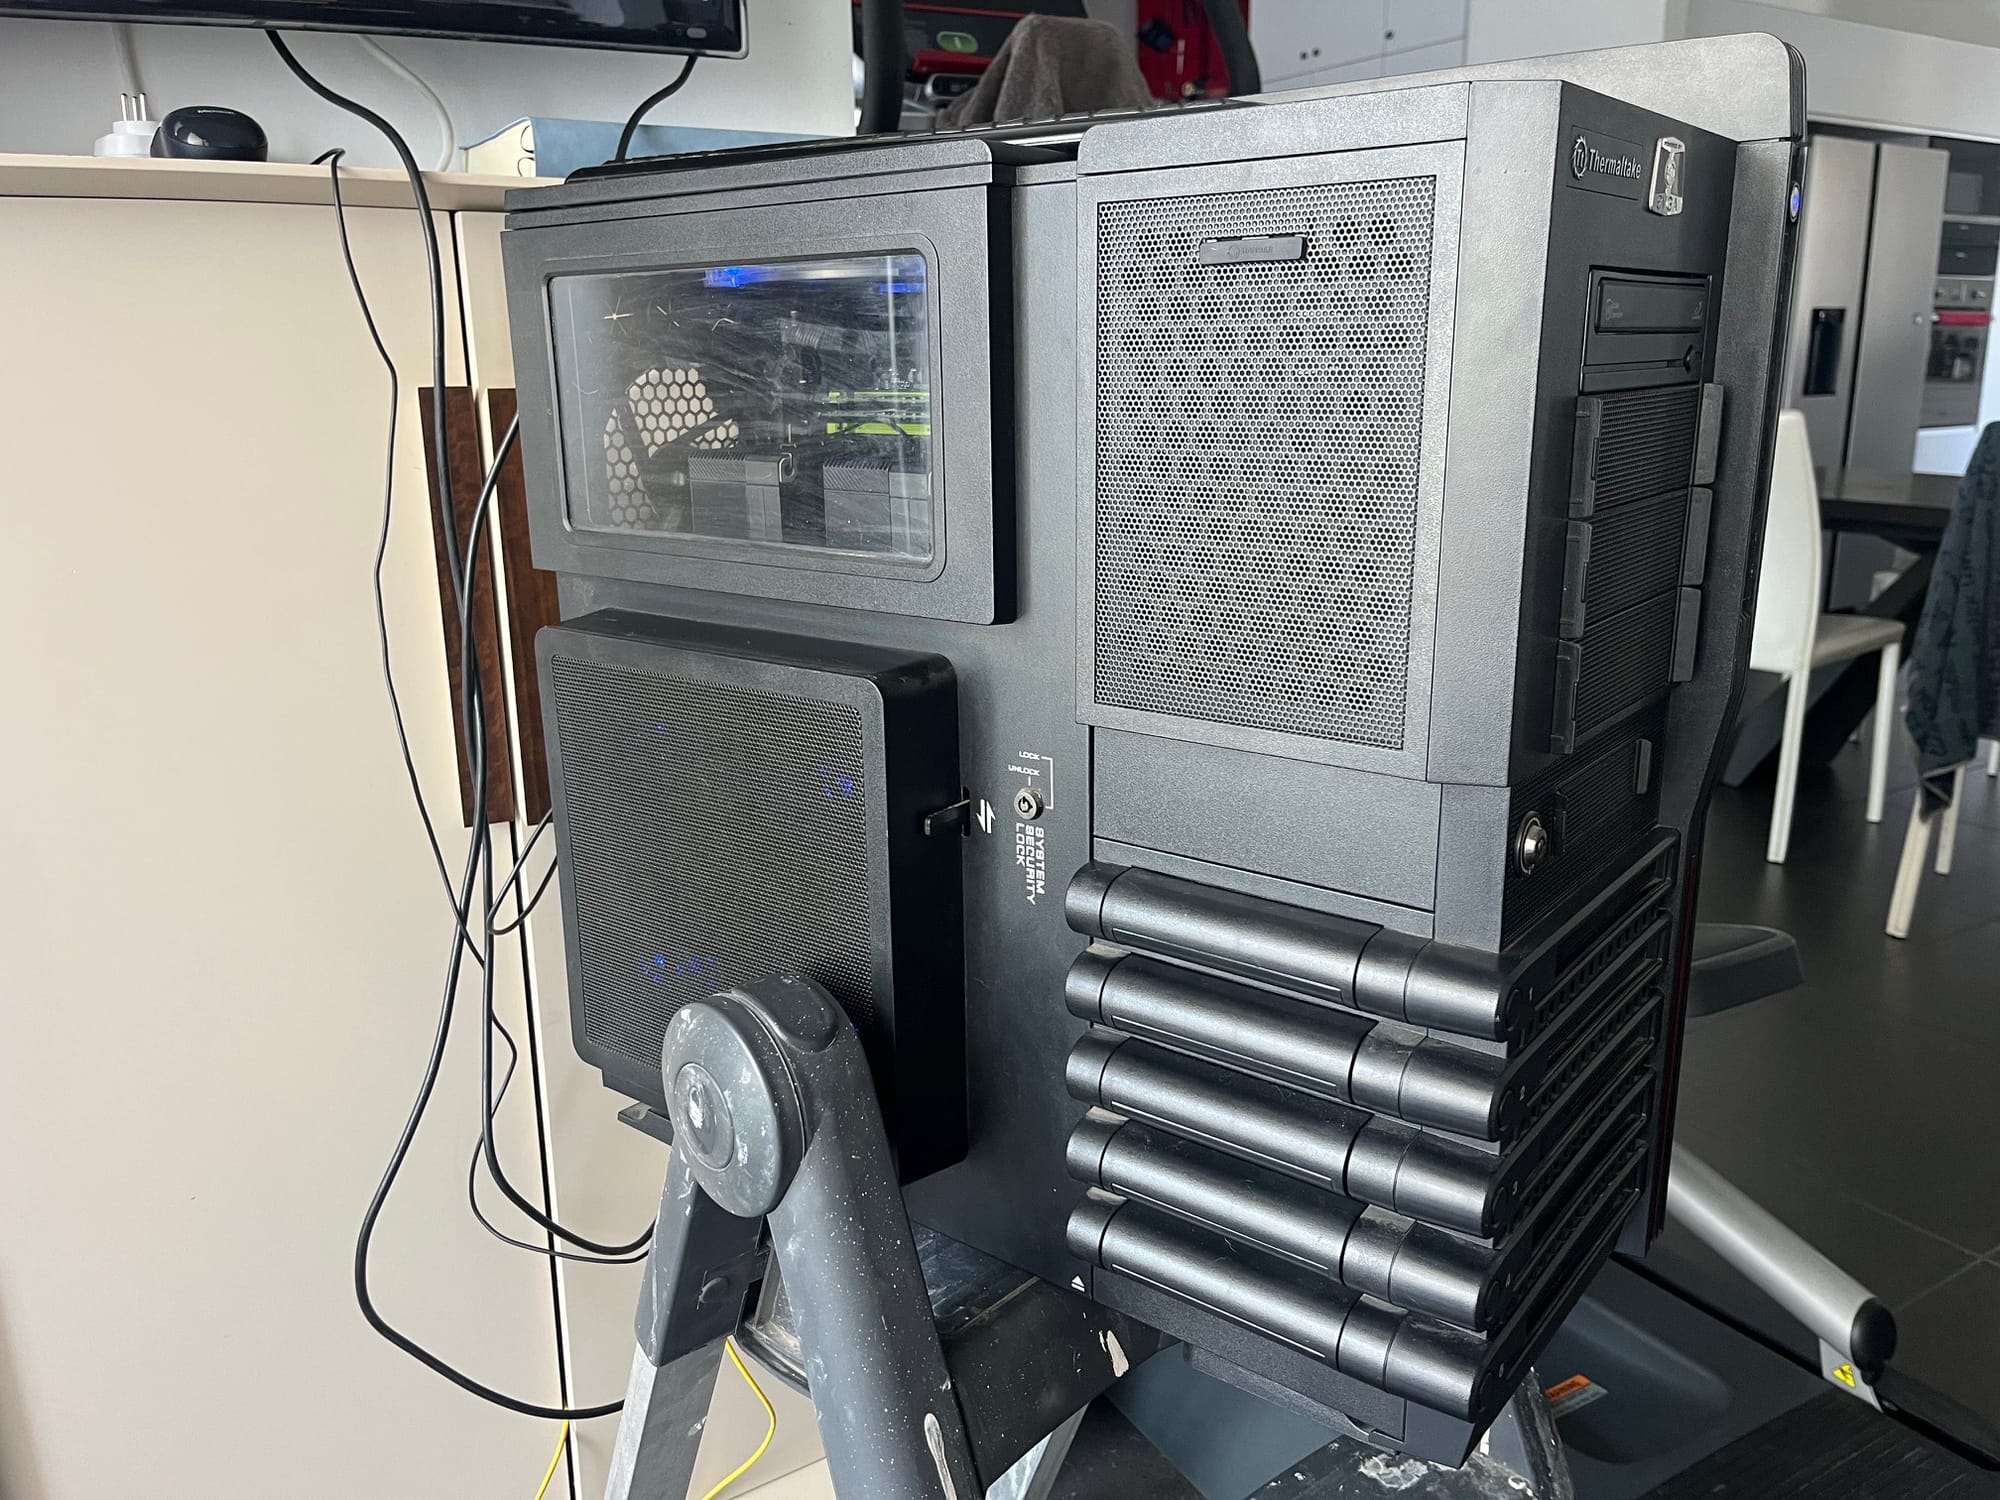
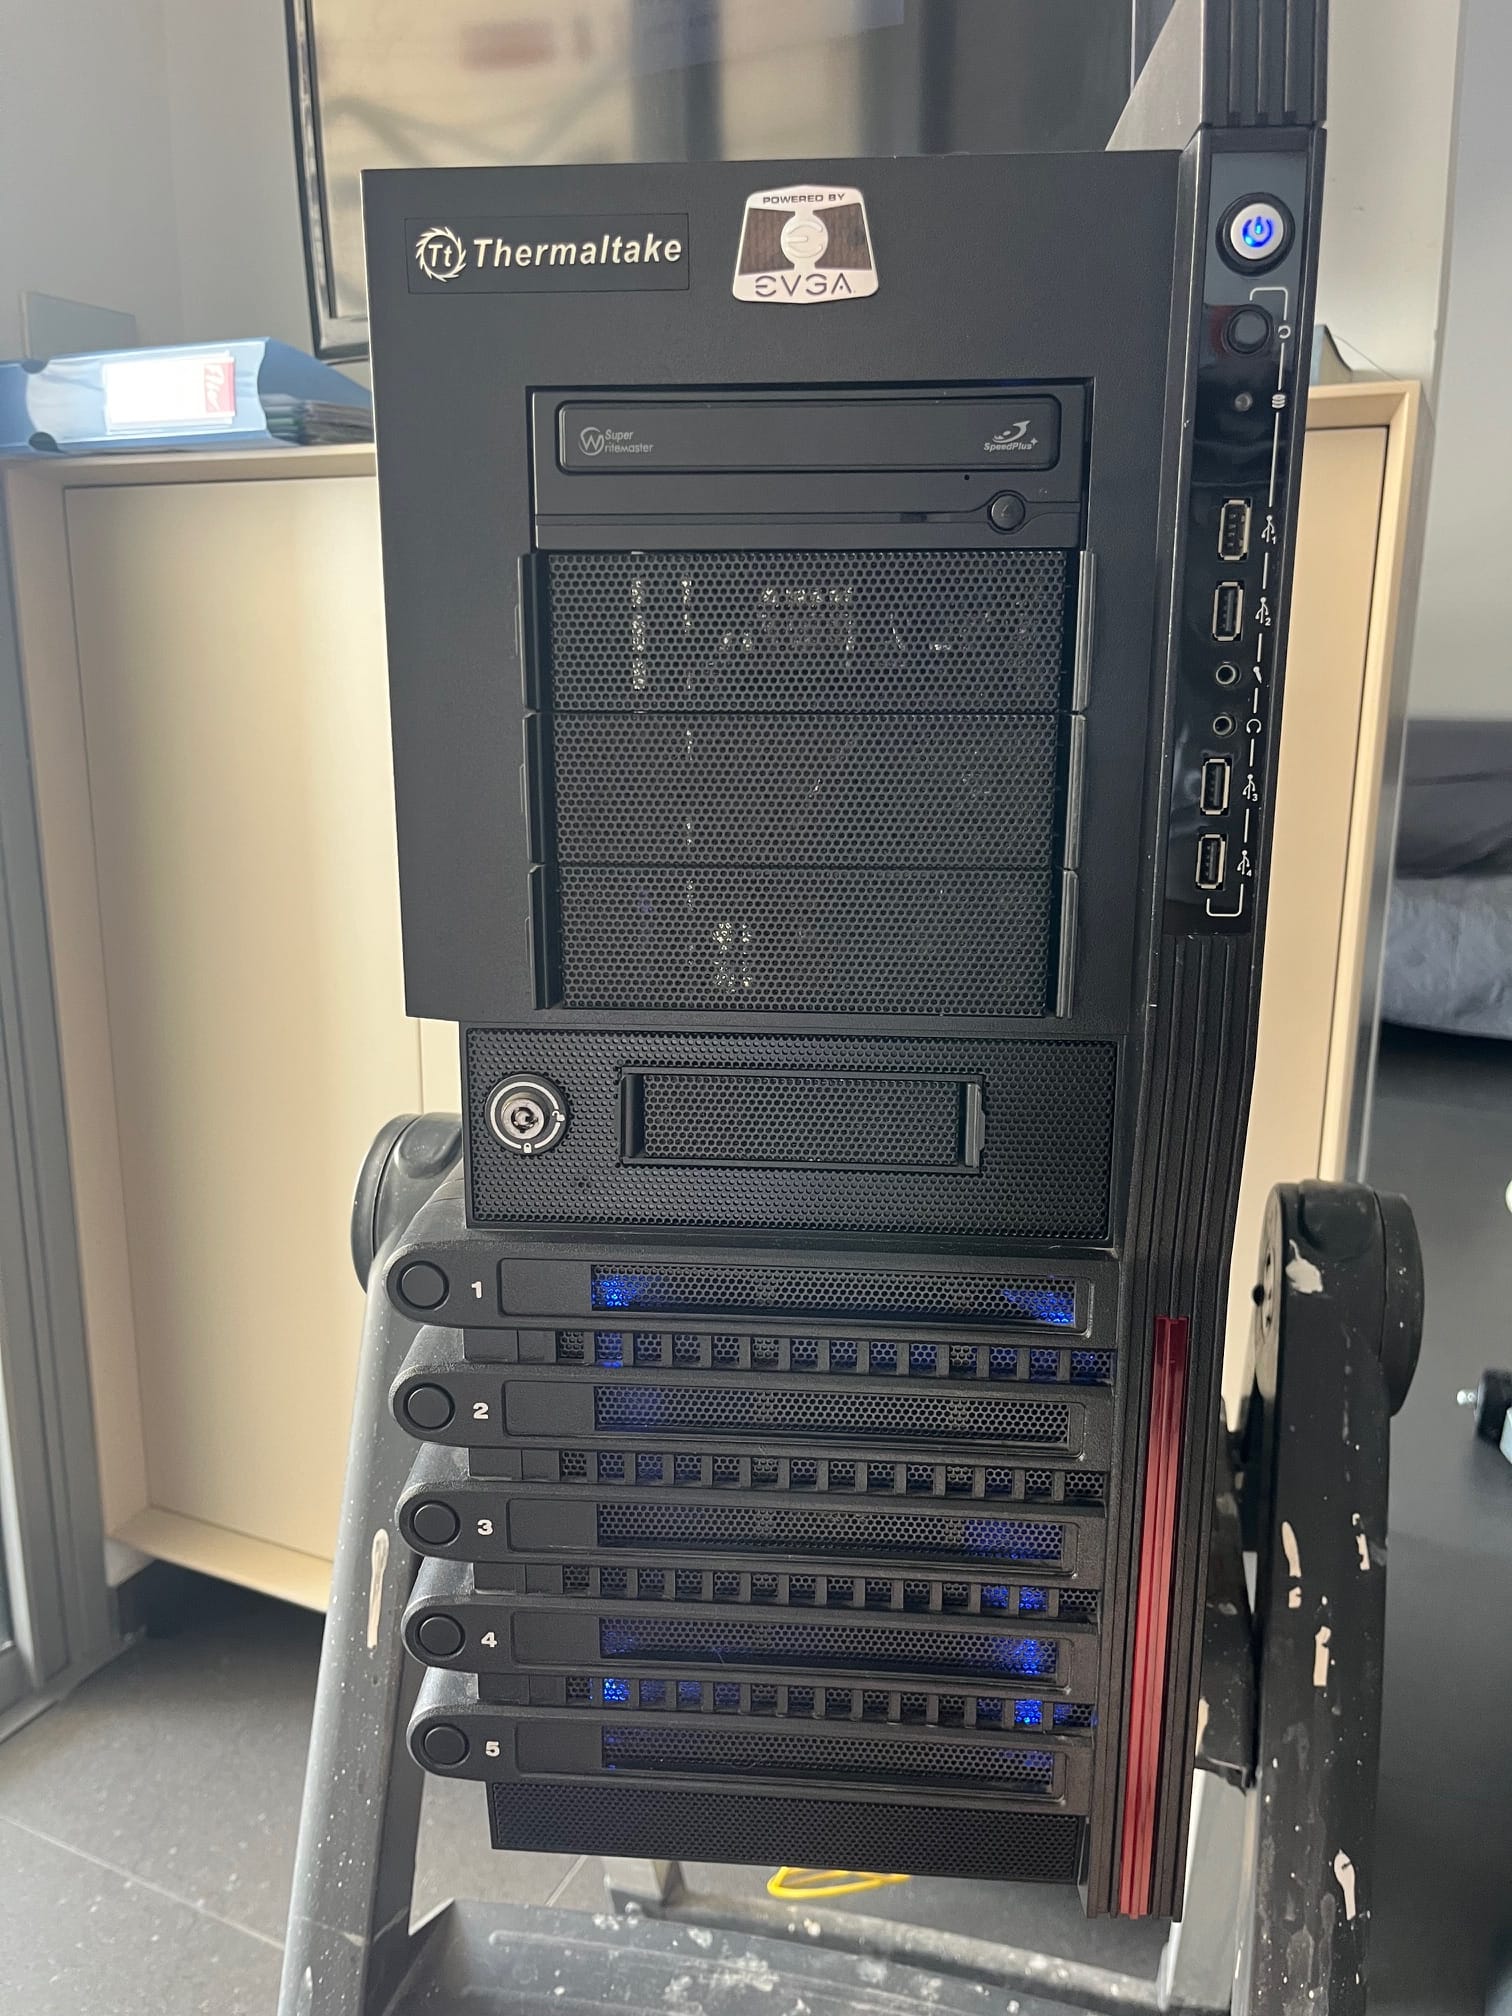
As I mentioned before, my “super” AI server was almost ready. The last big steps were installing a new power supply, closing all the panels, and finally installing Ubuntu.
1. Replacing the Power Supply
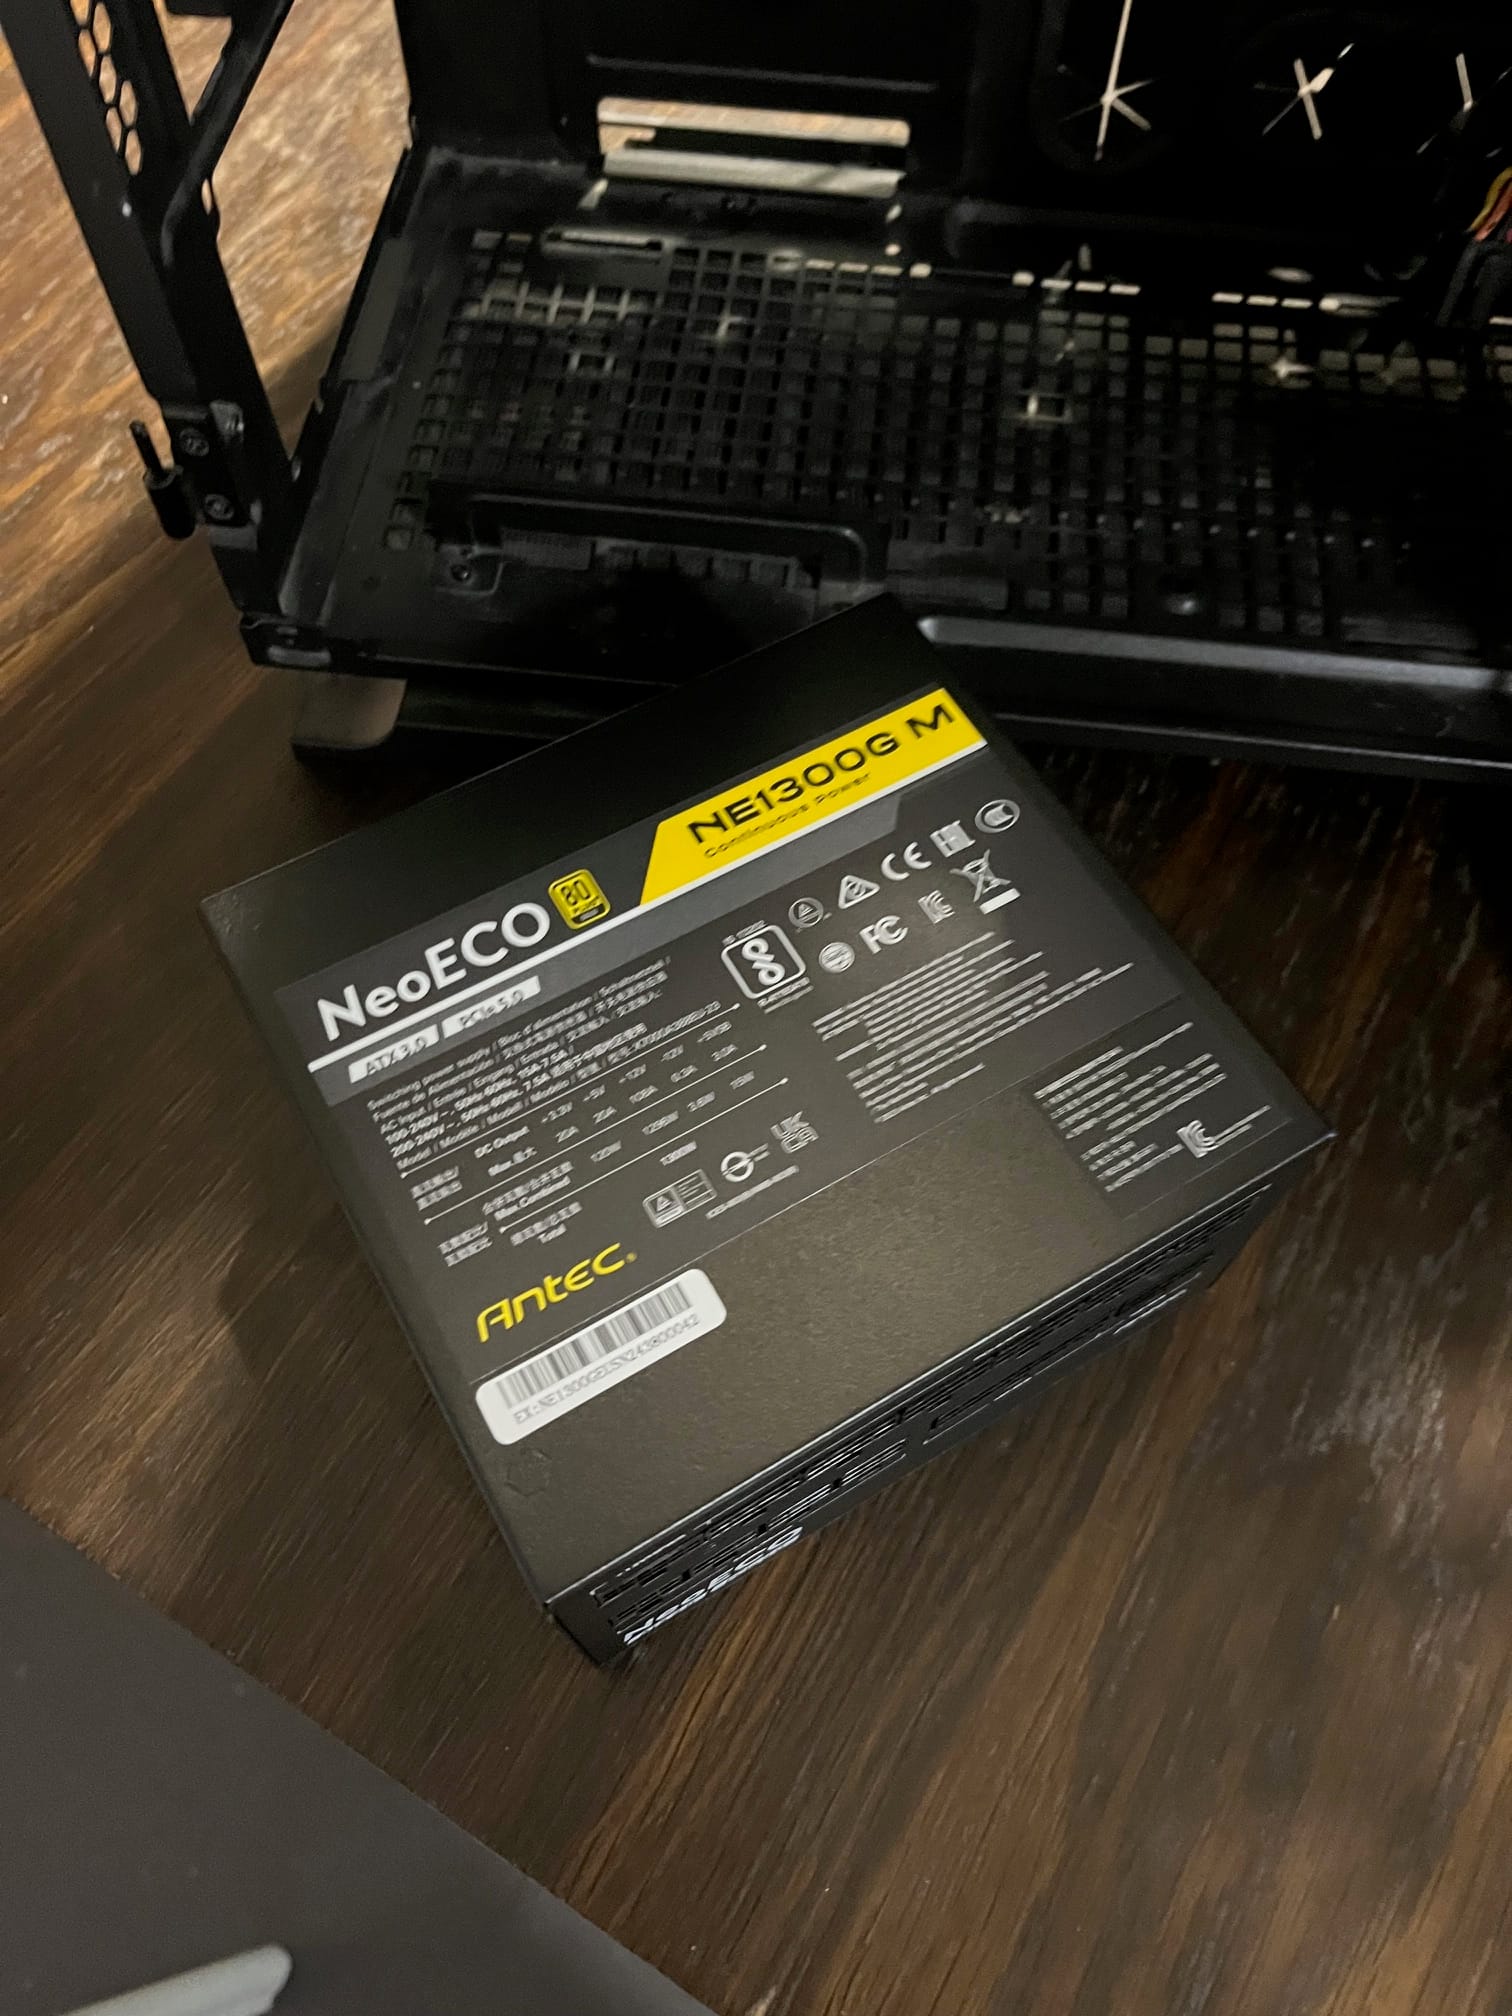
From my old PC I had a modular Silverstone 850W PSU, but it was not enough for dual CPUs and a future GPU upgrade. At KSP I found a 1300W PSU, which had two separate CPU cables and enough headroom in case I decide to install a second graphics card.
Of course, my current motherboard has only two PCIe slots with very little space between them, so realistically two GPUs won’t fit. But at least the power is ready if I upgrade later.
2. Installing Drives and Cooling
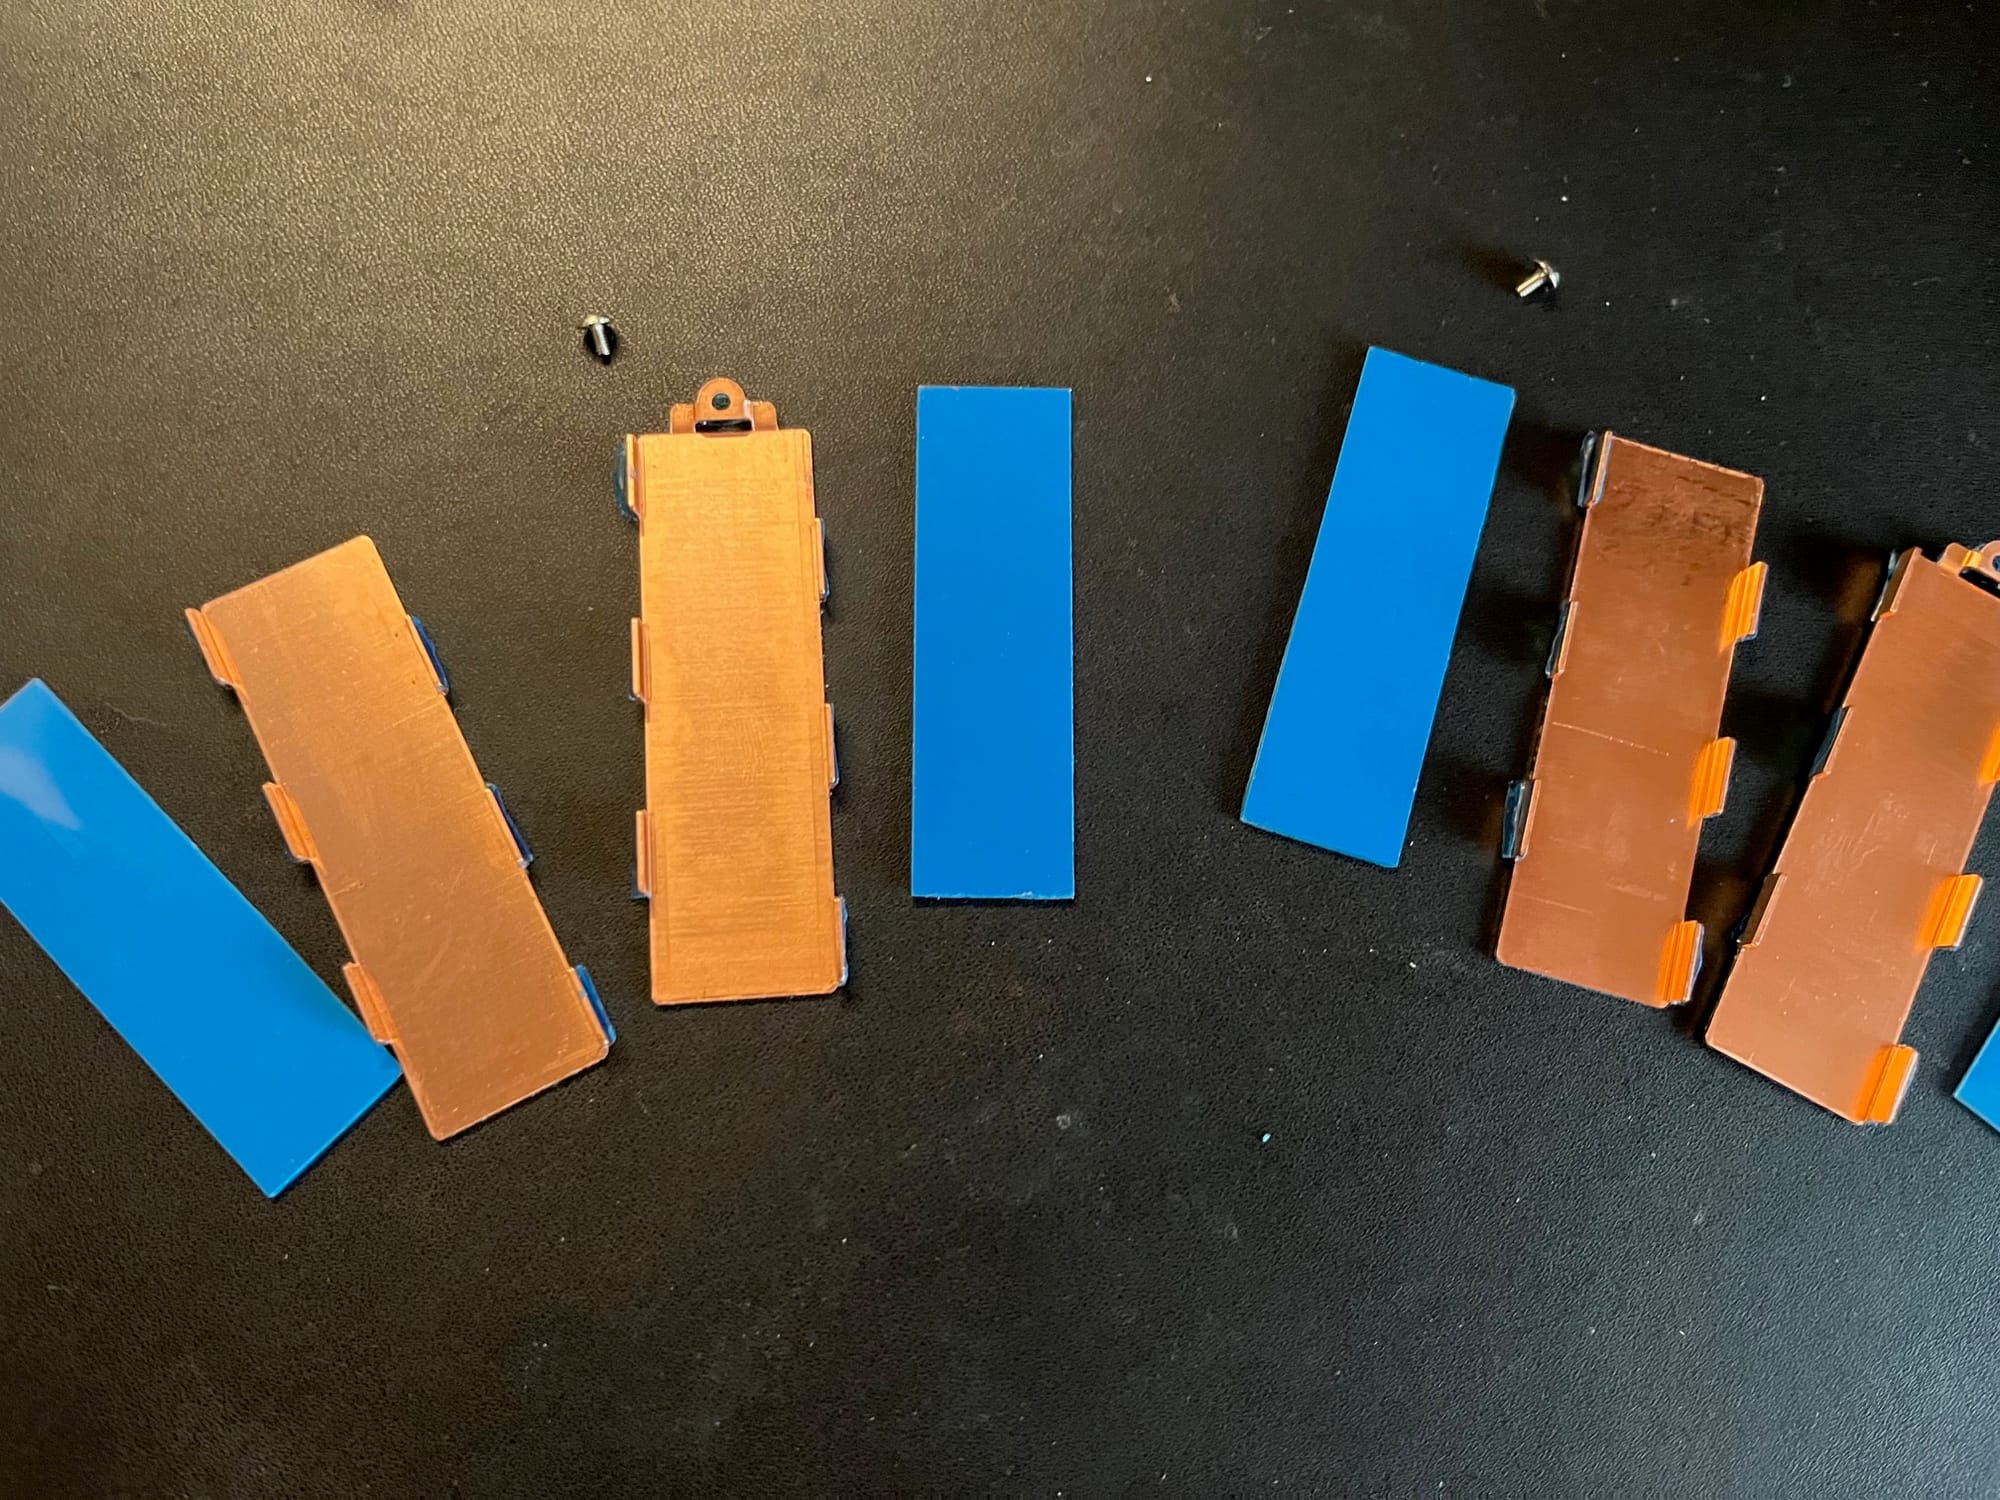
While waiting for the PSU, I also received heatsinks for NVMe drives. They are passive coolers, but still better than nothing.
I installed them, and then added a small surprise: an old Samsung 250 GB SSD I found in storage. It is now dedicated to swap space, even though with 128 GB of RAM it’s not really necessary. I also added an old DVD drive, mostly because it was lying around.
3. Cable Management and Closing Panels
The new PSU wasn’t much bigger, so it fit well. After connecting everything, I spent a couple of hours arranging the cables to make the back panel close properly.
The case was made at a time when manufacturers already allowed cables to be routed behind the motherboard, but they didn’t leave enough room there. So closing the panel required some patience.
4. First Boot and Ubuntu Installation
When everything was ready, I started the system. A couple of beeps later, it was alive.
I installed Ubuntu 24.10 Desktop first and immediately upgraded to Ubuntu 25.04. To do this, first update all installed packages and run the update to the new release:
sudo apt update && sudo apt upgrade -y
sudo do-release-upgrade -d
During installation, I formatted all disks right away to avoid editing /etc/fstab manually later.
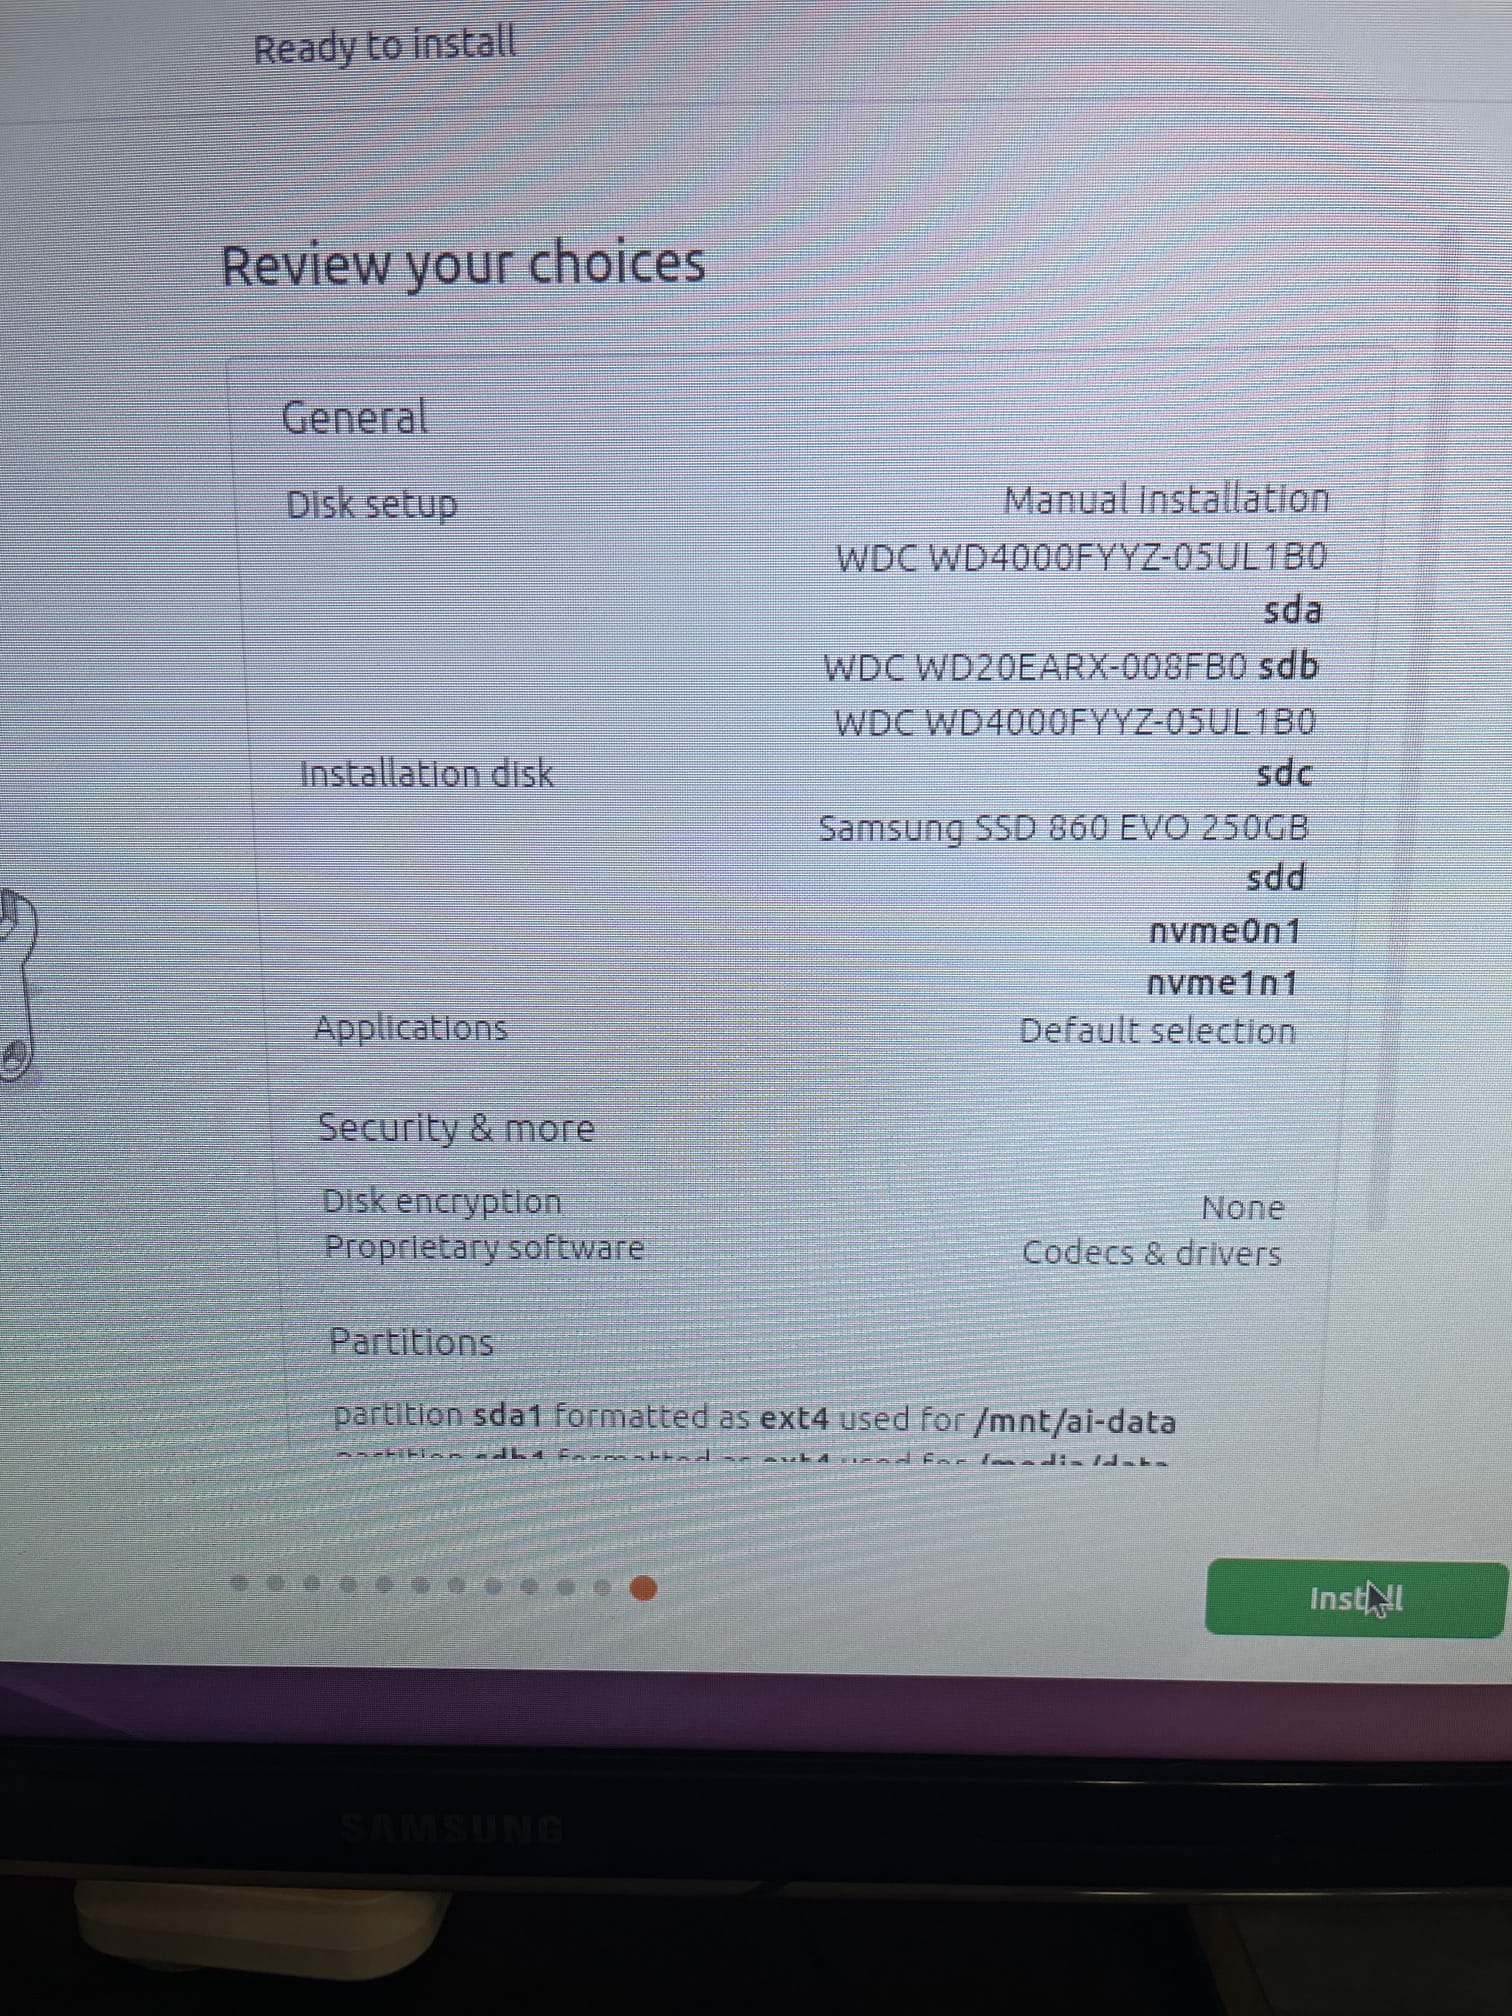
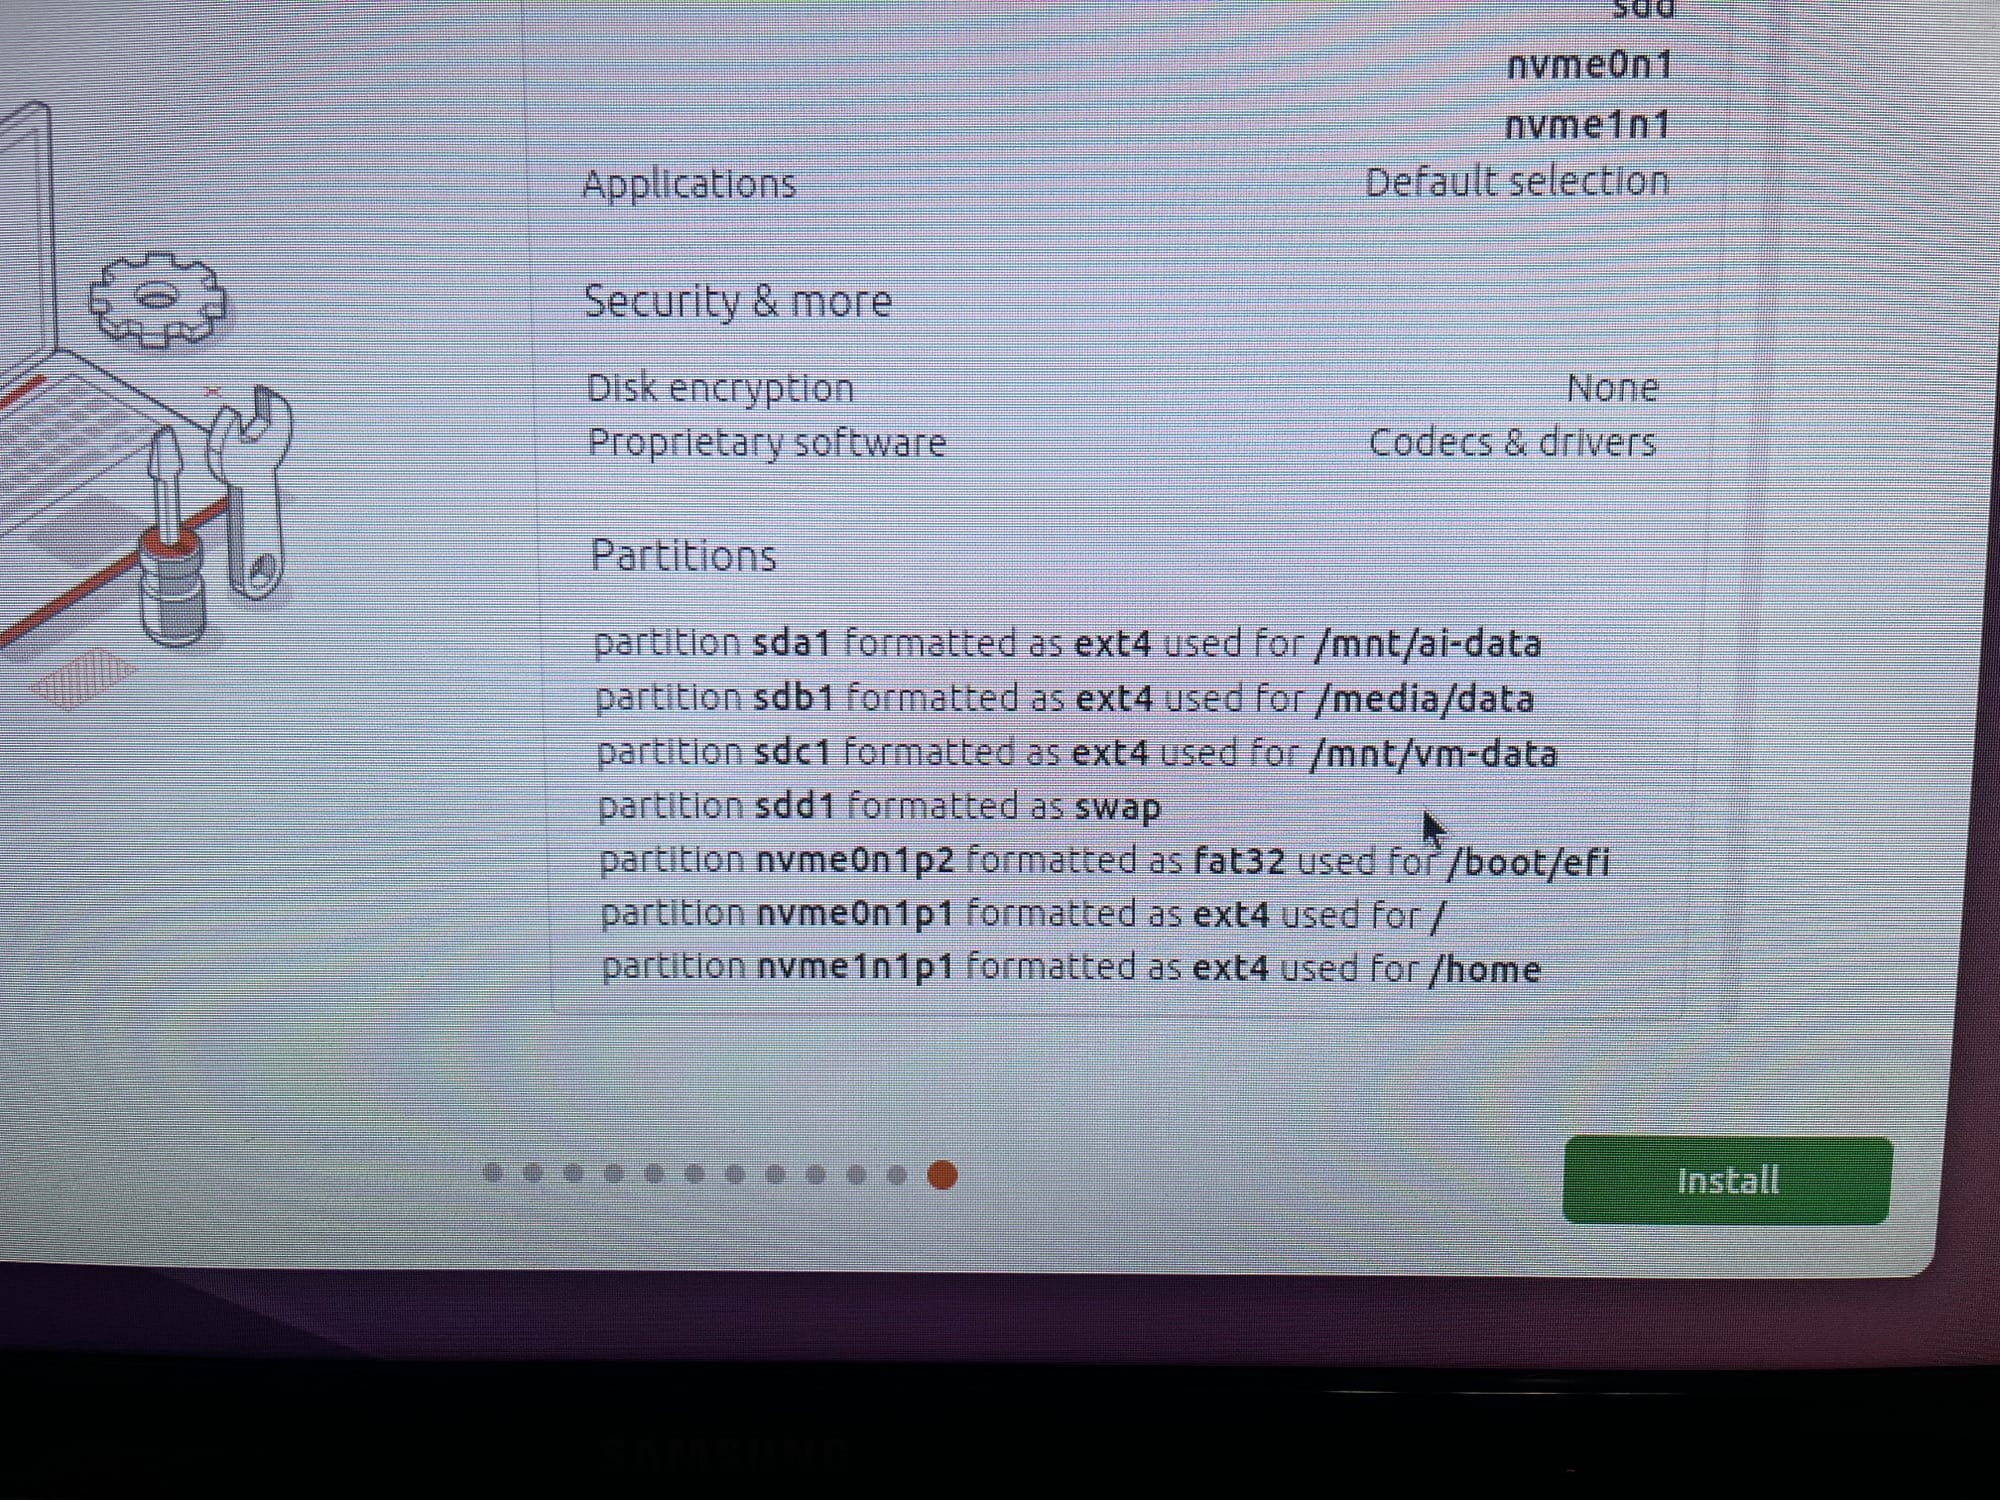
Ubuntu Installation
5. Drivers and Software
After installation, I:
- Installed the NVIDIA 575 driver for the GPU.
- Verified that all USB ports worked (both front and top).
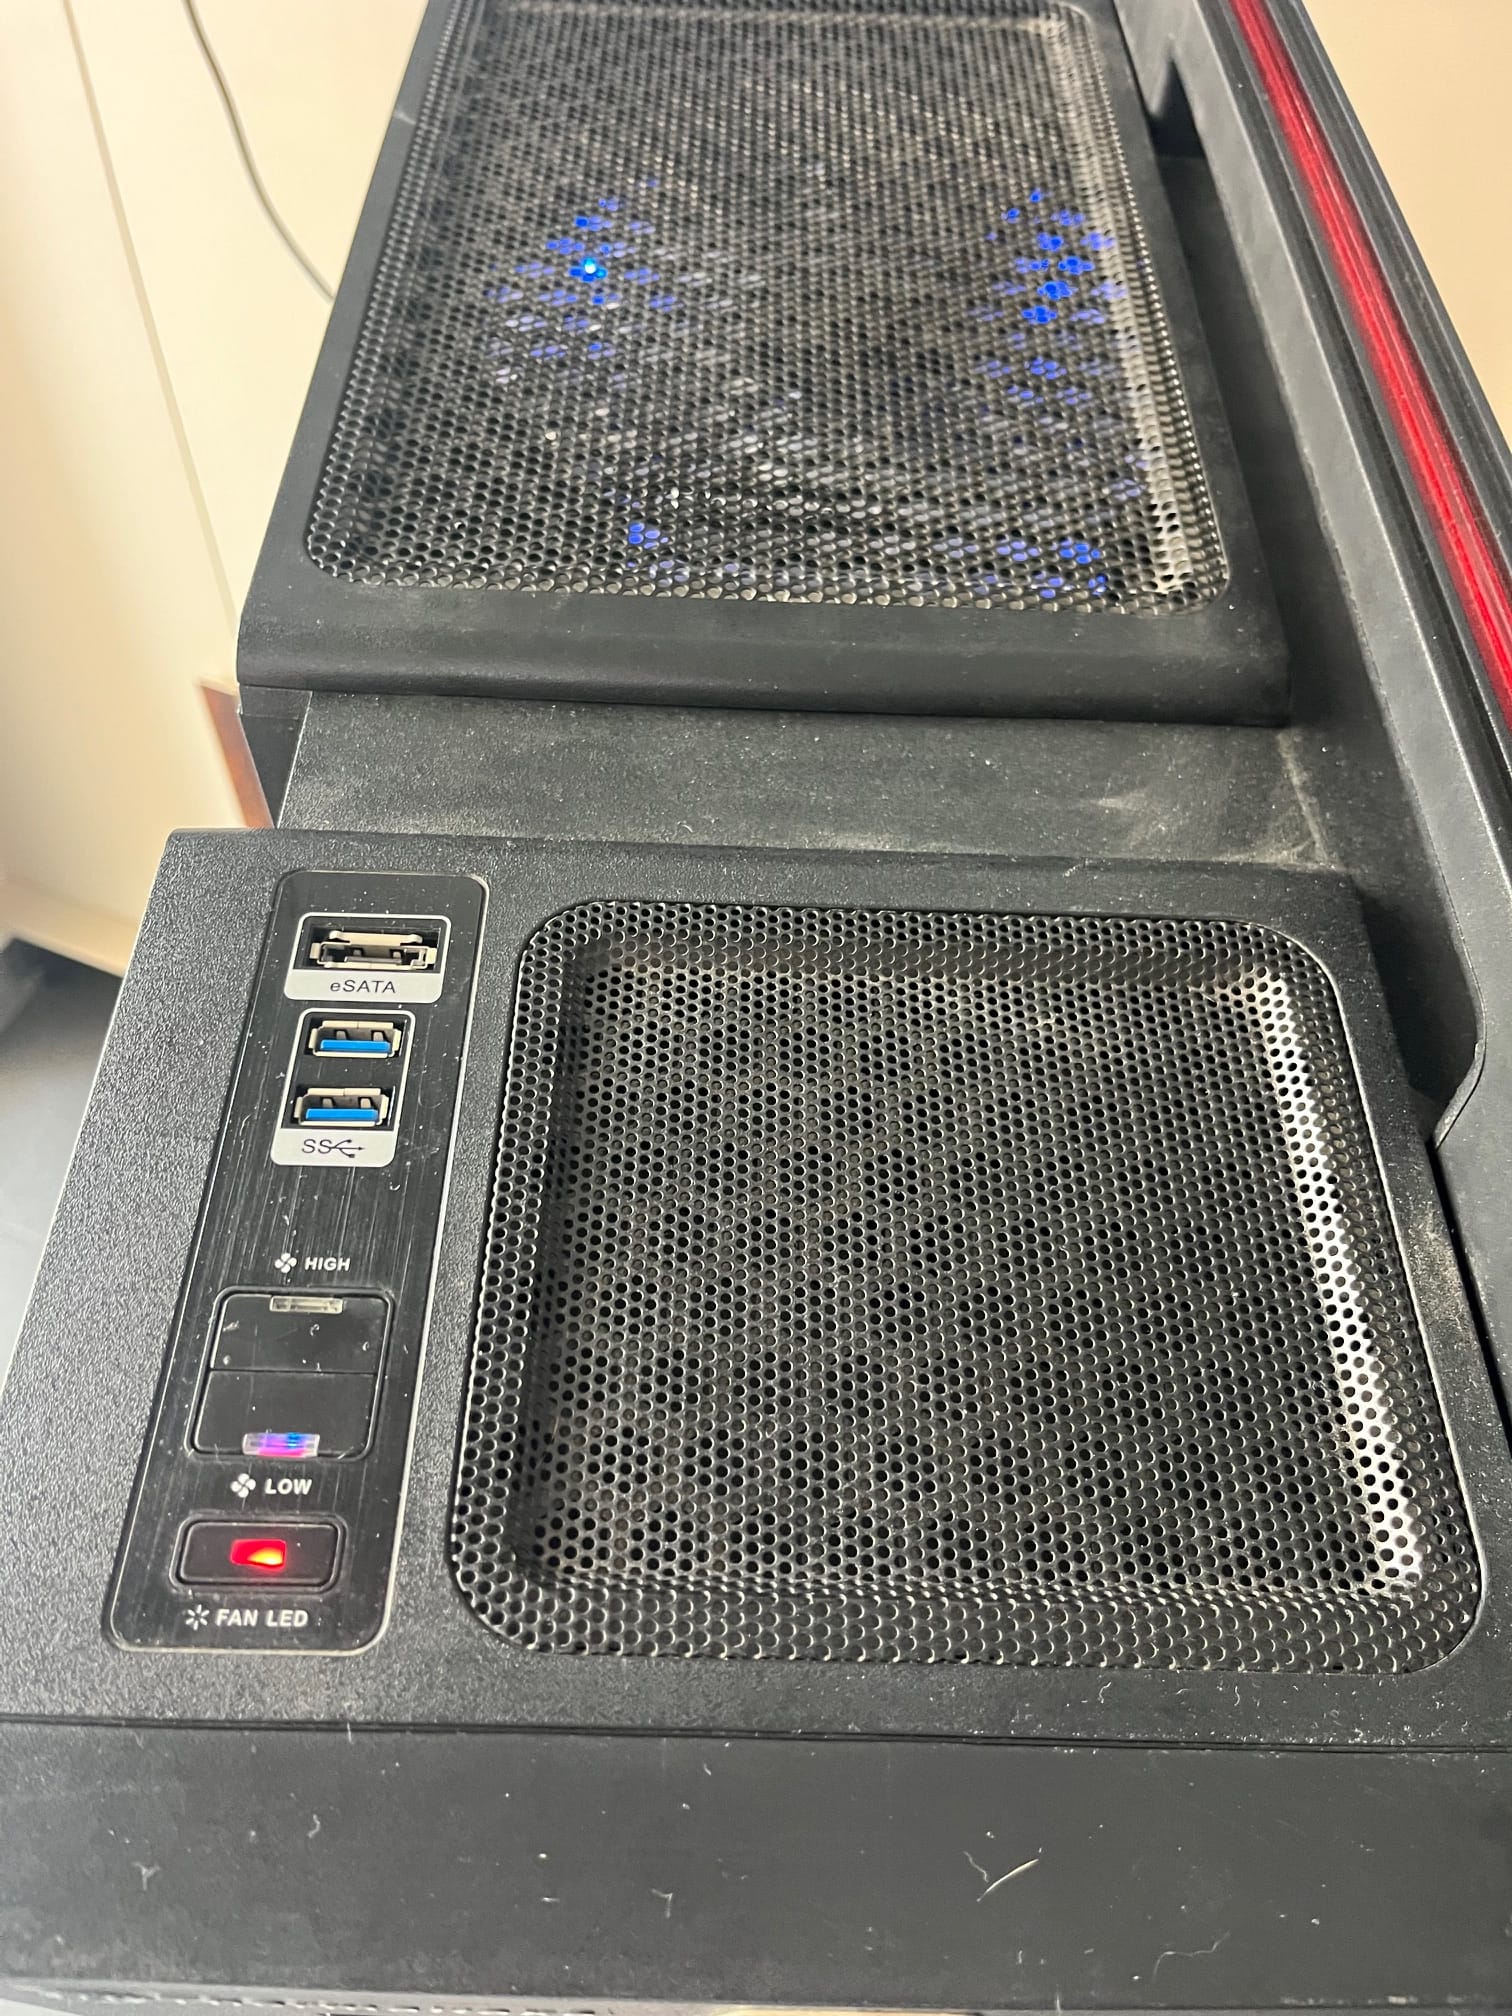
- Checked that the case buttons, fan speed control, and lighting functioned properly.
- Installed basic applications like browsers, editors, and utilities.
Although this server will mainly be used headless, I kept Ubuntu Desktop installed just in case.
6. Final Assembly
Finally, I put all the panels back on and fully closed the case. By 1 a.m., I had a working server with Ubuntu 25.04 installed, ready for the next stage—actual AI workloads.
Ai Server
Conclusion
The server now has a 1300W power supply, properly installed drives, Ubuntu 25.04, and all the basics ready to go. It’s not perfect, but I hope that I won't have to disassemble it thoroughly again, and that’s the most essential step in this build.