

By the time most of the parts for my new gaming PC finally arrived, I had everything bisics I needed.
Every box was there, of course already opened.
Every component was accounted for.
Few things still missing ;-).
This, of course, is usually the moment when things start to go wrong.
As I mentioned in the previous post, the goal of this build was simple in theory: maximum performance in the smallest possible volume. In practice, I decided to take this idea to its logical extreme and chose an ultra-small case—the kind of case that immediately makes you question your life choices the moment you open it.
Still, confidence was high. I had built many systems before. How hard could it be?
The Case: Small, Smaller, Regret
Case: Lian Li A3-mATX
| Feature | Specification |
|---|---|
| Model | Lian Li A3-mATX |
| Form Factor | Micro-ATX (M-ATX) / Mini-ITX support |
| Dimensions | 443 mm (D) × 194 mm (W) × 321.5 mm (H) |
| Case Volume | 26.3 L |
| Material | Steel (mesh panels) |
| Motherboard Support | M-ATX / ITX |
| PSU Support | ATX / SFX / SFX-L (up to ~220 mm) |
| Max GPU Length | 415 mm |
| Max CPU Cooler Height | 165 mm |
| Fan Support | Top: 3×120 mm Side: 3×120 mm / 2×140 mm Bottom: 3×120 mm Rear: 1×120 mm |
| Radiator Support | Top: up to 360 mm Side: up to 360 mm Bottom: up to 240 mm |
| Drive Bays | 2× 2.5″ SSD trays 1× 2.5″ SSD or 1× 3.5″ HDD |
| Expansion Slots | 4 |
| Front I/O | Power Button 2× USB-A 3.x 1× USB-C 3.x Mic & HD Audio jacks |
| Dust Filters | Bottom (removable) |
| Warranty | 1 year |
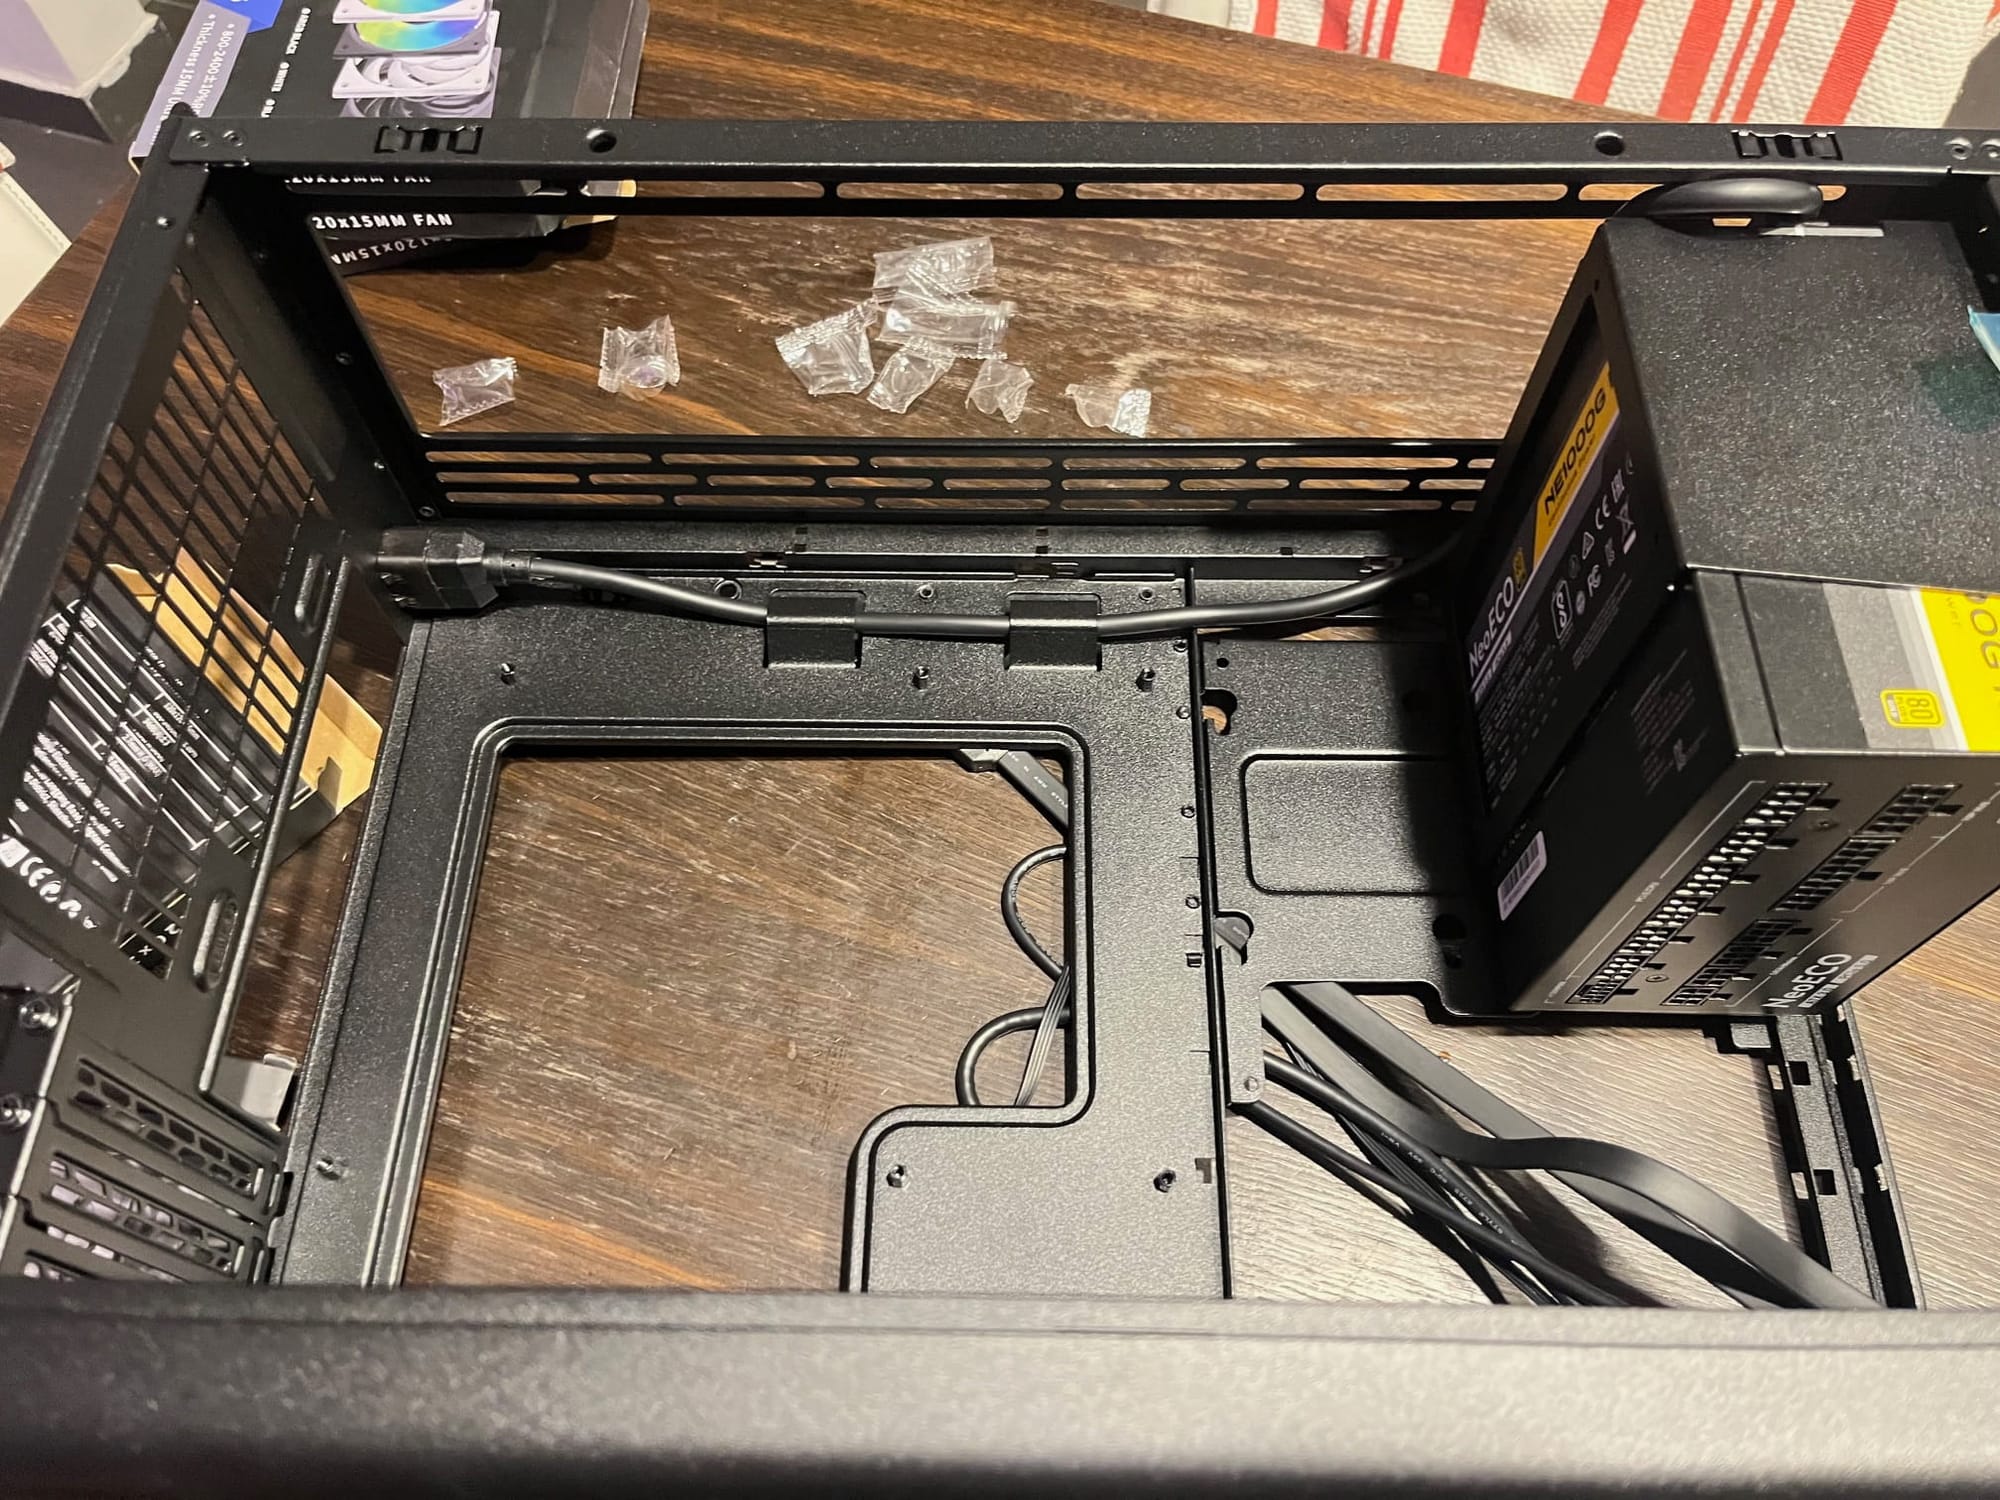
This case is tiny. Not “compact.” Not “space-efficient.”
Tiny.
Once you remove all the panels, you’re left with something that feels more like a mechanical puzzle than a PC enclosure. There is just enough room for the motherboard, a graphics card, and a firm belief that cable management is a state of mind.
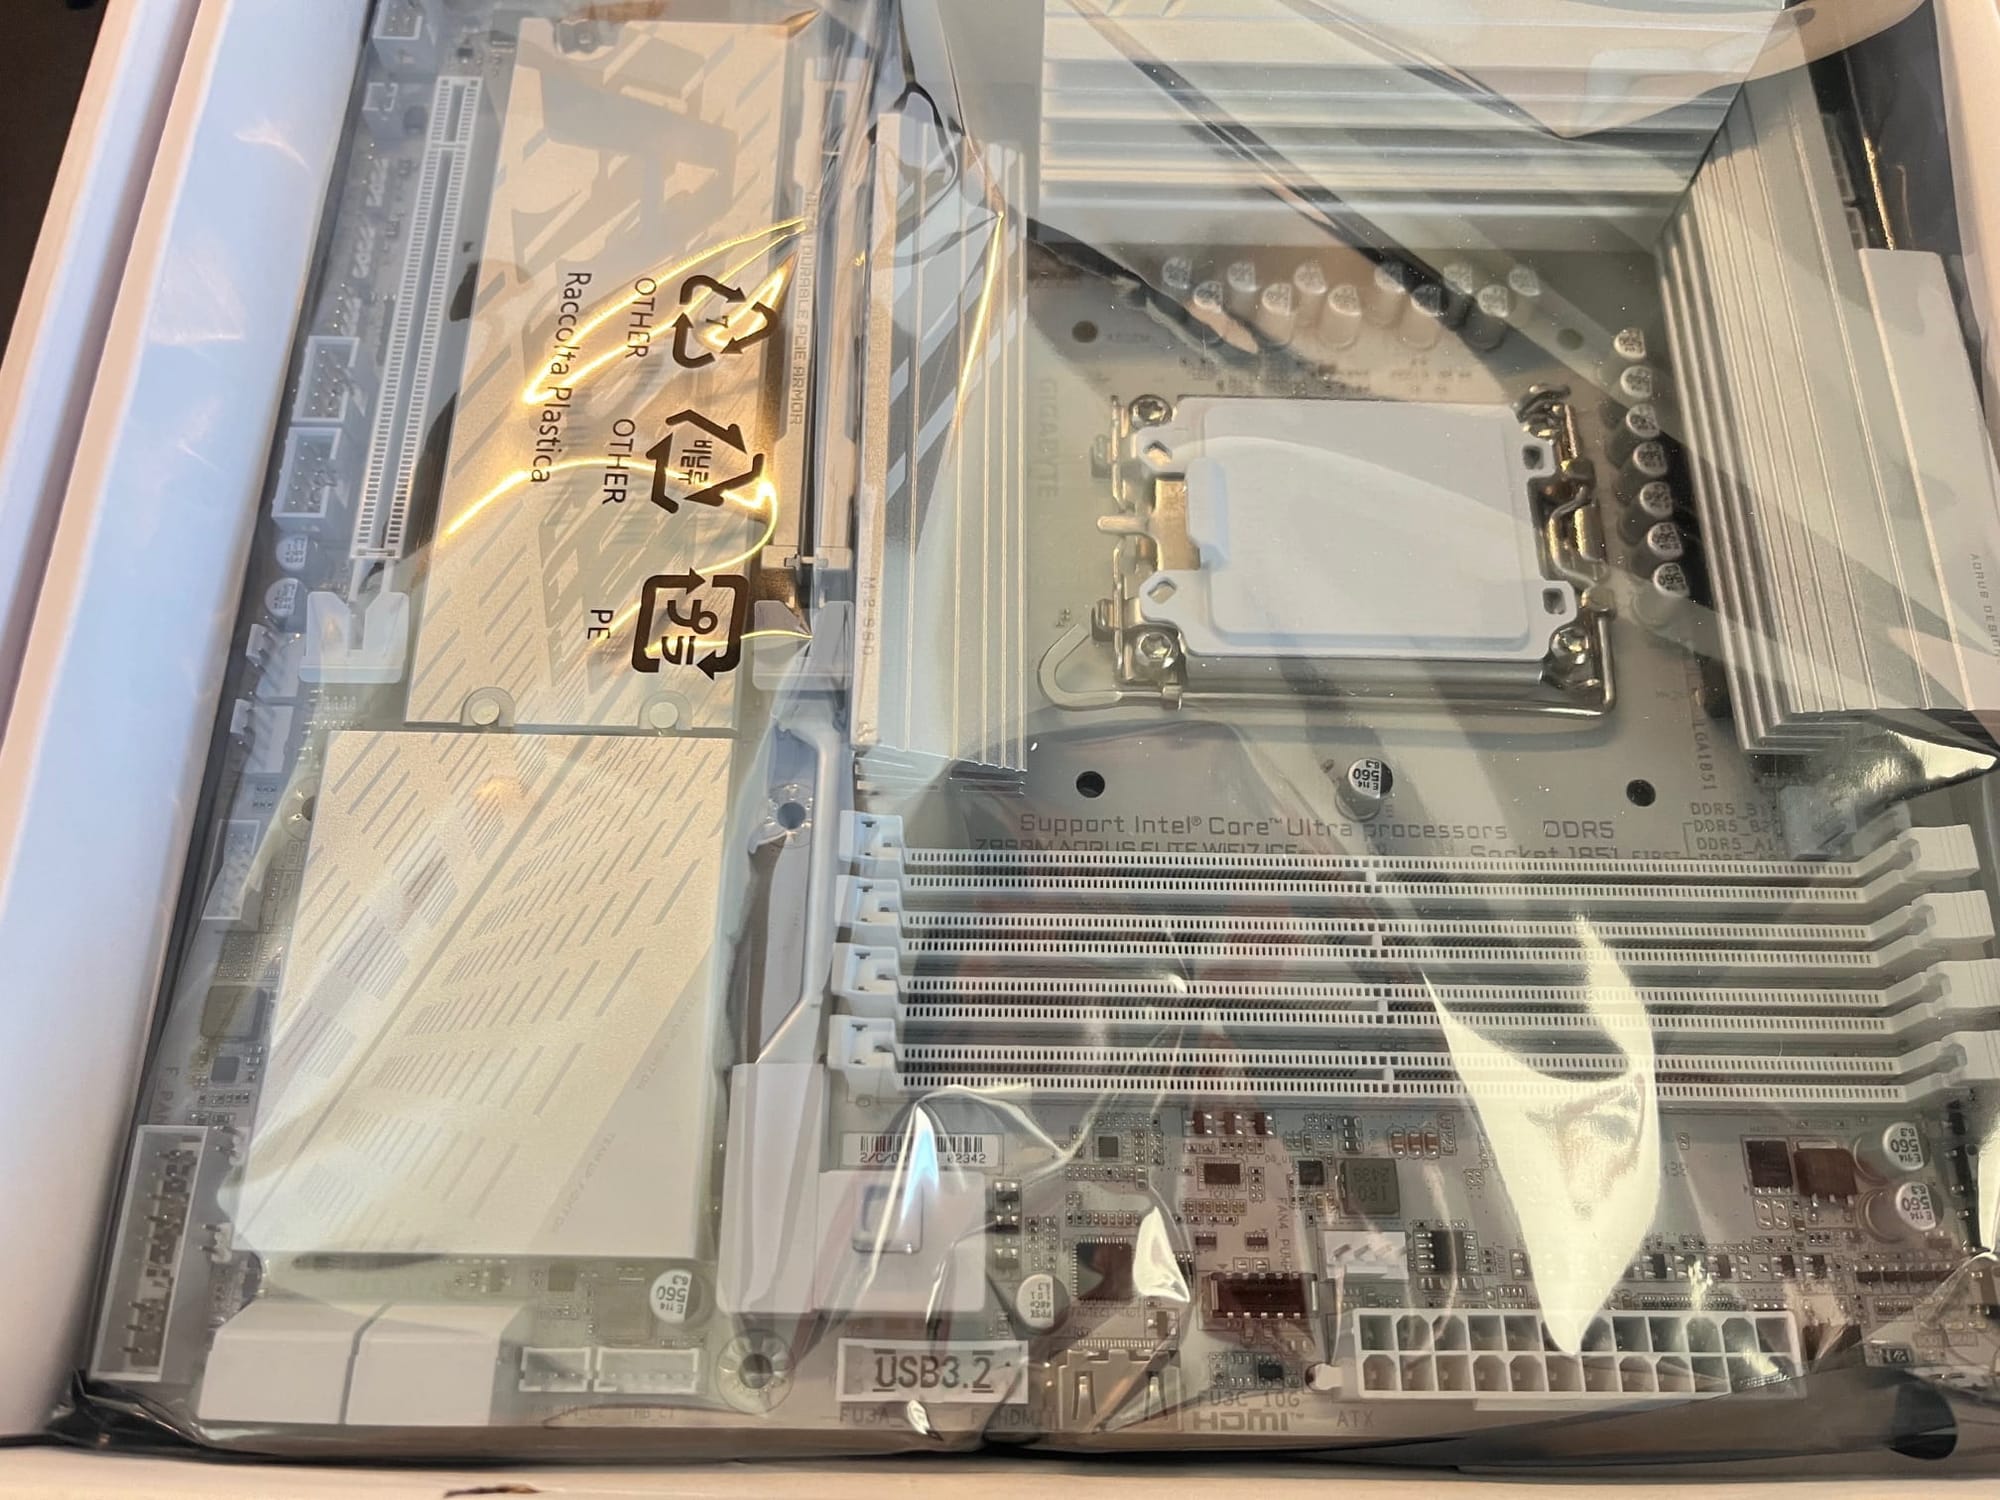
For the heart of this build, I went with the latest and greatest GIGABYTE Z890M AORUS ELITE WIFI7 ICE, ensuring solid performance today and plenty of room for upgrades in the years ahead.
| Feature | Specification |
|---|---|
| Model | GIGABYTE Z890M AORUS ELITE WIFI7 ICE |
| Chipset | Intel Z890 Express |
| Socket | LGA 1851 (Intel Core Ultra Processors, Series 2) |
| Form Factor | Micro-ATX (244 × 244 mm) |
| Memory Support | 4 × DDR5 DIMM slots, up to 256 GB, Dual-Channel |
| Memory Speeds (OC) | Up to DDR5-9200+ (various supported OC profiles) |
| PCIe Slots | 1 × PCIe 5.0 x16, 1 × PCIe 4.0 x4 |
| M.2 Slots | 1 × PCIe 5.0 x4, 2 × PCIe 4.0 x4 |
| SATA Ports | 4 × SATA 6 Gb/s |
| LAN | 2.5 GbE Ethernet |
| Wi-Fi | Wi-Fi 7 (802.11be) with high-gain antenna |
| Bluetooth | Bluetooth 5.4 |
| Rear USB | USB4 Type-C (40 Gbps), USB 3.2 Gen2, USB 3.2 Gen1, USB 2.0 |
| Internal USB Headers | Multiple USB 3.2 & USB 2.0 headers |
| Audio | 8-Channel High-Definition Audio |
| Thermal Features | VRM Thermal Armor, M.2 Thermal Guards |
| Special Features | EZ-Latch slots, Q-Flash Plus, RGB Fusion headers |
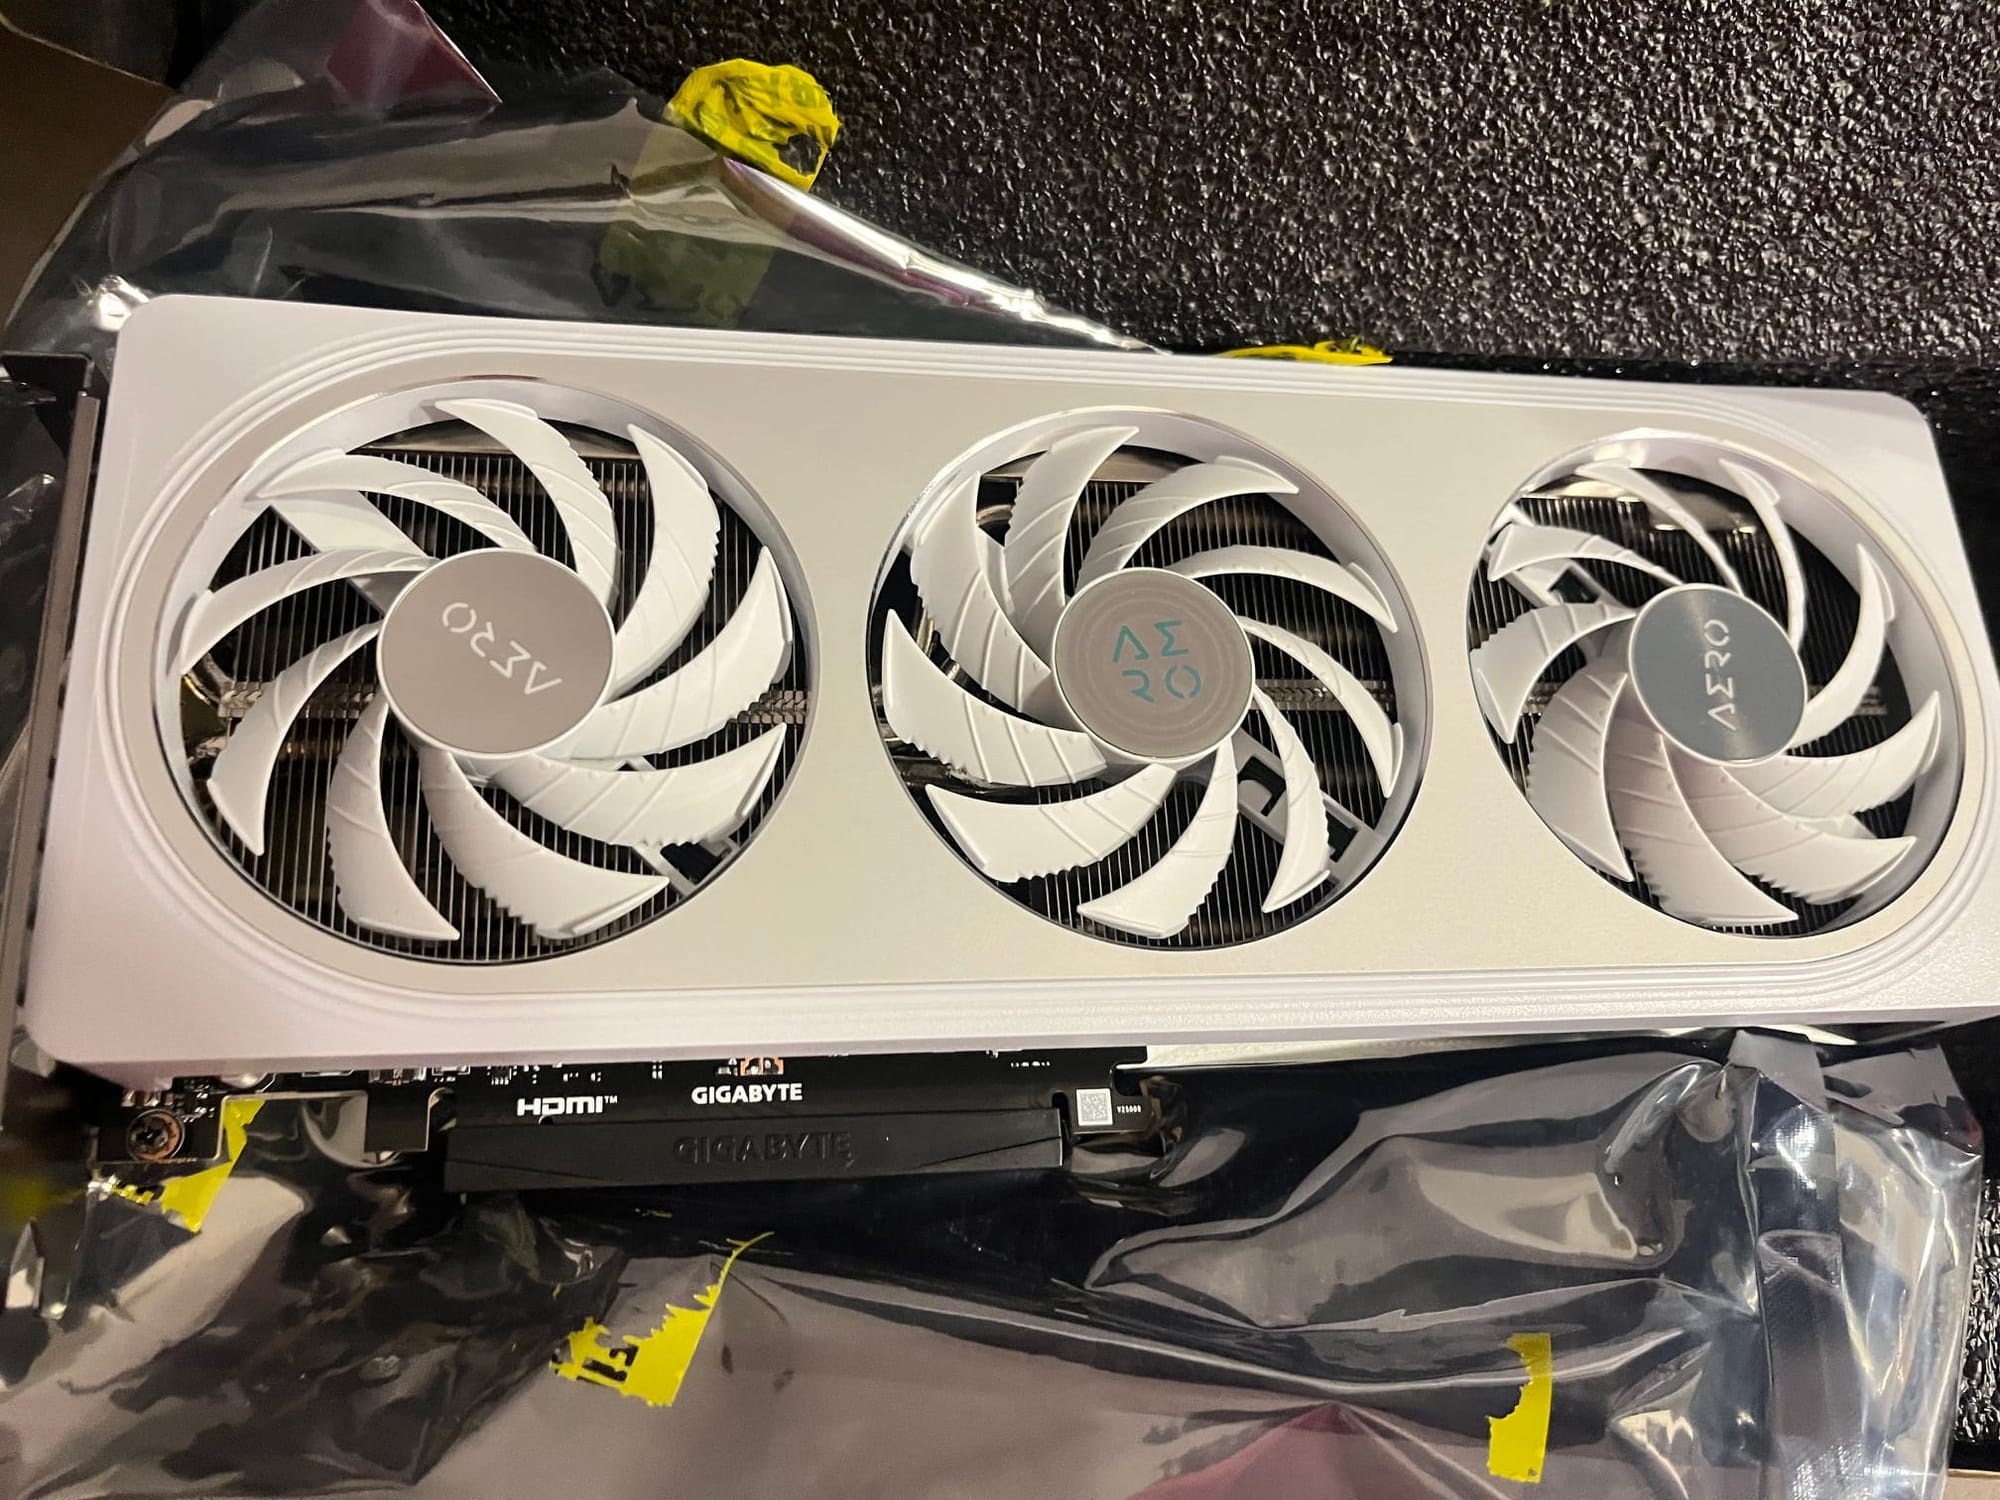
As for the GPU, I decided to begin with the GIGABYTE GeForce RTX 5060 AERO OC 8G, as I mentioned before.
| Feature | Specification |
|---|---|
| Model | GIGABYTE GeForce RTX 5060 AERO OC 8G |
| GPU | NVIDIA GeForce RTX 5060 |
| Architecture | NVIDIA Blackwell |
| CUDA Cores | 3840 |
| Base Clock | ~2280 MHz |
| Boost Clock | ~2595 MHz (factory overclock) |
| Memory Size | 8 GB |
| Memory Type | GDDR7 |
| Memory Bus Width | 128-bit |
| Memory Speed | 28 Gbps |
| Memory Bandwidth | 448 GB/s |
| Bus Interface | PCIe 5.0 x16 |
| Outputs | 3× DisplayPort 2.1, 1× HDMI 2.1 |
| Max Displays | Up to 4 |
| Max Resolution | 7680 × 4320 |
| Cooling System | WINDFORCE (triple-fan) |
| Power Connector | 1× 8-pin |
| Recommended PSU | 500 W |
| Card Dimensions | ~281 × 117 × 40 mm |
| Slot Thickness | ~2.2 slots |
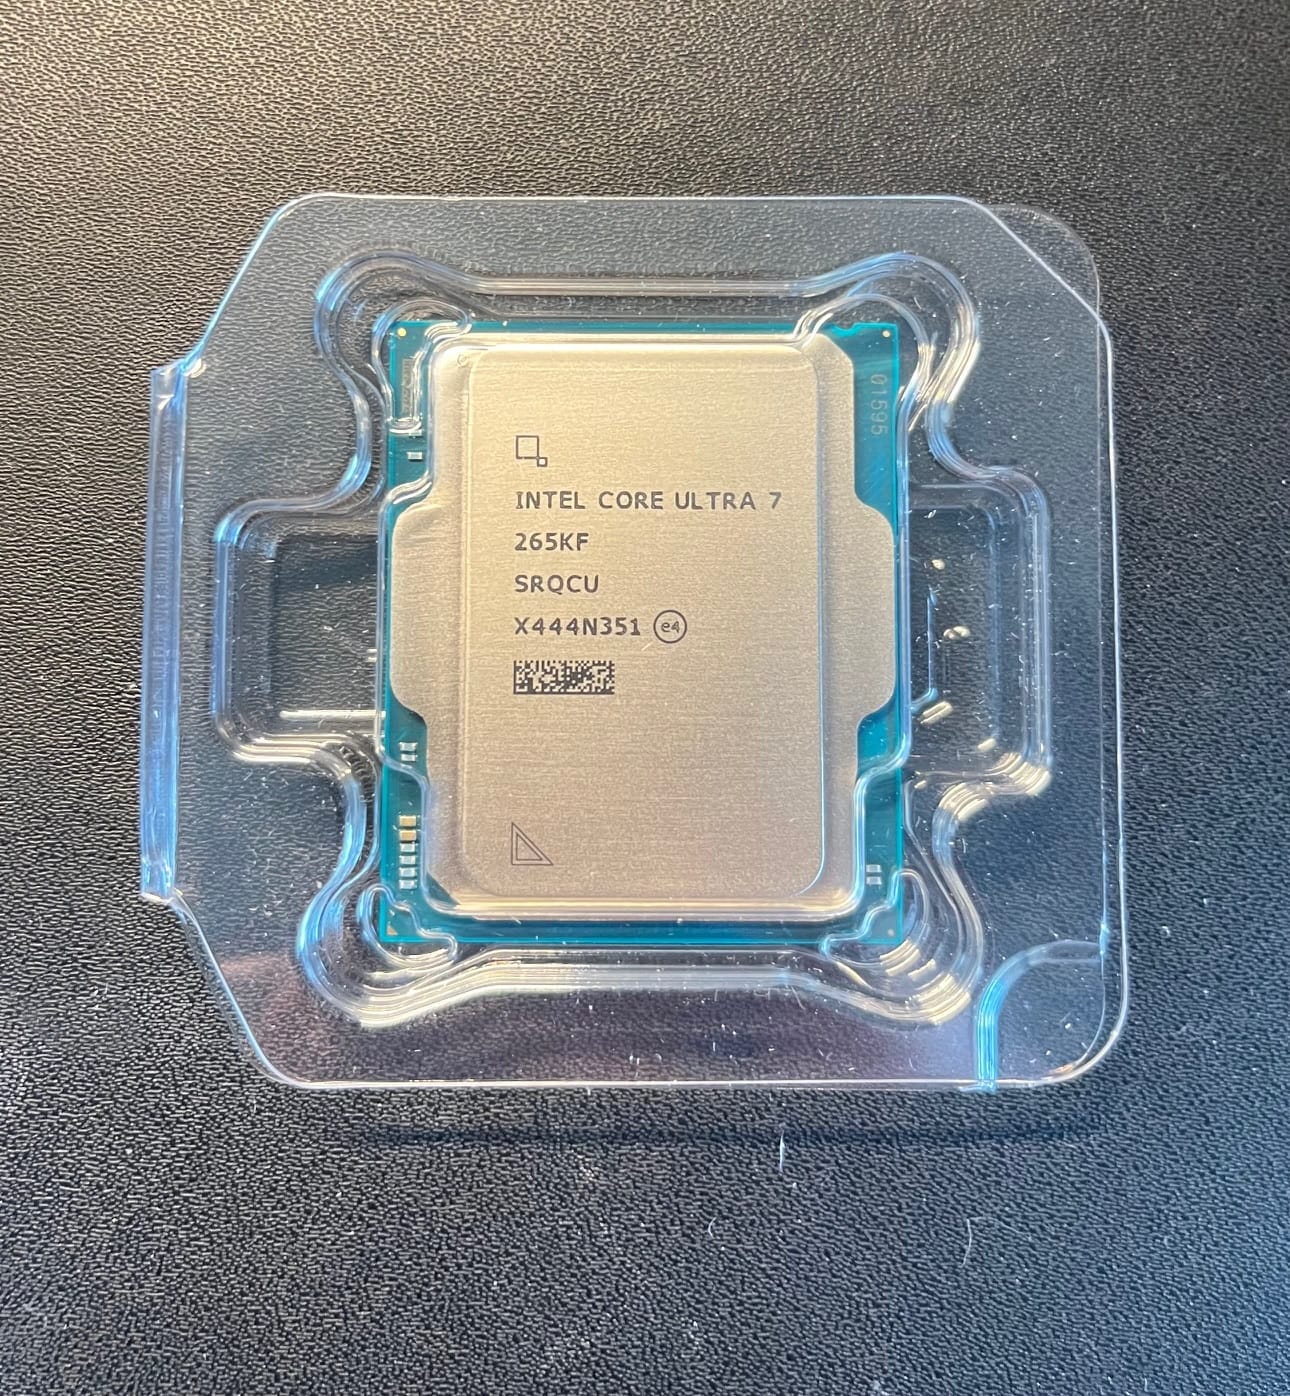
And for CPU with Intel Core Ultra 7 265KF
| Feature | Specification |
|---|---|
| Model | Intel Core Ultra 7 265KF |
| Architecture | Arrow Lake‑S (Ultra 7 series) |
| Cores | 20 (8 Performance + 12 Efficient) |
| Threads | 20 |
| Base Clock | P‑cores: ~3.9 GHz E‑cores: ~3.3 GHz |
| Max Boost Clock | Up to ~5.5 GHz |
| Cache | 30 MB Intel Smart Cache |
| Memory Support | DDR5, up to 6400 MT/s |
| Memory Channels | Dual‑Channel |
| PCI Express Support | PCIe 5.0 (20 lanes) + PCIe 4.0 (4 lanes) |
| TDP (Base) | 125 W |
| Max Turbo Power | ~250 W |
| Socket | LGA 1851 |
| Integrated Graphics | None (F‑series, no iGPU) |
| Unlocked Multiplier | Yes |
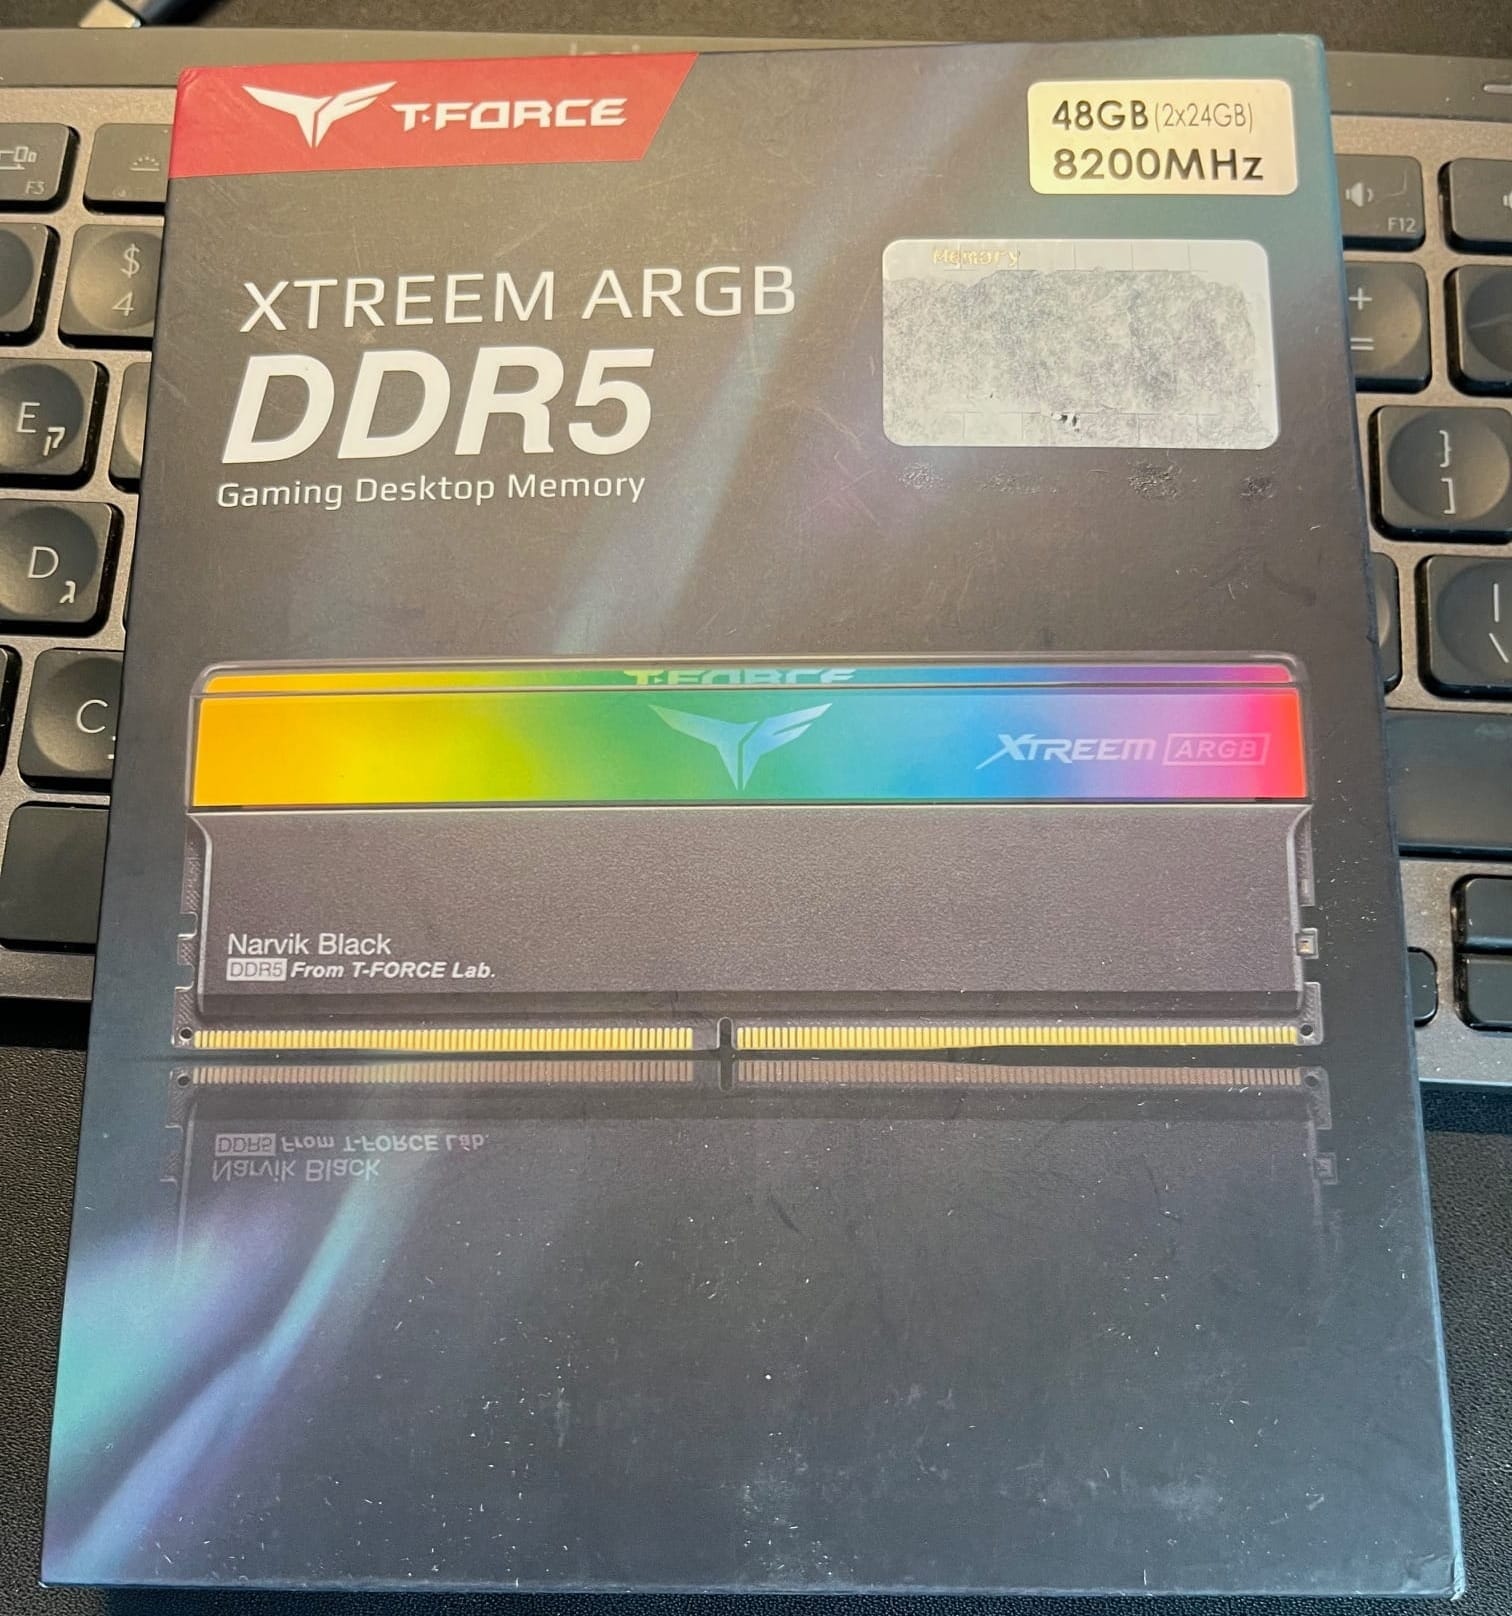
Amd the memoty T-Force Xtreem ARGB DDR5 48 GB (2×24 GB) 8200 MHz.
| Feature | Specification |
|---|---|
| Model | T-Force Xtreem ARGB DDR5 |
| Capacity | 48 GB (2×24 GB) |
| Speed | 8200 MHz |
| Type | DDR5 |
| CAS Latency | [Insert CL value here] |
| Voltage | [Insert voltage here] |
| Kit Configuration | Dual-Channel (2 modules) |
| RGB Lighting | Yes (ARGB) |
| Form Factor | 288-pin DIMM |
| Supported Platforms | DDR5-compatible motherboards |
| Heat Spreader | Aluminum with ARGB lighting |
Still, the physical assembly itself went surprisingly smoothly. The motherboard fit. The CPU cooler cleared. The GPU had just enough breathing room to avoid existential panic.
Before I closed the case, connected power…
…and nothing happened.
The Moment of Silence
No lights.
No fans.
No comforting POST beep.
Just silence.
At this point, experience kicks in. When a system refuses to power on inside a cramped case, the correct response is not to force it. The correct response is to take everything apart again, sigh deeply, and move the system to an open test bench.
Which is exactly what I did.
Open Case Diagnostics (a.k.a. The Truth Reveals Itself)
Outside the case, everything became easier to inspect. Power connections. Front panel headers. Fan cables. Nothing obvious looked wrong.
And then I noticed the cables.
As expected, the standard PSU cables were far too long for an ultra-small case. I had anticipated this and ordered shorter aftermarket cables in advance, hoping to avoid stuffing unused cable length into places where air was supposed to flow.
That was a good idea.
Unfortunately, it was also a dangerous one.
The Cable That Should Not Exist
One cable stood out immediately: the 6-pin SATA power cable.
It looked normal.
It fit.
It connected.
And it was completely wrong.
The Problem
Although the connector looked identical, called 6-pin, to the original cable, the pinout was different. This is one of those deeply unpleasant truths about modular power supplies: not all cables are interchangeable, even if they physically fit.
I was incredibly lucky.
Instead of destroying the entire system, that cable only managed to kill the SSD it was connected to.
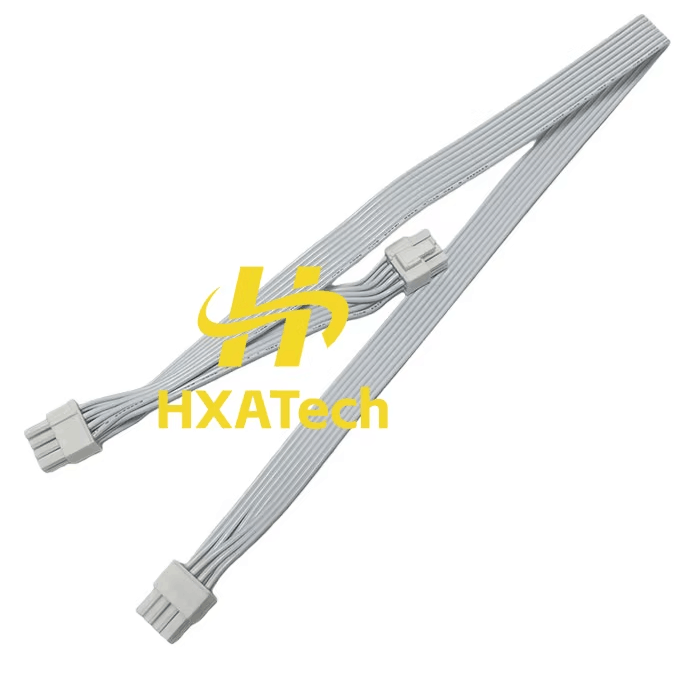
This is one of those moments where you don’t celebrate success—you simply acknowledge that the damage could have been much worse.
Retreat, Regroup, and Use What Works
At that point, the decision was easy.
I abandoned the custom cables and went back to the original black cables that came with the power supply.
Were they longer than necessary? Yes.
Were they harder to manage in a tiny case? Absolutely.
Were they safe? Also yes — and that mattered a lot more.
The aesthetic compromise was real. I wanted white cables. I got black ones. Such is life.
First Successful Power-On
With the correct cables installed, the system finally powered on in the open setup. Fans spun. LEDs lit up. The motherboard came alive.
This was the moment to learn where everything connects:
- which front-panel buttons go where
- how the fans should be arranged
- which headers are accessible once the system is inside the case
This step alone made it painfully clear that building directly inside an ultra-small case is a mistake.
Lesson learned (the hard way):
Always assemble and test your system outside the case first.
Then move it inside once you know everything works.
BIOS: Where Time Disappears
With the system running, the next challenge was the BIOS.
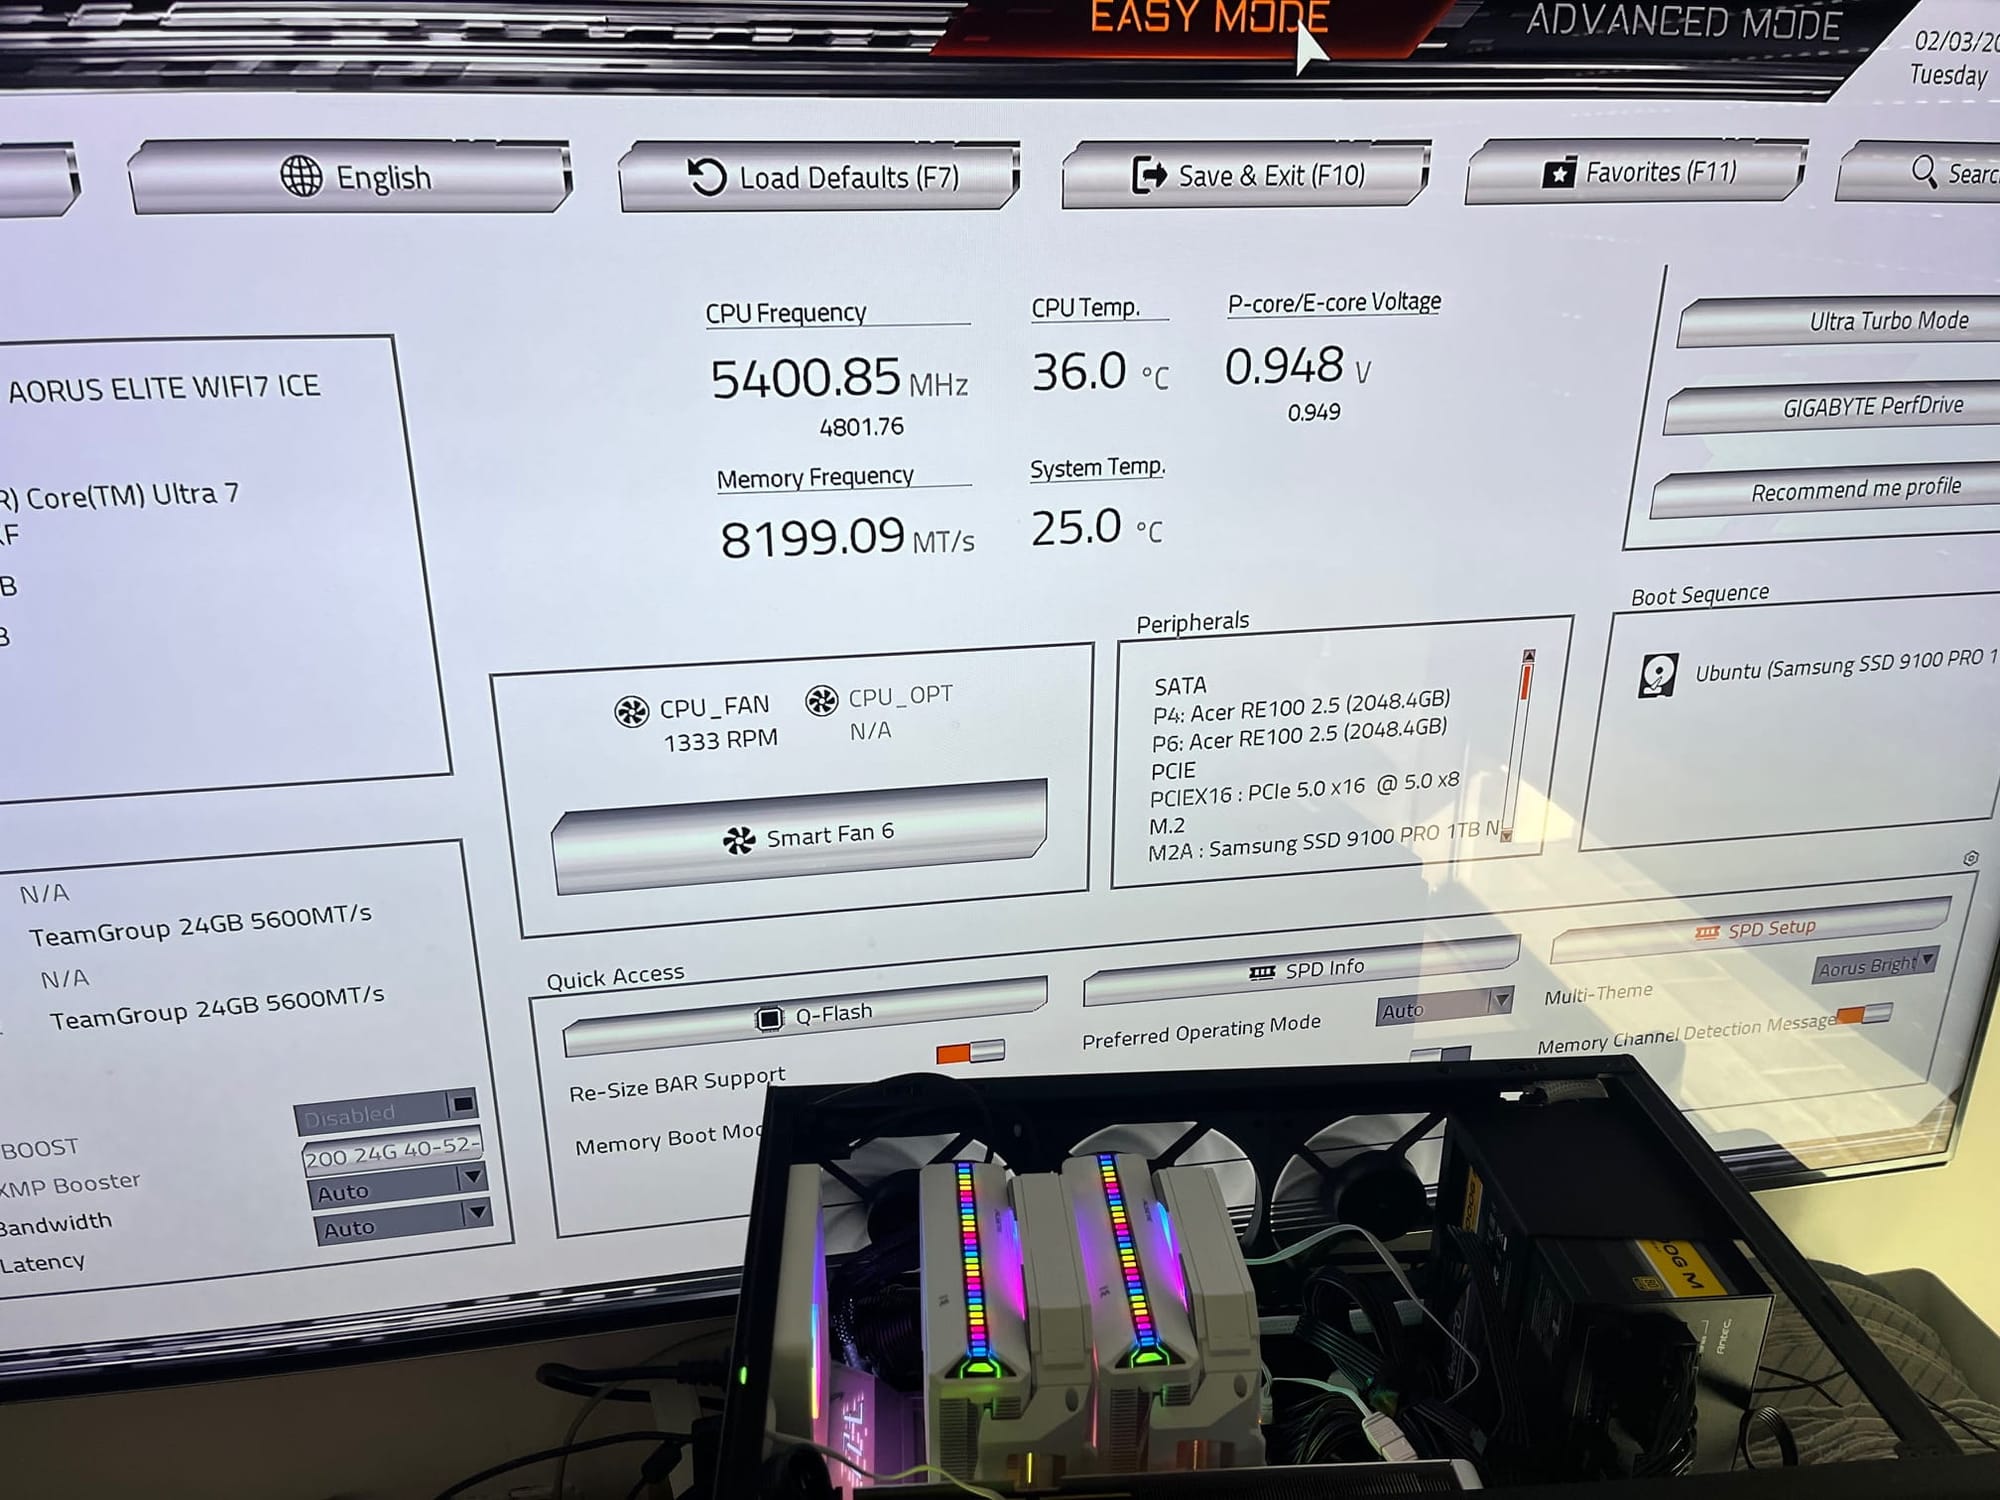
This was not a quick “enable XMP and leave” situation. I went through almost every BIOS setting, carefully tuning things to get the system behaving exactly as intended.
Eventually, success:
- DDR5 memory running at 8200 MHz, exactly as planned
- System stable
- No mysterious reboots
- No dramatic warnings from the firmware
The Long Road to This Moment
It’s hard to believe that I started planning and ordering parts for this system back in September. Boxes arrived weeks apart. Some components sat unopened longer than I’d like to admit.
By the time the system finally powered on successfully, several parts were already past the return window—including the infamous “Amazon 30-day guarantee.”
This was the real test:
Everything had to work. There was no plan B.
And thankfully… it did.
What Comes Next
At this point, the system is:
- assembled
- tested
- powered on
- configured
In the next post, I’ll cover:
- final assembly inside the case
- airflow behavior in such a small enclosure
- thermals
- noise
- and first impressions under Linux