

Introduction
VMware Workstation is a robust virtualization tool that allows you to run multiple operating systems simultaneously on your computer. Whether you’re a developer, tester, or tech enthusiast, VMware Workstation is ideal for creating virtual environments on an Ubuntu system. This guide will walk you through the installation process in detail, including required packages, dependencies, and setup configurations.
I have a powerful Linux machine set up at home, ideal for running resource-intensive tasks and virtualization projects. However, it’s currently being used by my wife, so I only have partial and remote access to it. This setup limits some of the activities I can perform directly, though remote access still allows me to manage certain tasks and configurations when needed. The idea is to set up a small virtual playground on this powerful Linux machine, specifically a lightweight VM running Ubuntu Server. This setup would give me a flexible environment where I can experiment, test configurations, and run tasks without impacting the main system. The Ubuntu Server VM would serve as a sandbox, allowing me to explore new tools, scripts, and automation in a controlled space tailored to my needs.
1. System Requirements and Preparation
Before you start, ensure your system meets the minimum requirements to run VMware Workstation:
- Operating System: Ubuntu 20.04 LTS or later
- Processor: 64-bit x86 or x86-64
- Memory: 2 GB RAM minimum (4 GB recommended)
- Disk Space: At least 1 GB free for the software, plus extra space for VMs
Next, ensure your Ubuntu system is fully up-to-date. Open a terminal and run:
sudo apt update && sudo apt upgrade -y
Updating the system ensures that all dependencies are current and minimizes potential compatibility issues during installation.
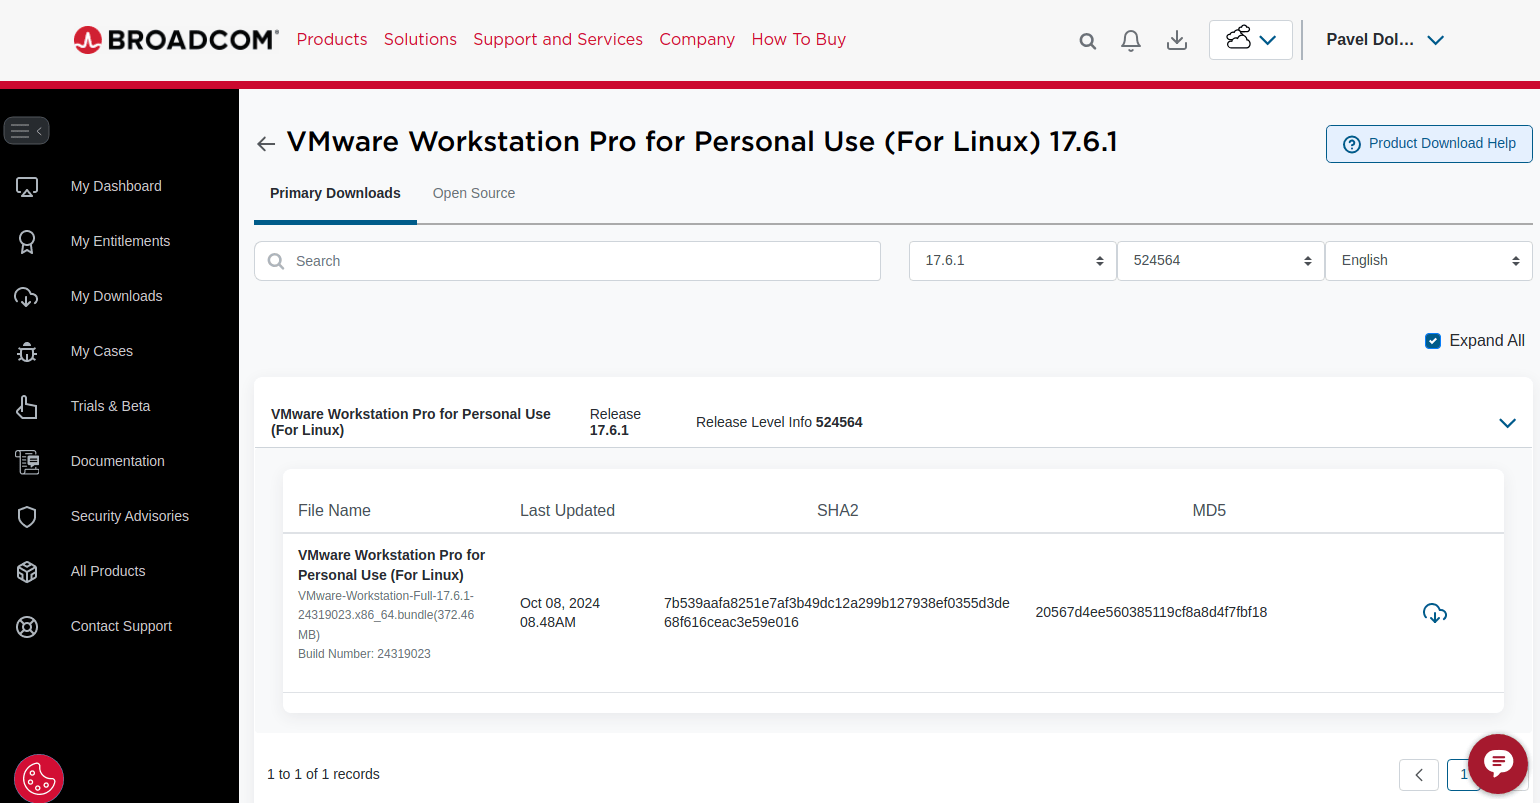
2. Download the VMware Workstation Installer
To download the VMware Workstation installer, visit the VMware Workstation download page and select the Linux version.
For comprehensive guidance on downloading VMware Workstation or Fusion or any other VMware software, kindly refer to this post.
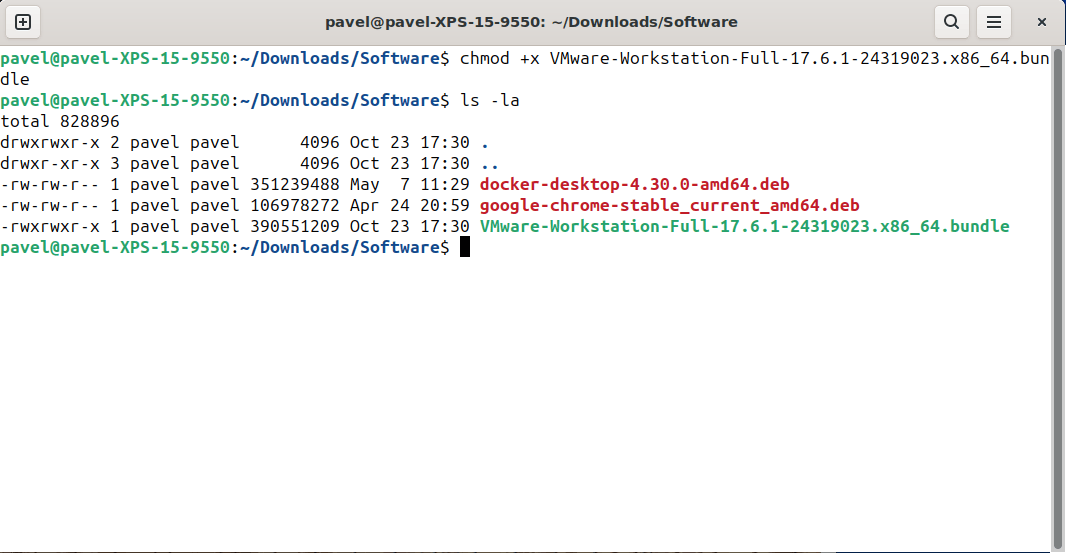
3. Make the Installer Executable
Once the download is complete, you need to make the installer executable. Navigate to your Downloads directory or wherever you saved the installer file and run the following command:
chmow +x ./Downloads/VMware-Workstation-Full-17.6.1-24319023.x86_64.bundleThis command grants executable permissions to the file, allowing it to be run on your system.
4. Install Required Packages and Dependencies
VMware Workstation requires some dependencies to function correctly. Install the necessary build tools and Linux headers:
sudo apt install build-essential linux-headers-$(uname -r) -y
This installs essential tools and headers, which enable VMware Workstation to compile the necessary kernel modules for operation.

5. Run the VMware Workstation Installer
Now that everything is set up, run the VMware Workstation installer using the following command:
sudo ./Downloads/VMware-Workstation-Full-17.6.1-24319023.x86_64.bundle
When you run the VMware Workstation bundle file, it won’t immediately launch an installation guide as you might expect. Instead, it only sets up initial components, creating icons in the applications menu. The actual installation process begins only when you attempt to open VMware Workstation for the first time through these icons. At that point, the installer runs to complete the setup, allowing you to accept the license agreement, choose update settings, and finalize any additional configurations.
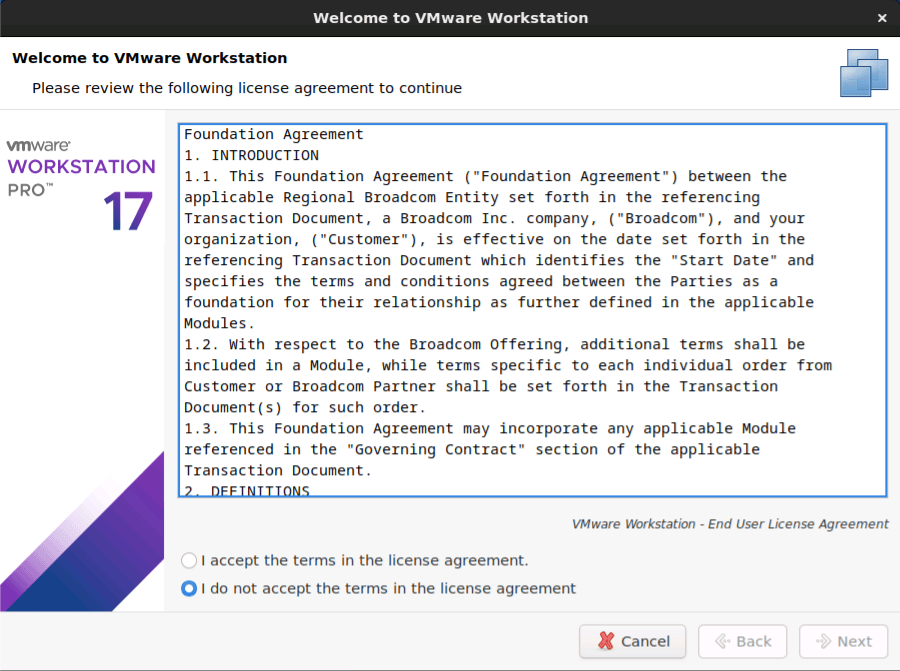
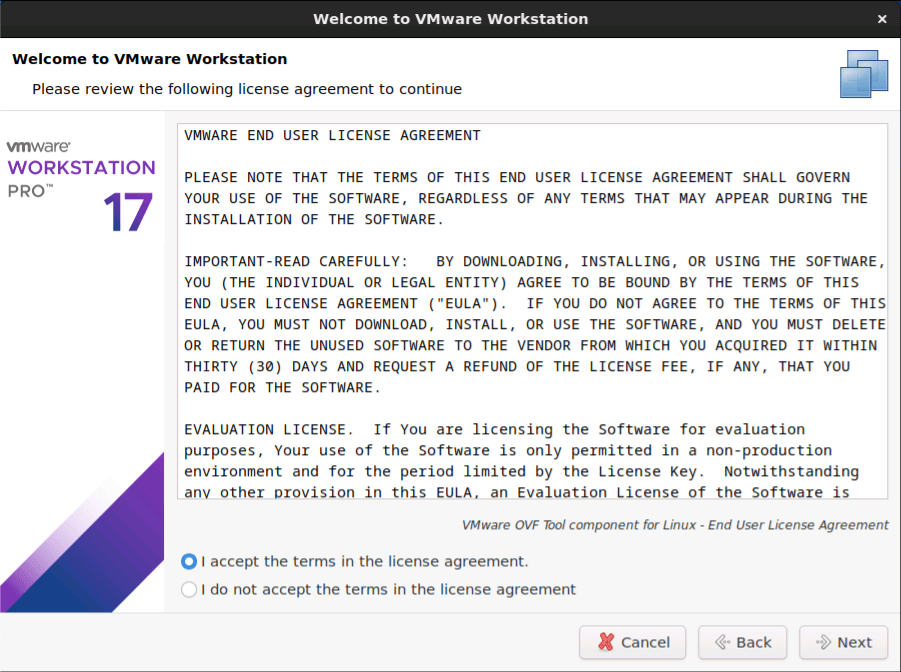
6. Complete the Installation Wizard
The VMware Workstation installer wizard will prompt you with several setup options:
Follow these prompts and continue through the wizard to complete the installation.
- Foundation Agreement: Accept the terms to proceed.
- License Agreement: Accept the terms to proceed.
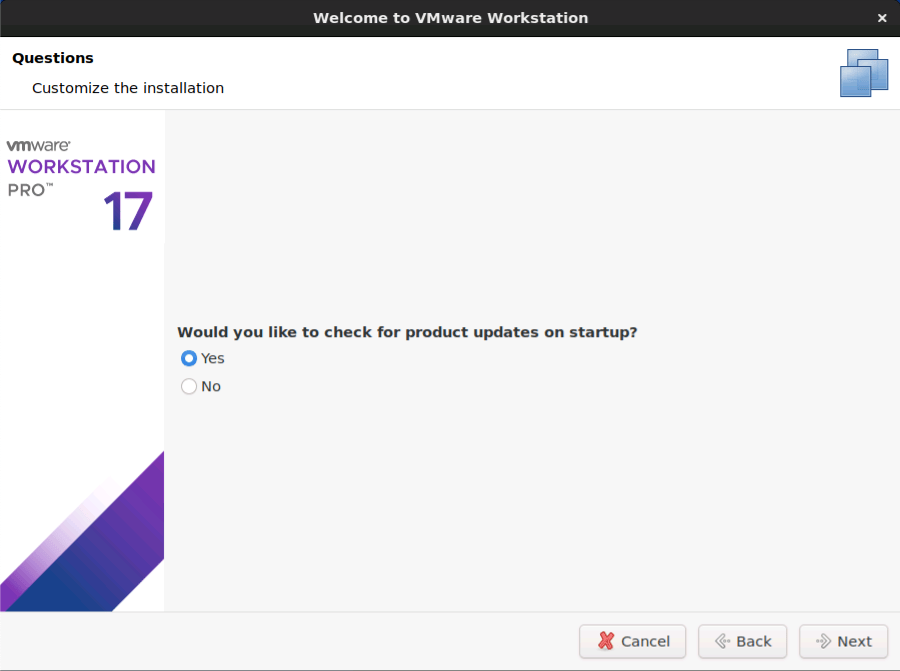
- Product Updates: Choose whether to check for updates automatically.
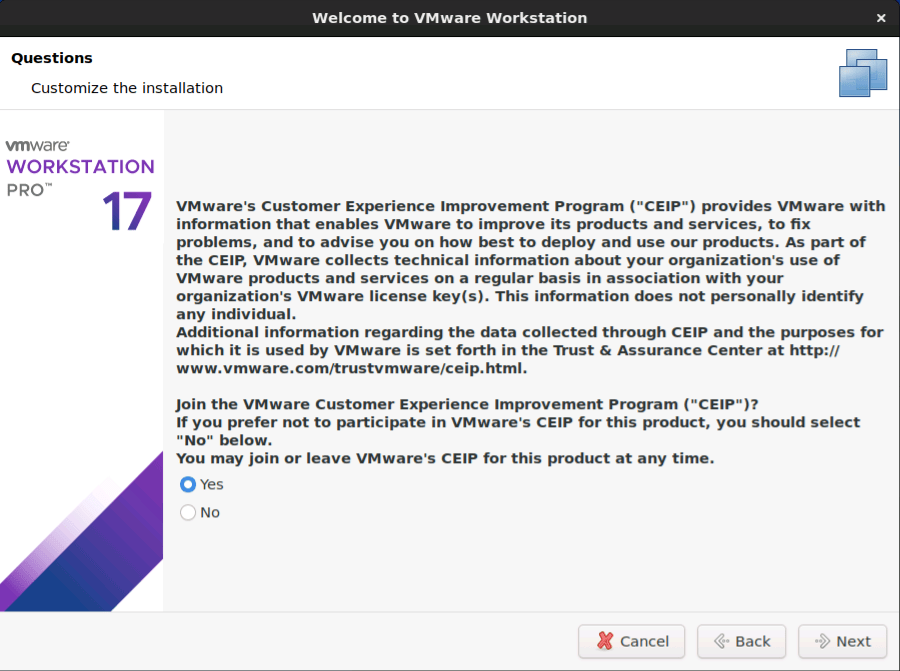
- Customer Experience Program: Decide if you want to join VMware’s customer experience program.
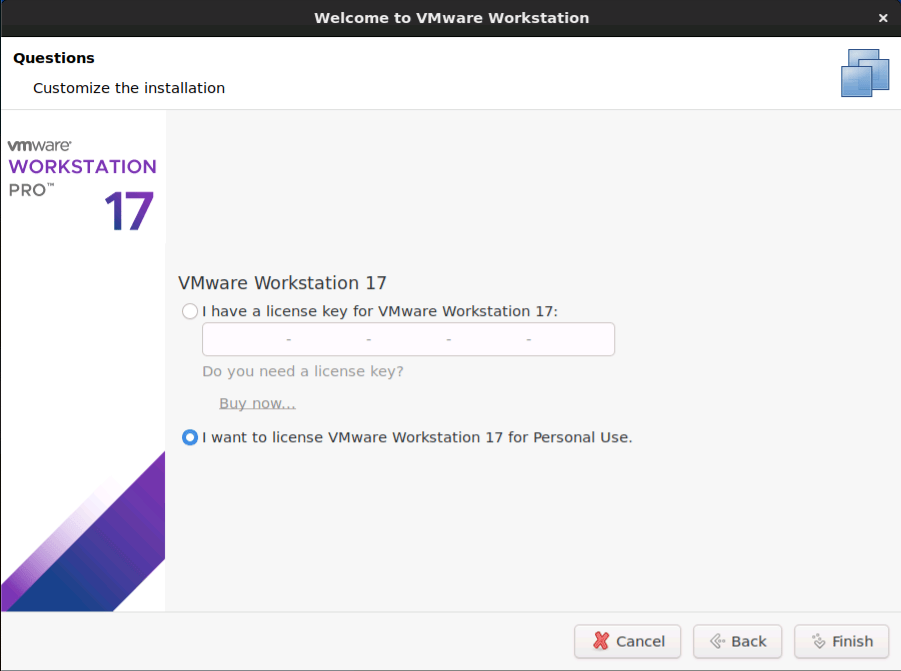
- Licence Key: When it comes to entering the license key in VMware Workstation, you have two choices: either type in the magic digits or simply check the box for “I want to license VMware Workstation 17 for Personal Use” — a kind of honor system for tech enthusiasts. It’s amusing how VMware politely requests a license key, while Windows plays it coy, not forcing one upfront. We all know the drill: you install Windows, and while you may intend to get that license key later, somehow it always magically appears after a quick Internet search. It's as if Microsoft gave us an unspoken pass to delay commitment, while VMware's like the friend who politely nudges, “So… you’ve got the key, right?”
7. Launch VMware Workstation
After the installation completes, you can start VMware Workstation directly from the terminal by typing:
vmware
Or just with the same icons in the Applications Menu.
8. Troubleshooting Common Issues
a) Kernel Module Compilation Failure
If you encounter errors about missing kernel modules, you may need to run the VMware configuration script to recompile the modules:
sudo vmware-modconfig --console --install-all
This command attempts to rebuild any missing modules, resolving most compatibility issues with newer Ubuntu kernel versions.
b) Error with VMNet Module
If the installation fails to start VMware Workstation due to VMNet module issues, verify that the vmmon and vmnet modules are loaded:
sudo modprobe -a vmmon vmnet
After this, try starting VMware Workstation again.
9. Enable VMware Workstation on System Startup (Optional)
If you want VMware Workstation services to start automatically on boot, you can enable it as a service. First, create a service file:
sudo nano /etc/systemd/system/vmware.service
Add the following lines:
[Unit]
Description=VMware Workstation
After=network.target

[Service]
ExecStart=/usr/bin/vmware
ExecStop=/usr/bin/killall vmware
Type=forking

[Install]
WantedBy=multi-user.target
Save and close the file, then enable the service:
sudo systemctl enable vmware.service
sudo systemctl start vmware.service
10. Verify Installation and Test the Setup
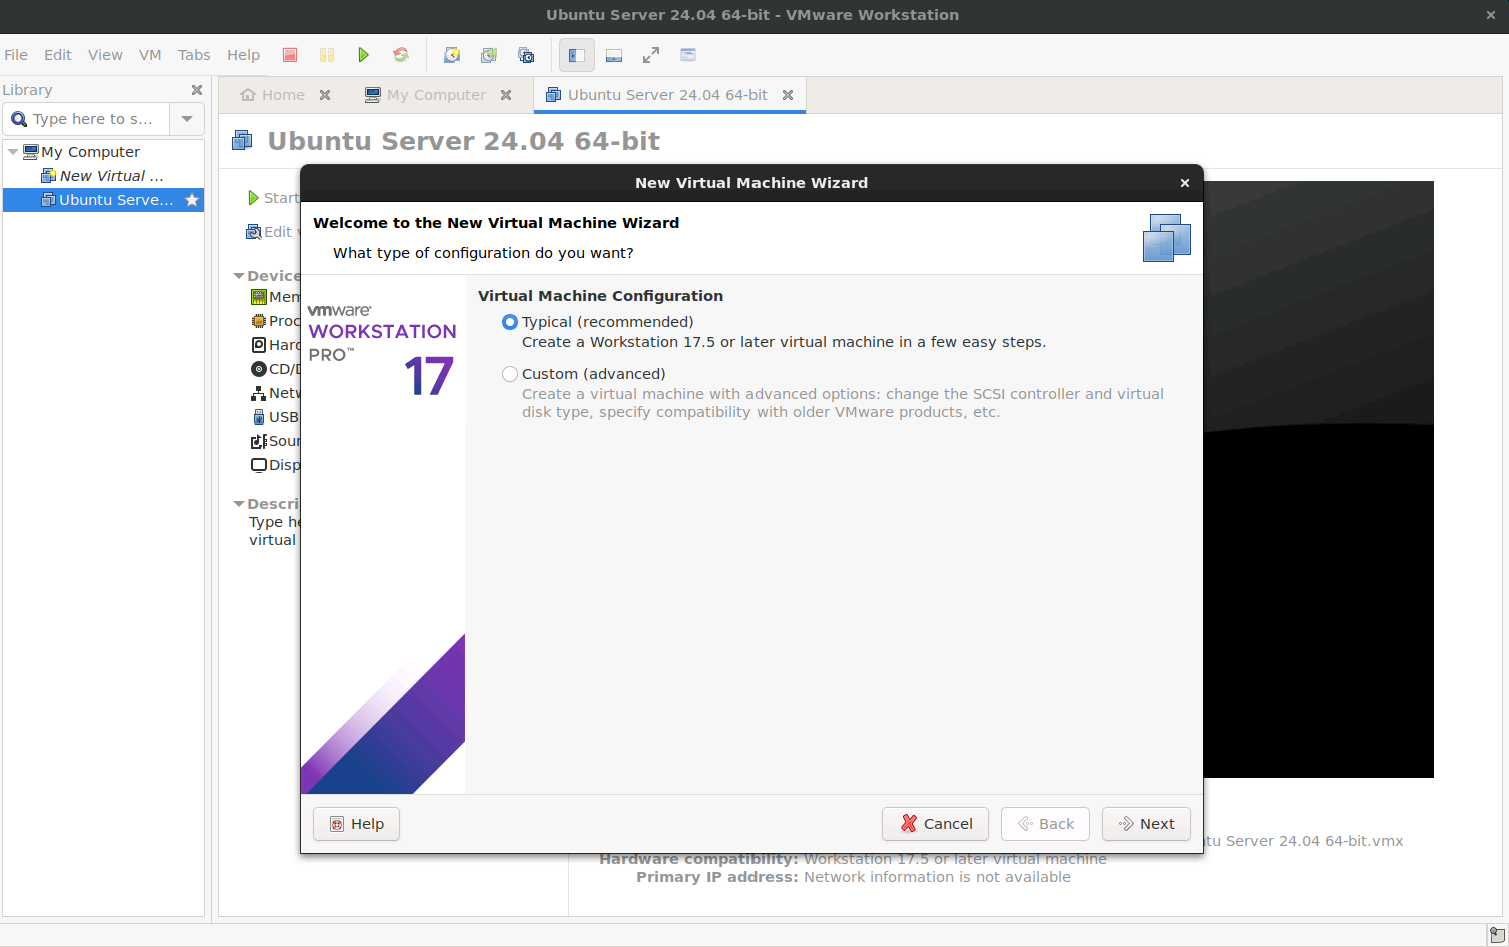
Once VMware Workstation is up and running, you can verify the installation by creating a quick test virtual machine. To do this:
- Open VMware Workstation.
- Select File > New Virtual Machine and follow the prompts to set up a basic virtual machine.
Conclusion
Installing VMware Workstation on Ubuntu opens up powerful virtualization capabilities, allowing you to run multiple operating systems seamlessly. By following this guide, you’ve ensured that all dependencies are installed, configurations are properly set up, and that you have troubleshooting steps on hand. You’re now ready to explore the full potential of virtualization on your Ubuntu machine!