

Yesterday started like any other busy day — work, home, tasks piling up, and a SMS message that I barely had time to check. Somewhere between meetings and family chaos, my phone buzzed with a notification that instantly changed my mood.
My eBay order had arrived.
Not just any order. That order.
The one I had already tried to get three times before.
Attempt number four: the NVLink bridge.
A Message Worth Running For
I only noticed the message during dinner. Normally, this would mean “I’ll deal with it tomorrow.” But when I saw the tracking number and realized what it was, all logic stopped working.
Dinner? Important.
Kids? Also important.
But an NVLink bridge that might finally be the right one?
That takes priority.
So despite the late hour, I did the only reasonable thing: I finished eating as fast as possible, jumped into the car, and rushed to the pickup point. I grabbed the package, drove to pickup kids, and back home, and walked through the door around 9 PM — tired, but strangely excited.
“I’ll Just Take a Look” (Famous Last Words)
Realistically, I knew I wouldn’t be installing anything until the weekend. But… you know how it goes.
“I’ll just open the box.”
“I’ll just check the size.”
“I’ll just see if it even fits.”
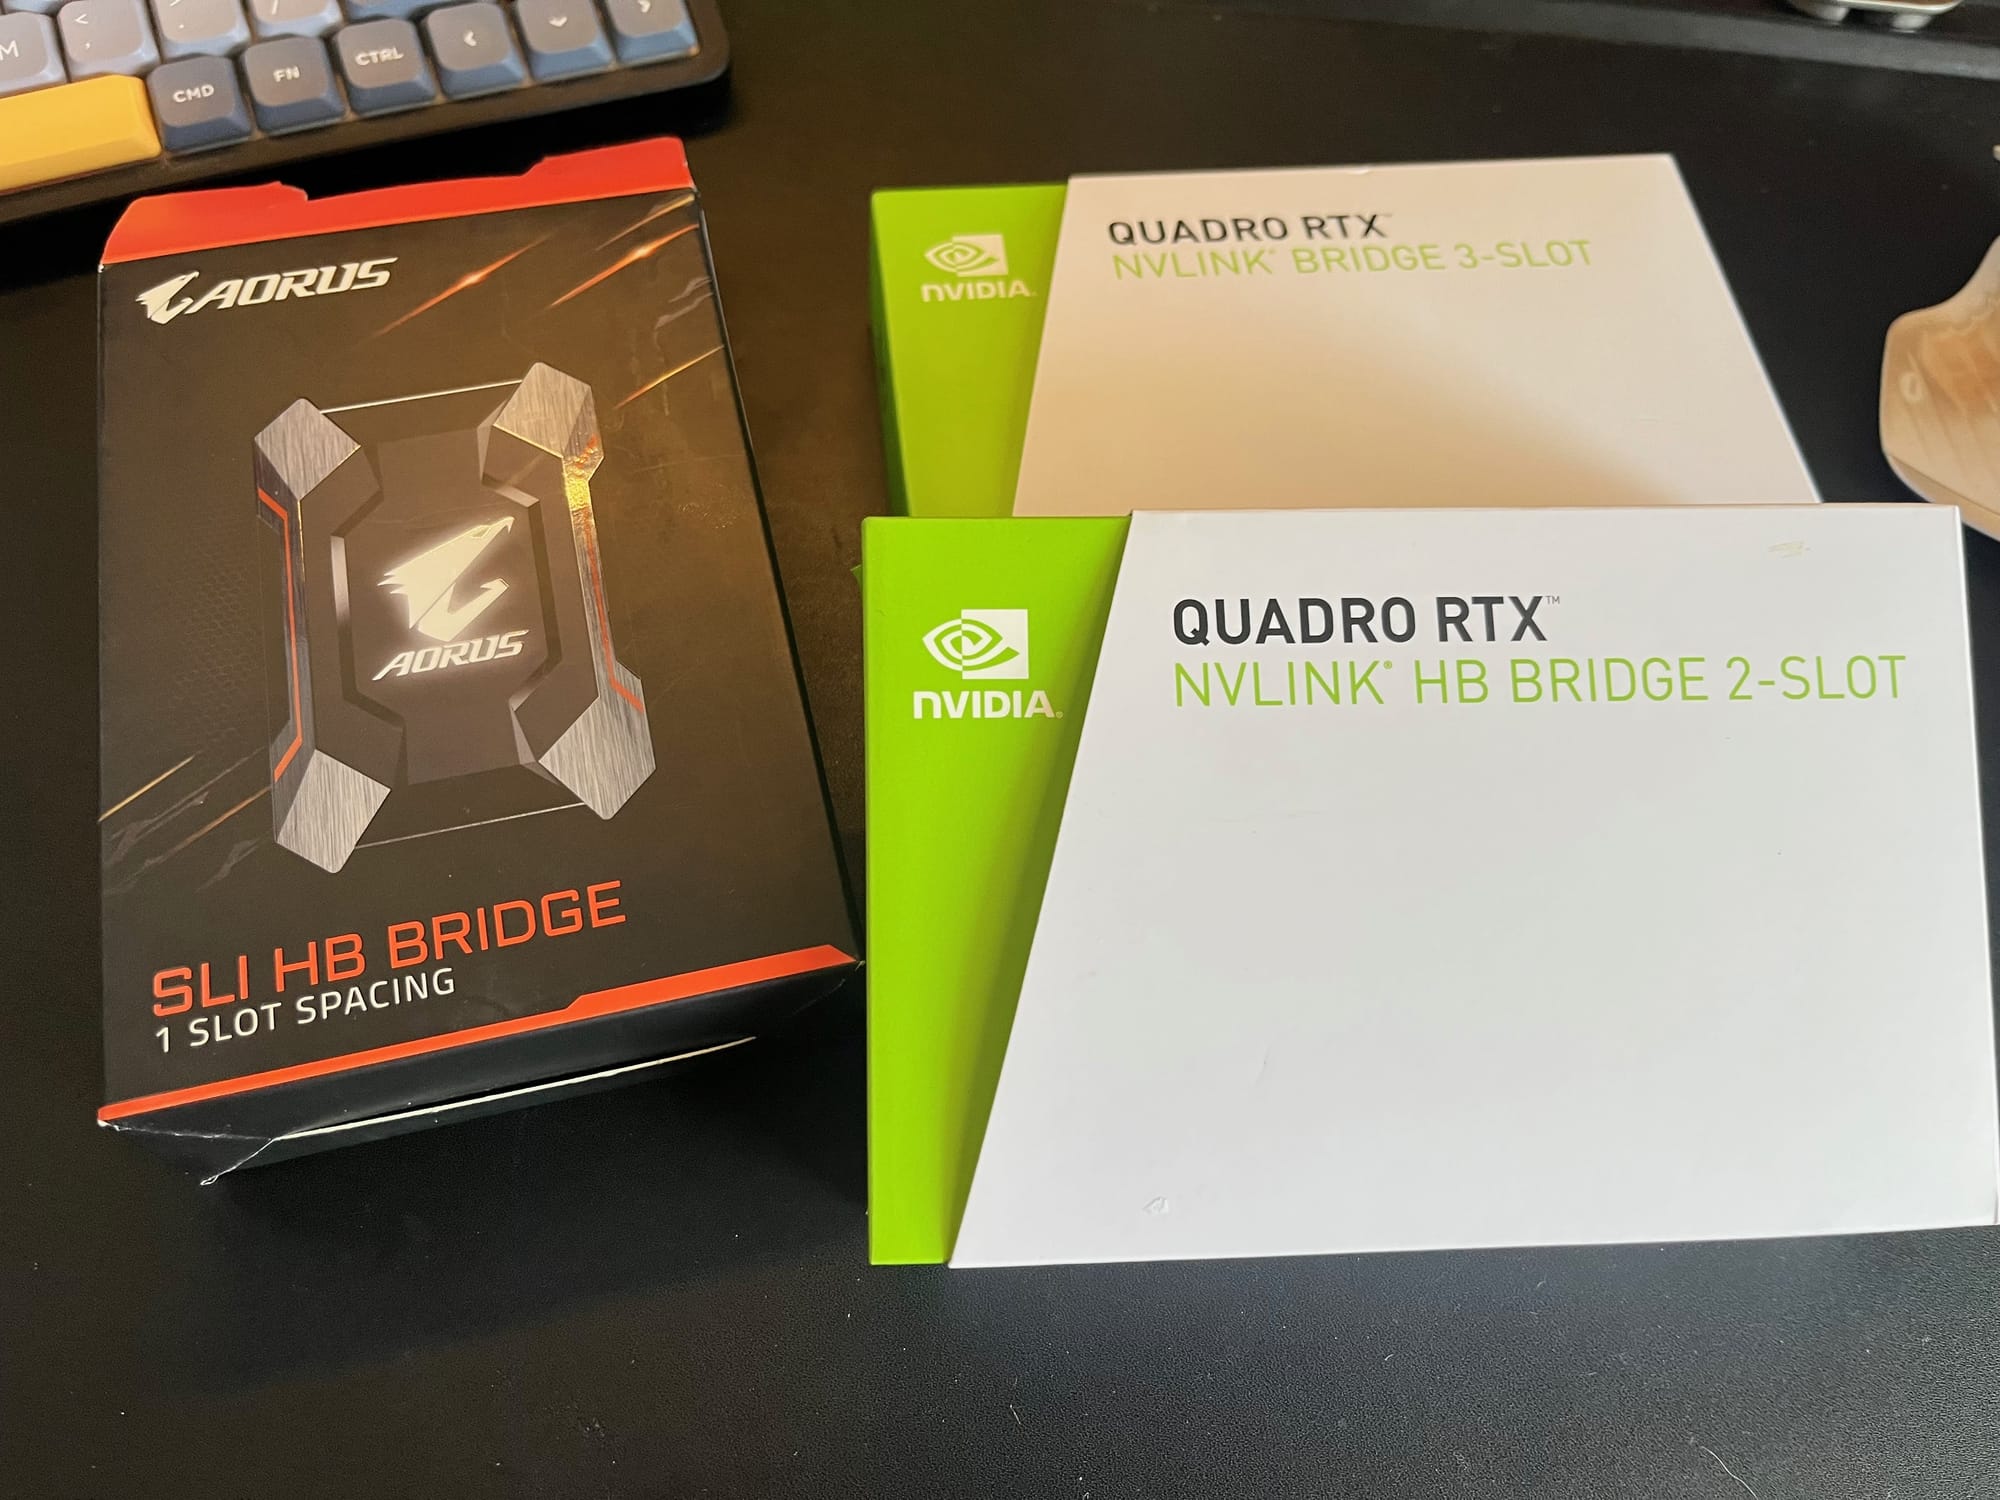
The package wasn’t fancy. Honestly, it looked like it cost about three dollars — which, coincidentally, is exactly how much many NVLink bridges seem to look like, regardless of price.
But the important part?
✔️ Correct size
✔️ Correct spacing
✔️ Connector looked exactly like what I needed
So naturally, I made another perfectly reasonable decision:
Shut down the AI server and install it immediately.
Installing First, Worrying Later
I decided not to touch drivers, BIOS, or software configuration yet. That was a problem for “future me.”
Both of my RTX 2080 Ti cards were bought from the same seller, but I already knew their BIOS versions weren’t identical. And from everything I had read, NVLink is supposed to be very picky — same GPU BIOS, same version, same everything, down to the last digit.
So my expectations were… low.
Best case? It works.
Worst case? Another weekend lost to debugging.
The Great NVIDIA Settings Adventure
After booting the server back up, I went straight to NVIDIA’s own settings application nvidia-settings.
Big mistake.
Modern NVIDIA drivers have a special talent: removing useful options while keeping the UI just confusing enough to make you doubt yourself. Everything I expected to find was either gone or hidden somewhere I couldn’t identify.
Nothing dramatic there, but one thing immediately felt odd — the display appeared to be connected to both GPUs. That definitely caught my attention. I wasn’t 100% sure, but I was fairly confident that before installing the bridge, only one card reported an active display: No.
Interesting...
Then I checked nvidia-smi.
Same story. Both GPUs appeared active, both connected, both seemingly aware of each other. Suspicious… but promising.
The Moment of Truth: NVLink Status
At this point, there was only one reliable way to know the truth: check the actual NVLink / SLI bridge status.
nvidia-smi nvlink --status
And that’s when something beautiful happened.
nvidia-smi nvlink --status
GPU 0: NVIDIA GeForce RTX 2080 Ti (UUID: GPU-aa643f8f-6435-bd46-837d-c92ca35ea940)
	 Link 0: 25.781 GB/s
	 Link 1: 25.781 GB/s
GPU 1: NVIDIA GeForce RTX 2080 Ti (UUID: GPU-1406e046-4282-308d-bc92-850624707a5d)
	 Link 0: 25.781 GB/s
	 Link 1: 25.781 GB/s
Both GPUs reported an active, bidirectional NVLink connection, each running at 25 GB/s.
No warnings.
No errors.
No “disabled” flags.
It just… worked.
What Didn’t Happen (And Why That Matters)
Here’s the part that surprised me the most.
I did not:
- Flash or update the GPU BIOS
- Spend hours rearranging power cables
- Tweak driver parameters
- Enable anything manually in NVIDIA settings
- Argue with the system or question my life choices
I was fully prepared for all of that. Mentally. Emotionally. Probably spiritually.
But none of it was necessary.
The bridge went in, the system booted, and NVLink simply enabled itself.
Sometimes, technology just works — and that’s almost more shocking than when it doesn’t.
Testing? Not Tonight.
By the time all of this was done, it was already late. Way too late to start performance testing.
But this weekend? Oh yes.
I’ll definitely fire up something heavy — maybe Counter-Strike, maybe something else — just to see how the system behaves.
And of course, I fully expect not 100 FPS…
but at least 200.
(Okay, that part is a joke.)
Final Thoughts
After three failed attempts, wrong parts, and growing skepticism, attempt number four finally succeeded. The NVLink bridge arrived, fit perfectly, and worked without a fight.
And honestly?
That might be the most satisfying outcome of all.
Stay tuned — benchmarks and real testing are coming next.