

1. Back to the “Supercomputer” Project
I’m back at it—still building my budget-friendly AI “supercomputer” (quotation marks absolutely required).
If you haven’t read the first two parts, I recommend starting there.
Building My Home AI Server – Part 1: From Forgotten PC to New Project
Building My Home AI Server – Part 2: Hunting for Parts and First Mistakes
Otherwise, here’s the quick recap: after finding my 10-year-old PC gathering dust in the storage room, I decided to rebuild it into a budget AI server. And the keyword here is budget.
2. Treasure Hunting in the Cupboards
This time, I raided my storage shelves and unearthed several old hard drives—ancient but still spinning. Then, to my pleasant surprise, I discovered that my new X99 motherboard had two PCIe 4.0 x4 NVMe M.2 slots. Naturally, I had to order two 1 TB drives from KSP.
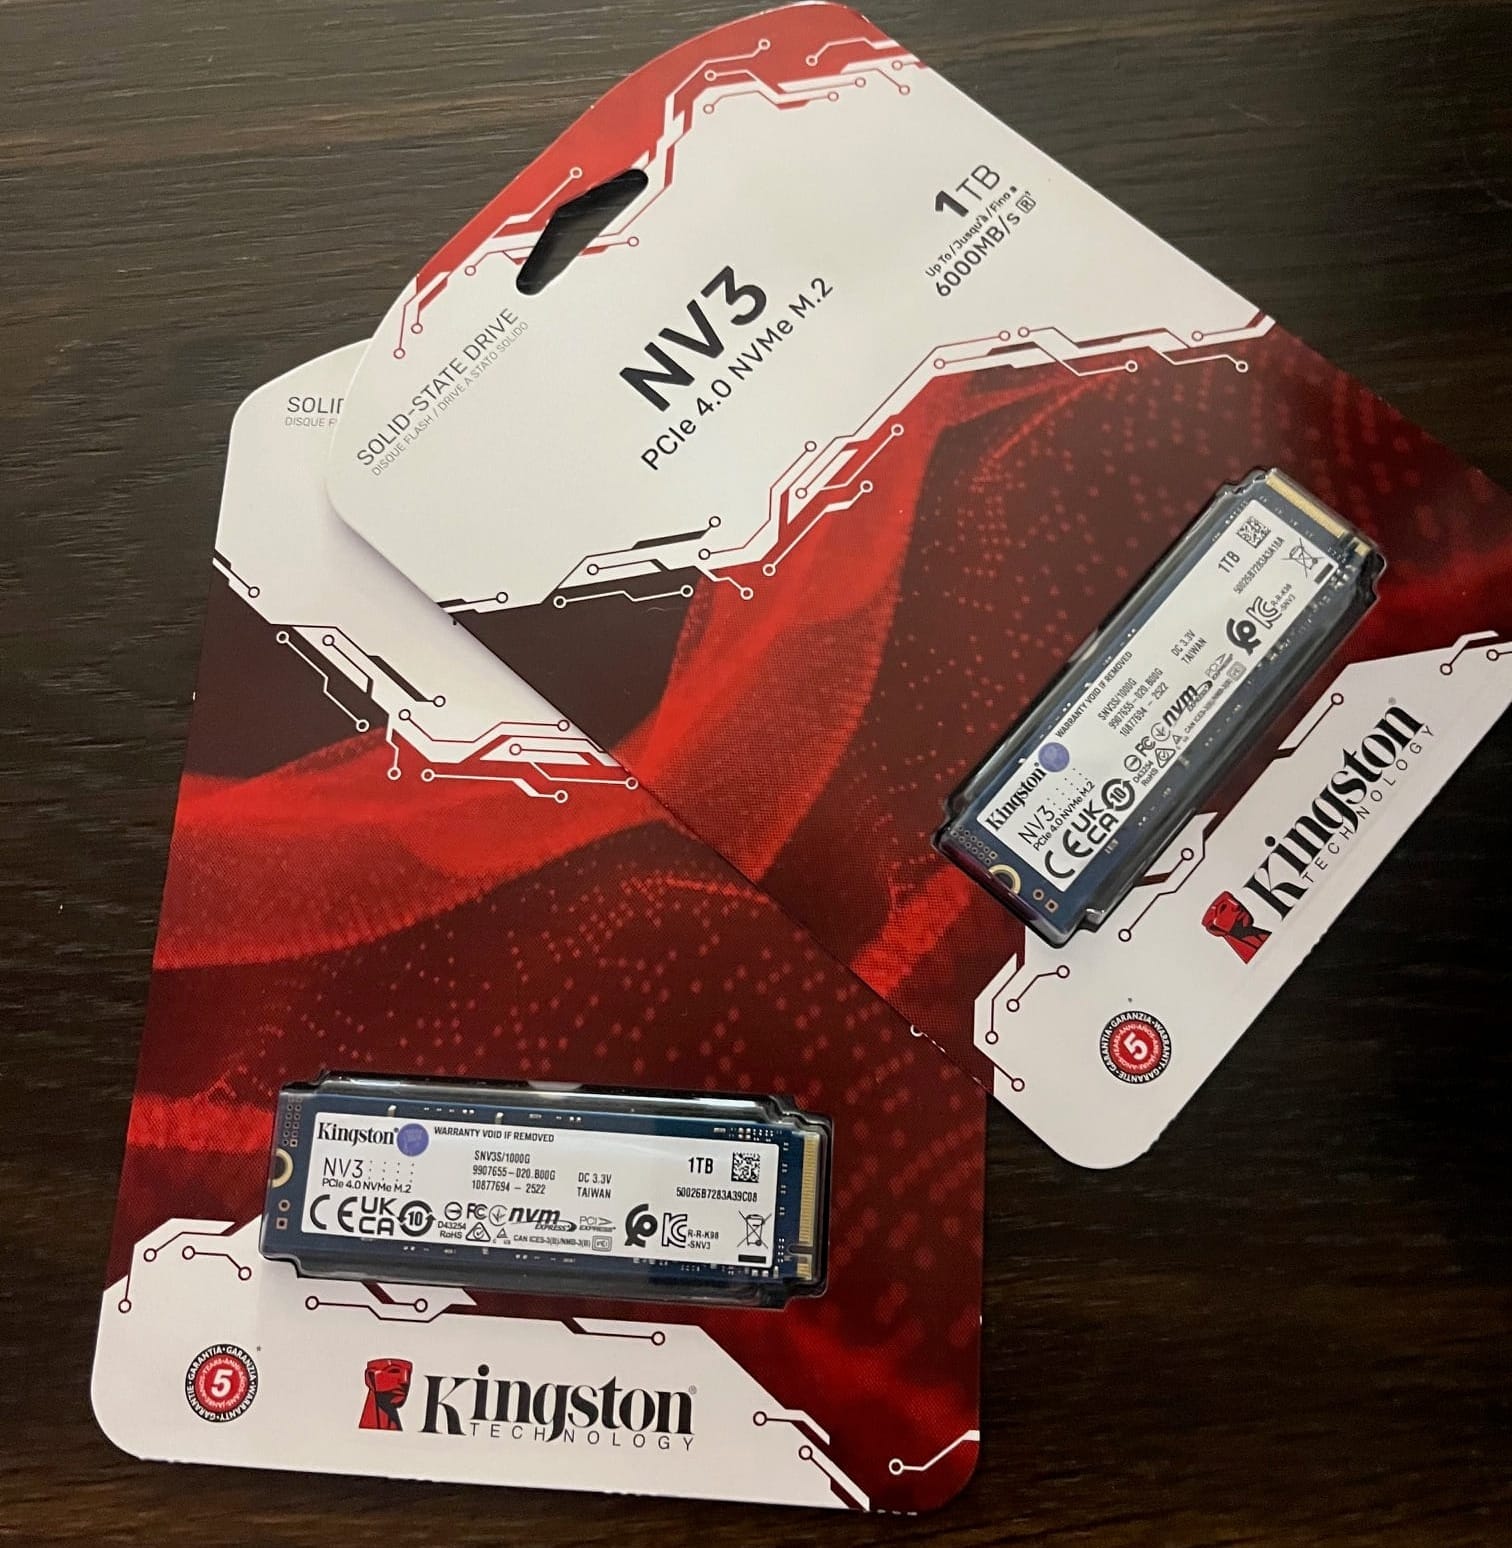
Since AI models can take up ridiculous amounts of space, the plan became clear:
- NVMe #1 (1 TB) →
/root filesystem with OS, programs, and libraries (for speed). - NVMe #2 (1 TB) →
/homedirectory for personal files, ComfyUI, and local AI models. - HDD #1 (4 TB) → AI model storage (Ollama and friends).
- HDD #2 (4 TB) → Virtualization playground (VMs, Docker, VirtualBox).
- HDD #3 (2 TB) → Steam library (yes, even supercomputers need to relax).
The math works out nicely: two new NVMe drives cost me just under 500 shekels (~$140–145), while the other three drives were “free” since they were pulled straight from my junk drawer.
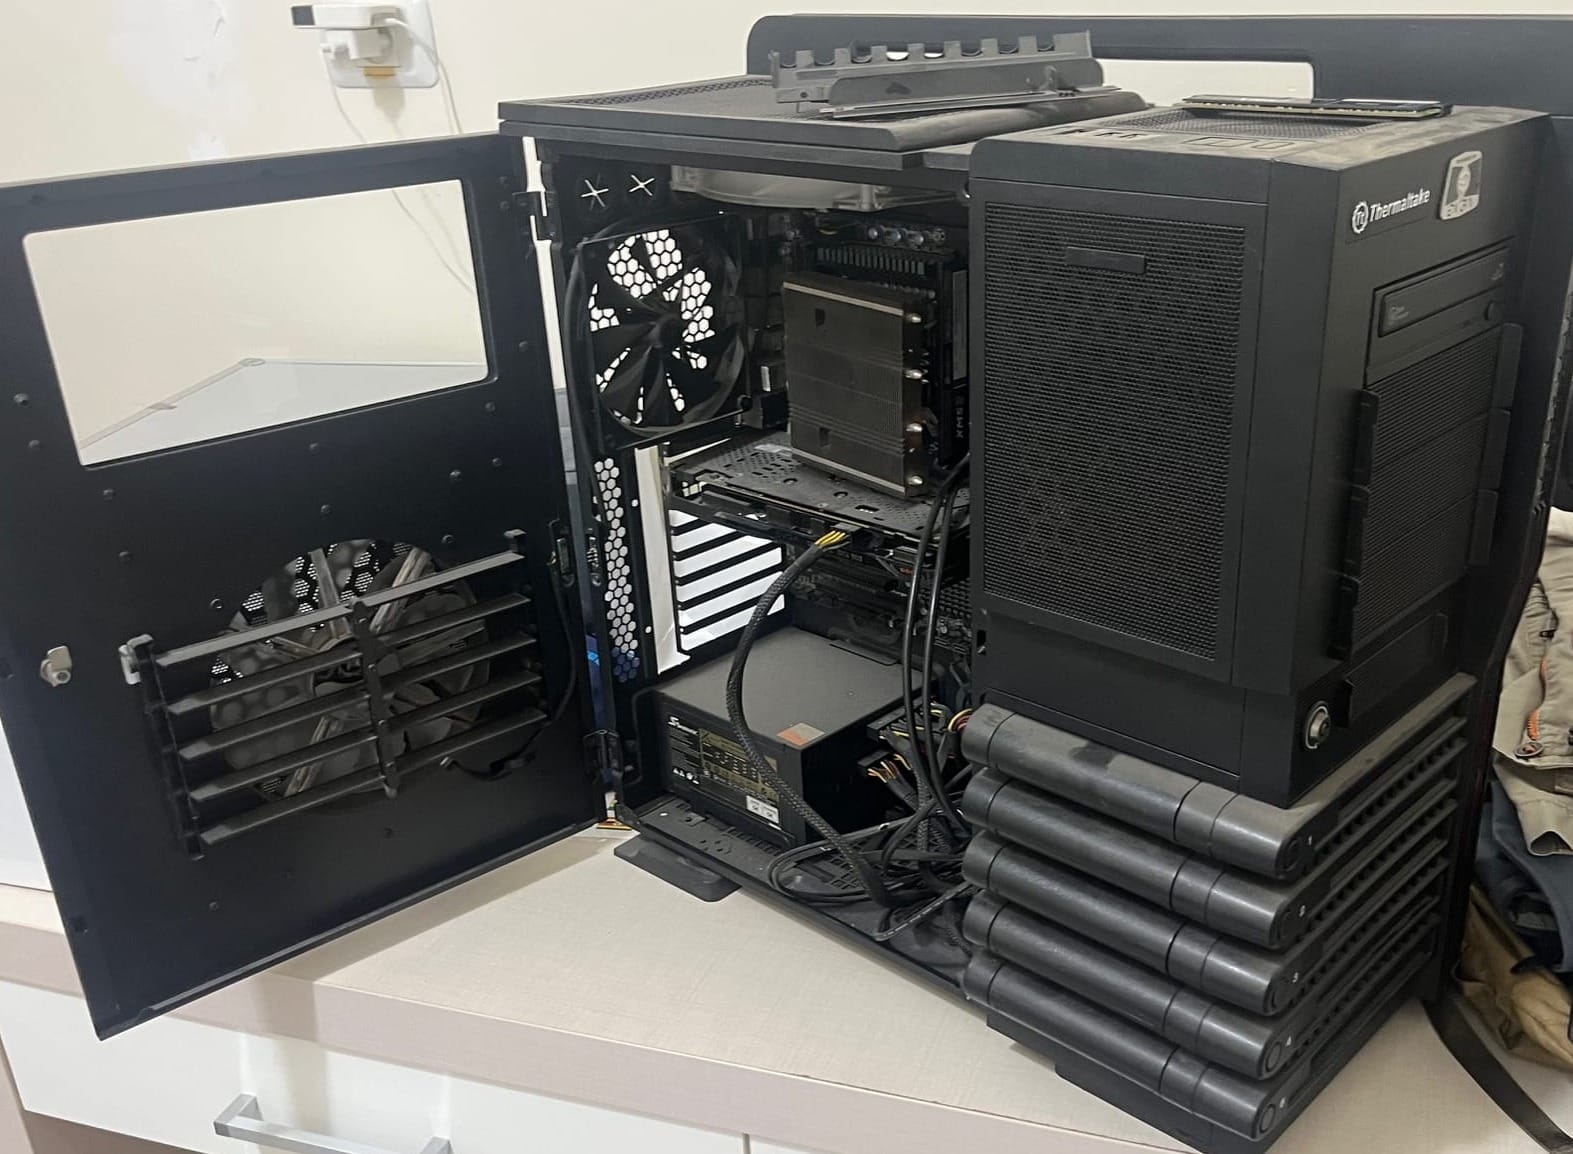
3. Preparing for Installation
Hidden in my desk drawer, I even found a USB stick with Ubuntu 24.04 ready to go.
With a clear plan, it was time to:
- Install the NVMe drives while access was easy.
- Attach cables for power and peripherals.
- Mount the old HDDs into their cages.
- Plug everything into the power supply.
- Cross my fingers and prepare for the first boot.
4. Enter the GPU Sidekick
Luckily, I still had my NVIDIA GeForce GTX 960, which isn’t exactly impressive by modern AI standards but does one important thing—it lets me connect a monitor 😄.
Here are the glorious specs of this “vintage” card:
- CUDA Cores: 1024
- Memory: 4 GB GDDR5
- Memory Bandwidth: 112 GB/s
- Power: 120 W, with a single 6-pin connector
- Released: when dinosaurs still roamed the GPU landscape
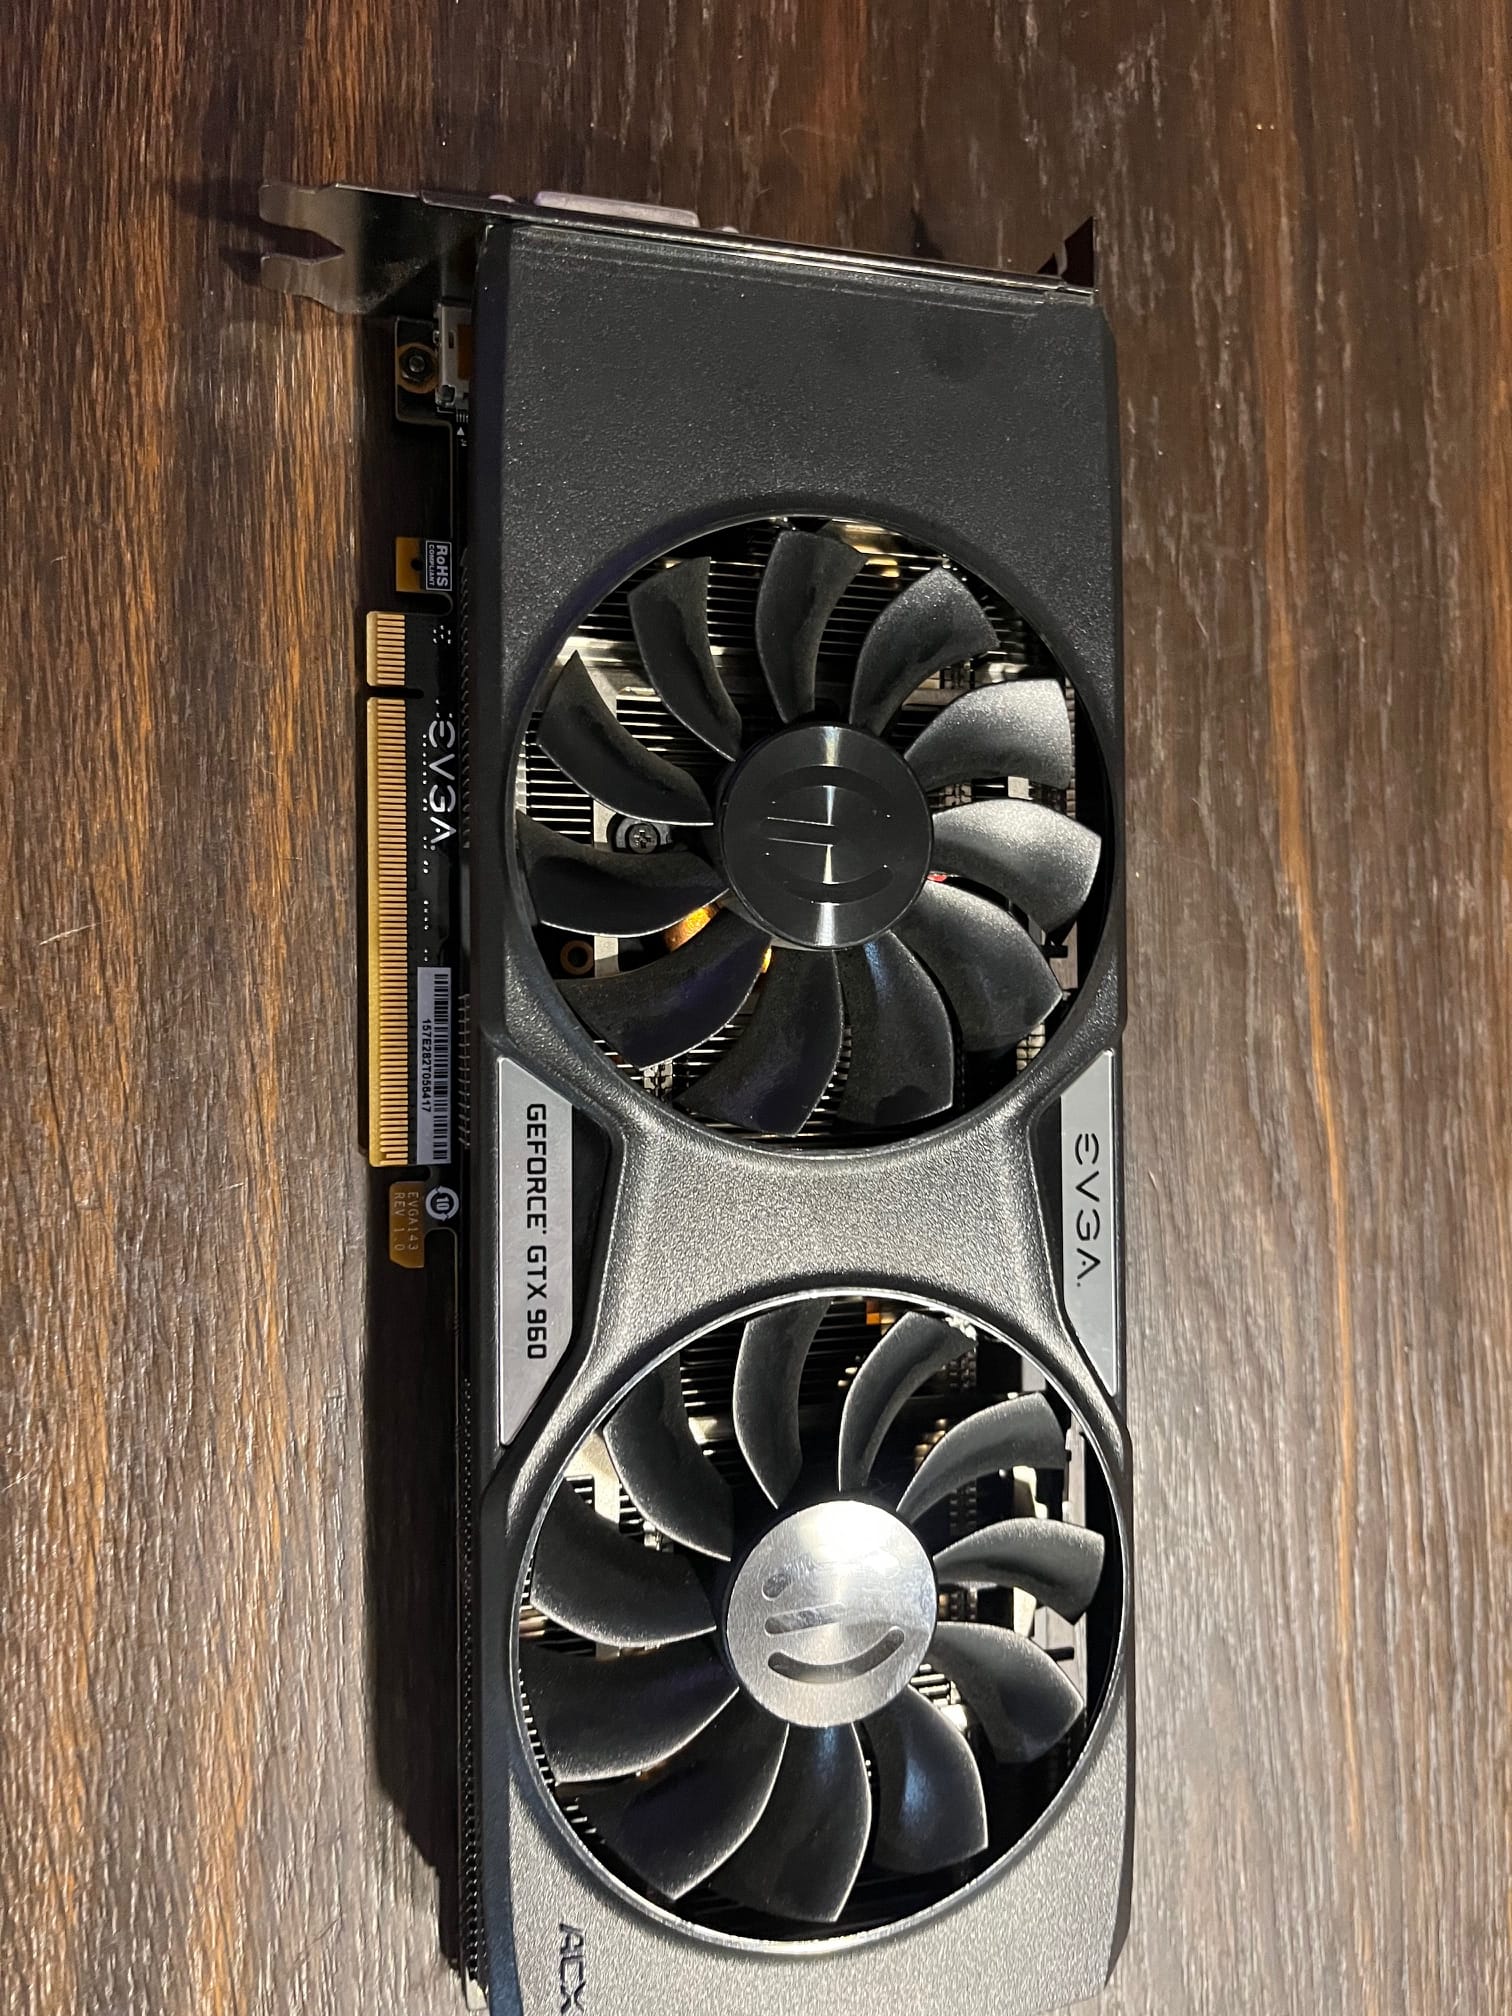
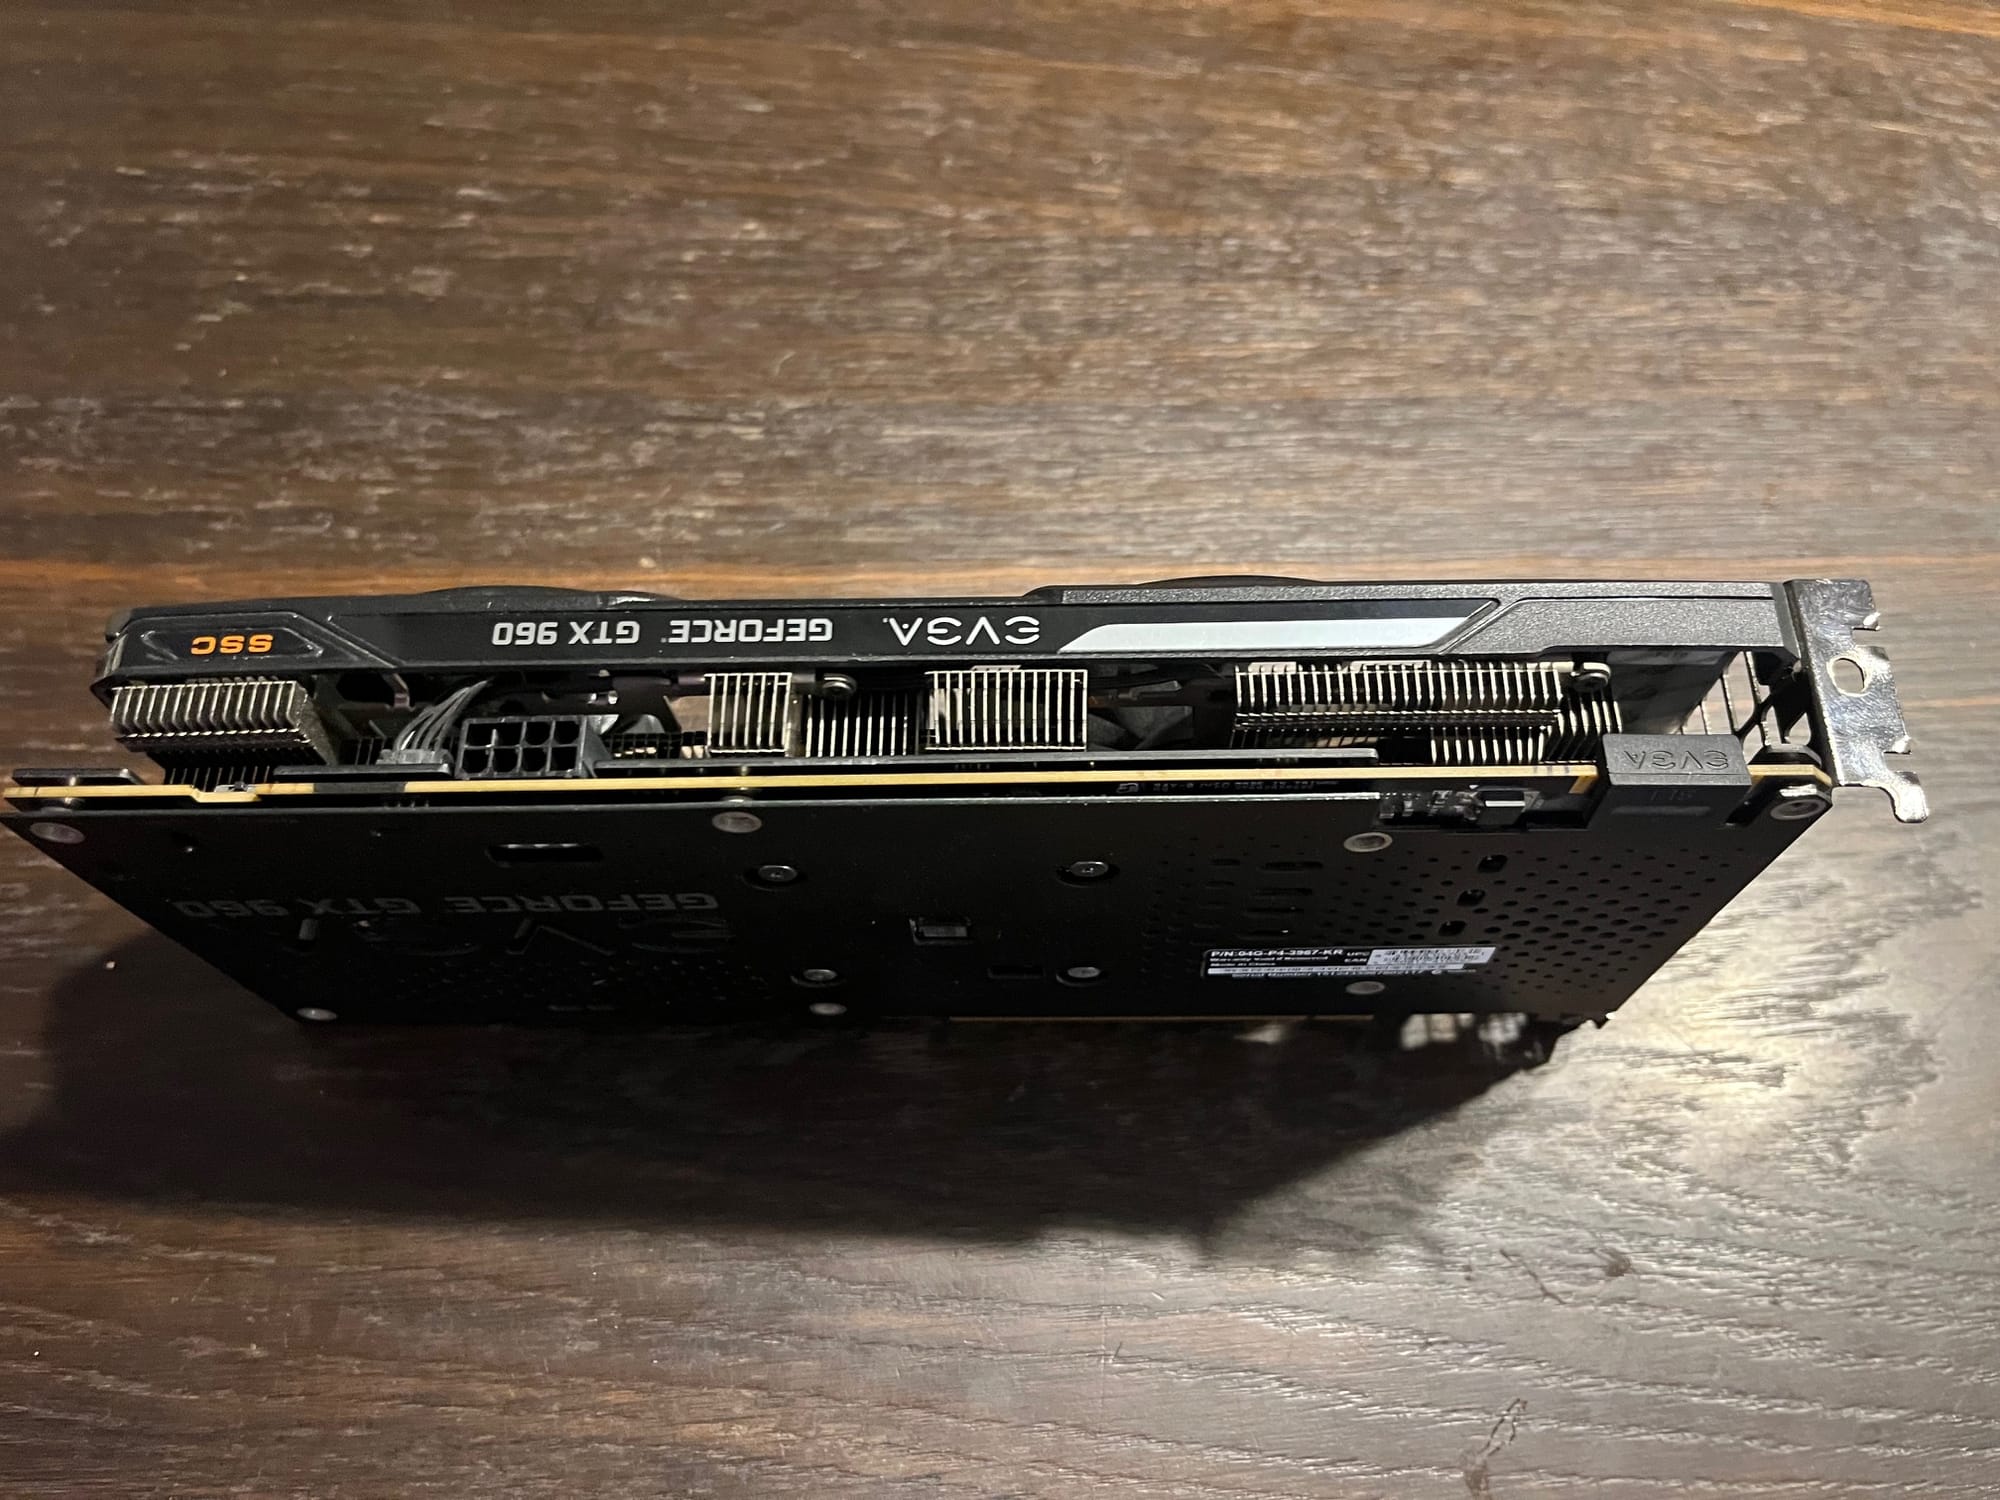
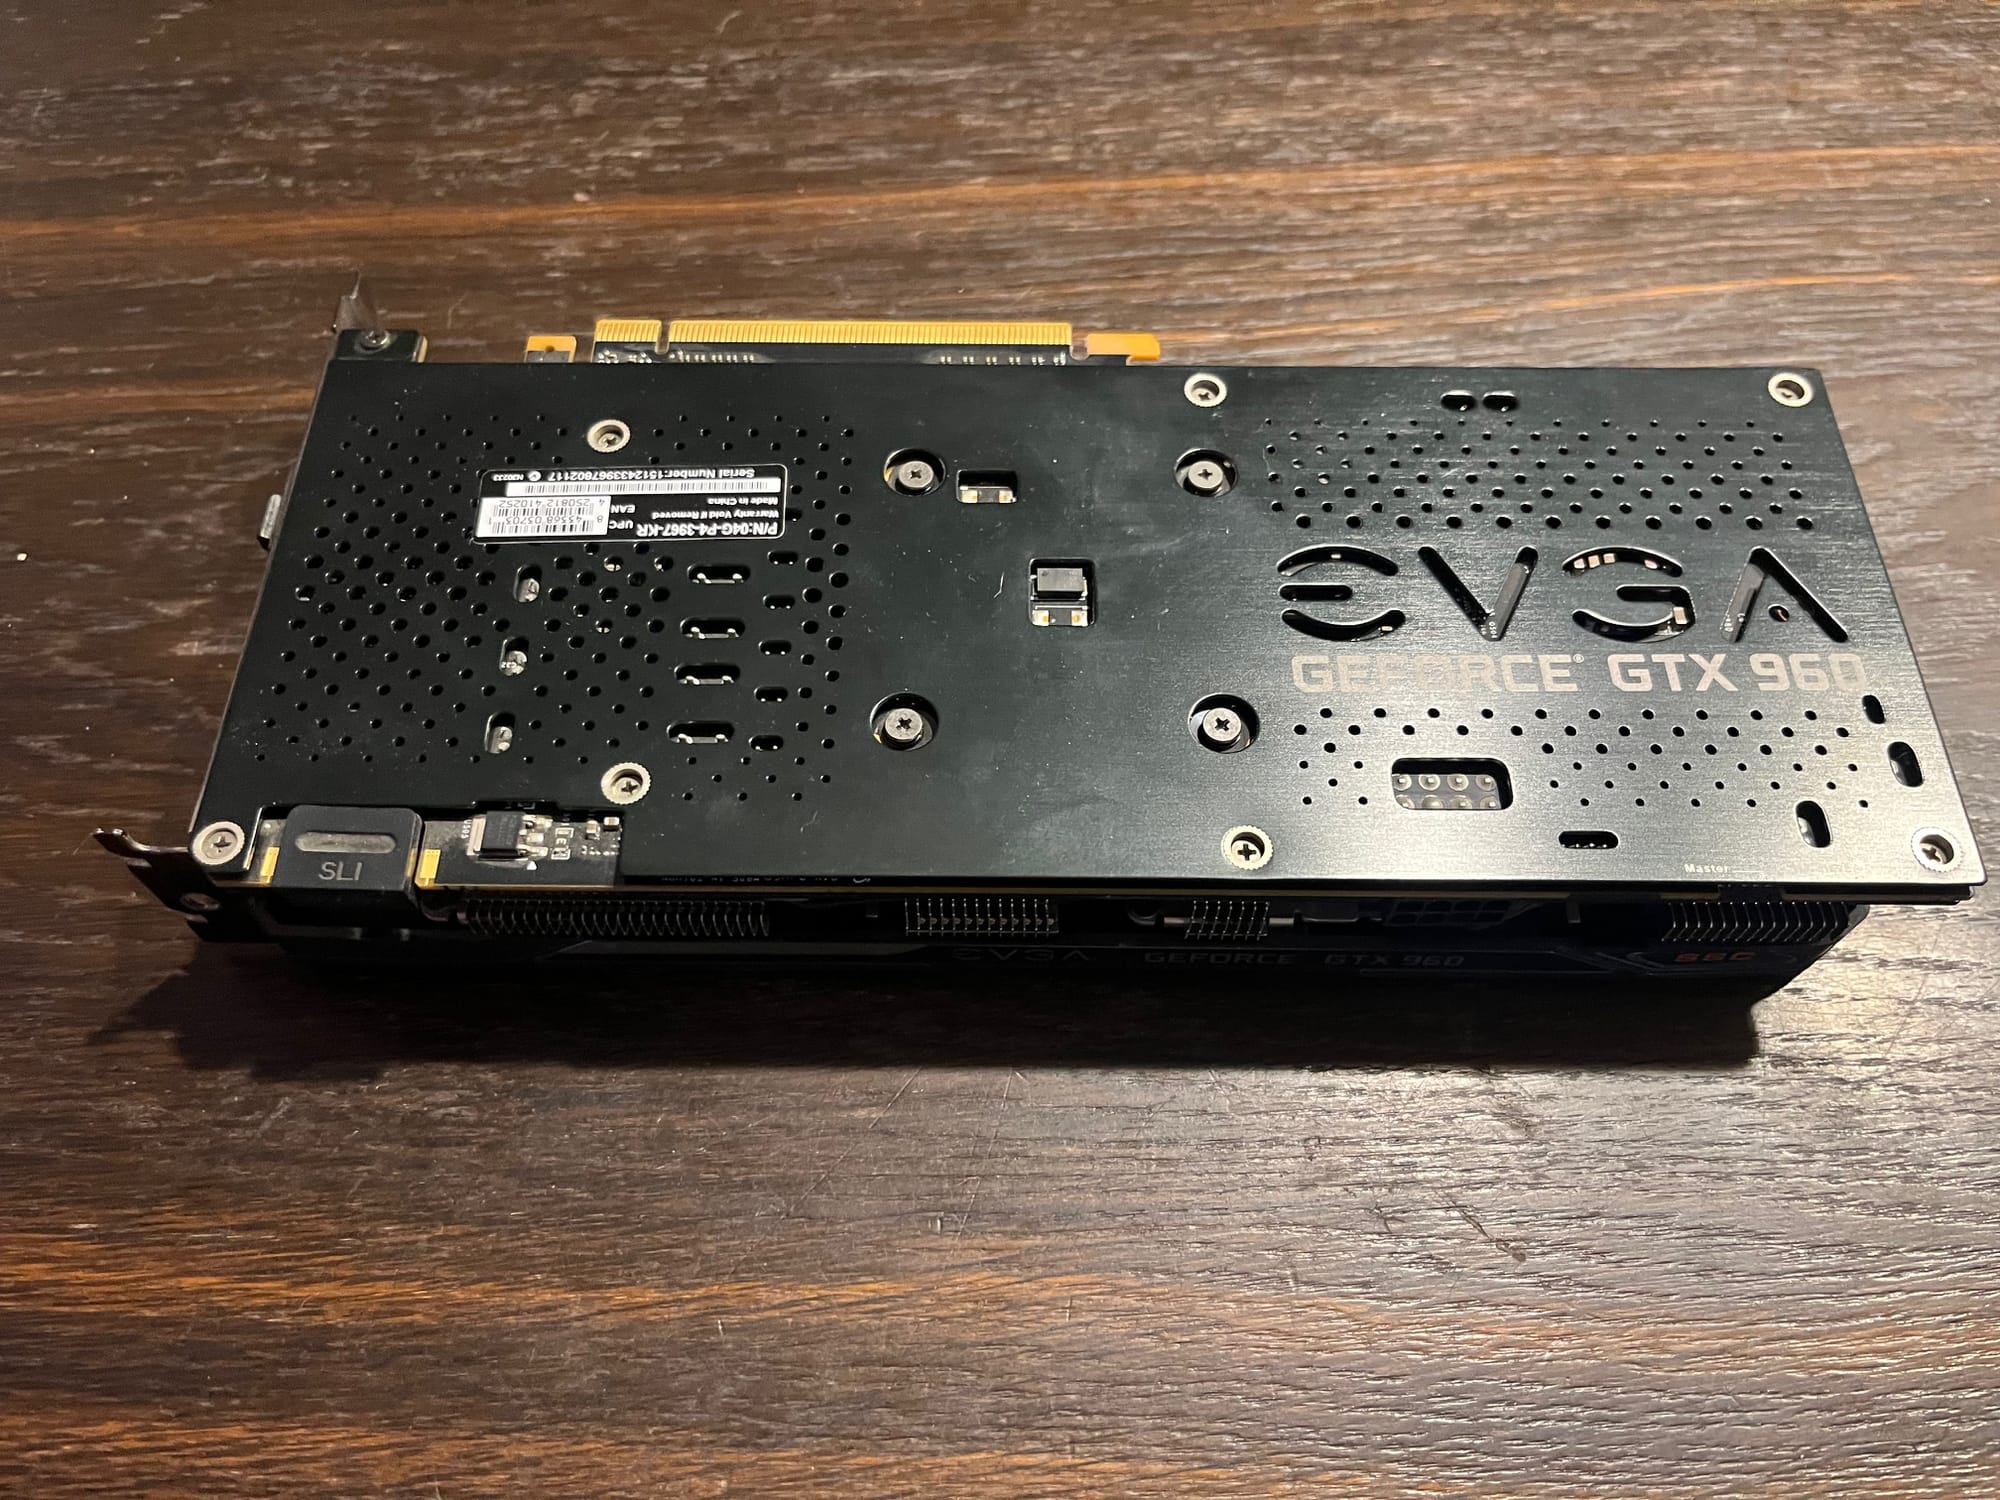
NVIDIA RTX 960
5. The First Boot – Beep Beep Success
With everything connected, I pressed the power button. The motherboard’s CMOS greeted me with a symphony of beeps—problems, yes, but nothing critical.
To my relief, I was able to enter the BIOS. There I checked:
- All installed memory was detected ✅
- Both CPUs and their cores were visible ✅
- All disks were recognized ✅
- House not burning ✅
It wasn’t pretty, but it was working. The next step: install Ubuntu and breathe life into my AI server.
6. What’s Next
With the hardware mostly in place, I’m finally ready to install the operating system and start experimenting with AI models. Of course, more challenges are waiting—especially on the GPU side—but hey, that’s what makes this fun.
Stay tuned: in the next post, I’ll share how the installation went, and whether my “budget beast” could actually run its first AI workloads.