
Introduction
VMware Workstation is a powerful virtualization tool that allows users to run multiple operating systems on a single physical machine. It is perfect for developers, IT professionals, and those learning new OS environments (like us 😄). VMware Workstation makes creating and managing virtual machines easy and efficient. In this guide, we’ll walk through each step to create a new virtual machine on VMware Workstation, covering everything from selecting an ISO to configuring hardware settings.
In previous posts, we've thoroughly covered essential topics to get you started with VMware products. We began with a guide on downloading VMware software from the Broadcom website navigating the updated process after the VMware acquisition. From there, we explored how to install and create a VM on VMware Fusion on Mac , providing a step-by-step breakdown for each platform. For Mac users, we also discussed creating a virtual machine in VMware Fusion, and installing VMware Workstation 17 on Linux Ubuntu to help you start virtualizing different OS environments seamlessly. These foundational posts ensure you have everything set up, whether you're using VMware on Mac or Linux.
Creating a new virtual machine on VMware Workstation is almost identical whether you're using the Windows or Linux version. The process involves following VMware’s intuitive setup wizard, selecting your OS installation media, configuring hardware settings, and finalizing the setup with just a few clicks. VMware has made the interface and steps nearly seamless across both platforms, so if you've set up VMs on one, transitioning to the other is a breeze. This consistency means that regardless of the OS, you’ll get the same straightforward experience for spinning up new virtual environments. You can follow along with this guide regardless of your operating system, making it a versatile resource for setting up your VMs without needing separate instructions.
1. Launch VMware Workstation
To get started, open VMware Workstation on your computer. You can find it in your applications or search for it using your system’s search function.
2. Create a New Virtual Machine
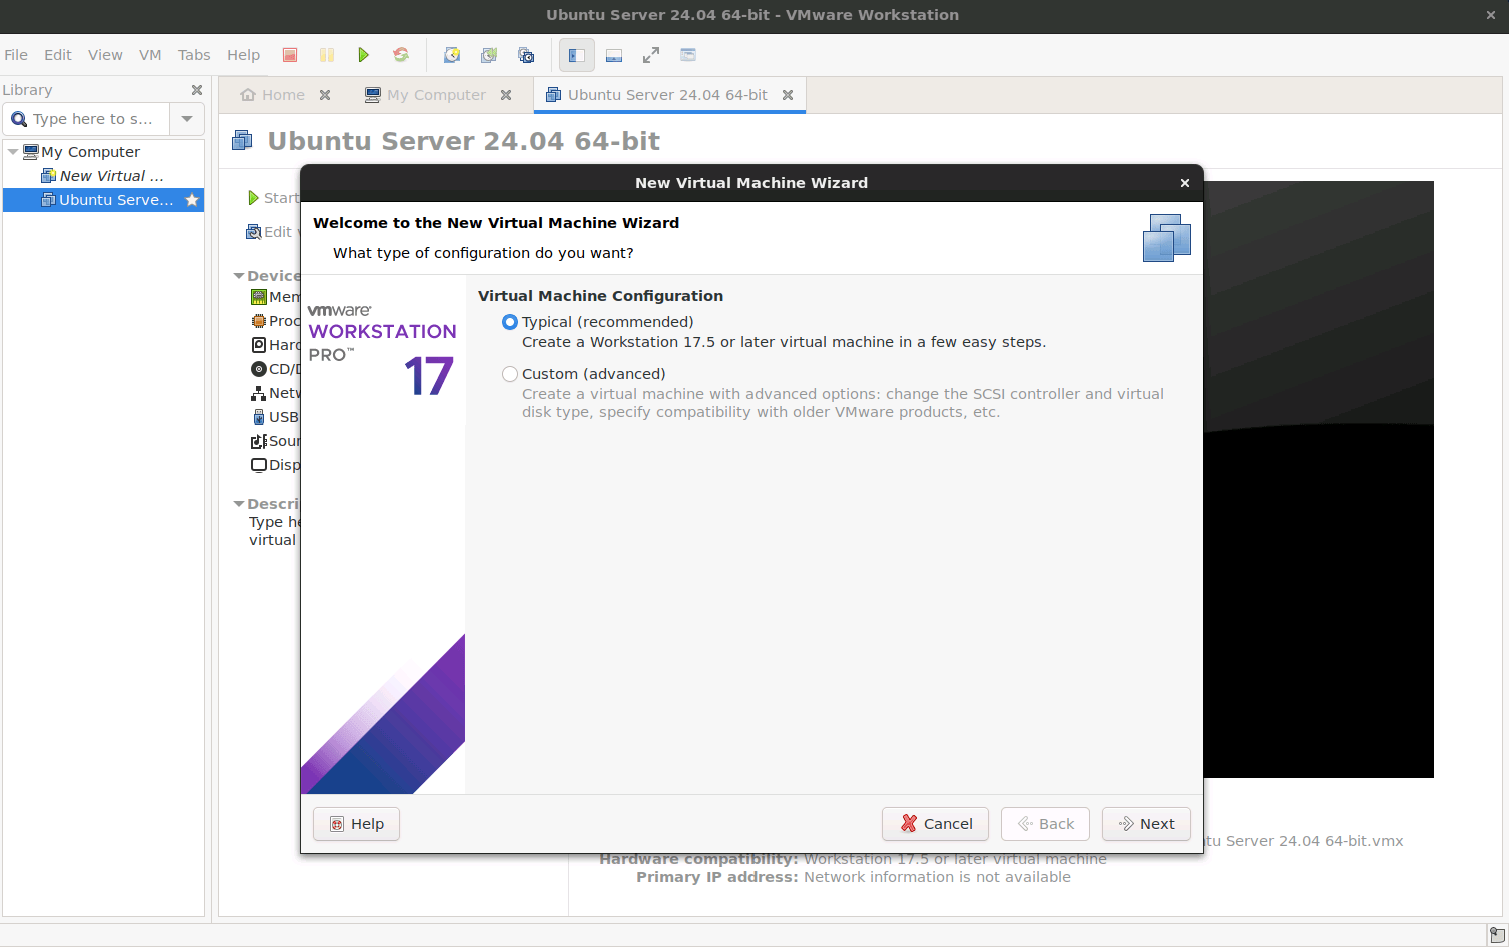
- Once VMware Workstation is open, click on File in the top menu, and select New Virtual Machine. This will open the New Virtual Machine Wizard.
- You’ll be prompted to choose between two setup types:
- Typical (recommended): The wizard will use recommended settings for most users.
- Custom (advanced): Allows more customization options for advanced users.
For this guide, we’ll proceed with the Typical setup.
3. Select the Installation Media
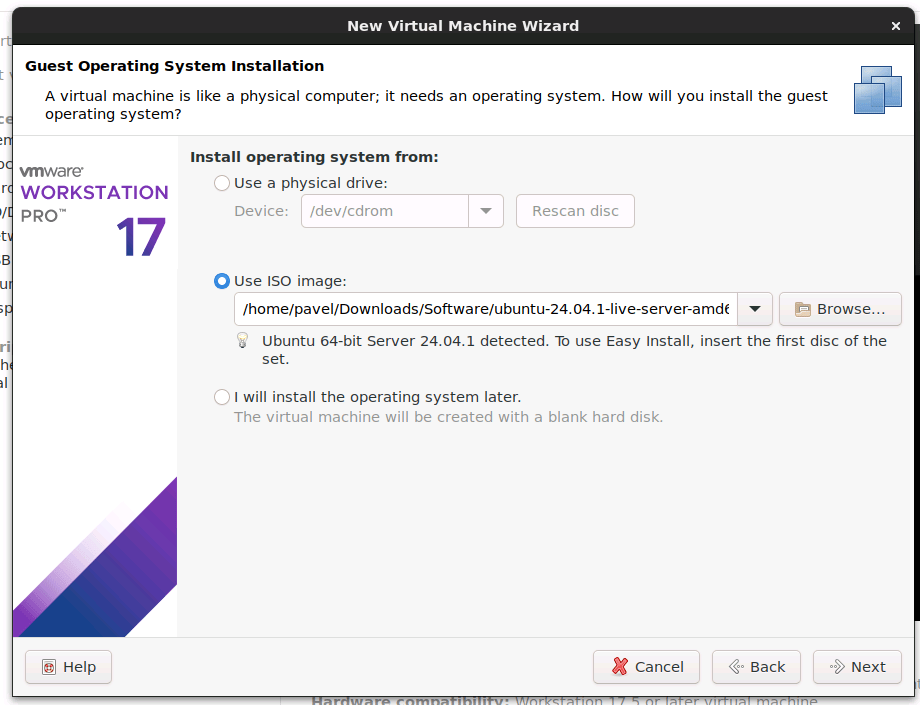
In this step, you’ll choose the operating system you want to install. VMware Workstation offers several installation media options:
- Installer disc: Use this option if you have a physical disc with the OS you want to install.
- Installer disc image file (ISO): Select this if you have an ISO file of the OS on your computer.
- I will install the operating system later: Choose this option if you’d like to set up the VM first and install the OS later.
For this example, we’ll use an ISO file. Click Installer disc image file (ISO) and browse to locate the ISO file on your computer.
4. Choose the Operating System
VMware Workstation will attempt to detect the operating system based on the selected media. You can also manually select the OS from the list, specifying the appropriate version.
Selecting the correct OS ensures that VMware applies the optimal settings and tools for the best performance.

5. Name the Virtual Machine and Select the Location
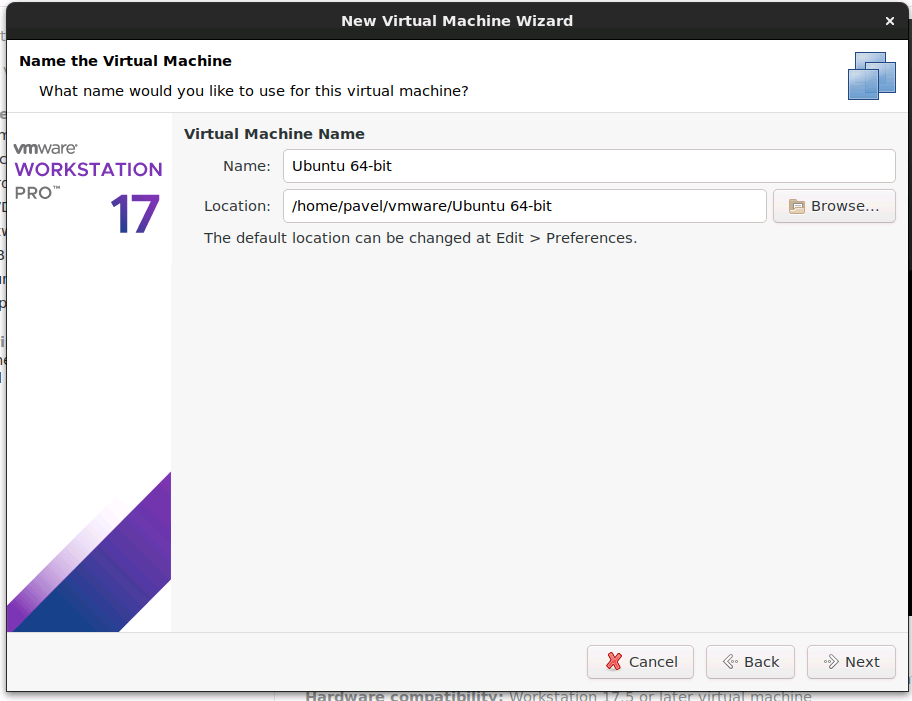
- Name your virtual machine: Enter a name that will help you easily identify this VM, especially useful if you plan to create multiple VMs.
- Specify the location: Choose a folder on your computer where the VM files will be stored. Make sure there’s enough space in the selected directory.
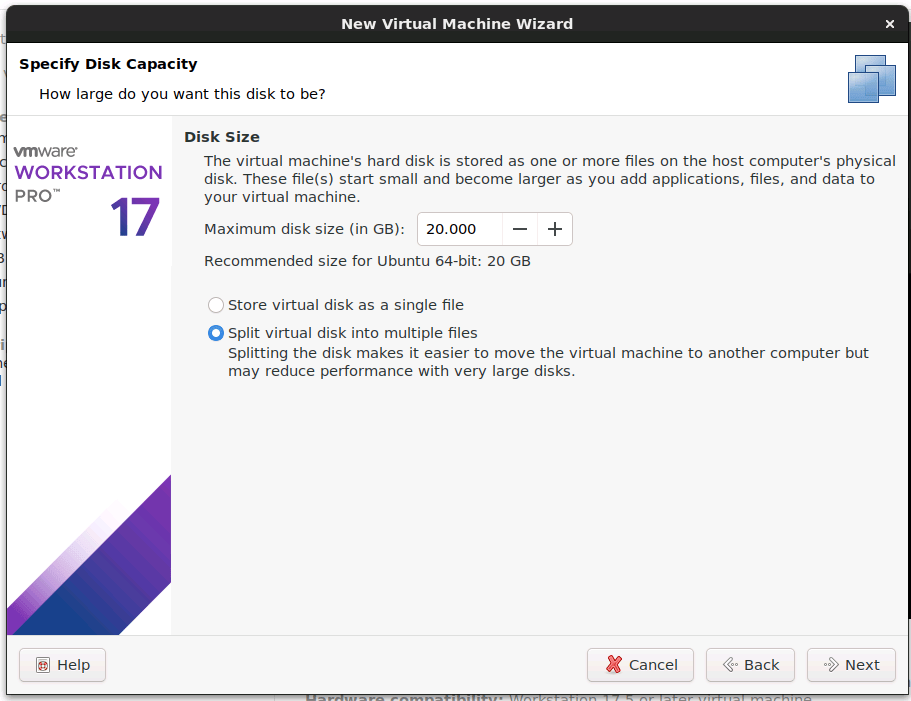
6. Specify Disk Capacity
Next, configure the disk settings for your VM:
- Maximum disk size: Choose how much storage you want to allocate to the VM. For most operating systems, a minimum of 20-40 GB is recommended.
- Store virtual disk as a single file: This option saves the virtual disk as a single file on your host system, which may be easier to manage.
- Split virtual disk into multiple files: This option breaks the disk into smaller files, which can sometimes improve performance on certain systems.
After configuring, click Next.
7. Review and Customize Hardware Settings (Optional)
Before finalizing, VMware Workstation allows you to review and customize the hardware settings. You’ll see a summary of your VM configuration with options to adjust:
- Memory: Allocate RAM for the VM. For a smooth experience, assign at least 2-4 GB for lighter OS installations and more for heavier ones.
- Processors: Choose the number of CPU cores you want to allocate. Higher cores improve performance, but ensure it aligns with your system’s resources.
- Network Adapter: Configure the network mode (NAT, Bridged, or Host-only) depending on how you want the VM to interact with your network.
- Display and Graphics: Adjust the VM’s graphics settings if needed, such as enabling 3D acceleration.
Once you’re done, click Close to exit the hardware configuration screen and return to the main setup.
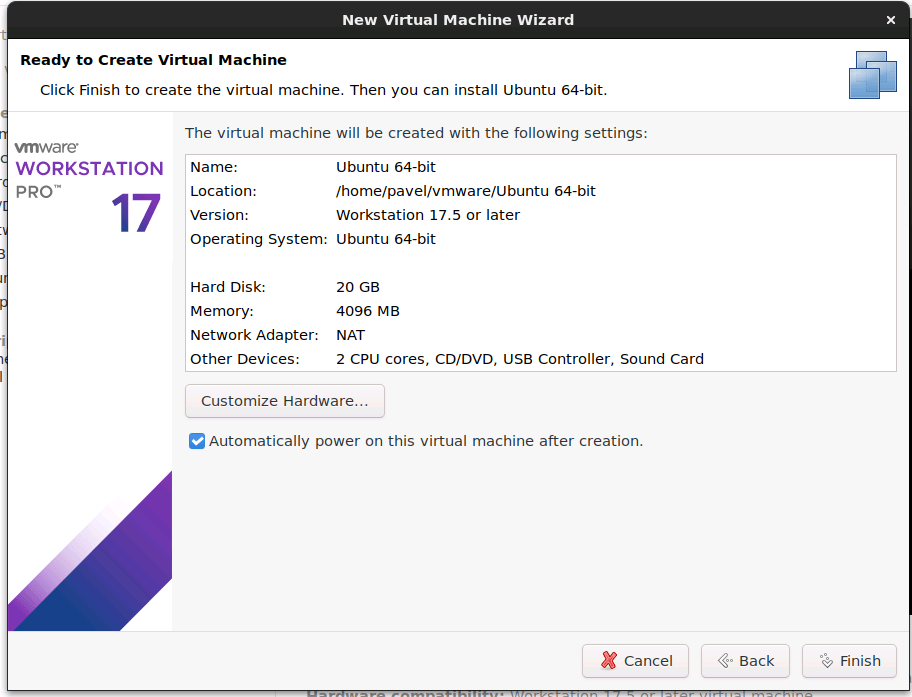
8. Complete the Virtual Machine Creation
After reviewing the settings, click Finish. VMware Workstation will now create the virtual machine using the specified configuration. You’ll be taken back to the main screen, where you can see the new VM listed in your library.
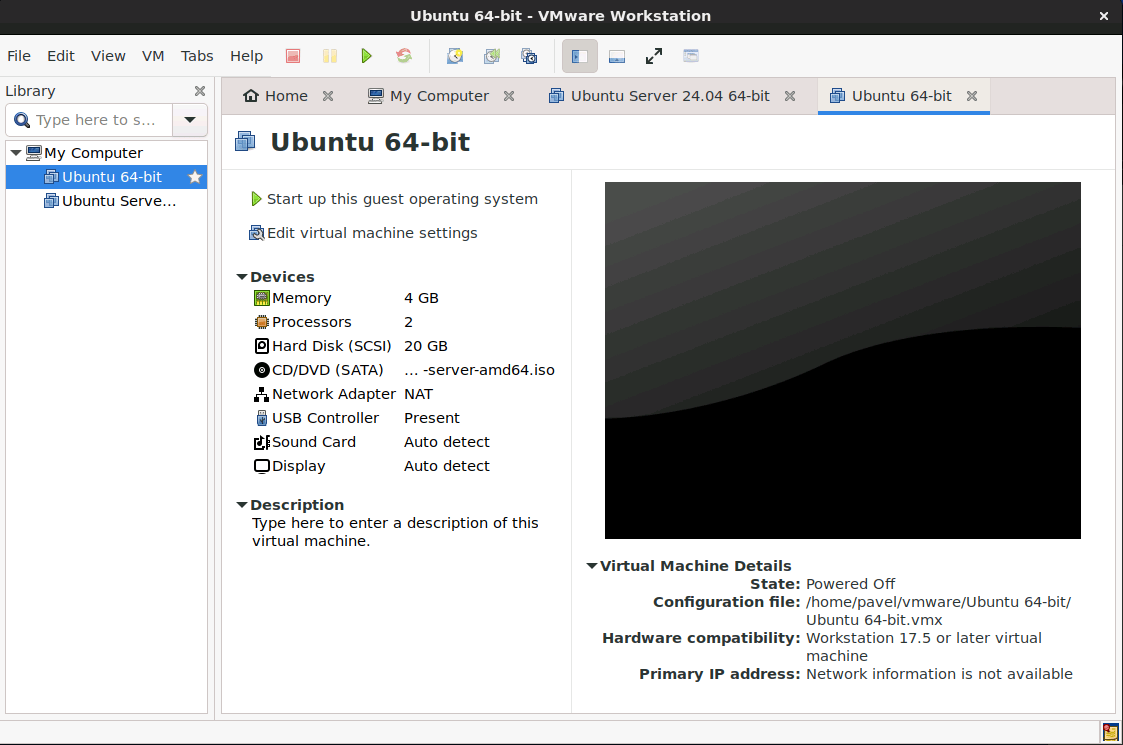
9. Start the Virtual Machine and Begin OS Installation
- Select your newly created virtual machine in the VMware Workstation library.
- Click Power on this virtual machine to start it.
VMware will boot up the VM, and you’ll be taken through the standard OS installation process. Follow the on-screen prompts to install your operating system as you would on a physical machine.
10. Install VMware Tools
After the OS installation is complete, it’s recommended to install VMware Tools to improve performance and enhance integration between the VM and your host machine.
To install VMware Tools:
- In the top menu, click VM > Install VMware Tools.
- Follow the on-screen prompts within the virtual machine to complete the installation.
- Restart the VM if prompted.
VMware Tools improves functionality by enabling features like drag-and-drop file transfer, better graphics resolution, and clipboard sharing between the host and guest OS.
VMware Tools might not be readily available for installation in some cases due to a few key reasons. One common scenario is when you're using a less common or custom Linux distribution that isn’t fully supported by VMware, meaning there might be no prebuilt VMware Tools package for it. Additionally, if VMware Tools isn’t included in your VMware version or if the virtual machine’s OS lacks network access, you may be unable to download or update the tools directly. In certain situations, open-source alternatives like open-vm-tools are recommended instead, especially for Linux distributions where VMware Tools support is limited or absent altogether.
11. Customize and Manage Your Virtual Machine
Now that you have a fully installed virtual machine, you can begin customizing and managing it to suit your needs:
- Snapshots: Create snapshots of your VM at different states. This is helpful for testing software or settings, as you can roll back to a previous state if necessary.
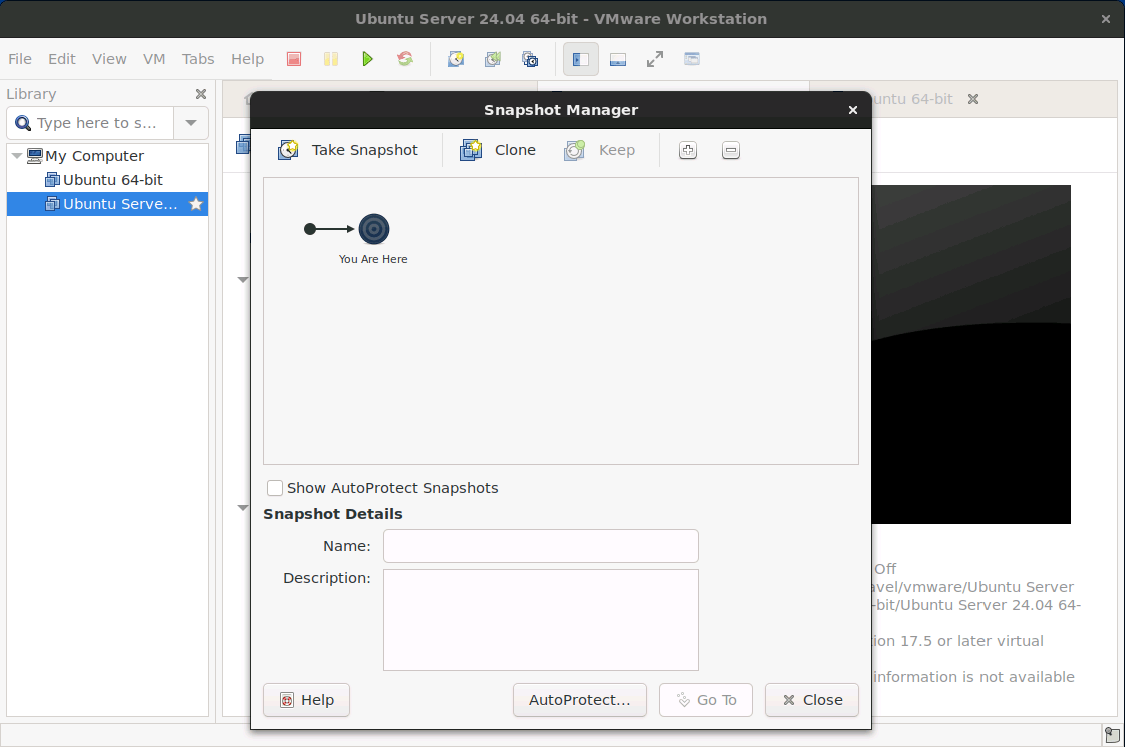
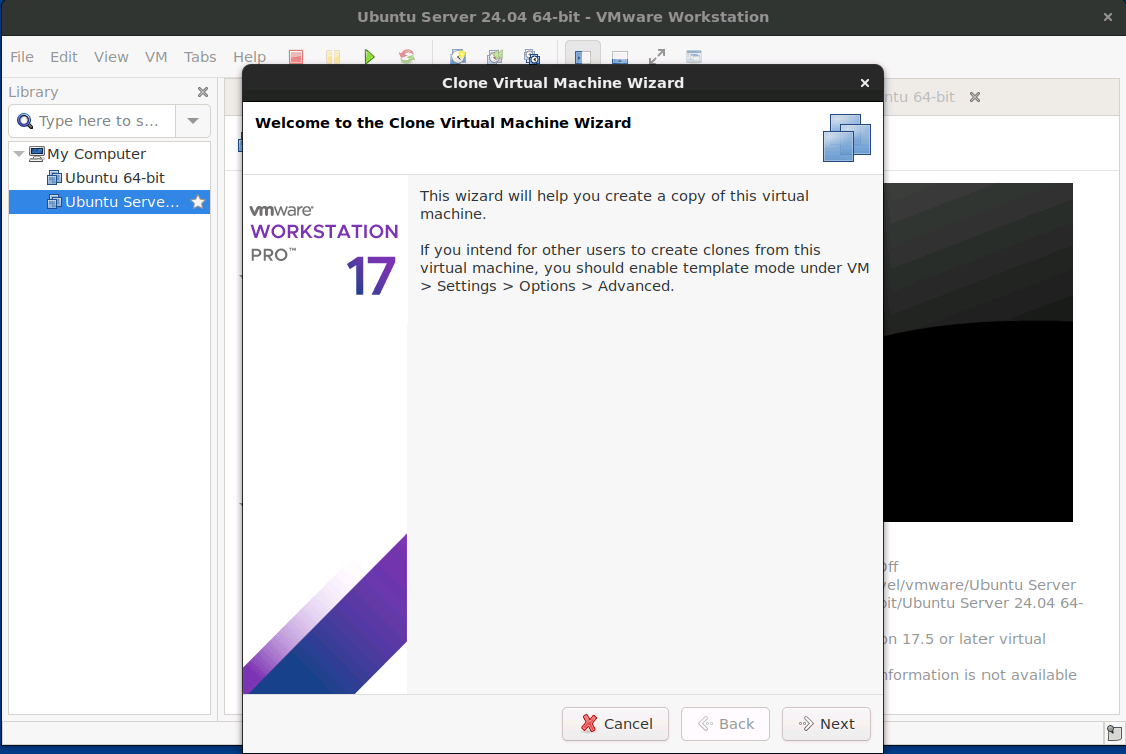
- Cloning: Clone the VM to create duplicates for different tasks without needing to set up from scratch.
Conclusion
Creating a virtual machine in VMware Workstation is an intuitive process, and with this guide, you’re equipped with all the steps needed to get started. Whether you’re testing applications, developing software, or experimenting with new OS environments, VMware Workstation offers a flexible and powerful platform for virtualization.
Happy virtualizing, and enjoy exploring your new virtual machine!